
The ‘Weather’ with a capital “W” has been absolutely atrocious – again or still, you pick the descriptive word – this spring. I suppose the most positive thing I can say is that at least the near record rainfall has not been combined with record heat as temps have been on the mild side for St. Louis but this means the wet fields are also not drying out fast enough.
As we transitioned from spring to summer during last Friday’s solstice (happy 5th wedding anniversary to the Kate and Jason!), we welcomed the beginning of the summer season with…you guessed it, nearly 4 inches of rain in the past 48 hours. And rain is just about the only reason I have time to work on this blog, as it has been raining off and on all day.
We also had poor timing last month while trying to replace the gutters on our house and do exterior repairs along with repainting during that time. We managed to wiggle our way through the weather challenges with a good outcome and just one or two minor glitches along the way. One small problem had to do with re-locating a bird’s nest that had been used almost constantly since March by a variety of parenting birds as if it were some sort of a hostel for an ornithological traveling members group.
At the time, a mother mourning dove had been occupying the nest on one of the downspouts by our side door when the crew came to replace that piece of downspout. (BTW, I always thought they were called “morning” doves, but when I was doing a little research about this species, I found that the ‘Zenaida macroura‘ are actually called Mourning Doves due to the forlorn sound of their coo or bird call. More can be found at this site. https://www.allaboutbirds.org/guide/Mourning_Dove/overview ).
So, the construction crew kindly asked how I wanted to handle the nest since there were two small doves in it that were not quite ready to launch as fledglings.
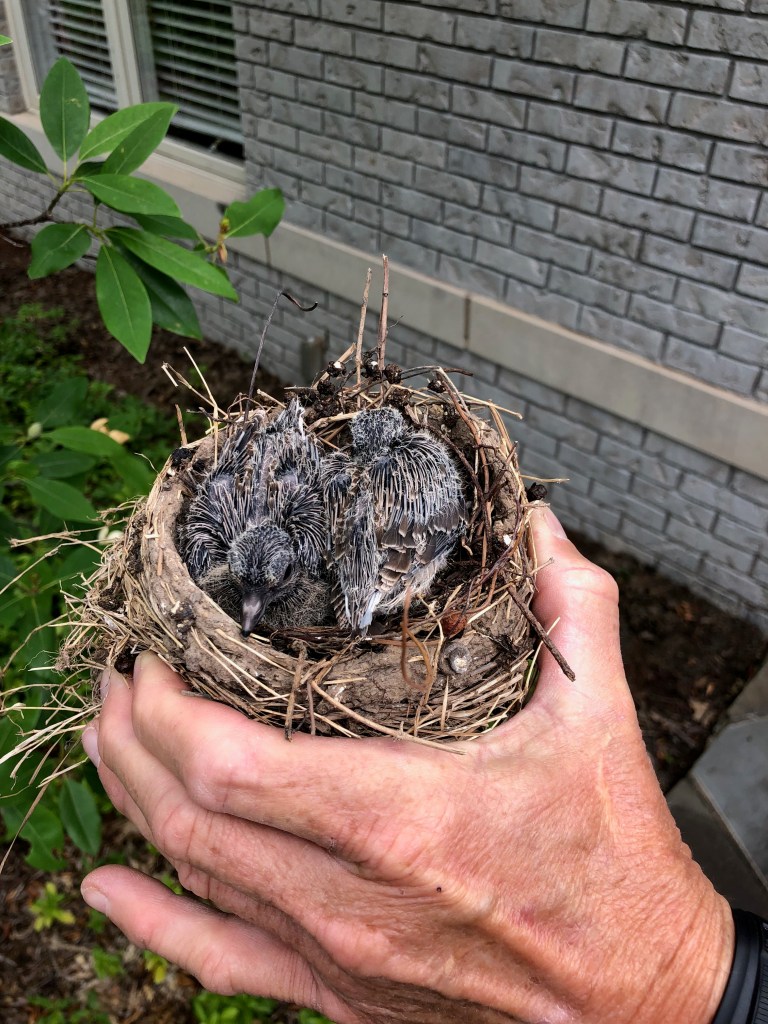
Of course, moving an active bird’s nest is not the easiest thing to do with success but we gave it a try and I popped the nest into the crotch of a nearby dogwood tree that had a protective upper canopy.
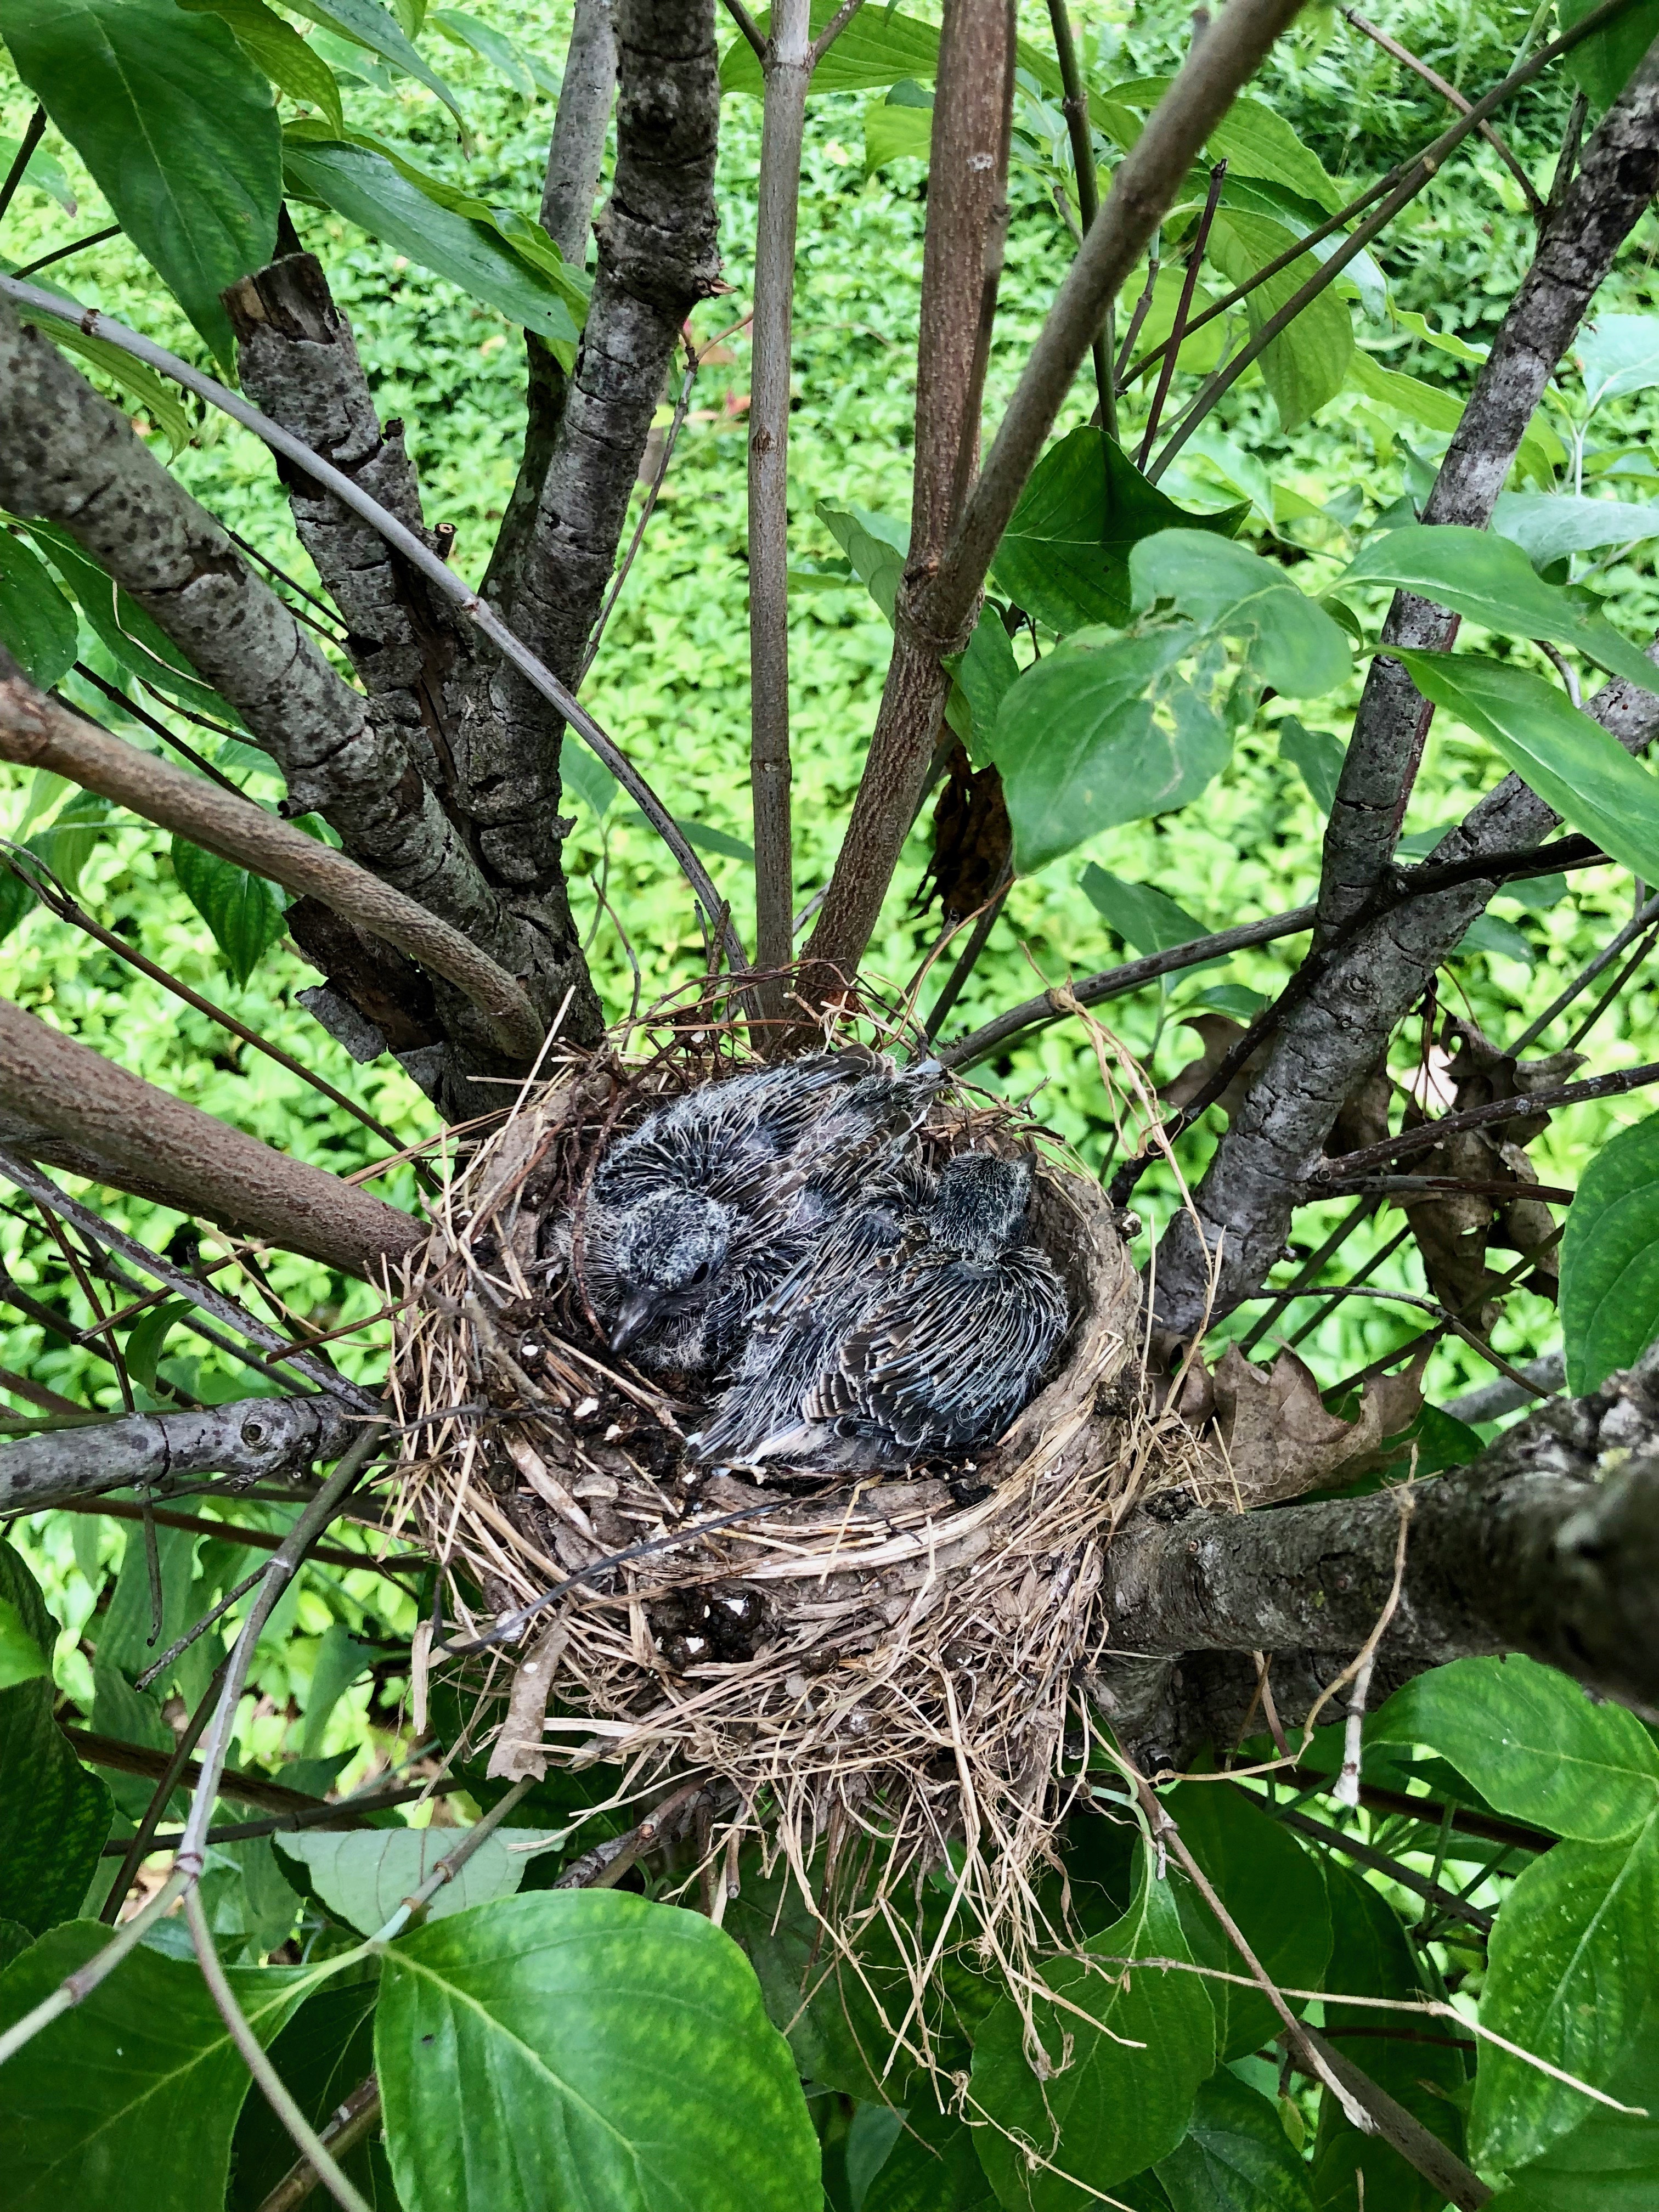
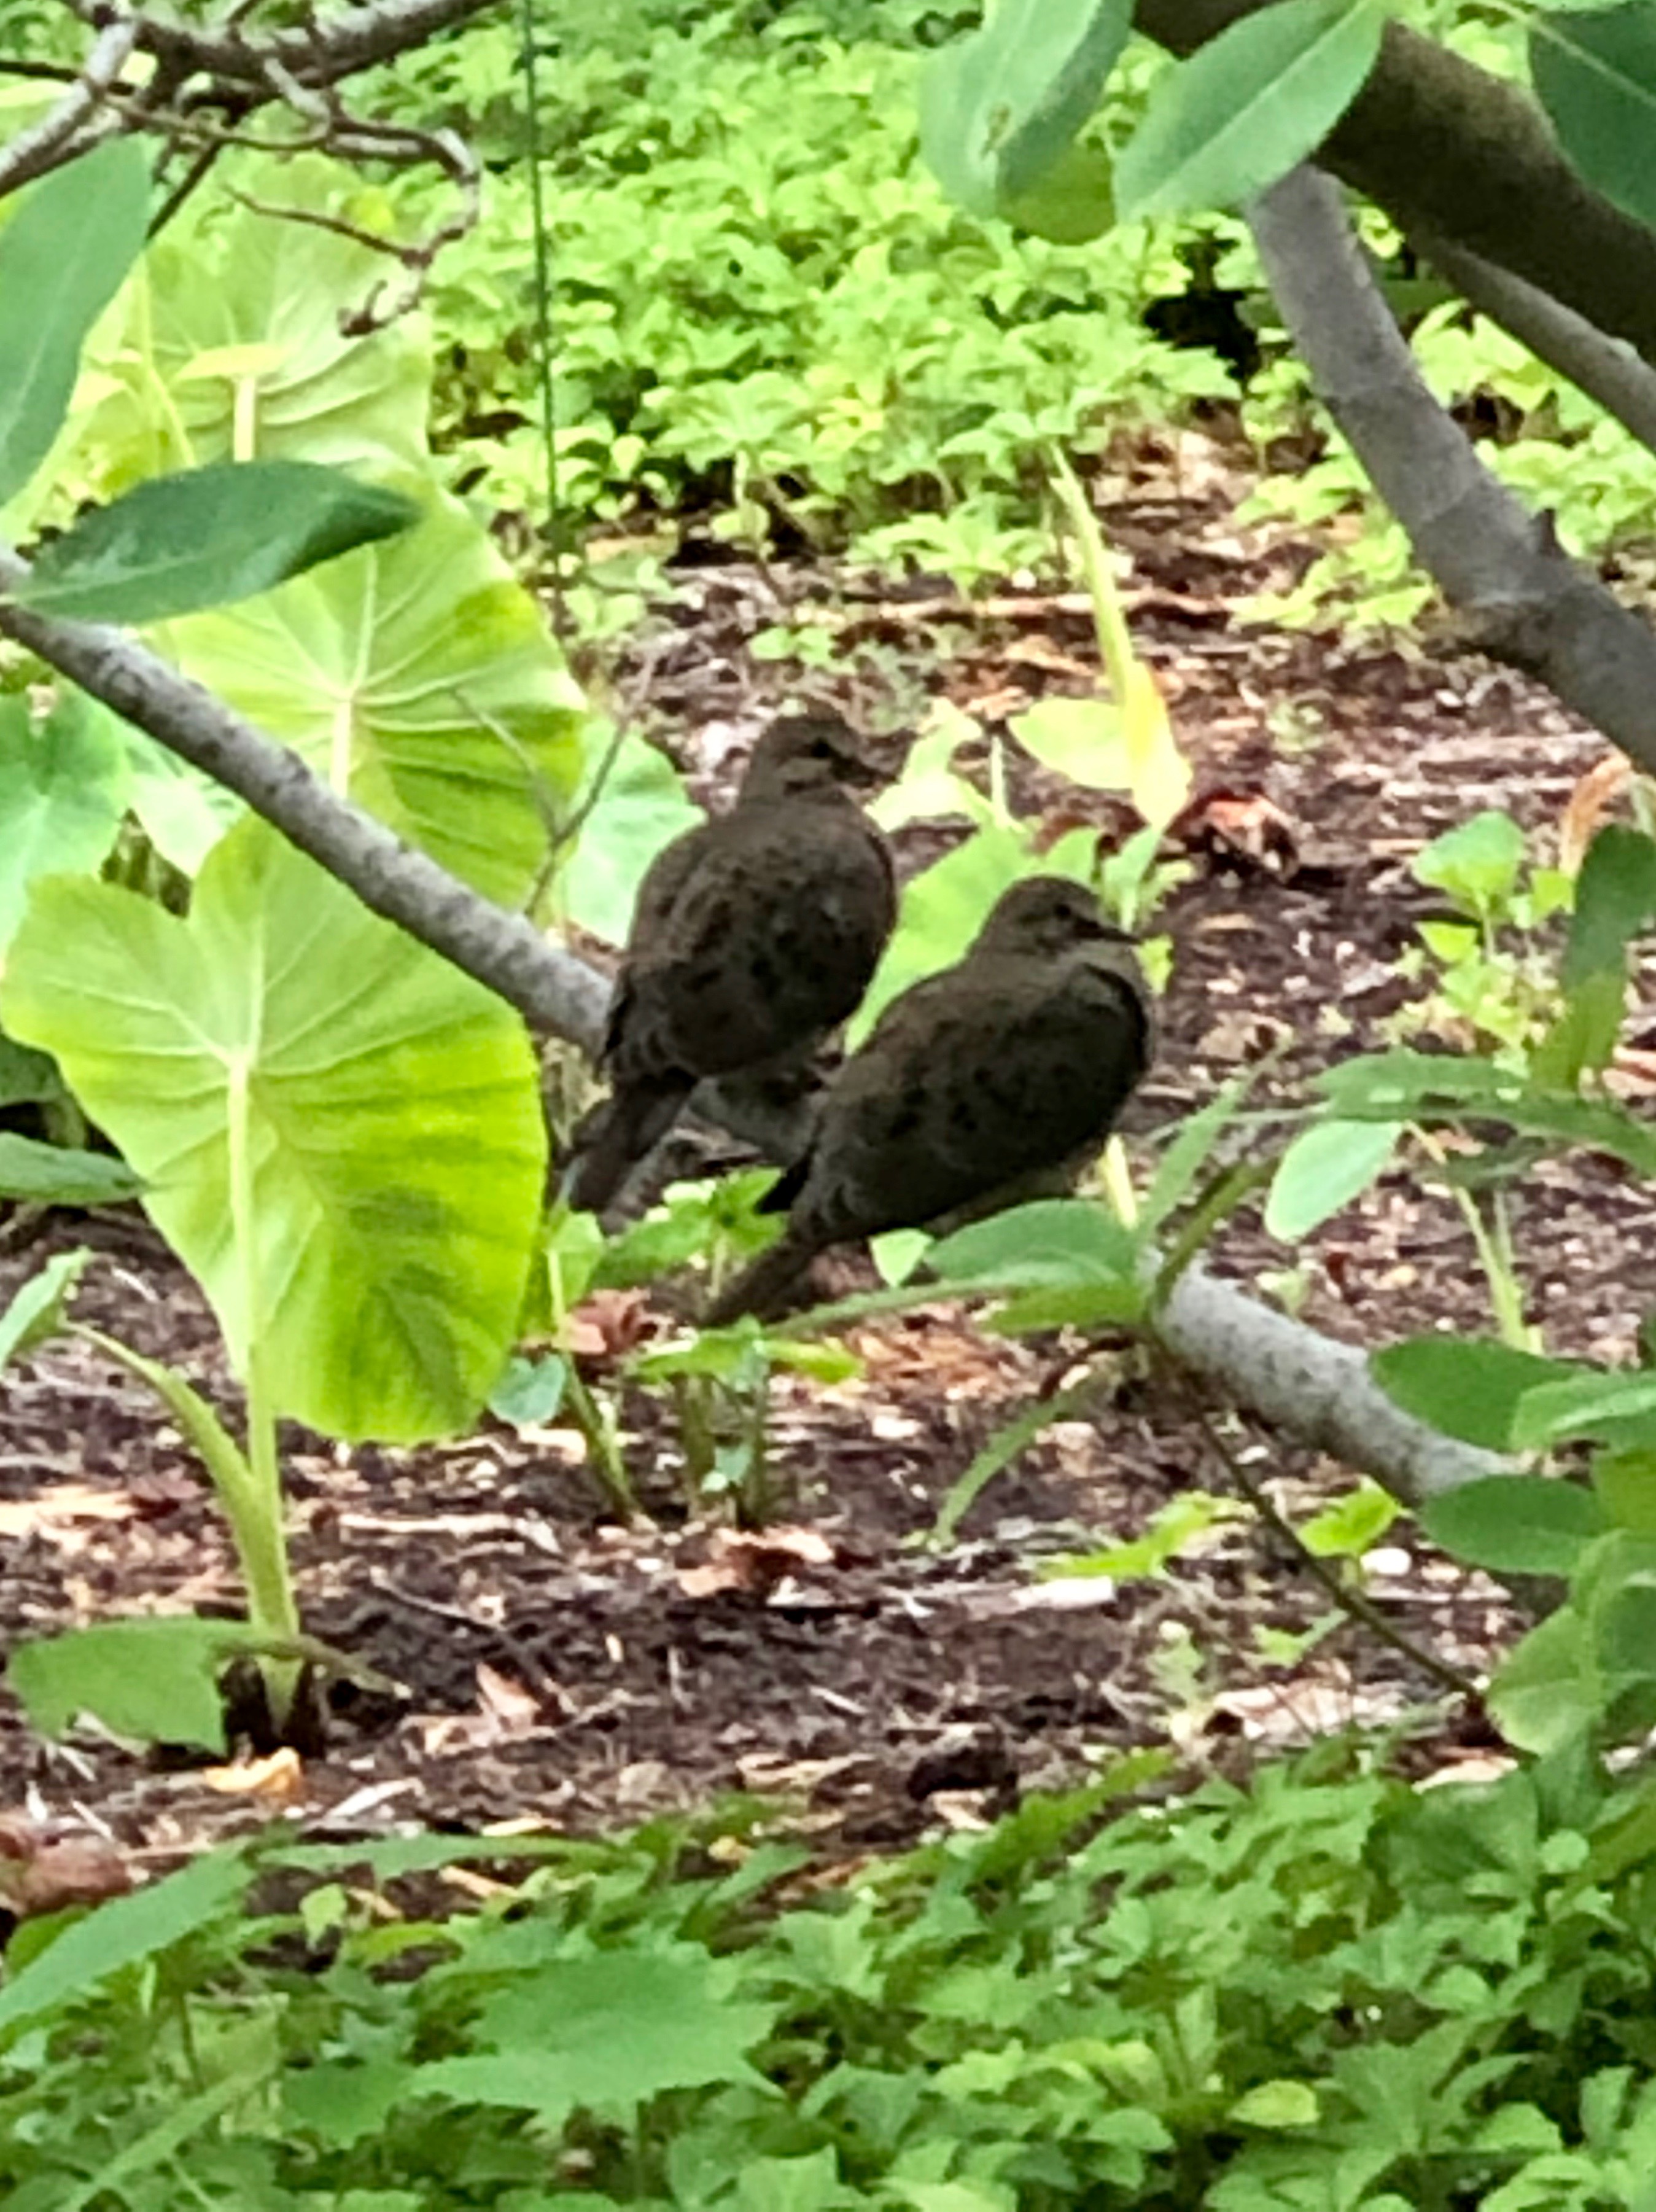
Much to my surprise, the mama bird returned to further shelter and feed her babies and after a week or so, we can now spot the two youngsters hopping along in the surrounding area, successfully finding food and maturing quickly. They have tolerated our traipsing in and out of that entrance to the house and and even allow the paparazzi to snap away!
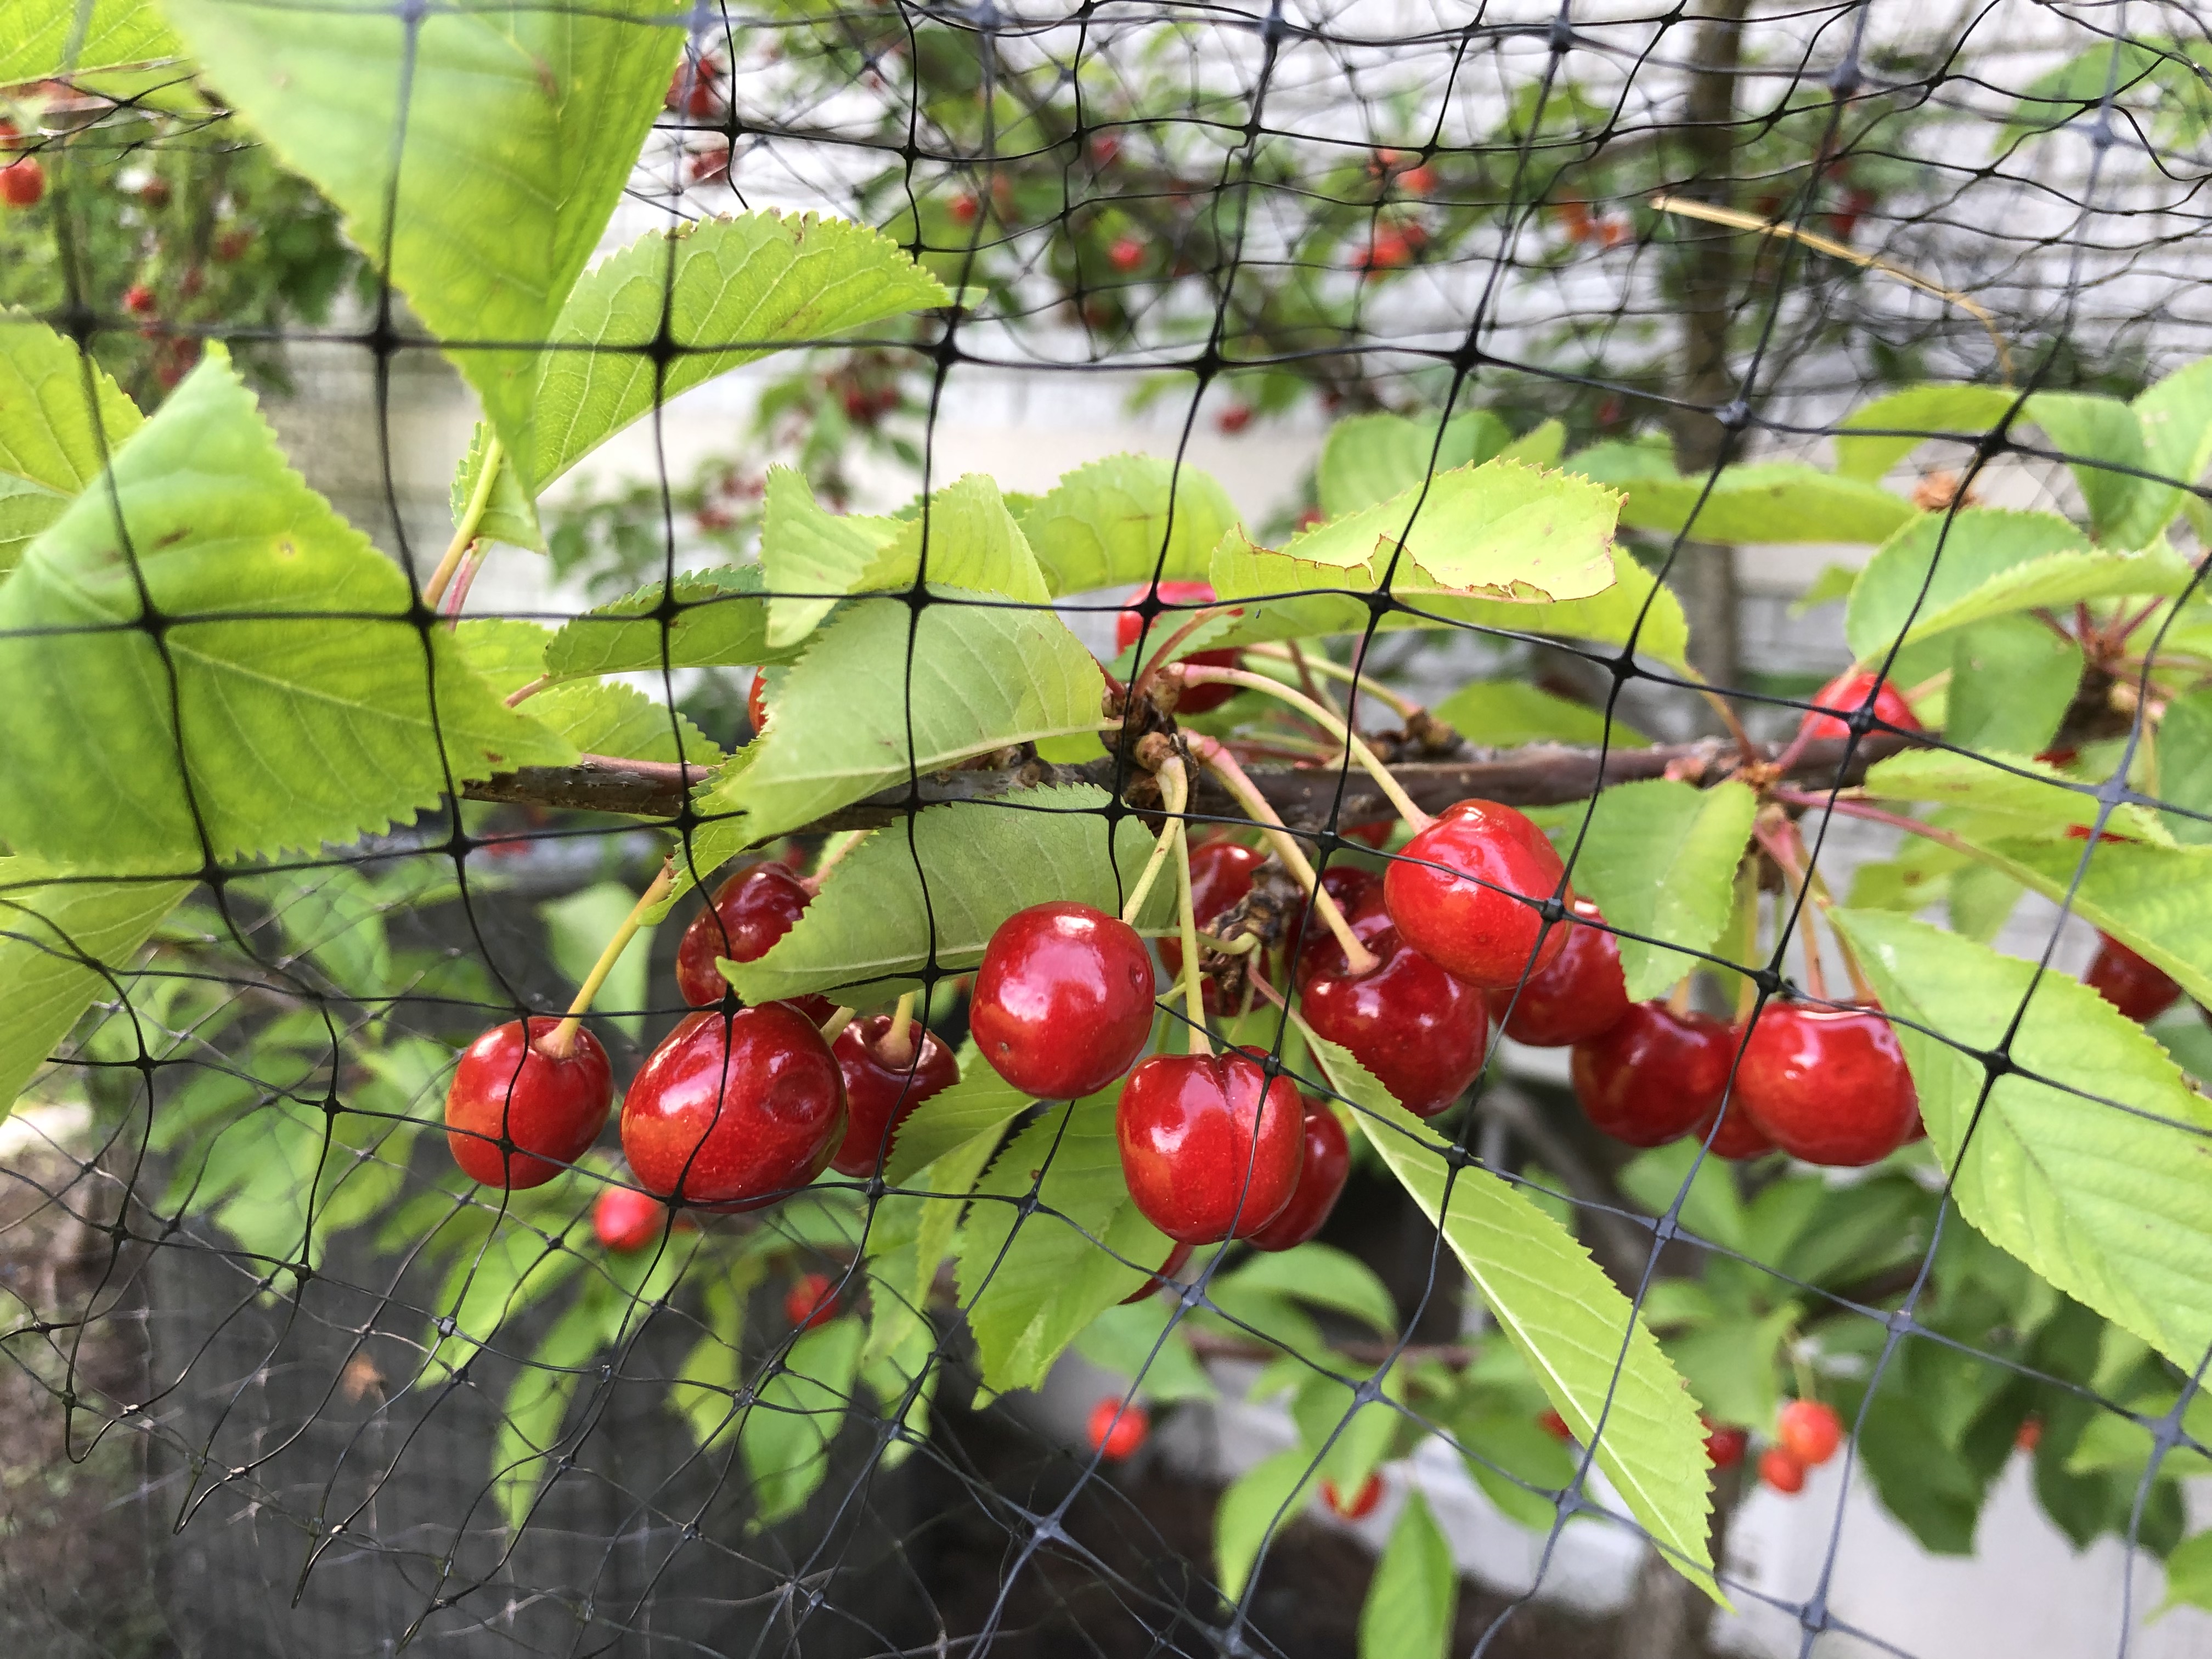
Remember the cherry tree fruits that we pictured in the last post? Those cute green fruits evolved into the real thing and for the second year in a row, we hoped for a successful sweet cherry harvest. First, we decided to take advantage of the workmen and their tall ladders and put a very large bird netting on the tree to protect the ripening fruits from the active bird population. We were rubbing our hands with glee at the thought of our nice cherry harvest…
…until one of our welcome black snakes got caught up in the net that was resting on the base of the tree. We love the work our black snakes do to keep the small rodent population down as they go after the voles and such that are nearly impossible to get rid of without an aggressive outdoor cat.
This snake was really caught up in the tangle of the net, so we sacrificed the net and tried to cut it loose except for the restraining/remaining bit that you might be able to see still around it’s upper body as indicated by the arrow and red box.
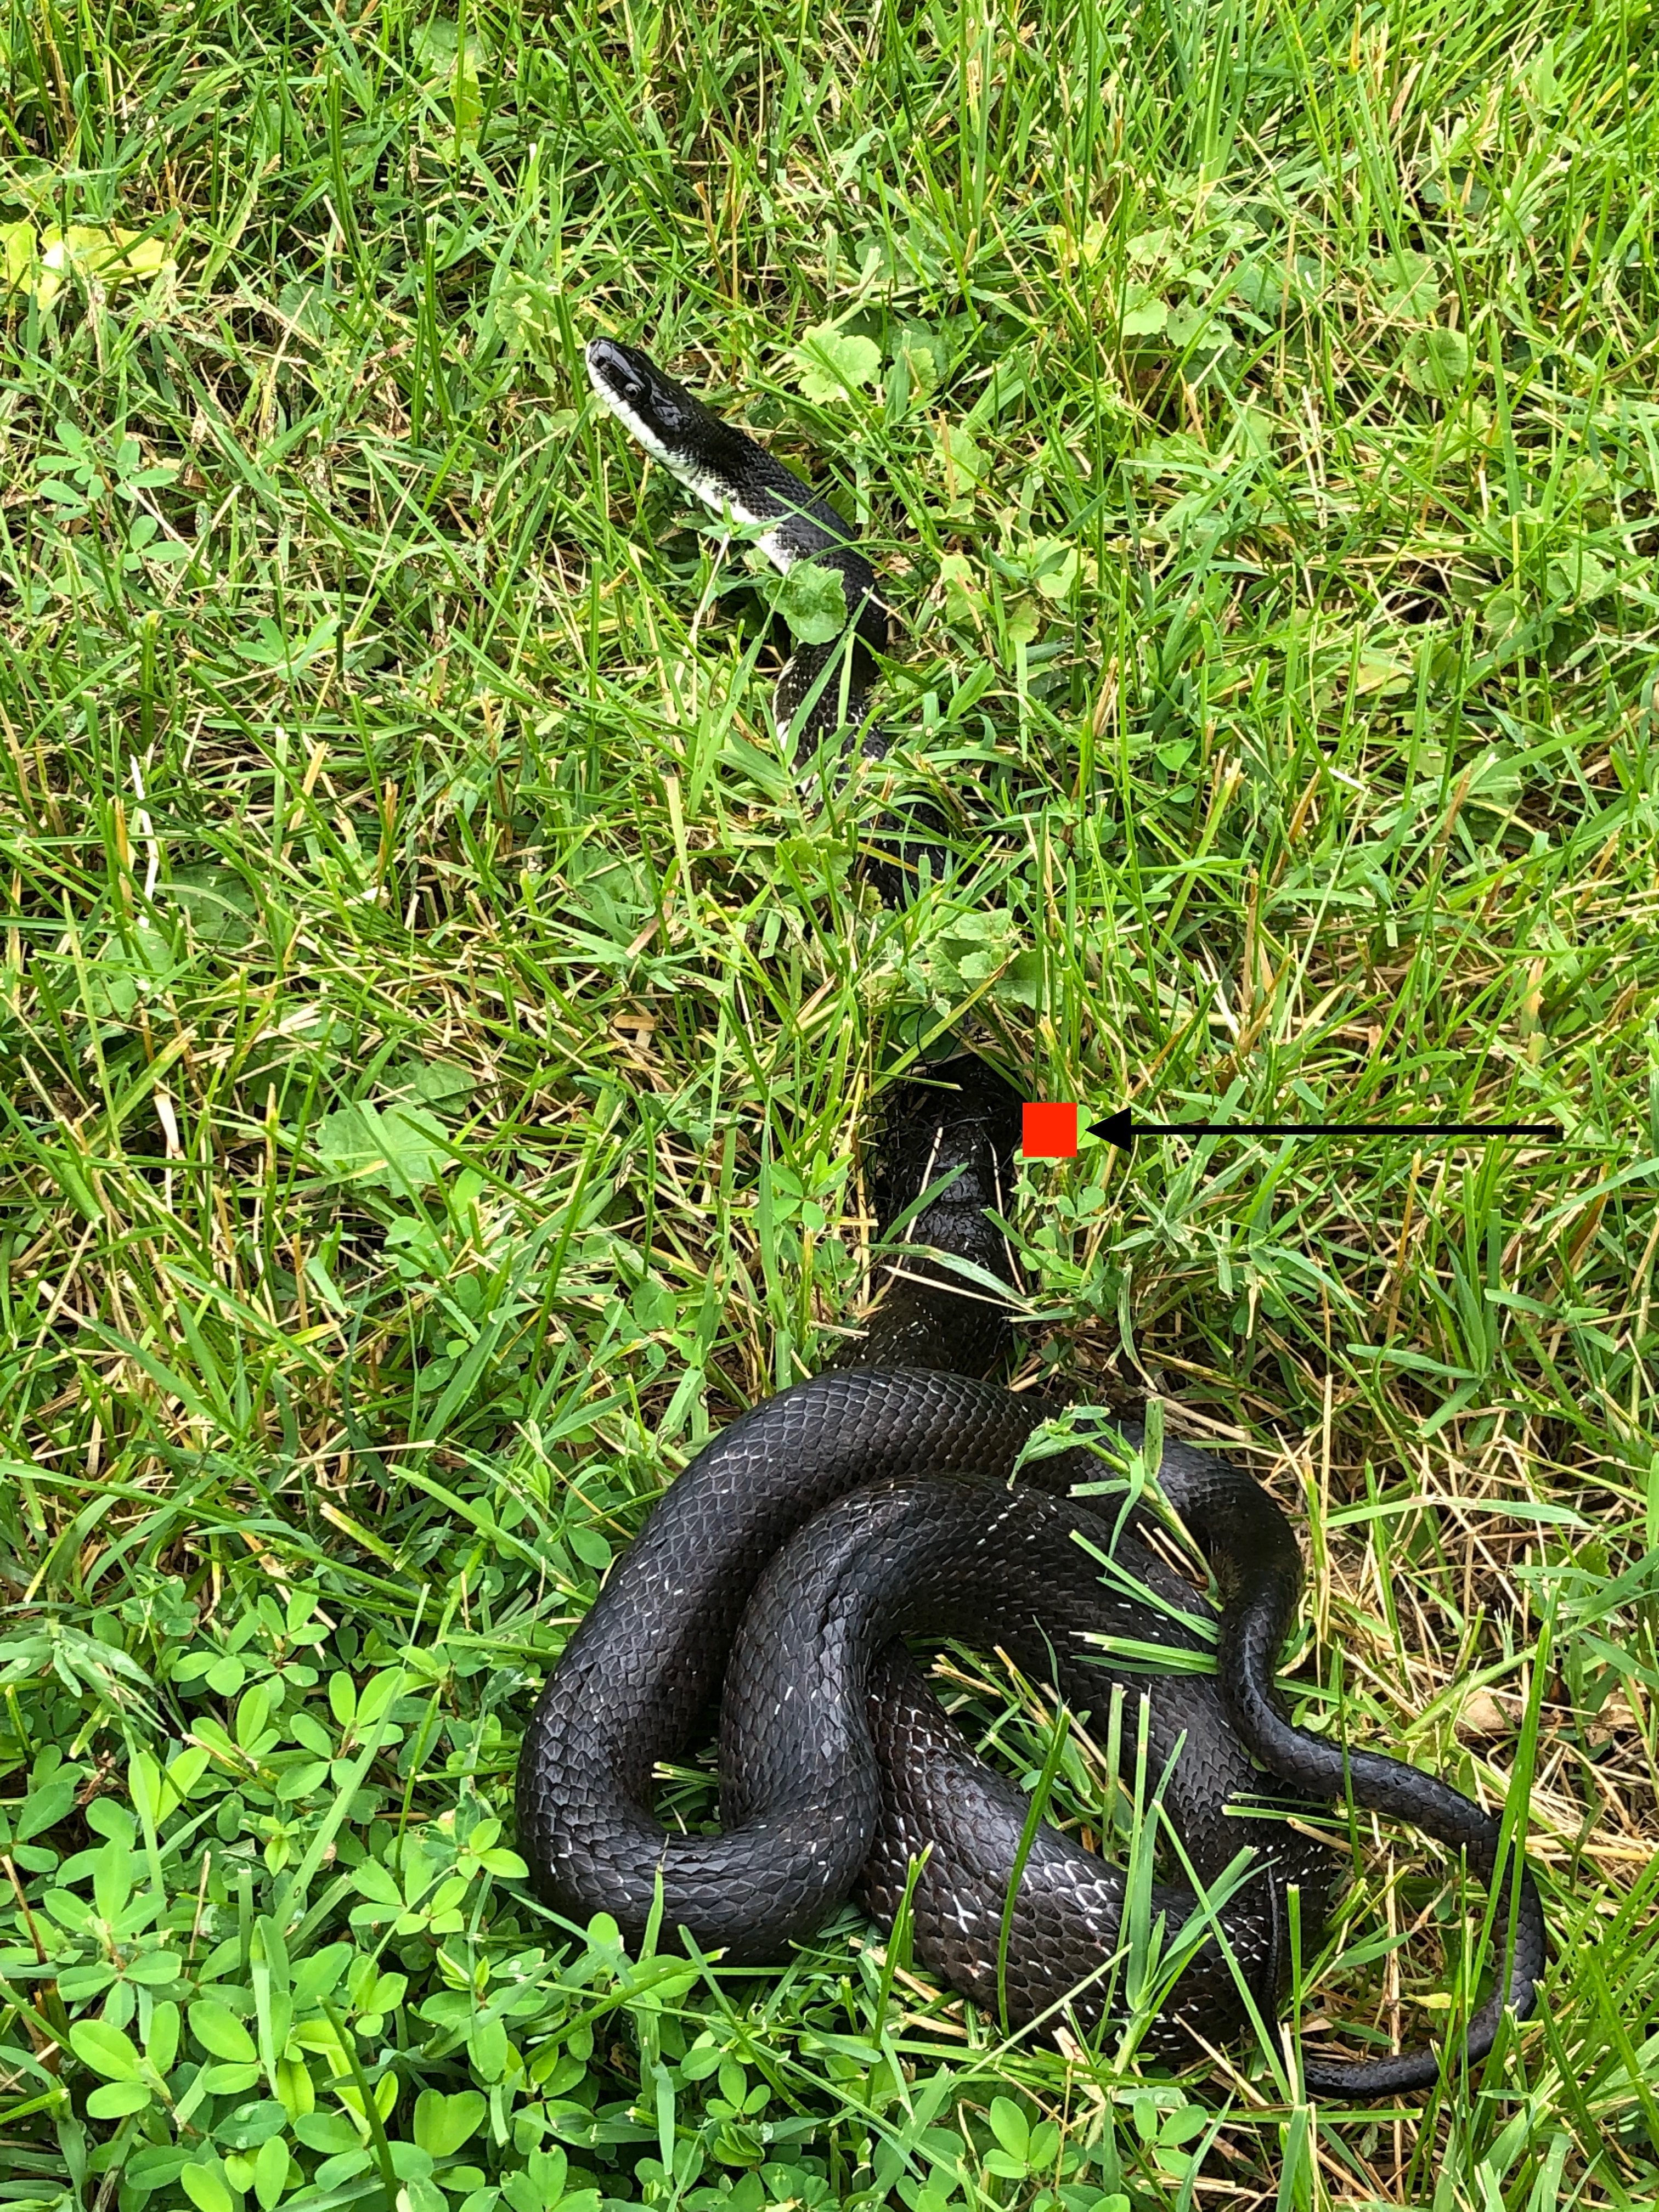
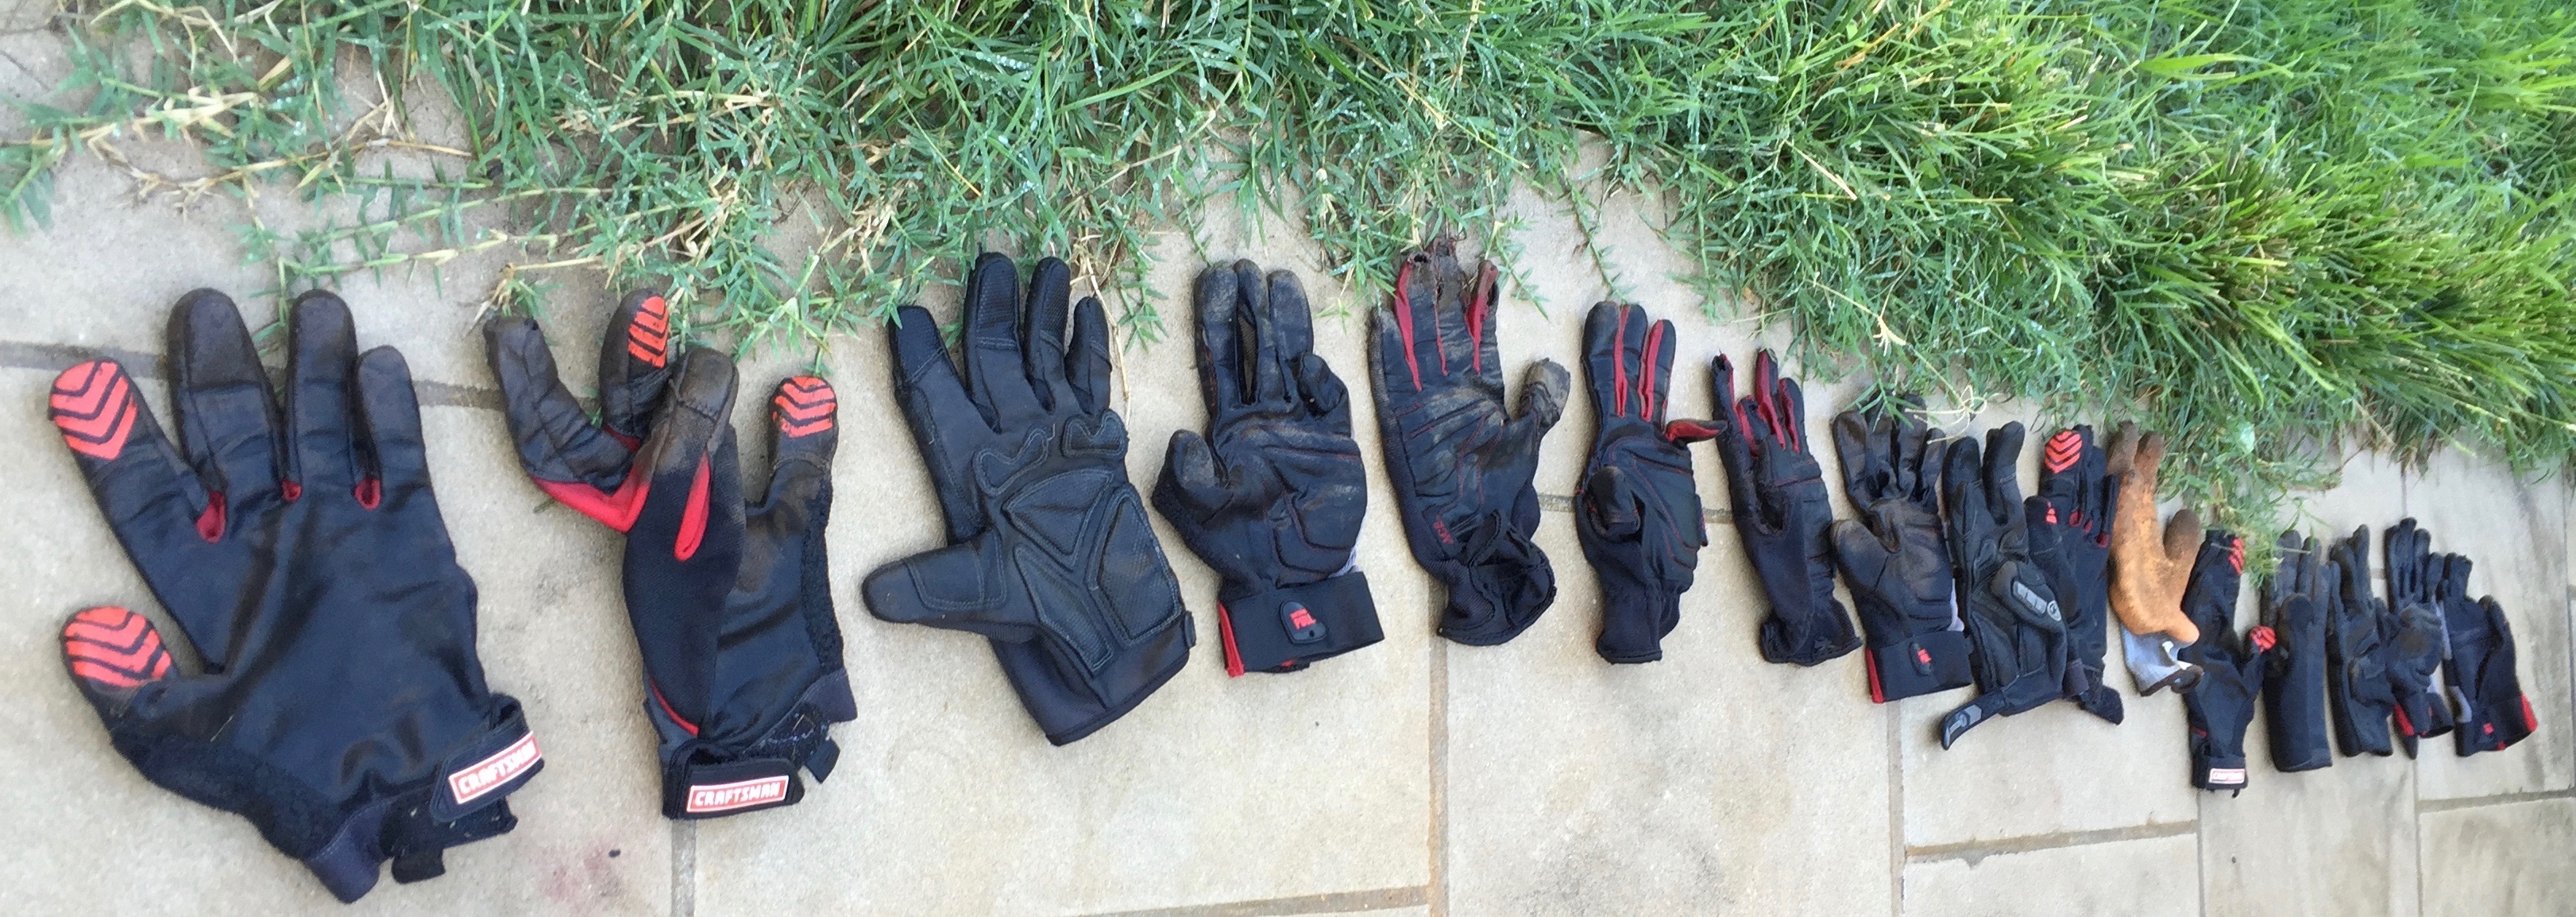
The remaining ‘waistband’ of netting constricted the snake’s ability to move forward as it was not able to expand and contract the muscles of its body to propel itself forward. (I’m sure you know, snakes cannot move backwards which is one of the reasons this guy got himself inextricably caught up in the first place!) So, we got a large cloth, gloves and a sharp scissors and tried once more to free this guy.
I put the gloves on, the cloth over it’s head and used the scissors to delicately snip off the rest of the netting that surrounded it’s belly and the moment of freedom was miraculous as off he slithered into the woods!
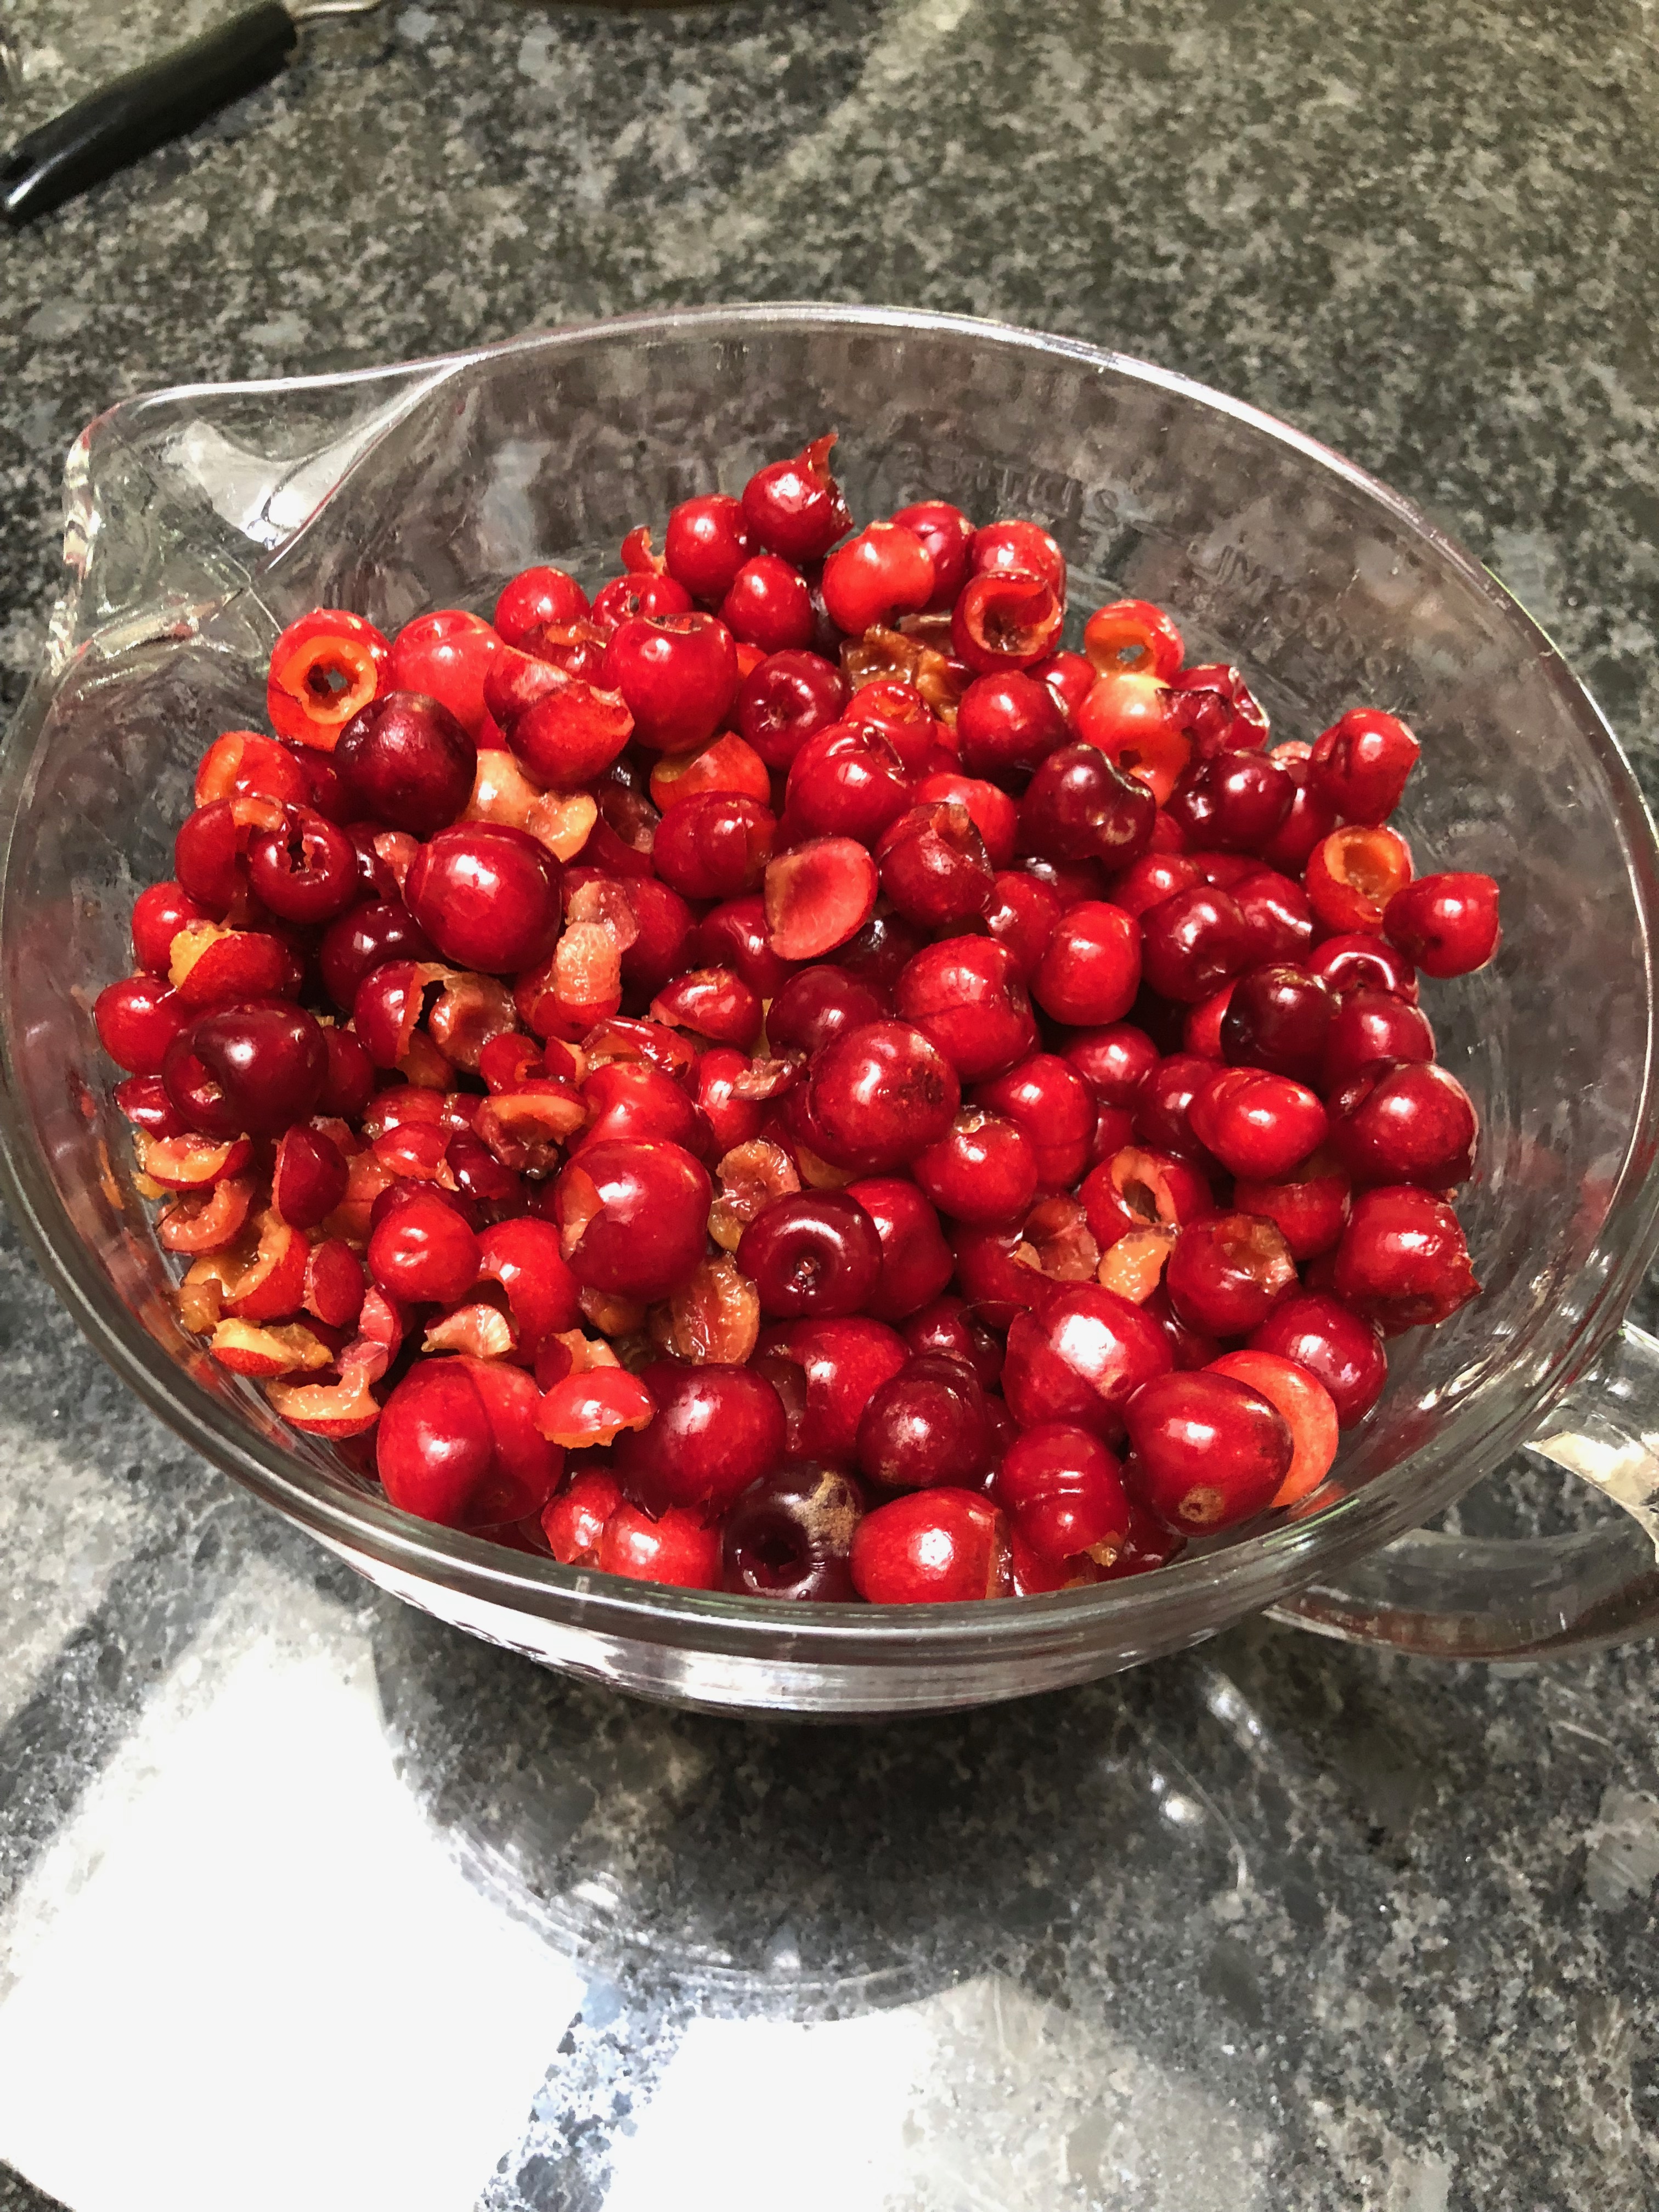
We then felt quite free to harvest more than 8 pounds of cherries from the tree!

This was the first year we had enough cherries to be creative…so one day I decided to make sweet cherry jam. What a long process this was as pitting 10 cups of cherries took some time even with my nice cherry pitting tool in hand!
I then chopped and cooked them with pectin and sugar to make 12 half pints of sweet cherry jam!
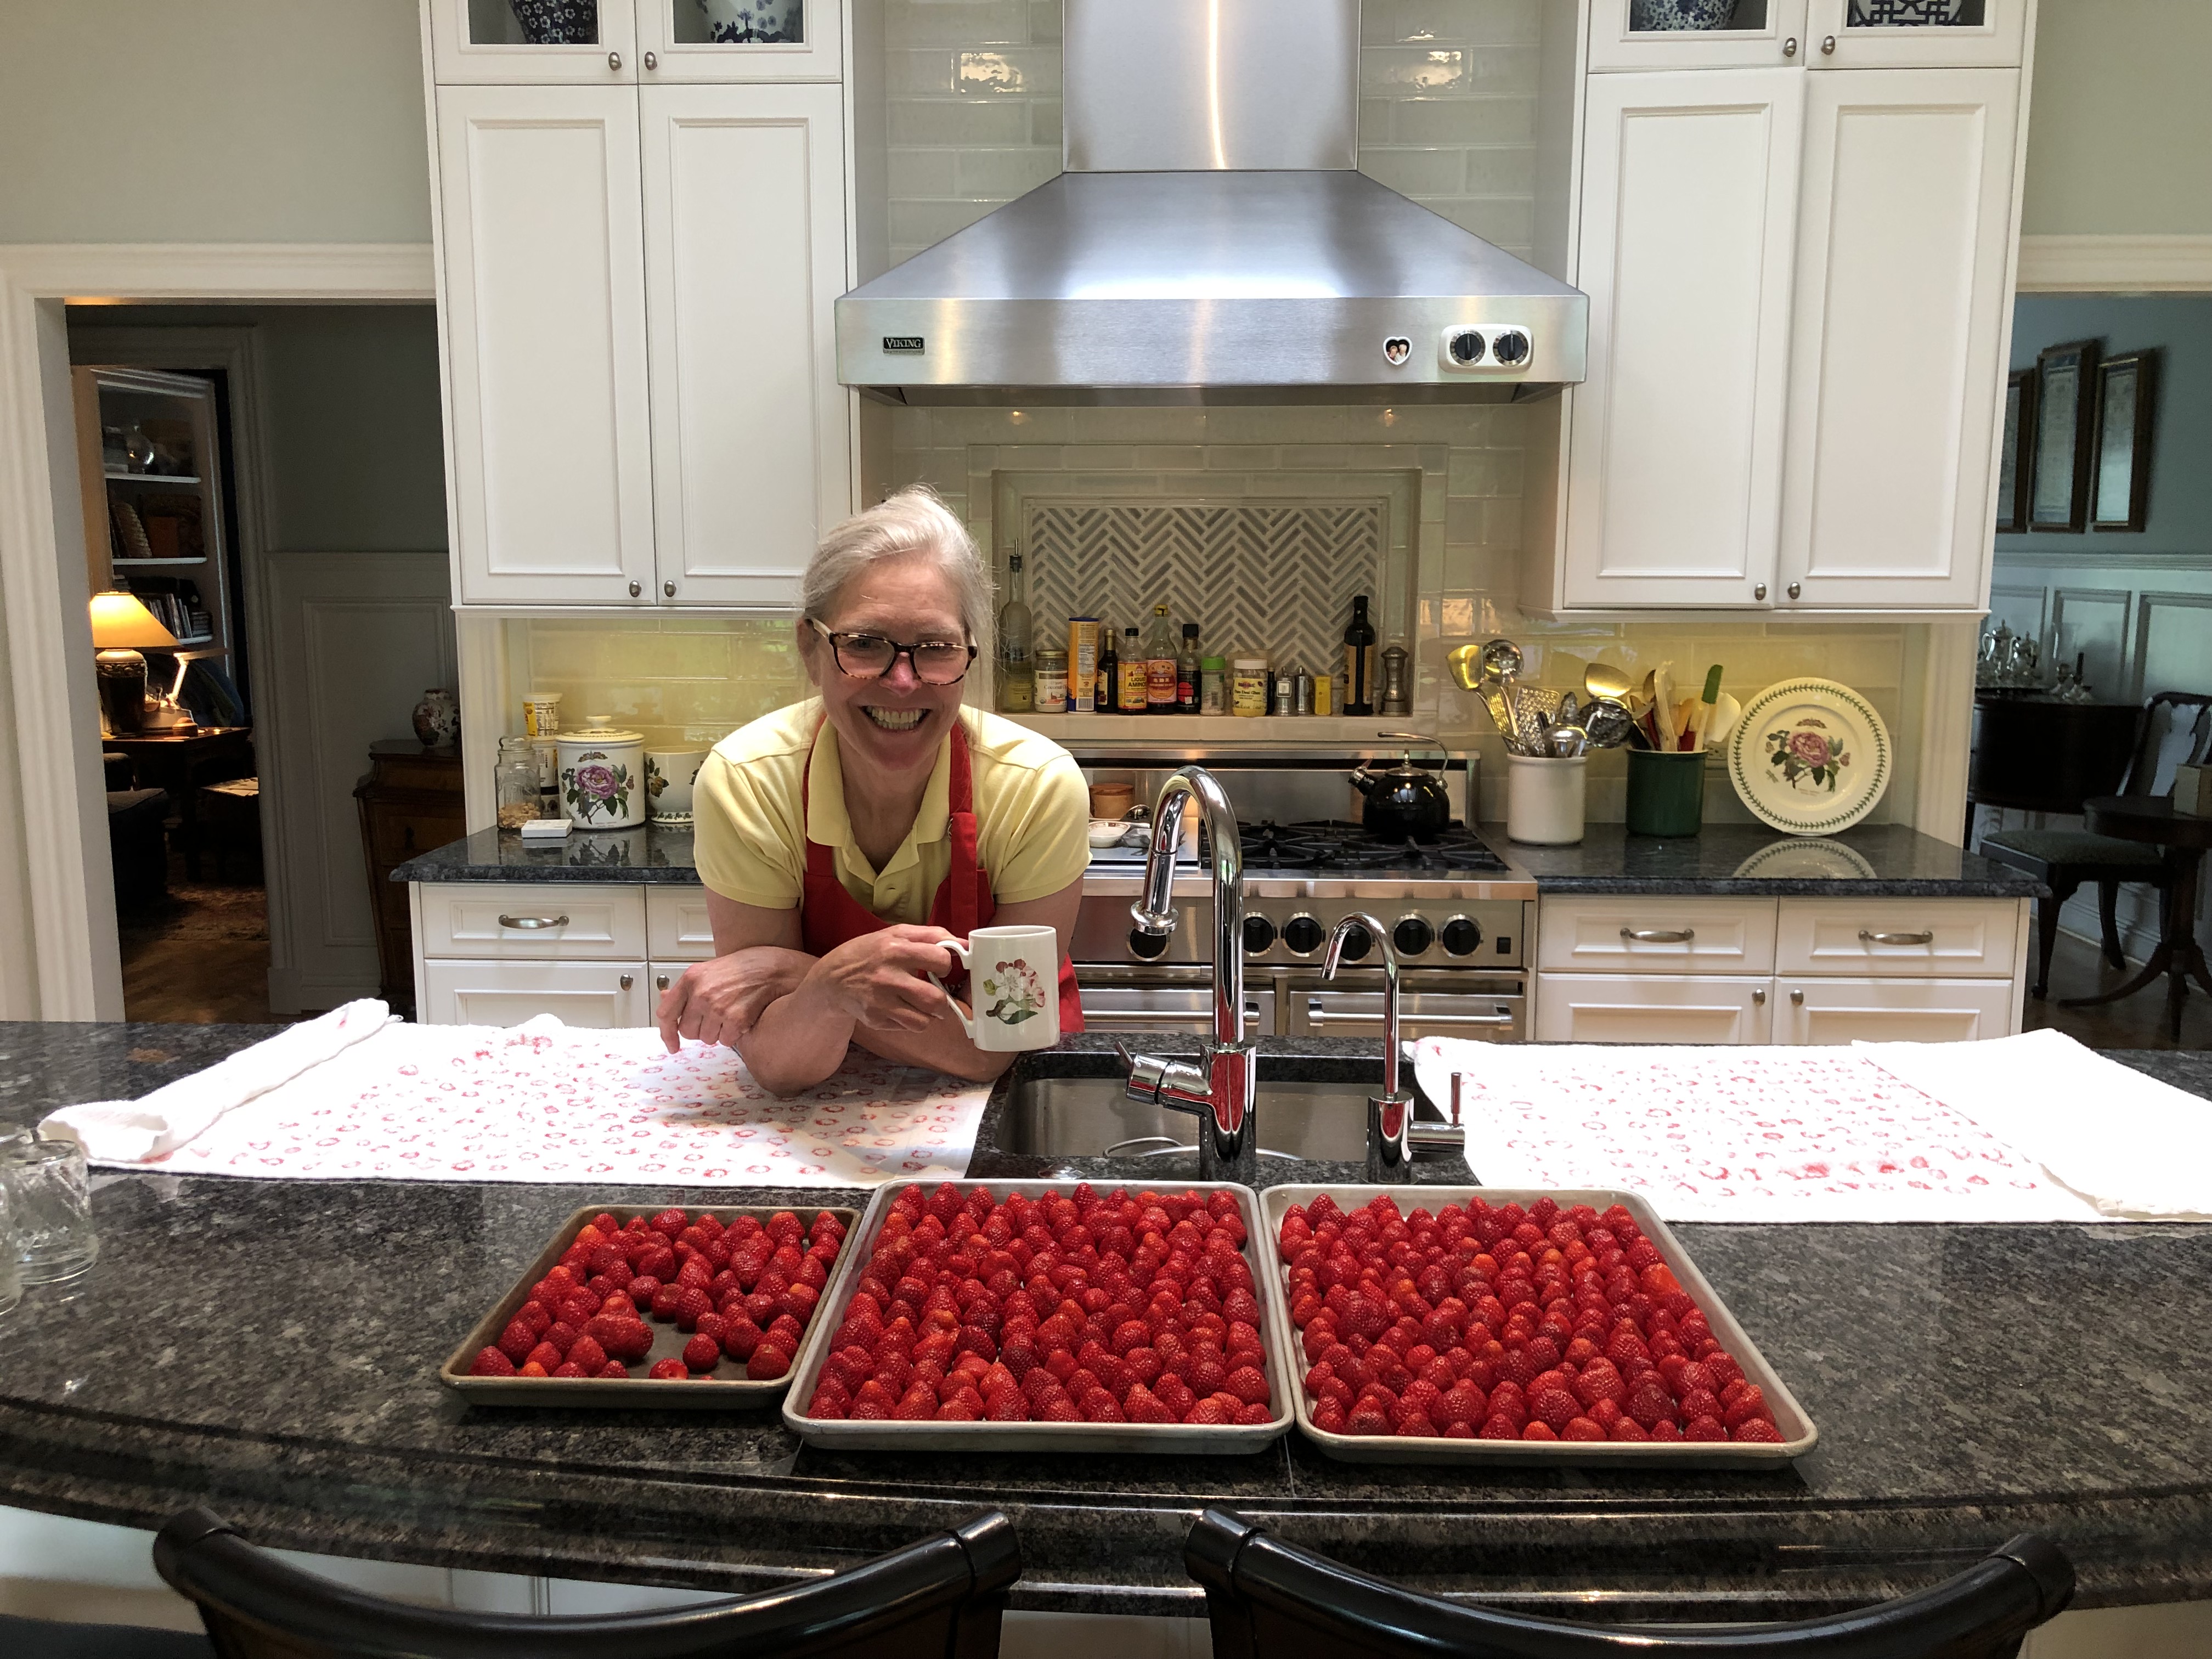
This of course was after processing pound after pound of our sweet strawberries…the ones we didn’t consume or sell fresh to our customers were made into 48 jars of jam or frozen. I hulled tray after tray of fresh berries and dried them on towels before placing them on trays for the freezer.
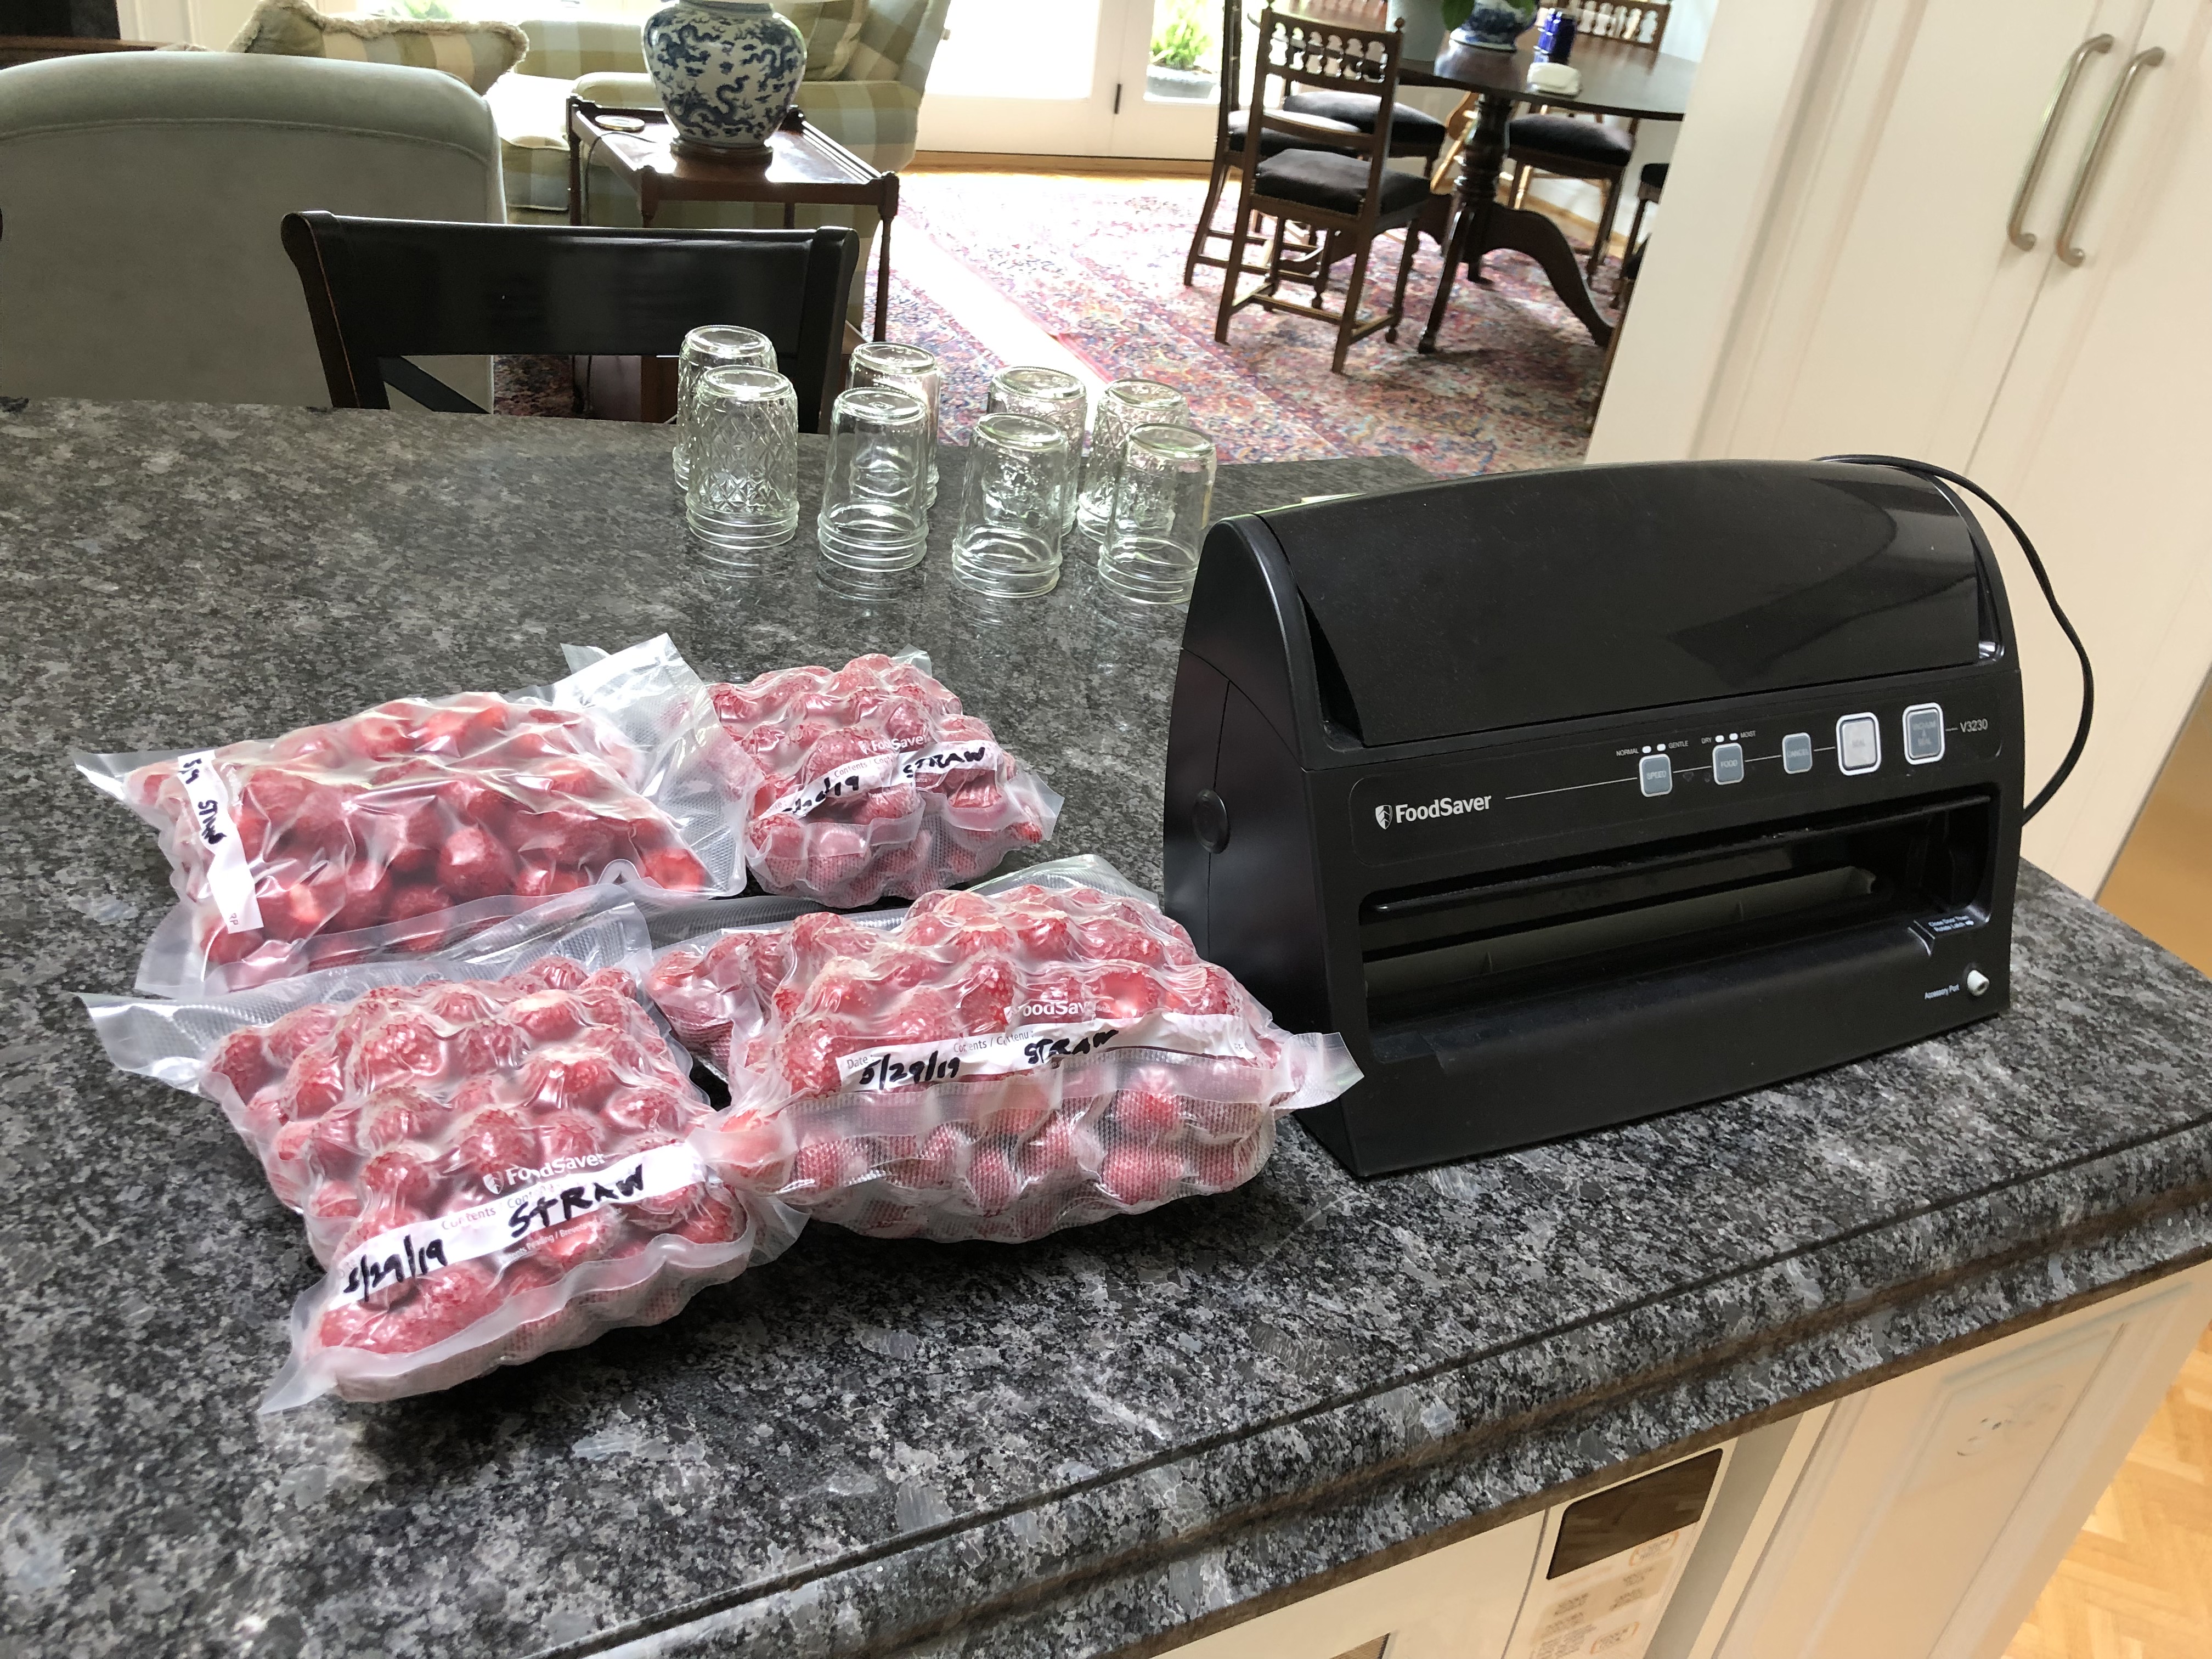
Once frozen, I put them into the vacuum sealer to safely keep for our winter consumption. Our freezers are groaning with many of these packages and are getting restocked for the winter!
So now the cherry and strawberry seasons are over, thank goodness but the blueberries have just begun to ripen with the Blue Ray variety first to hit the market as our CSA customers squealed with delight and we sold out of these sweet, plump wonders the first day. No worries for the next sales date as I picked again today before the rain started and we will have berries galore!

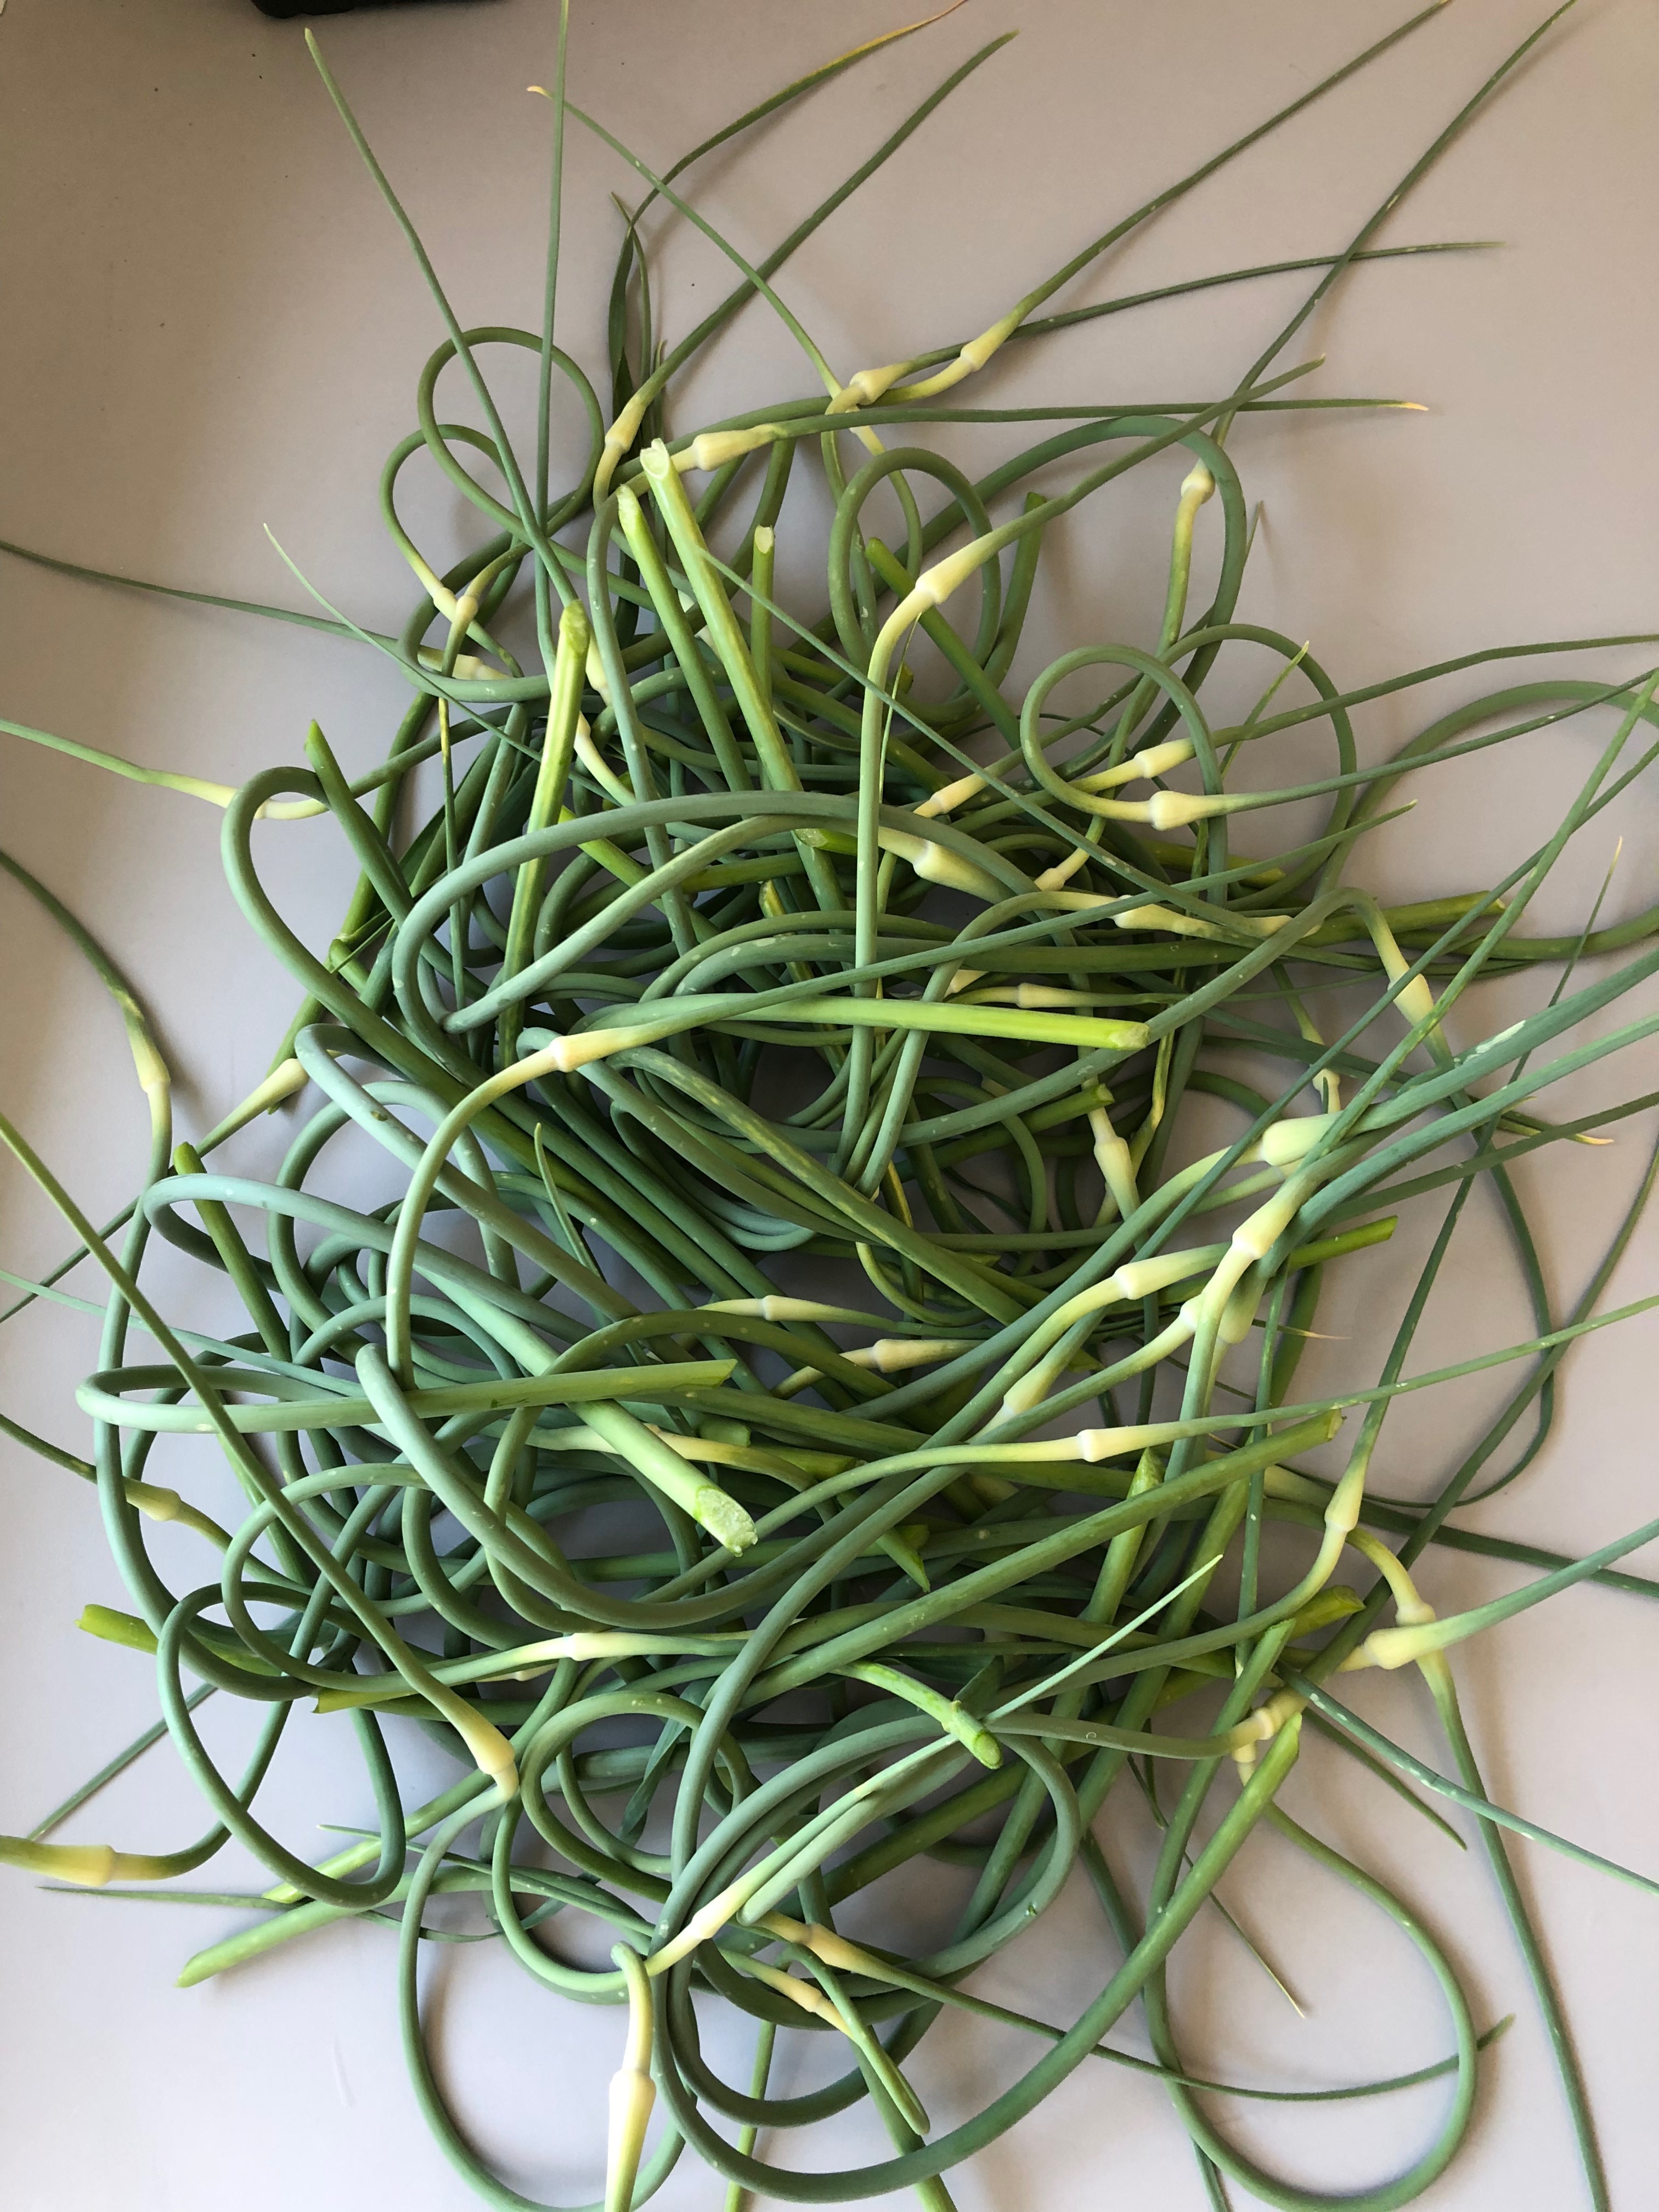
But berries were not the only star of the farm in recent weeks as we always enjoy the harvest of the garlic scapes…which are the flower stalk that a hard neck garlic plant produces. As our readers might remember, garlic scapes are a remarkably mild and delicious precursor to the garlic harvest and they are coveted as a special ingredient during their 2 or so weeks of stardom here in the plant world.
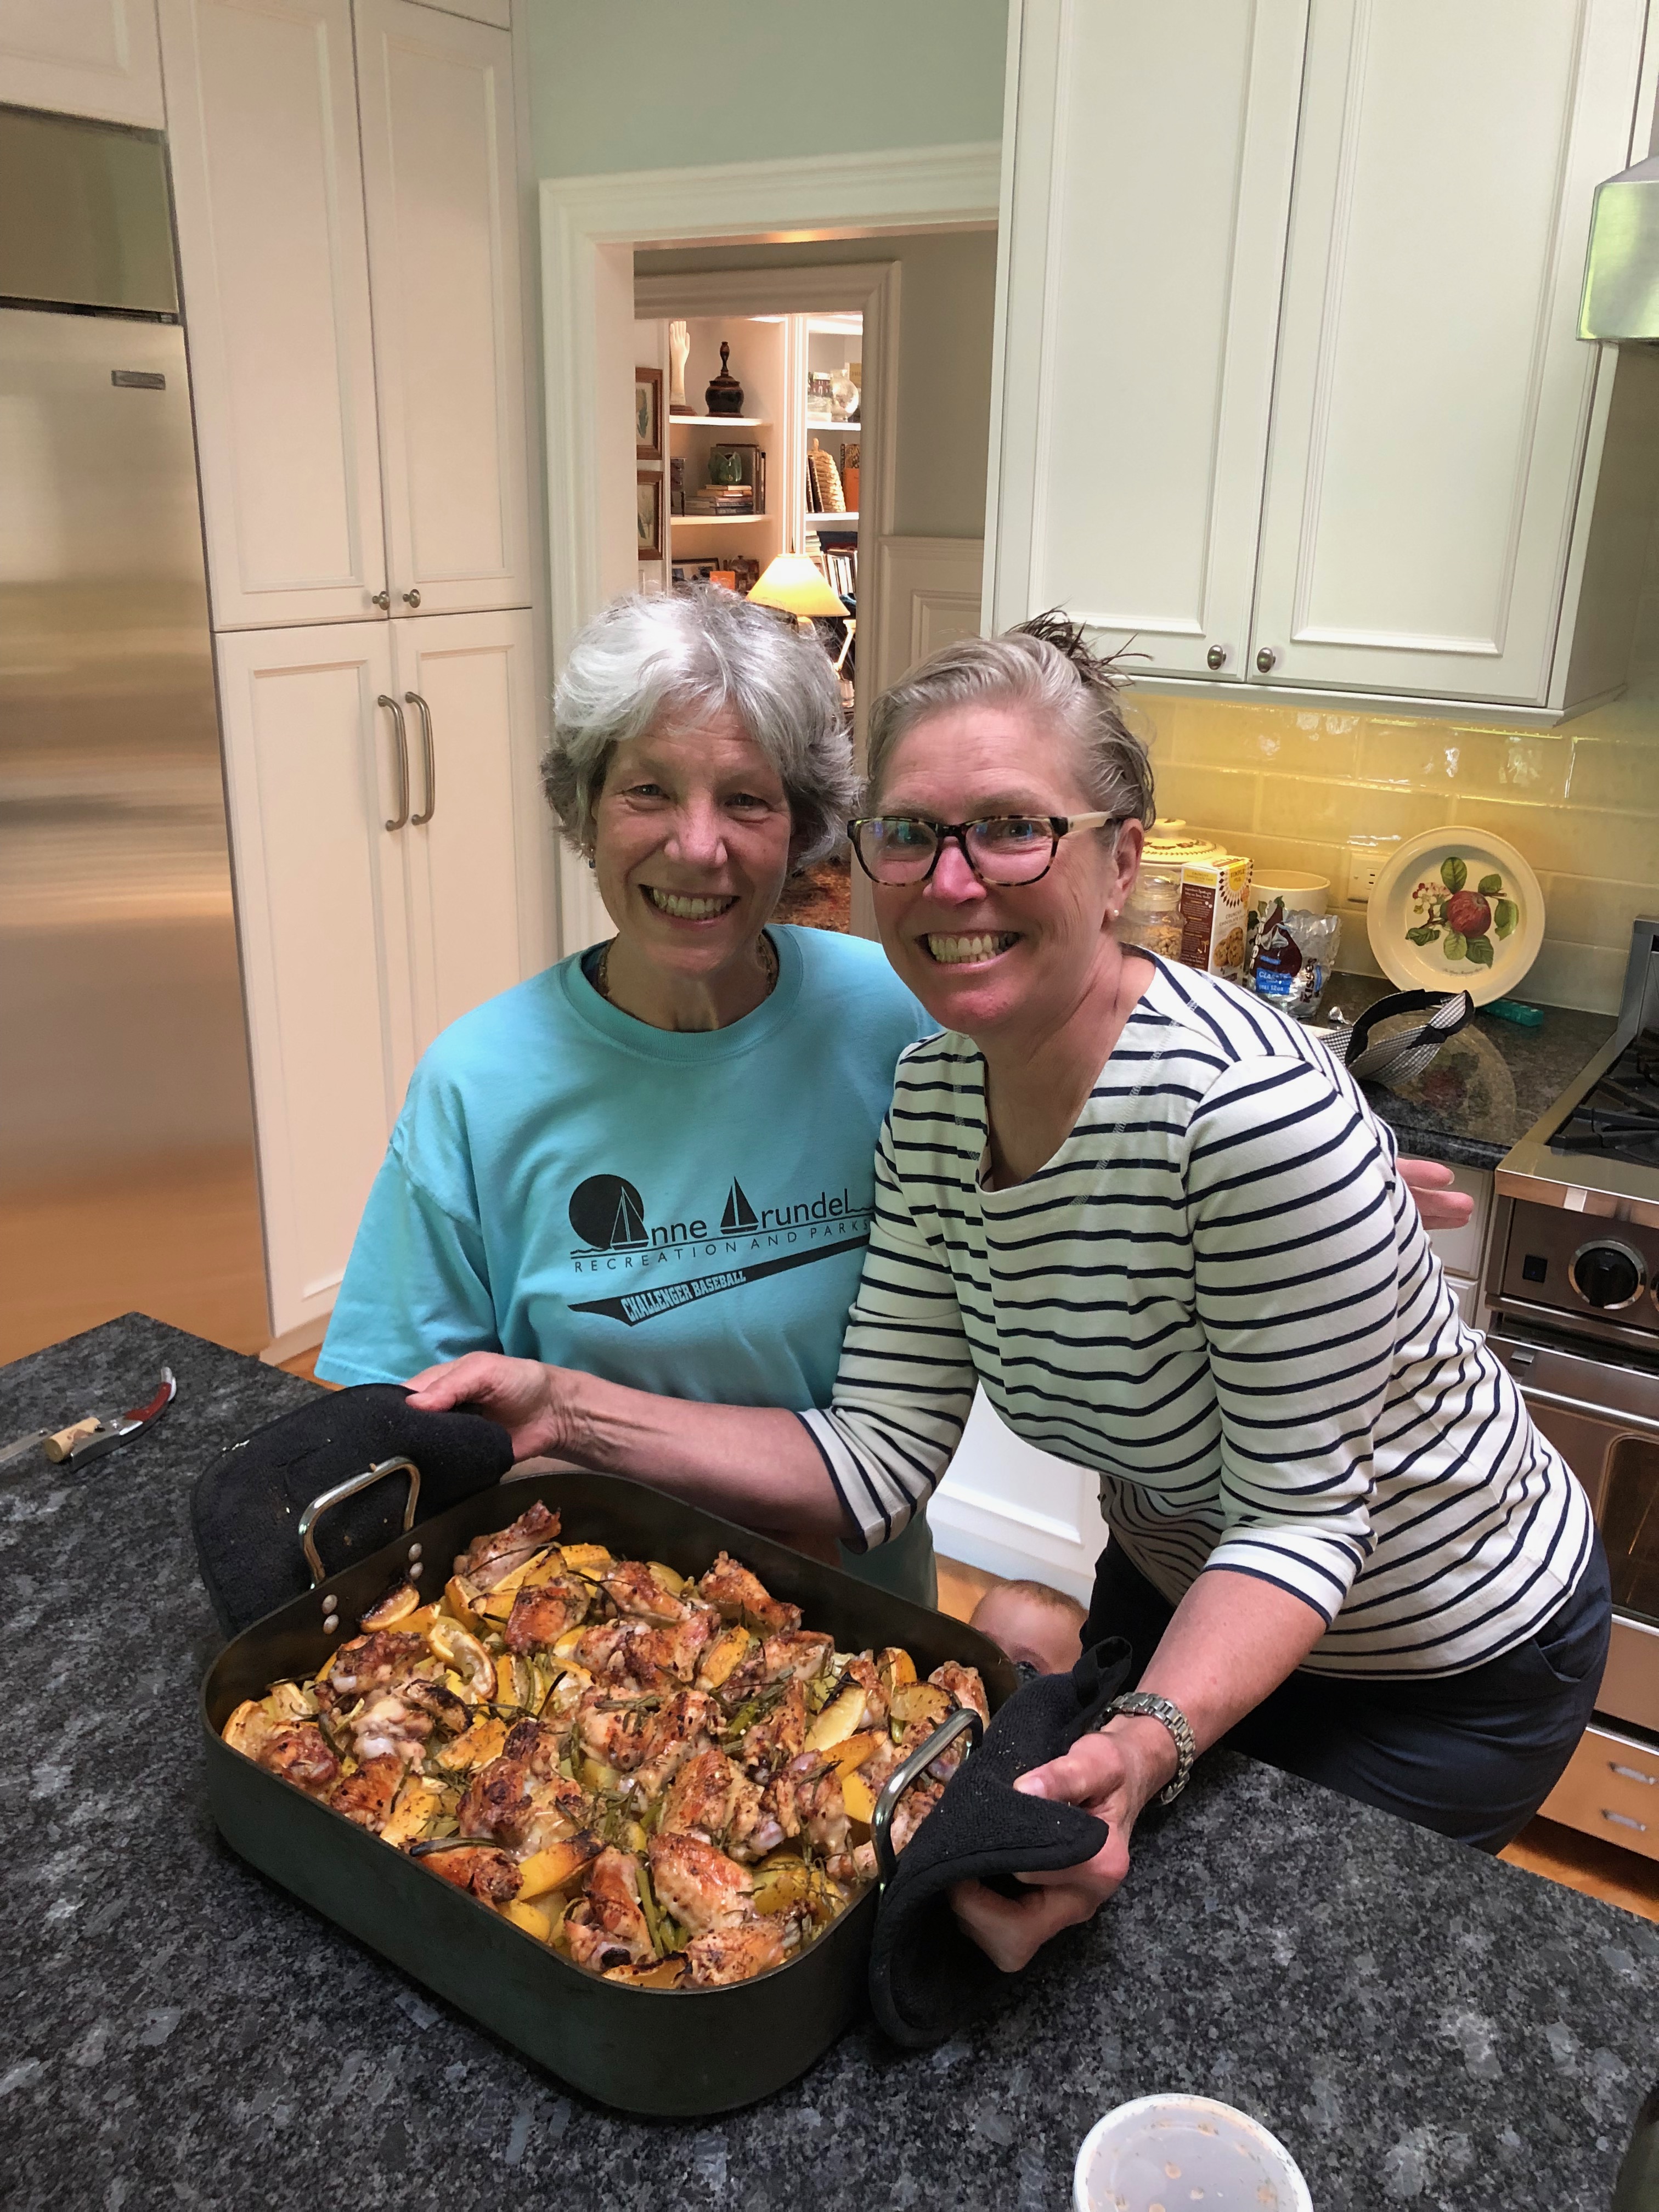
We were so lucky to have Cousin Peggy and her family visiting the farm on Garlic Scape Saturday this year. In addition to the fun of the CSA sales that day, we roasted a large pan of potato, chicken, lemon and garlic scapes that evening to share with our families. Yummmm!
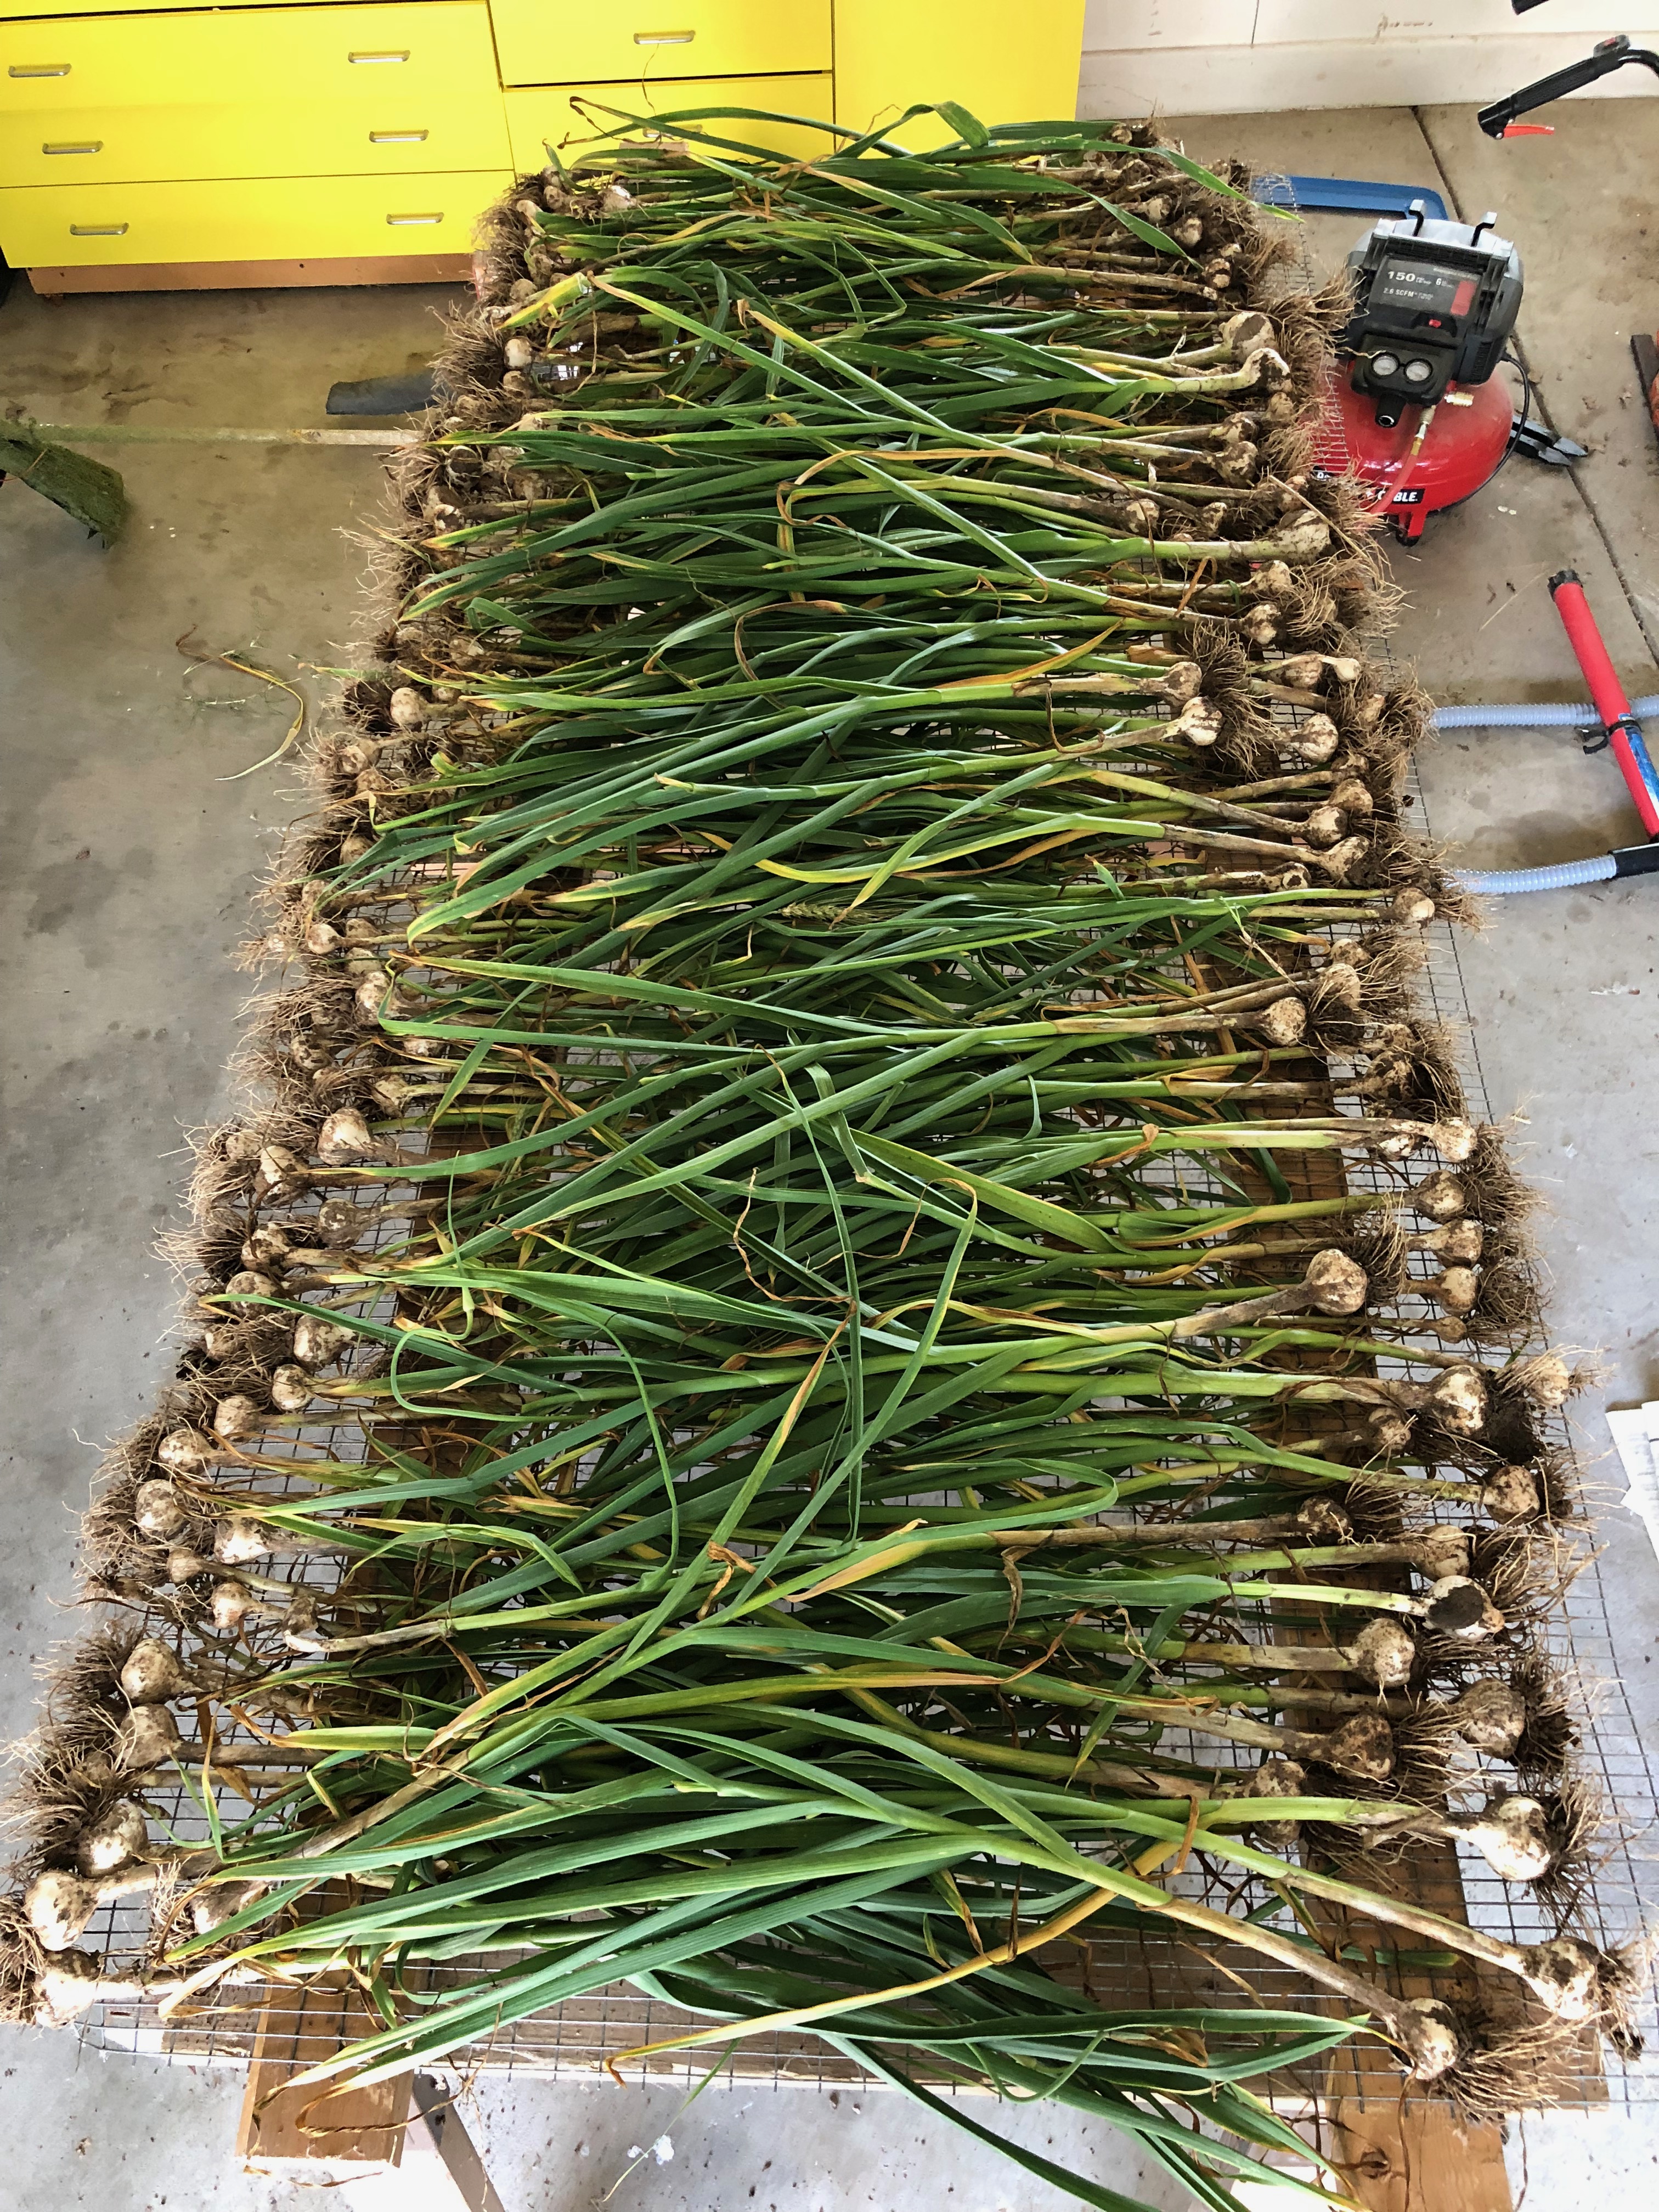
The scapes are just the introduction to the garlic story as the patch took center stage one day last week at harvest time and gave me fits as the bulbs were reluctant to give up their rooted bulb base from their raised beds. I nearly had to dig each one out individually rather than merely tug and pull them as I had successfully done in the past.
I attribute this reluctance to the wet soil conditions and the fact that if I tugged too hard to try to get them to release, the neck of the plant (where the stalk and the bulb meet) was too soggy to endure the tension and would break off, leaving the bulb in the ground and my hand full of the lonely, unusable stalk. So, hours later, the harvest was complete with approximately 25 pounds of hard neck garlics to share with our customers and keep for the winter.

The large trays of bulbs were then set out on our screens to dry for a week or so before we clean them up and sell to our customers. We love the overwhelming smell of fresh garlic when entering this space these days!
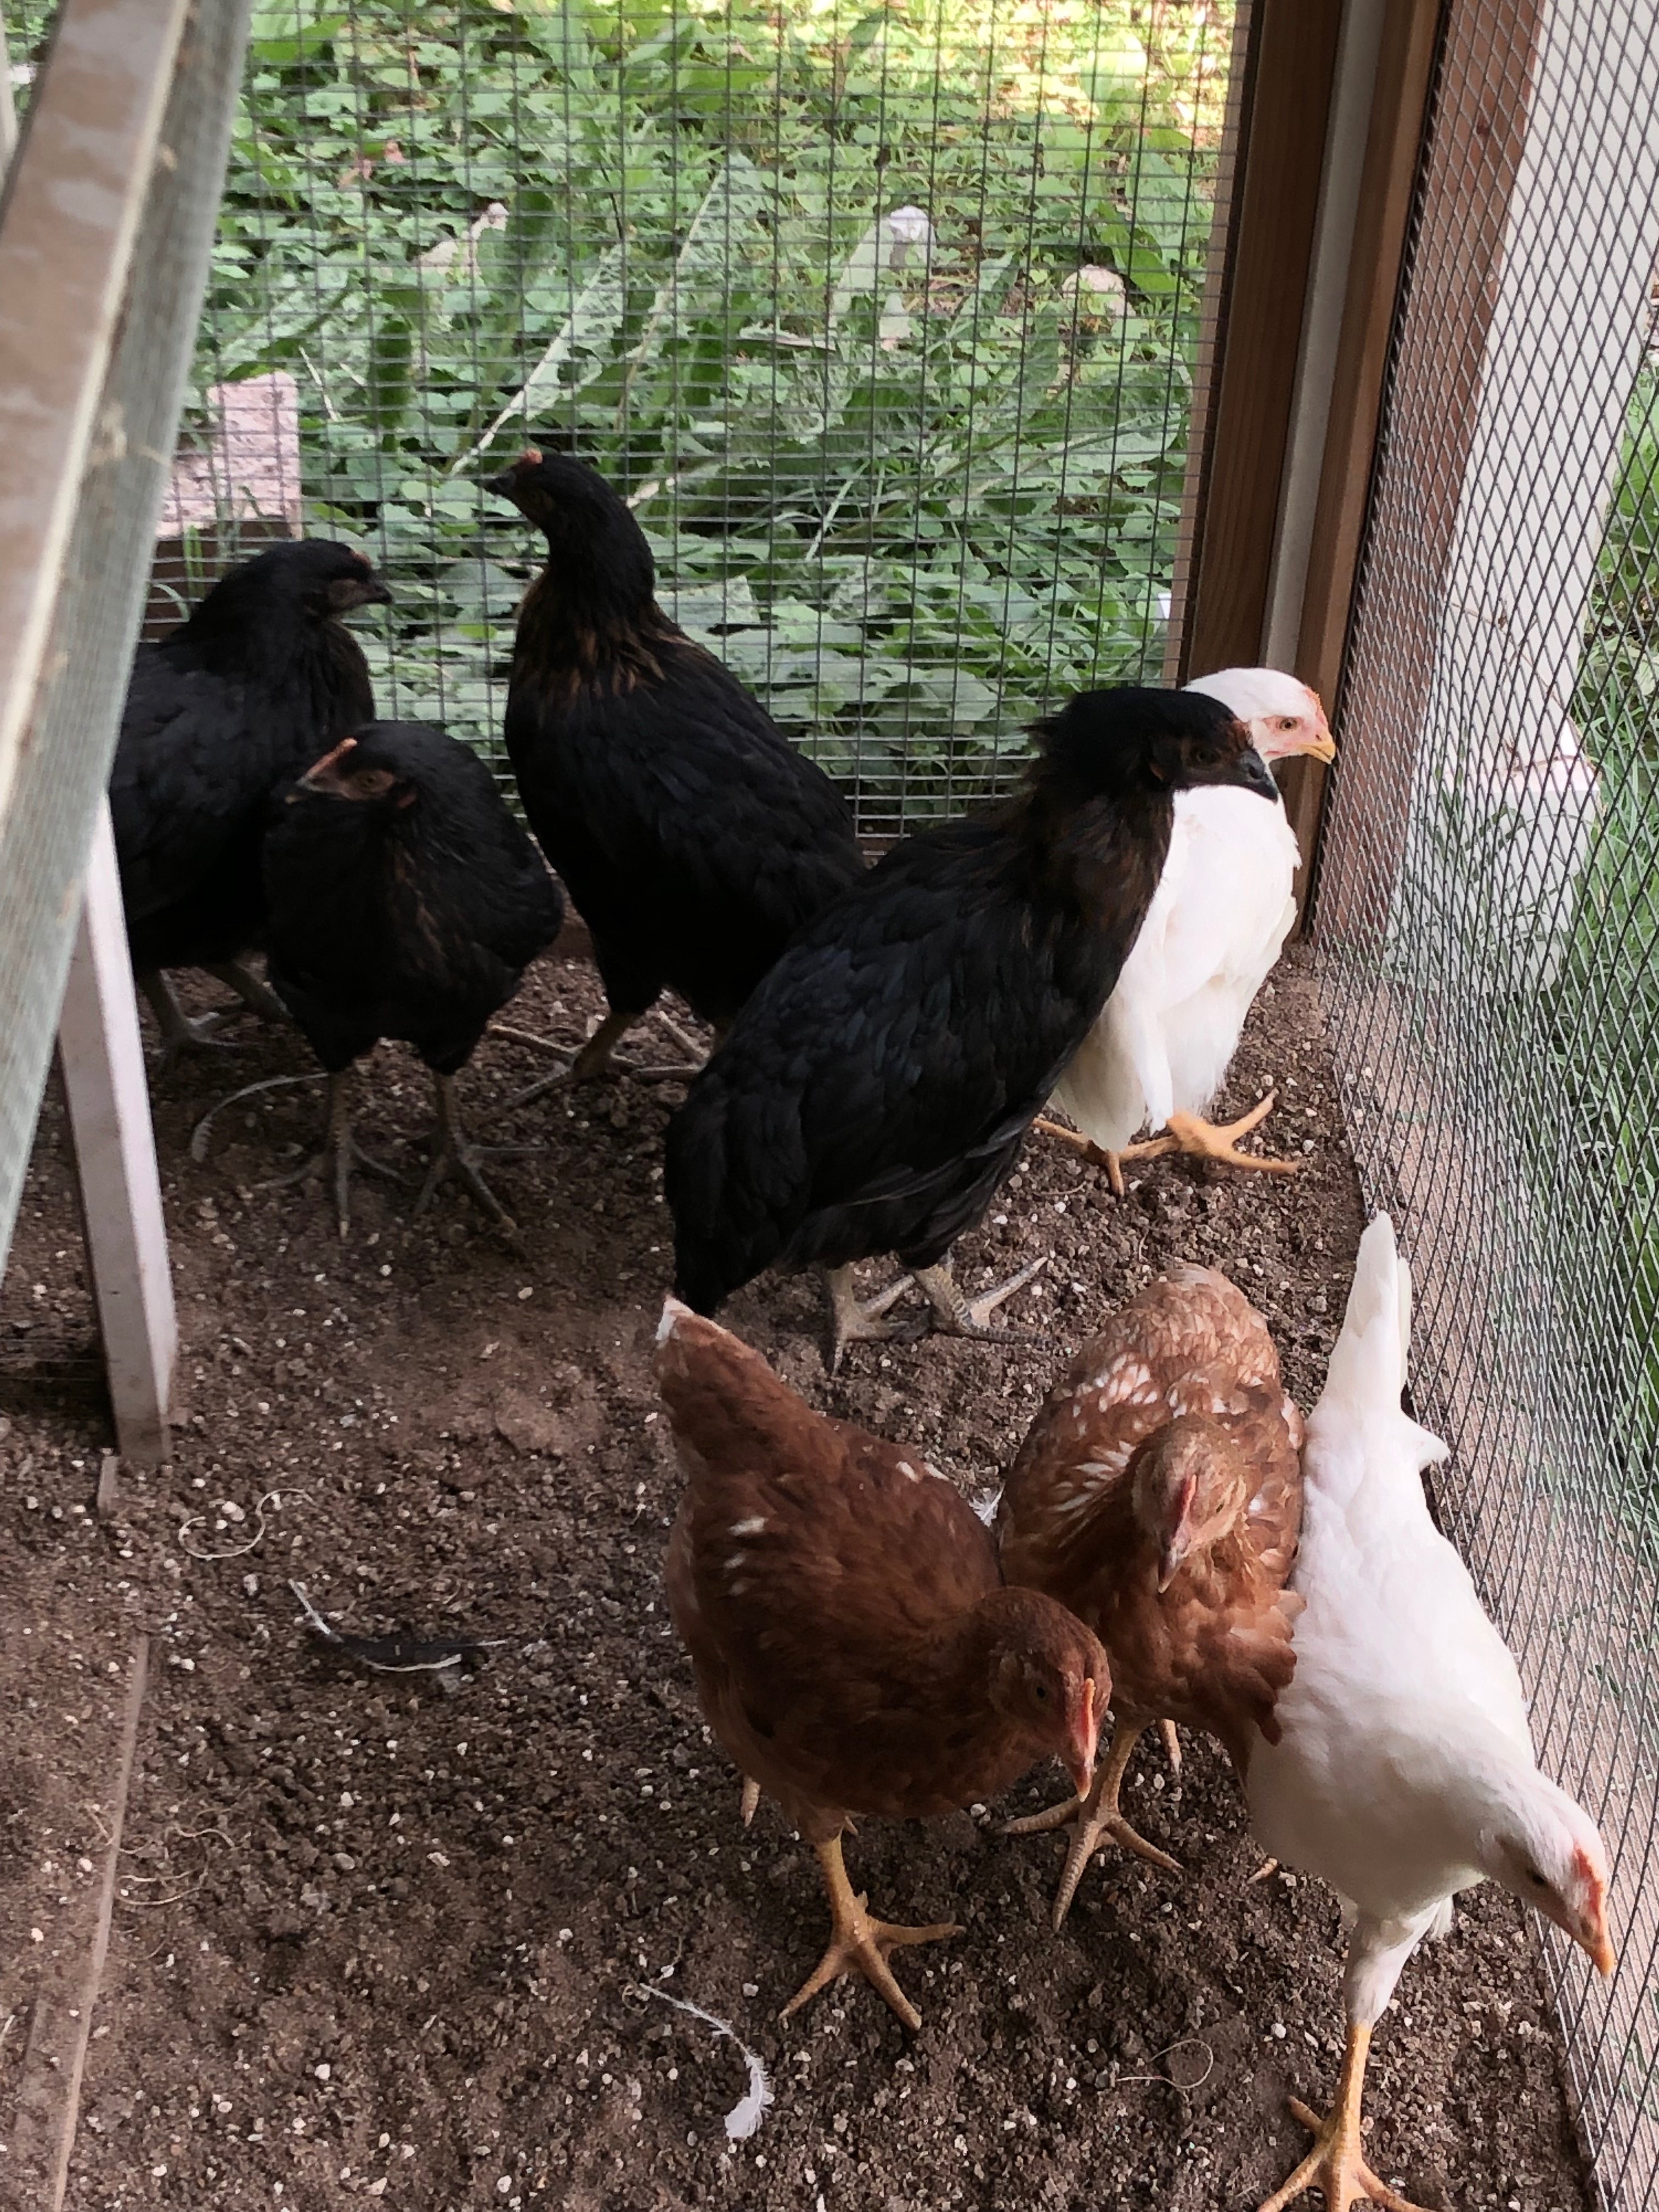
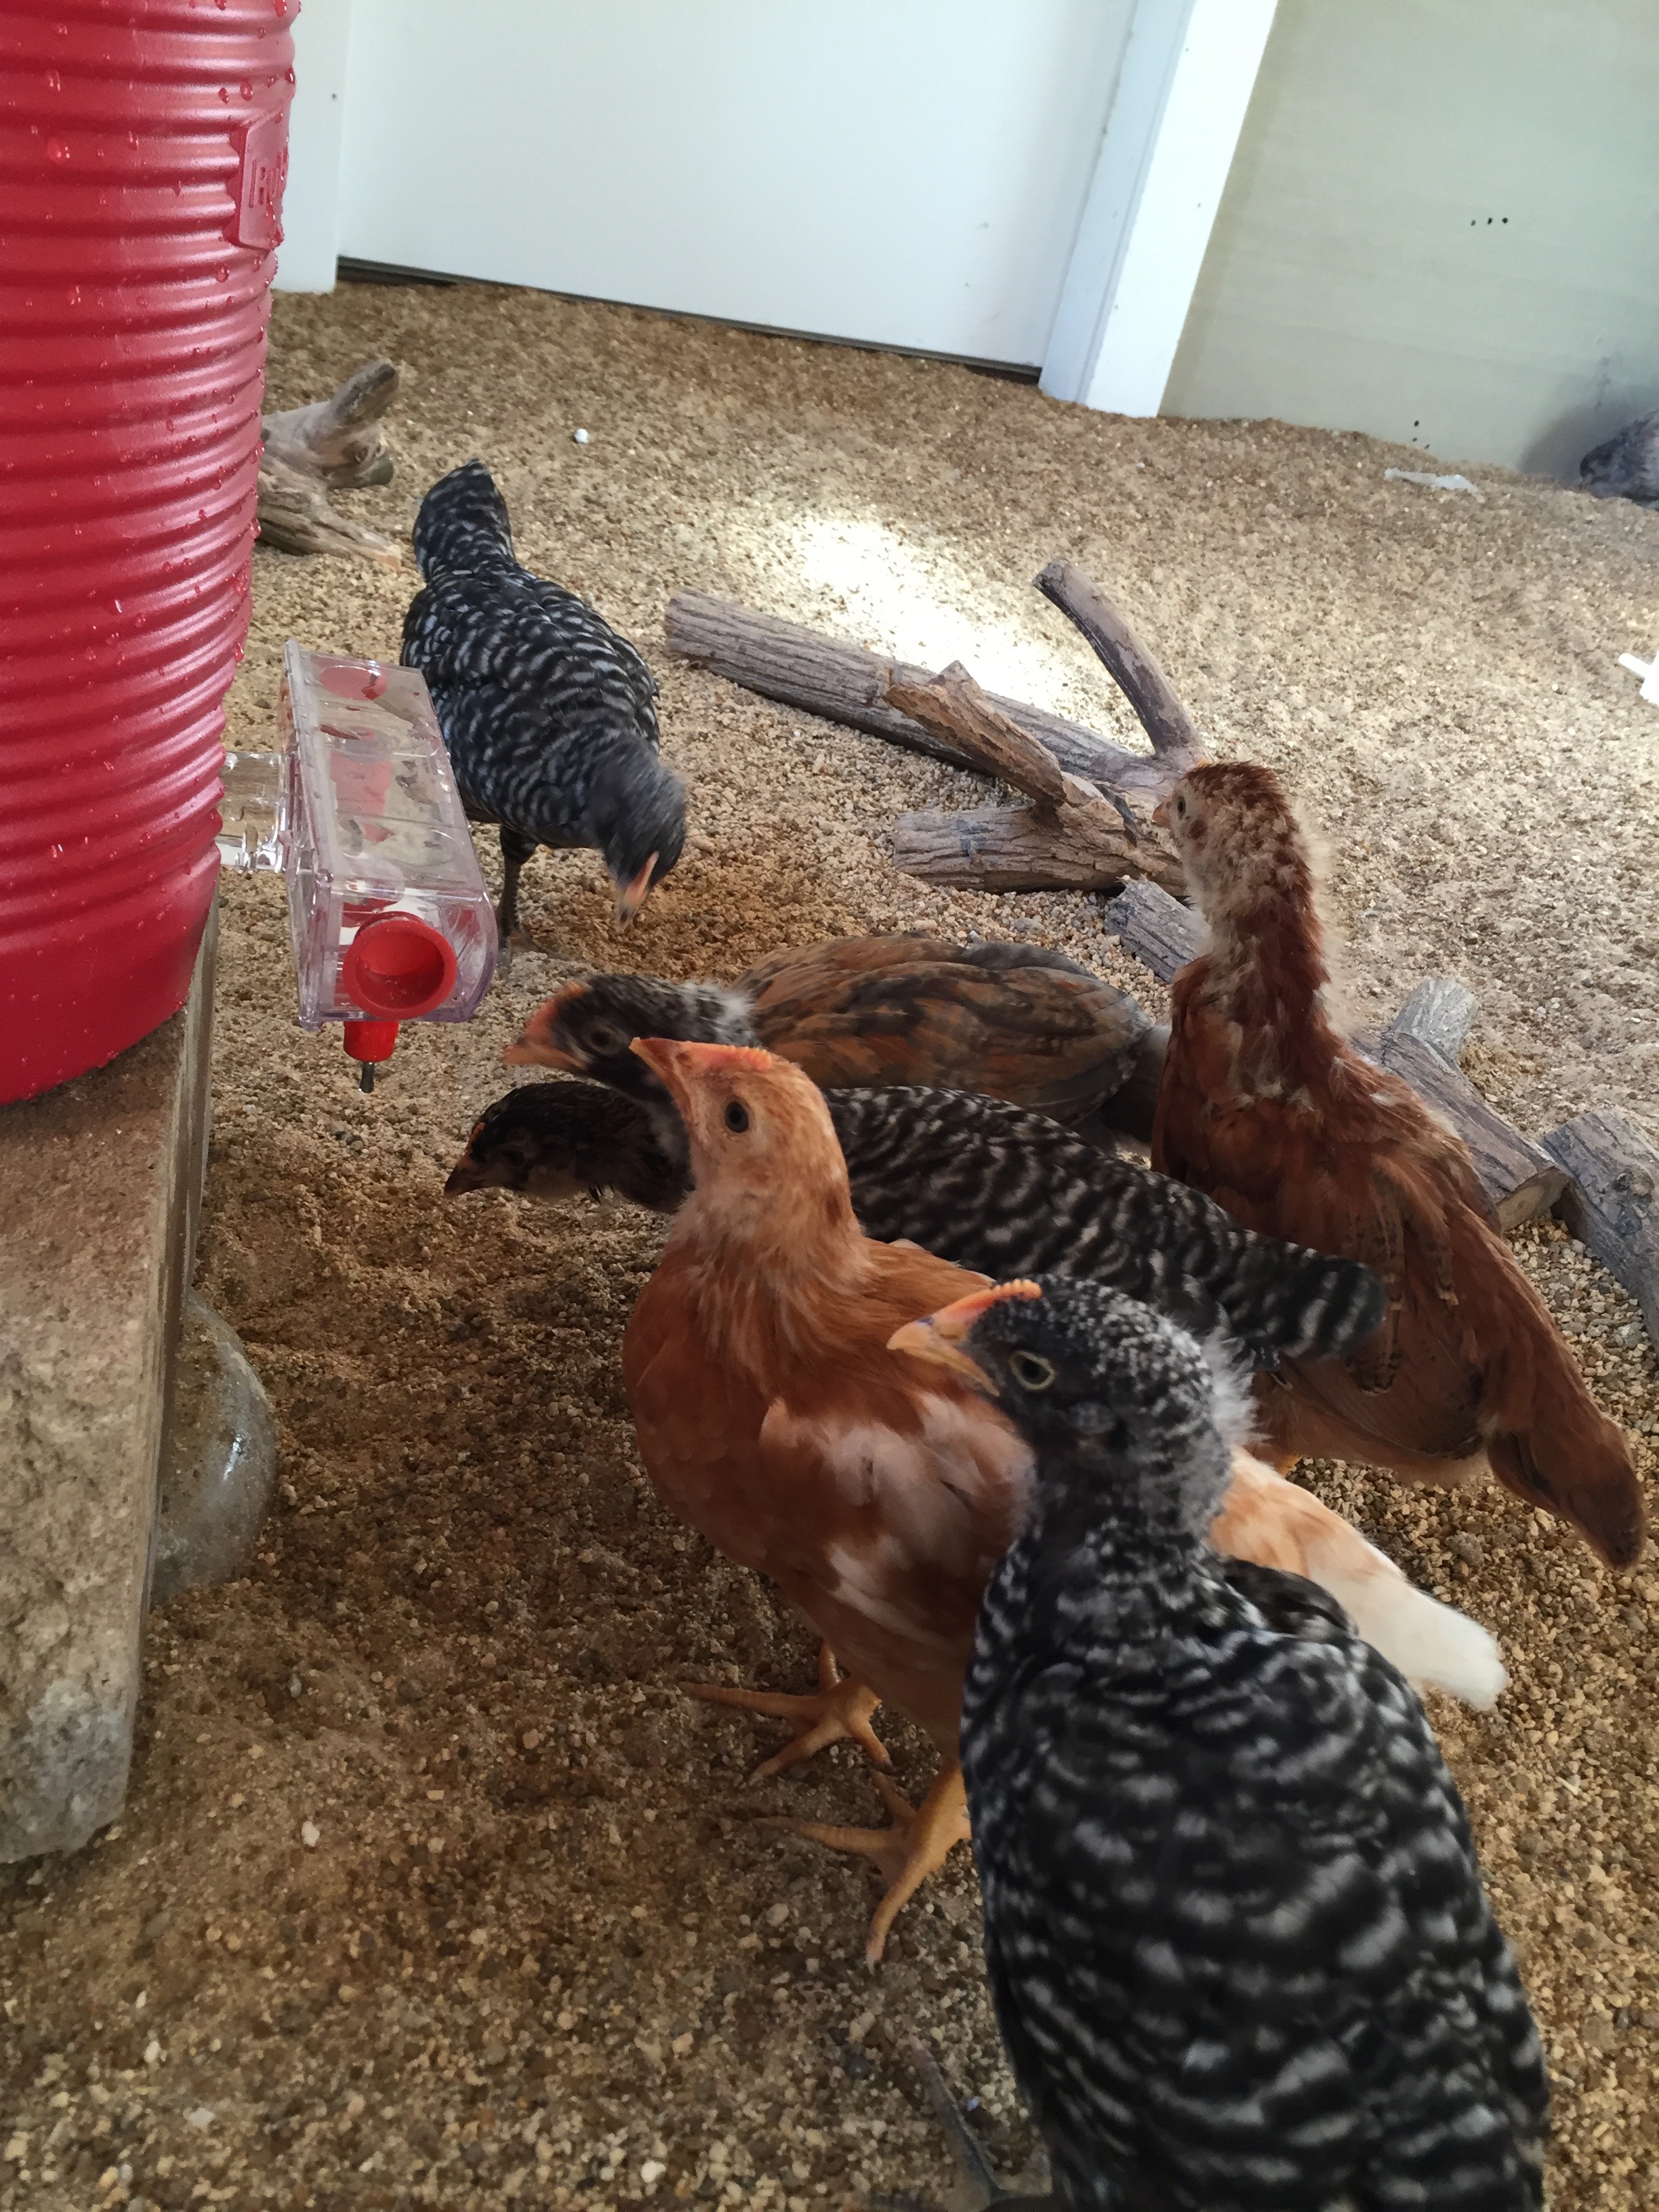
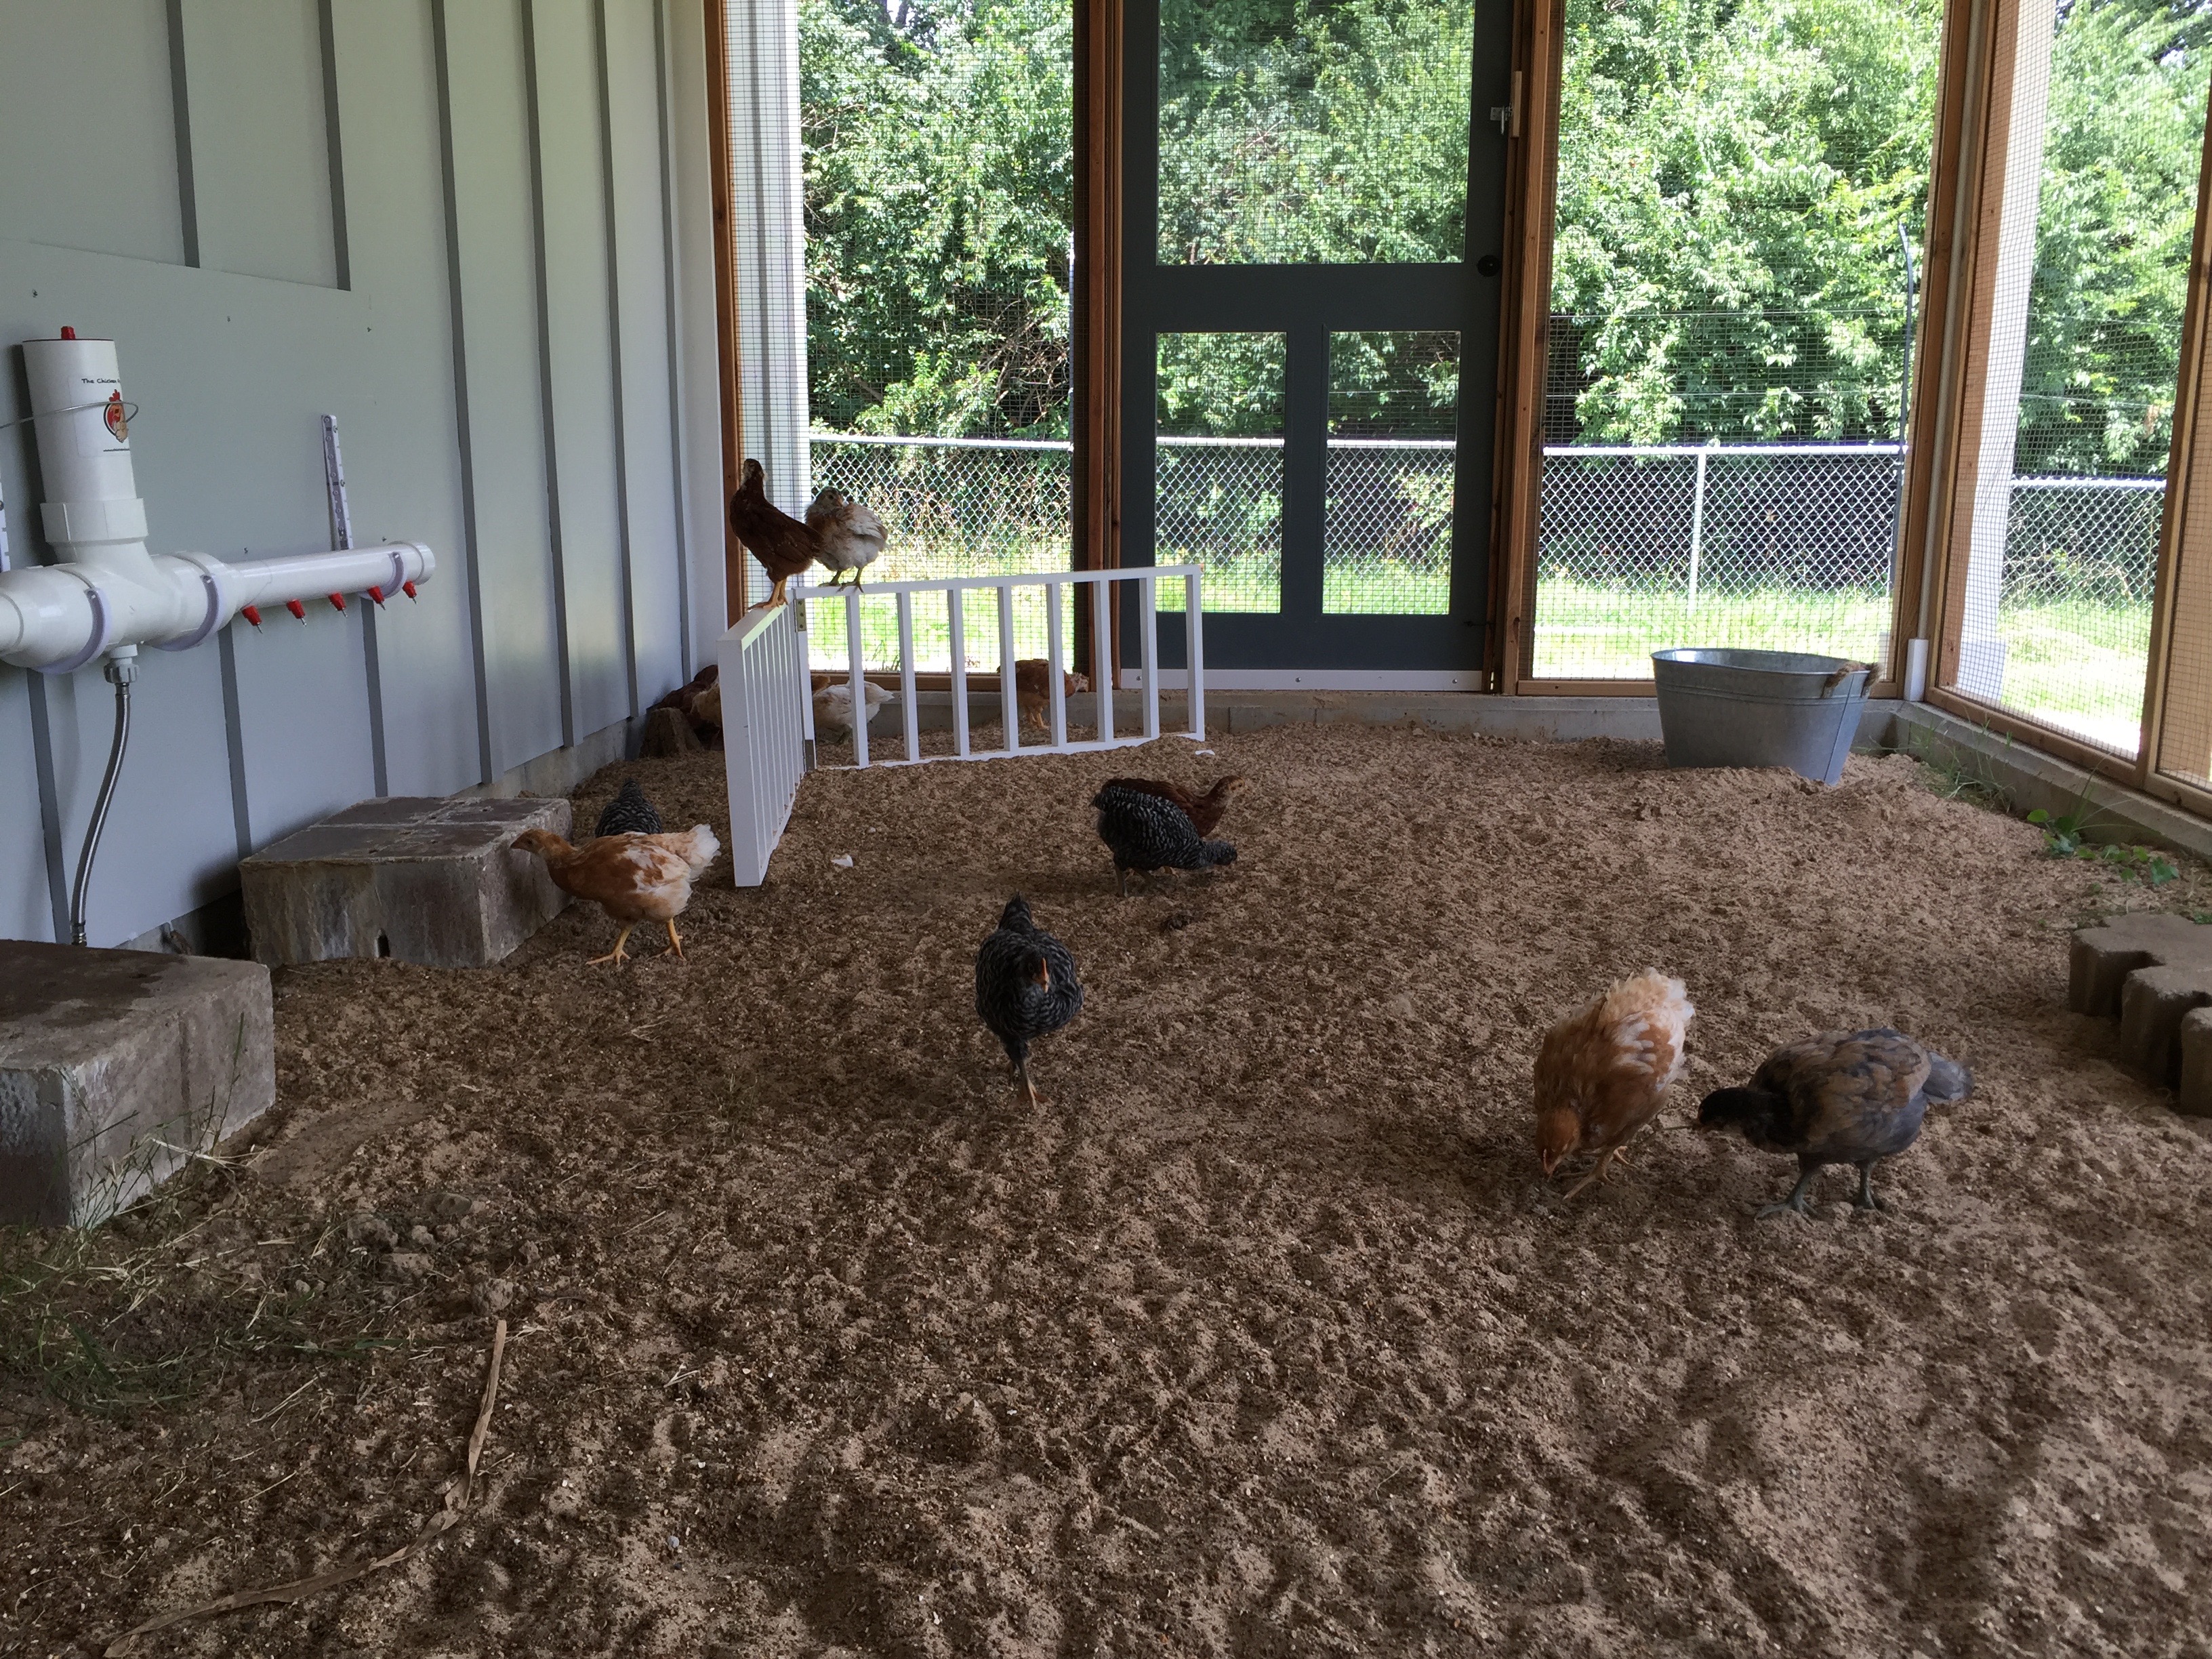
Have you been wondering about the baby chicks? They are now pretty much integrated into the preexisting flock of birds but have been shy to join the gang as a whole. They are nearing their 3 month old birthday which means that they are not far from laying their first eggs but they continue to be shy in the group as a whole. We watch them daily as they develop into part of the flock and find their antics to be another layer of the chicken life at the farm.
Is it finally time to tell everyone about my dear bees and the expansion of the apiary? You wouldn’t have time to read all my stories this year as it has been quite a complicated season so far.
Our apiary has moaned and groaned its way through the wet, wet, wet spring where the bees were confined to their hives and chose to work on creating swarm cells, aka new and multiplier queen cells, whereby they wanted to elope and repopulate their colonies. I think I would have to write an entire post about the trials of this behavior and how it affected our apiary this year…and maybe I’ll find the time to do this but I will just give a few hints here of what has happened so far.
I had a surprisingly strong apiary after a long winter. The colony strength demanded to be divided which I did in spades, meaning I took 6 winter colonies and at one point made them into 10-12 depending on the day of the week.
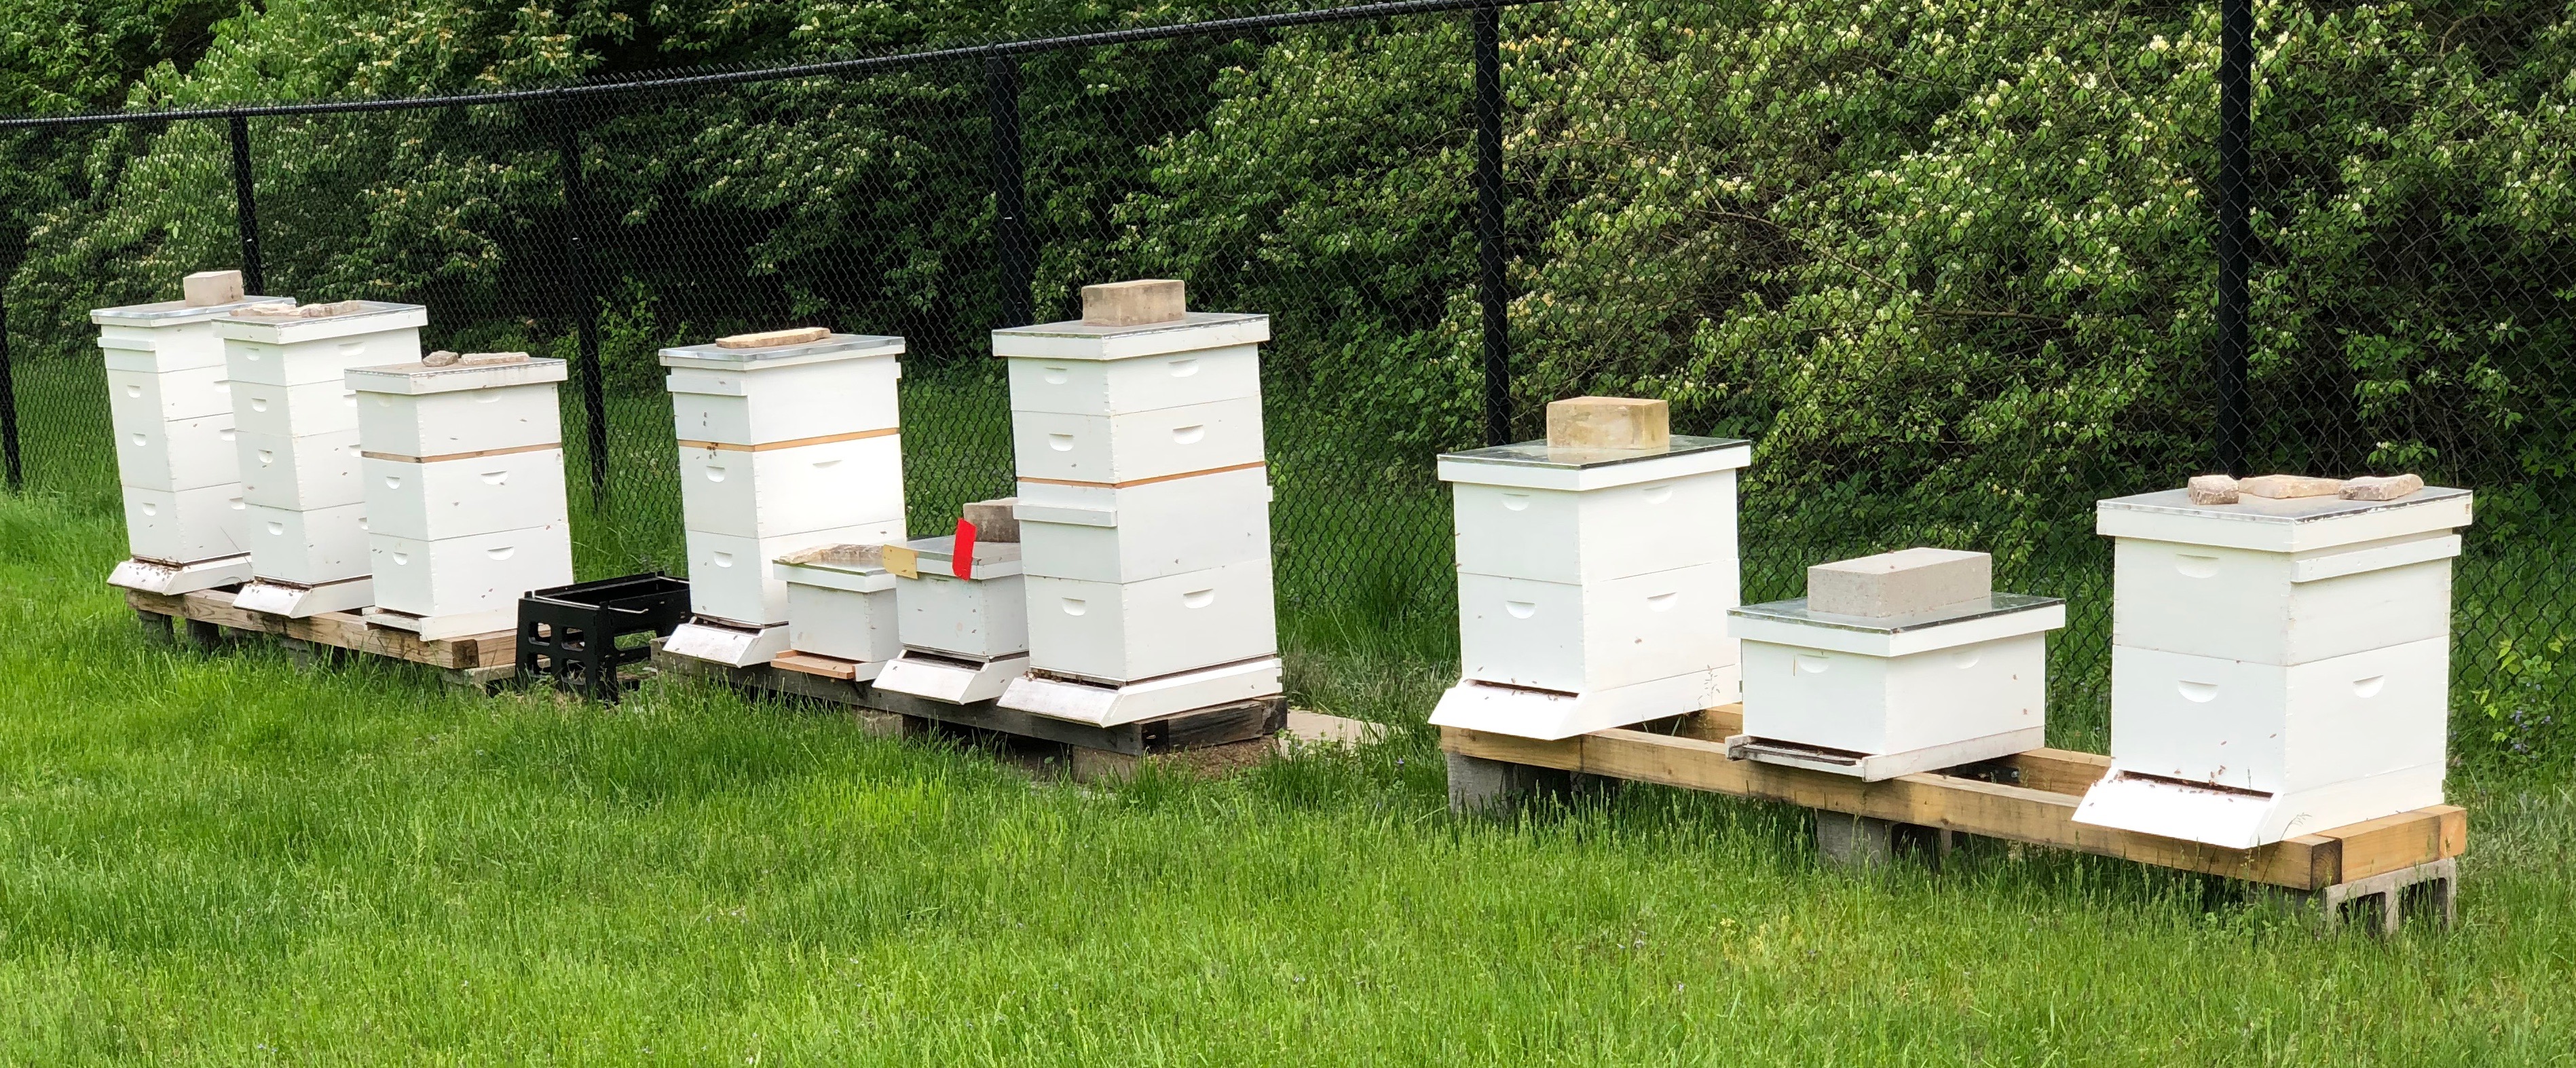
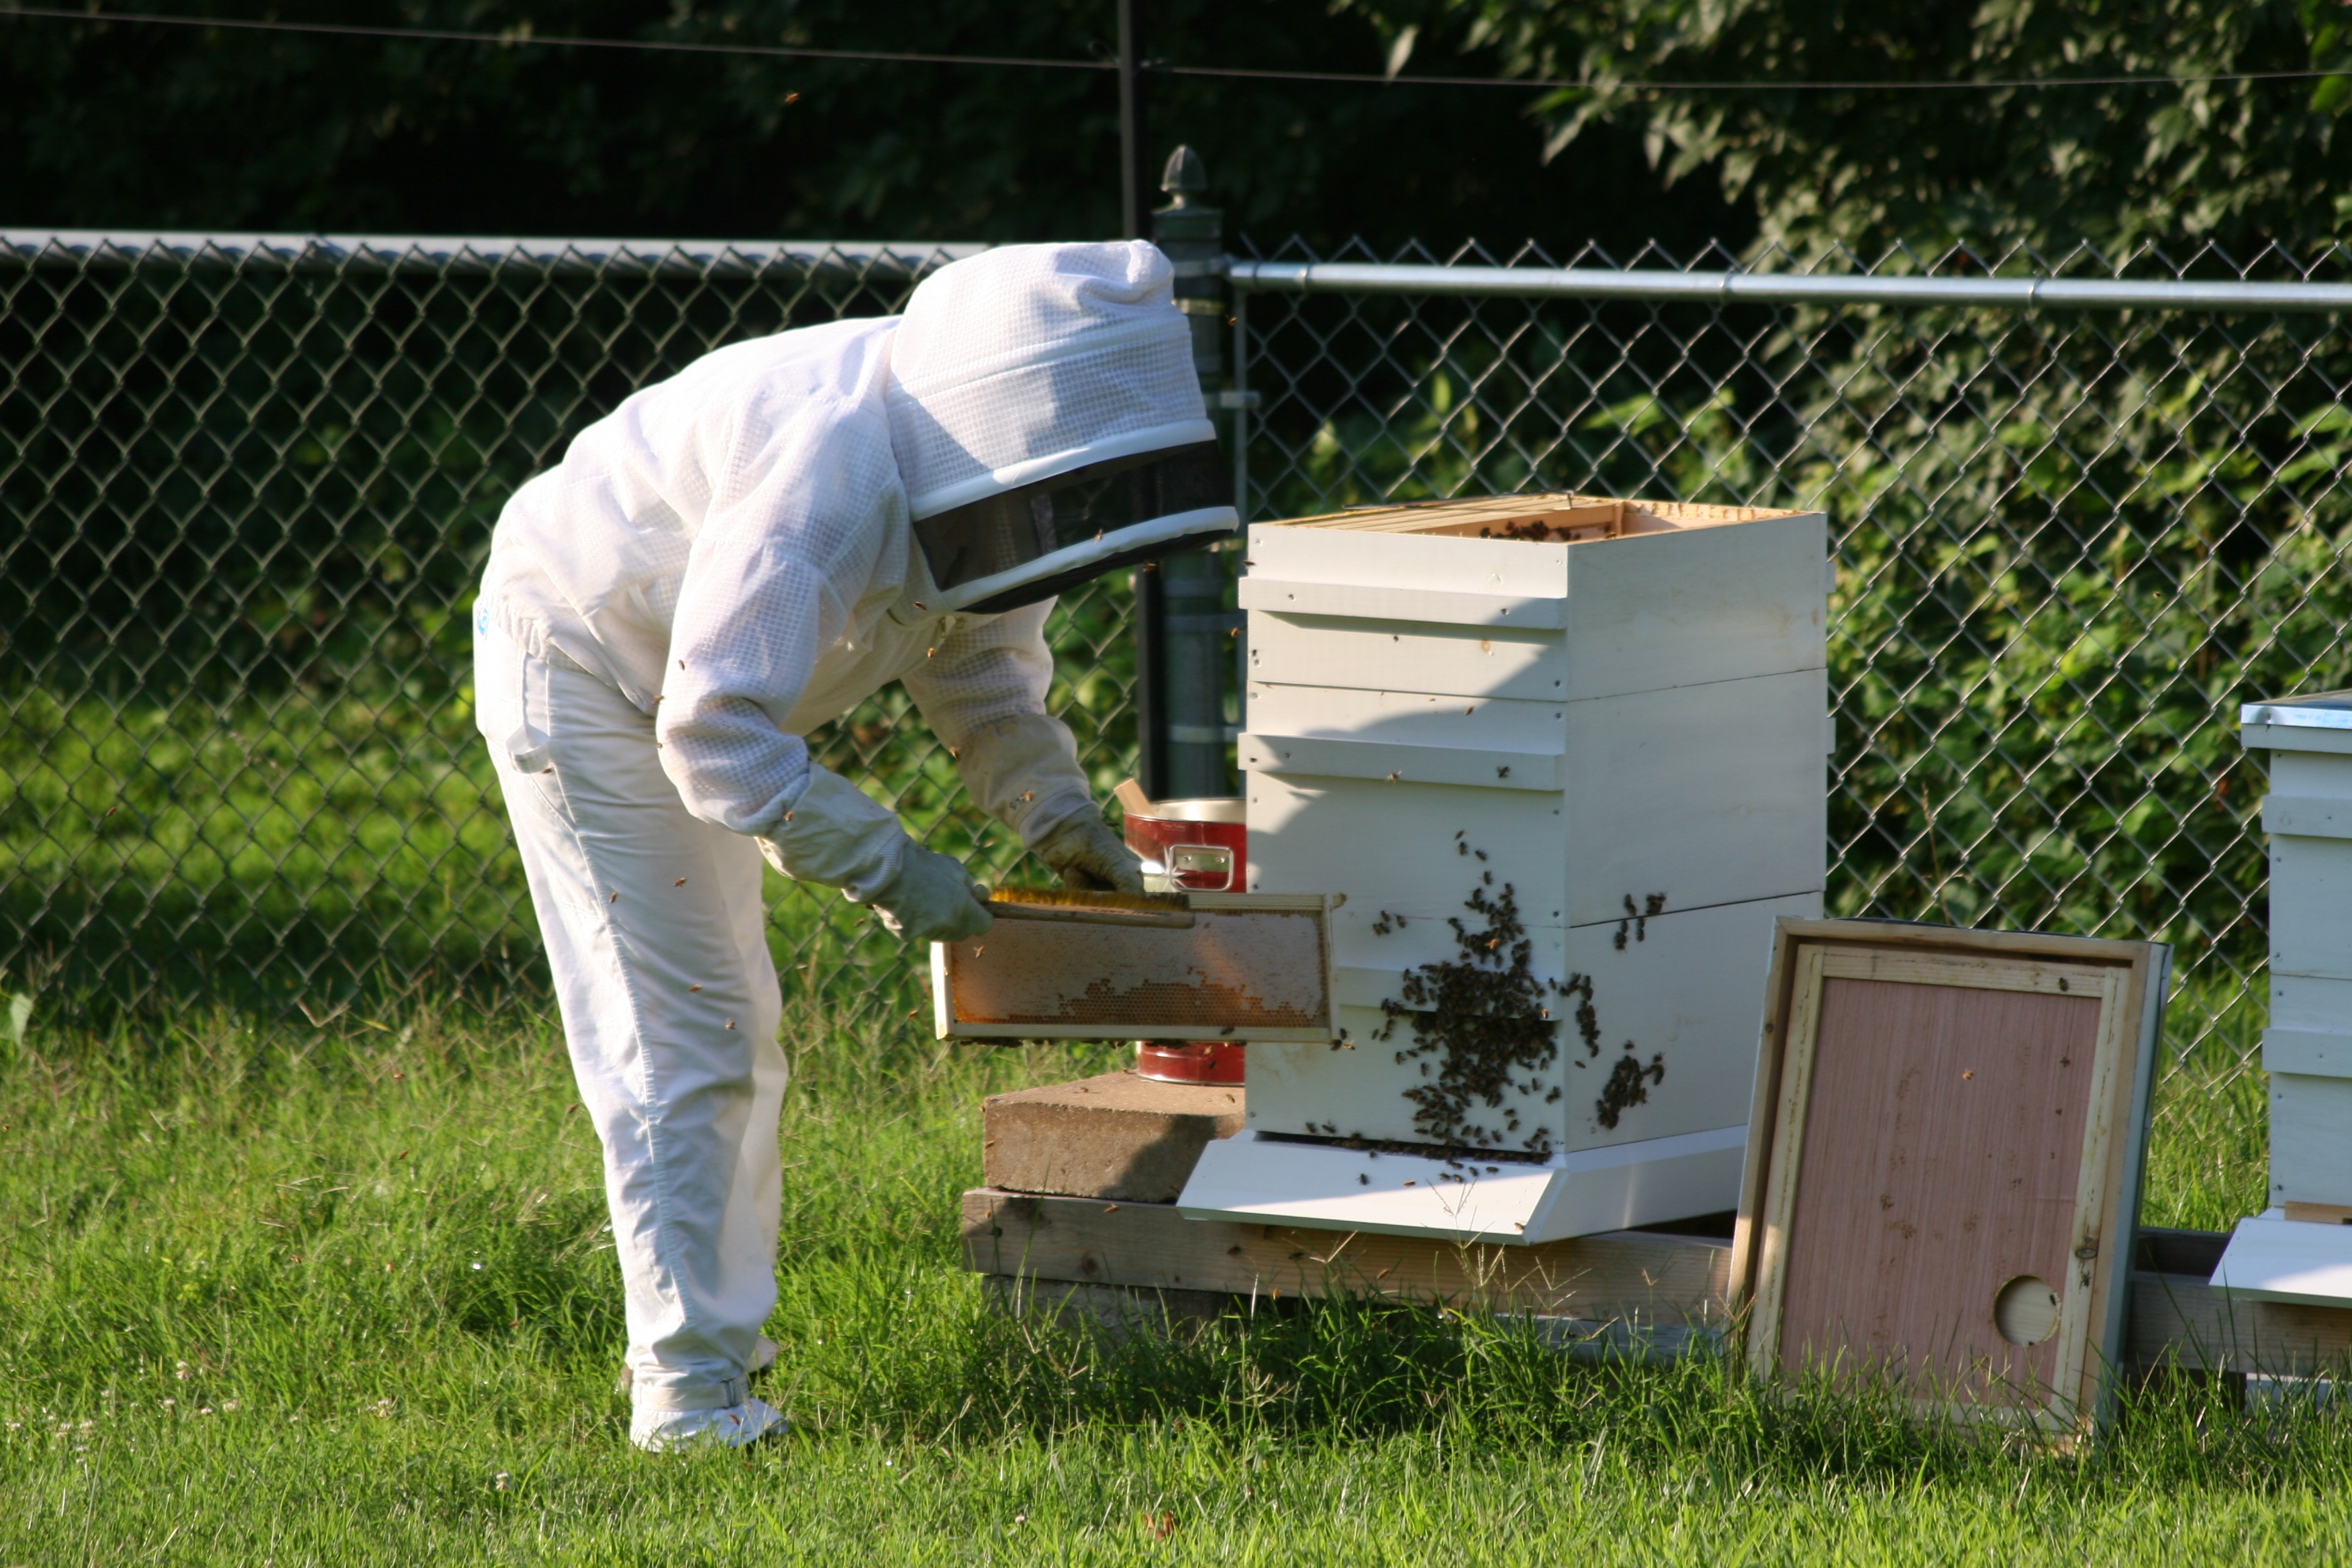
A keen eye will see that the mixture of stages of development in the hives show some that have been given honey supers while others are in their infancy which, IMO, is the most fun way to manage a successful apiary. I had great successes in creating new nucleus colonies this year as well as the surprise of using a new (to me at least) technique of providing an upper or second entrance to the hive for the bees who are foraging to enter just above the deep boxes and efficiently go directly into their honey supers to deposit the necessary goodies more directly.
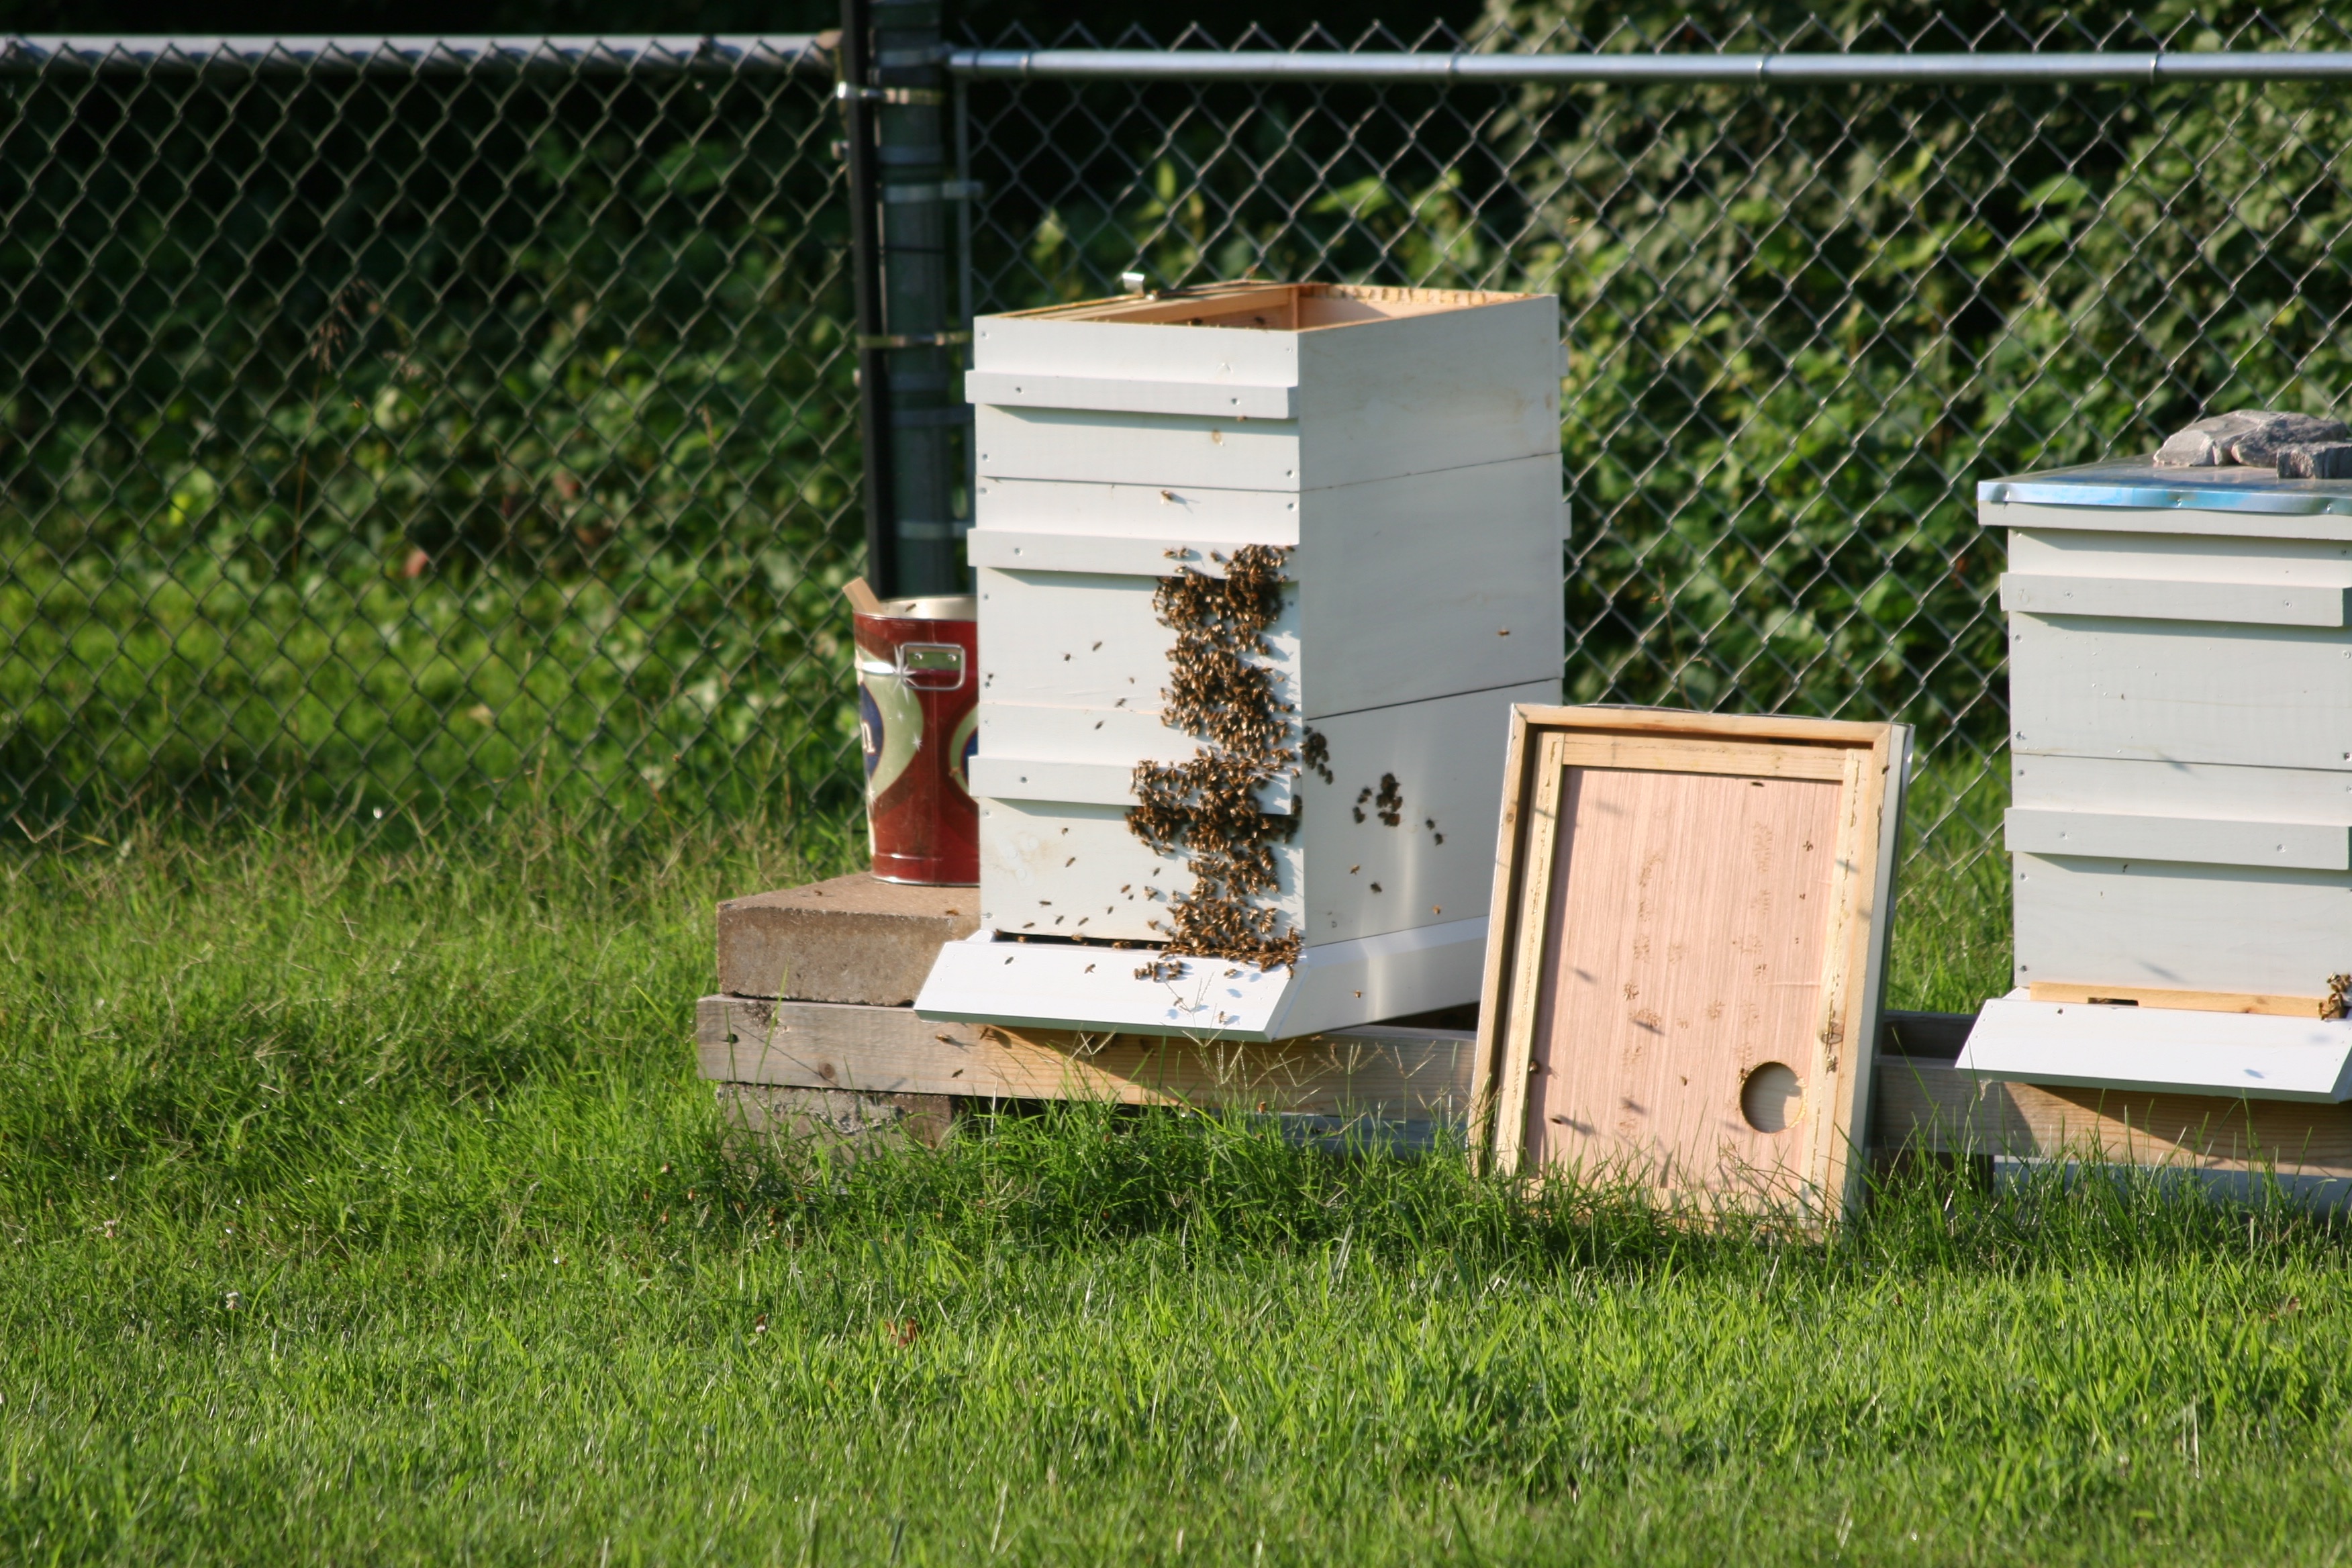
Here is a good example of the upper entrances that I installed on two of our hives. Note the wooden colored mid-hive protruding section on the left and right hives. The two lower deep boxes are where the queen has her nest and creates brood for the colony while the two or three upper honey supers are where the bees store their honey.

This added entrance was new to me this year and I thought it was pretty cool until the circumstances of this crazy, rainy, re-queening season became a reality for me. I had a fledgling, un-mated queen leave from the lower, deep nest boxes and do a mating flight. This is usually good. But, she landed in the upper entrance of her colony and proceeded to lay eggs in the honey supers of that colony. Arg! Such a mess as honey supers are only for honey storage and not for eggs or brood! This took much manipulation on my part to turn around the colony and set it straight.

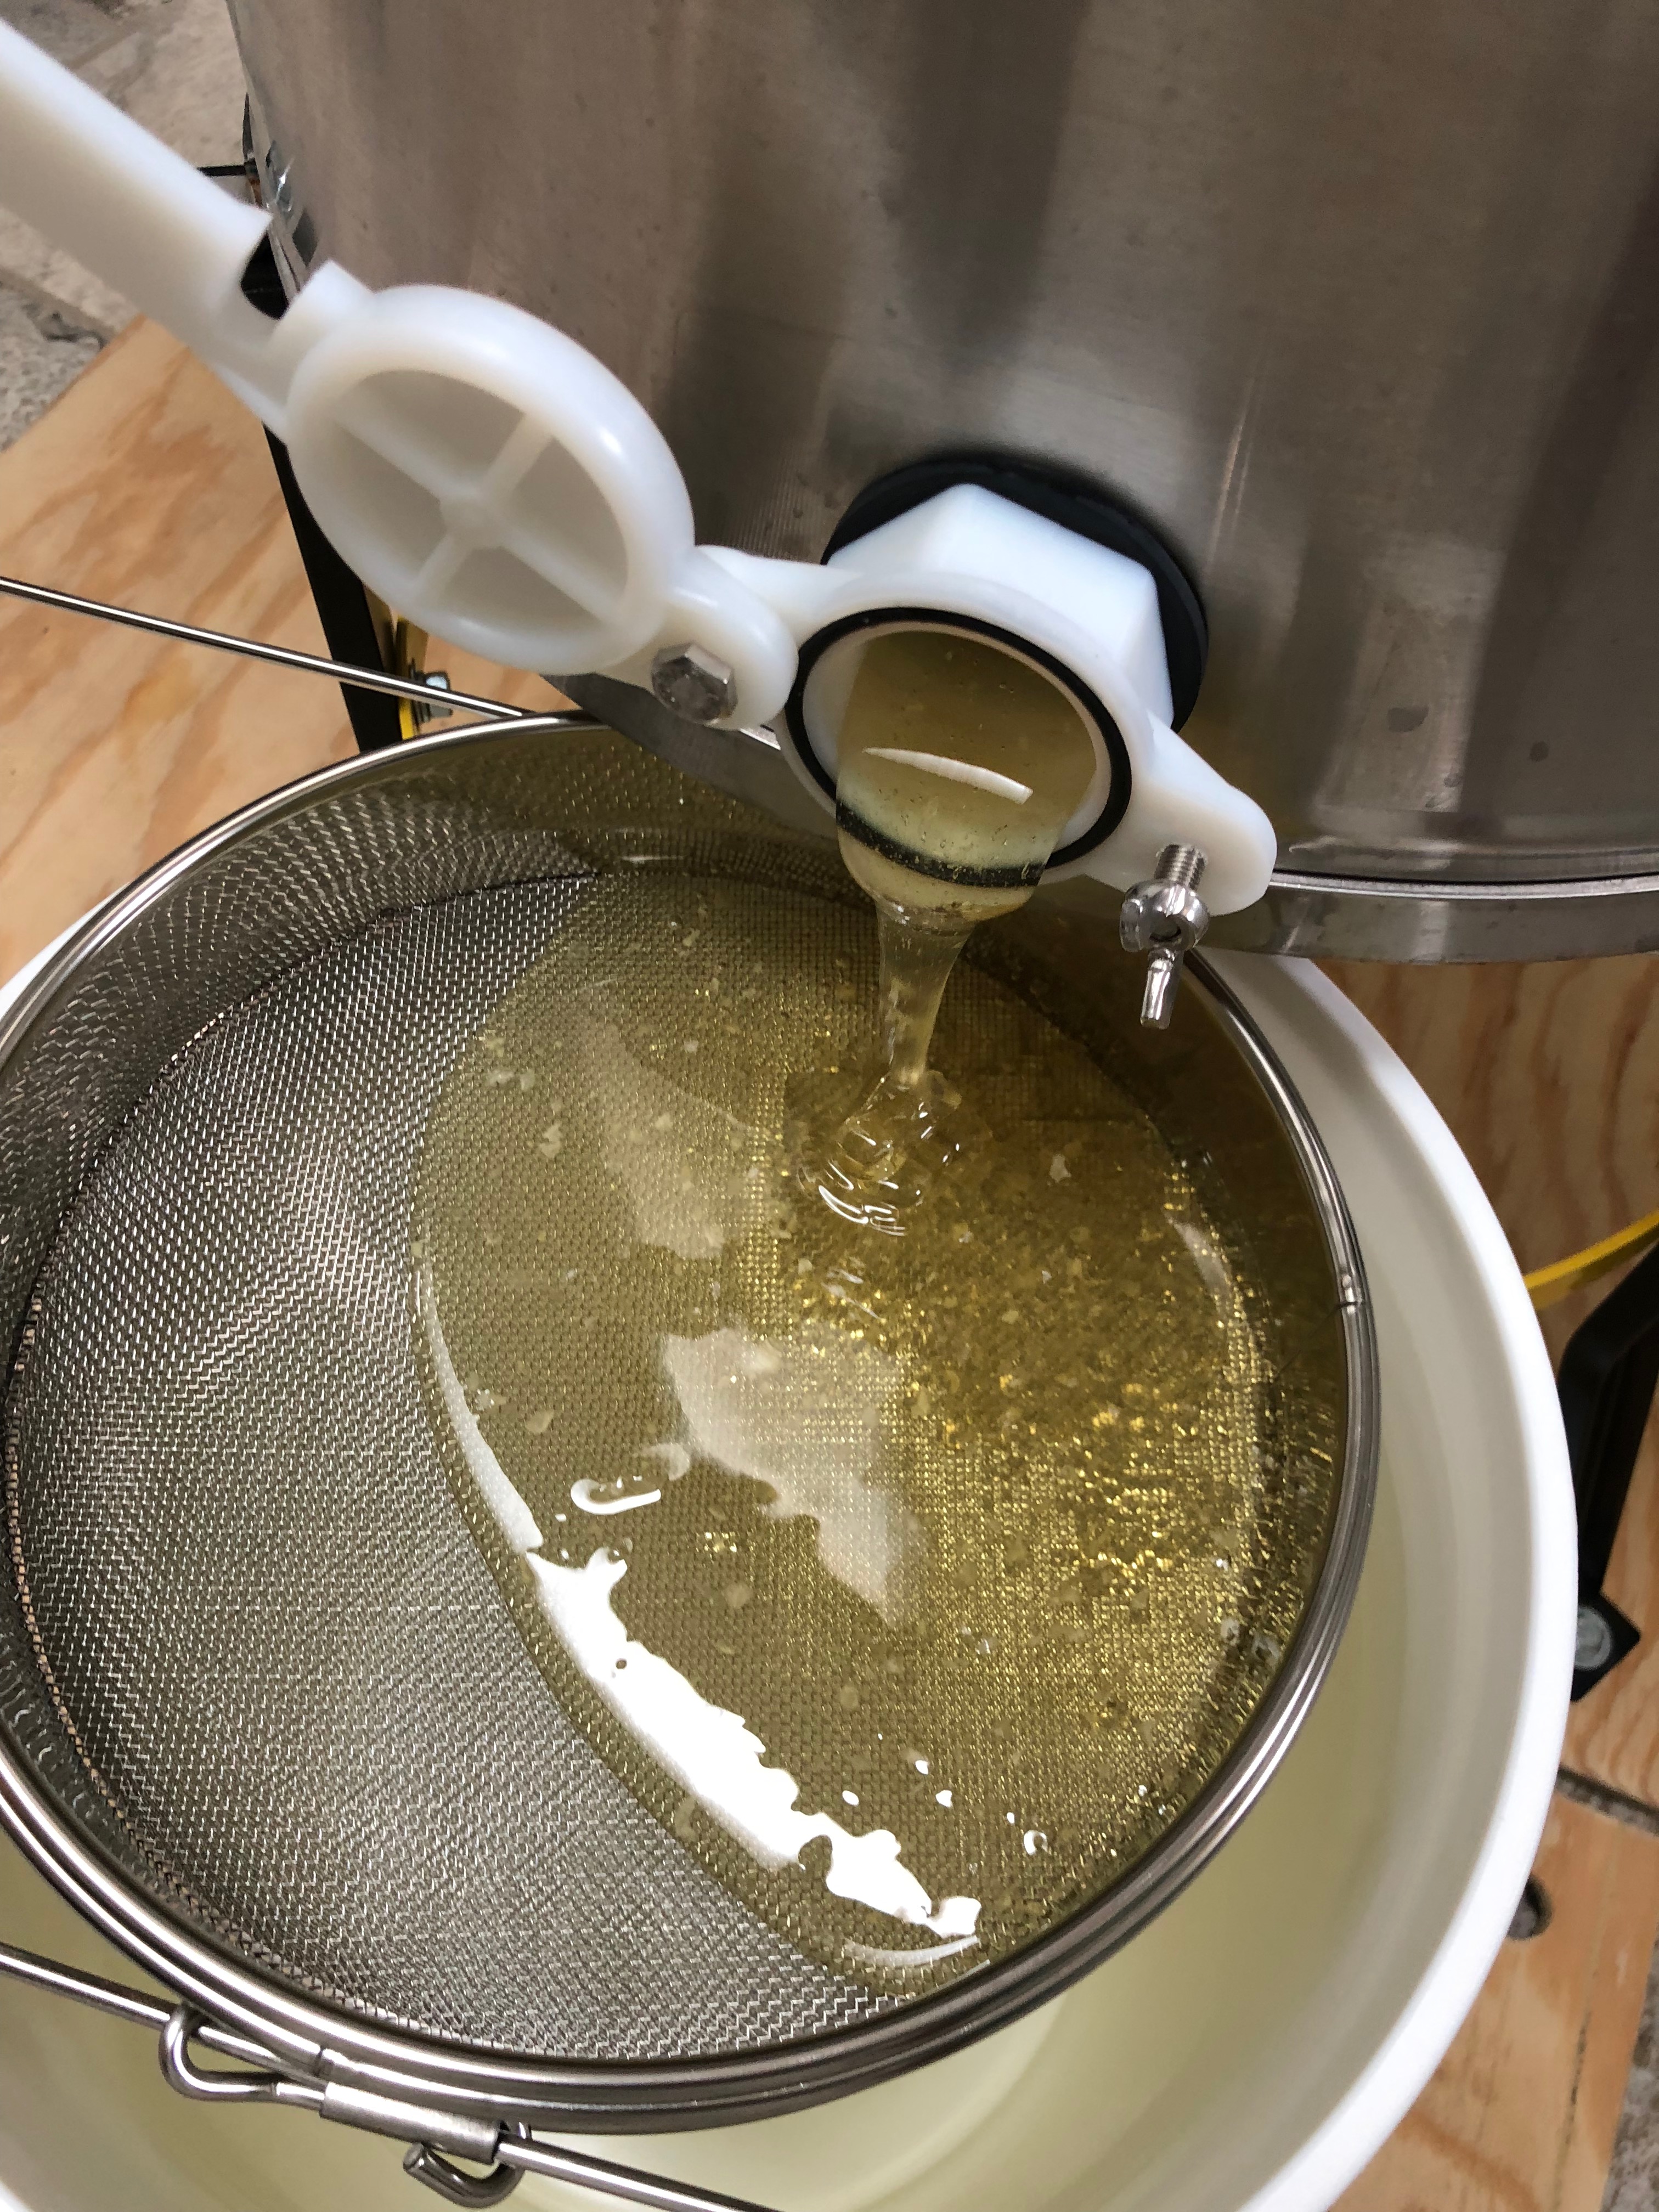
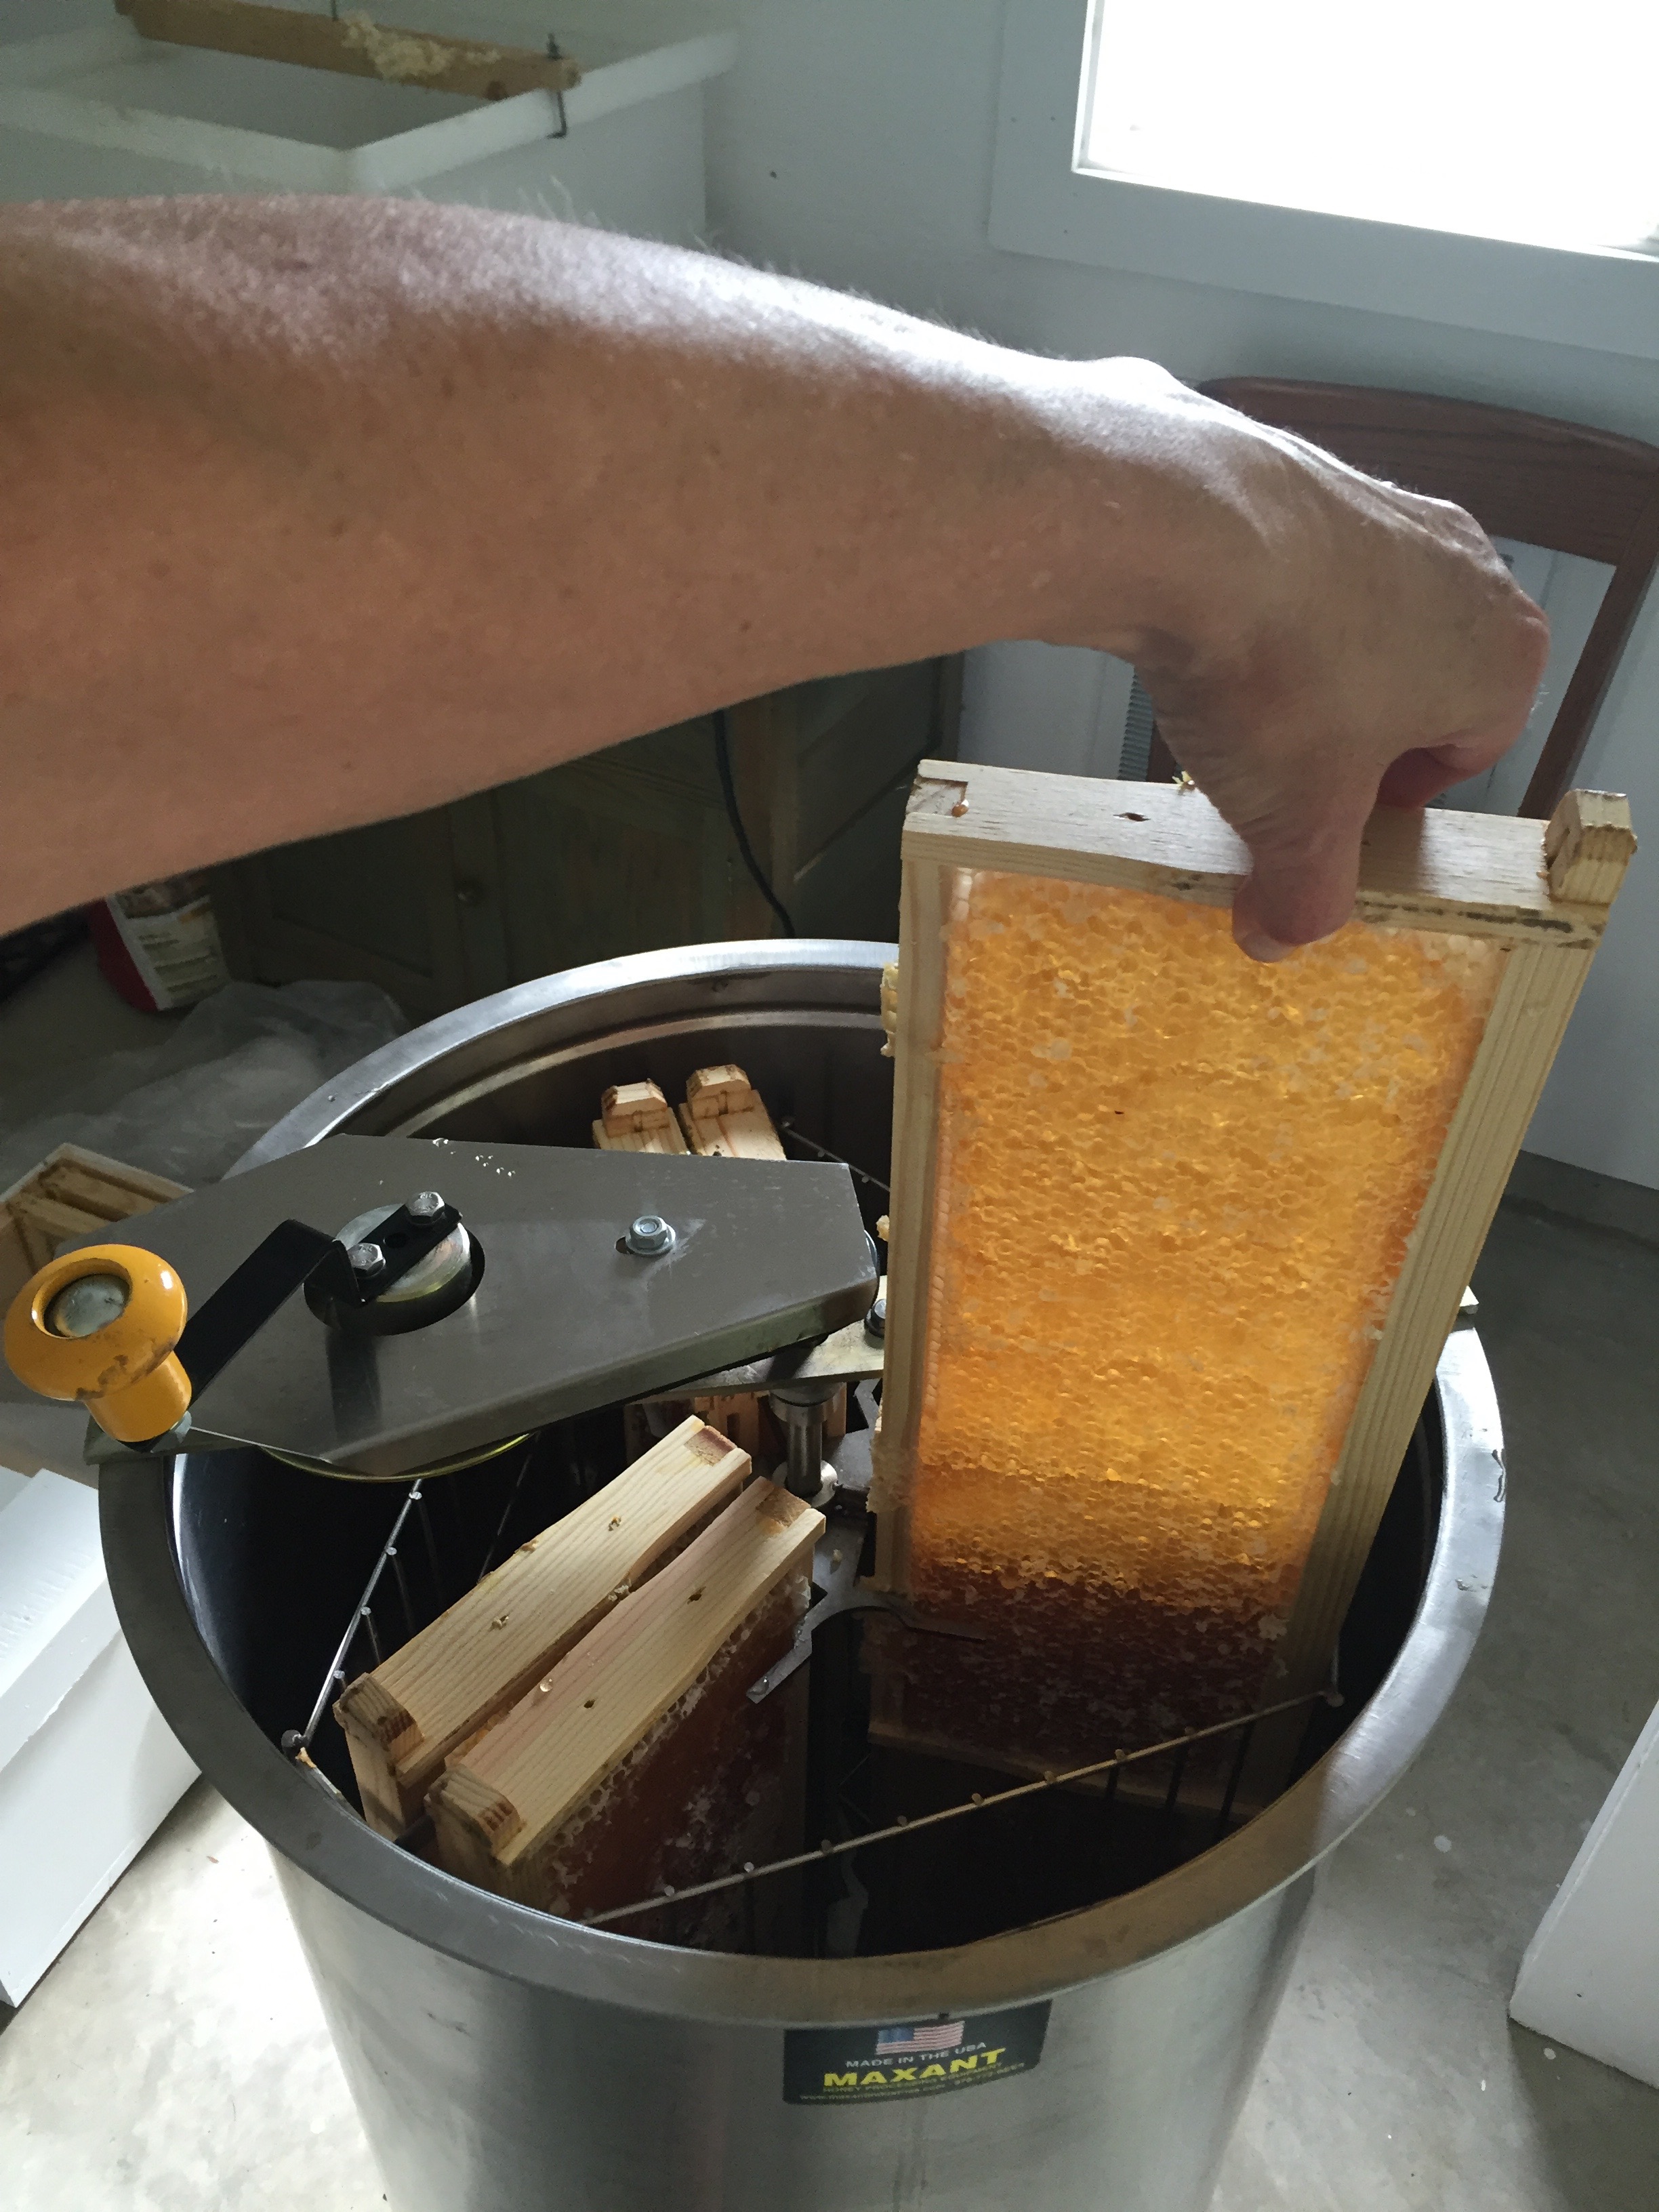
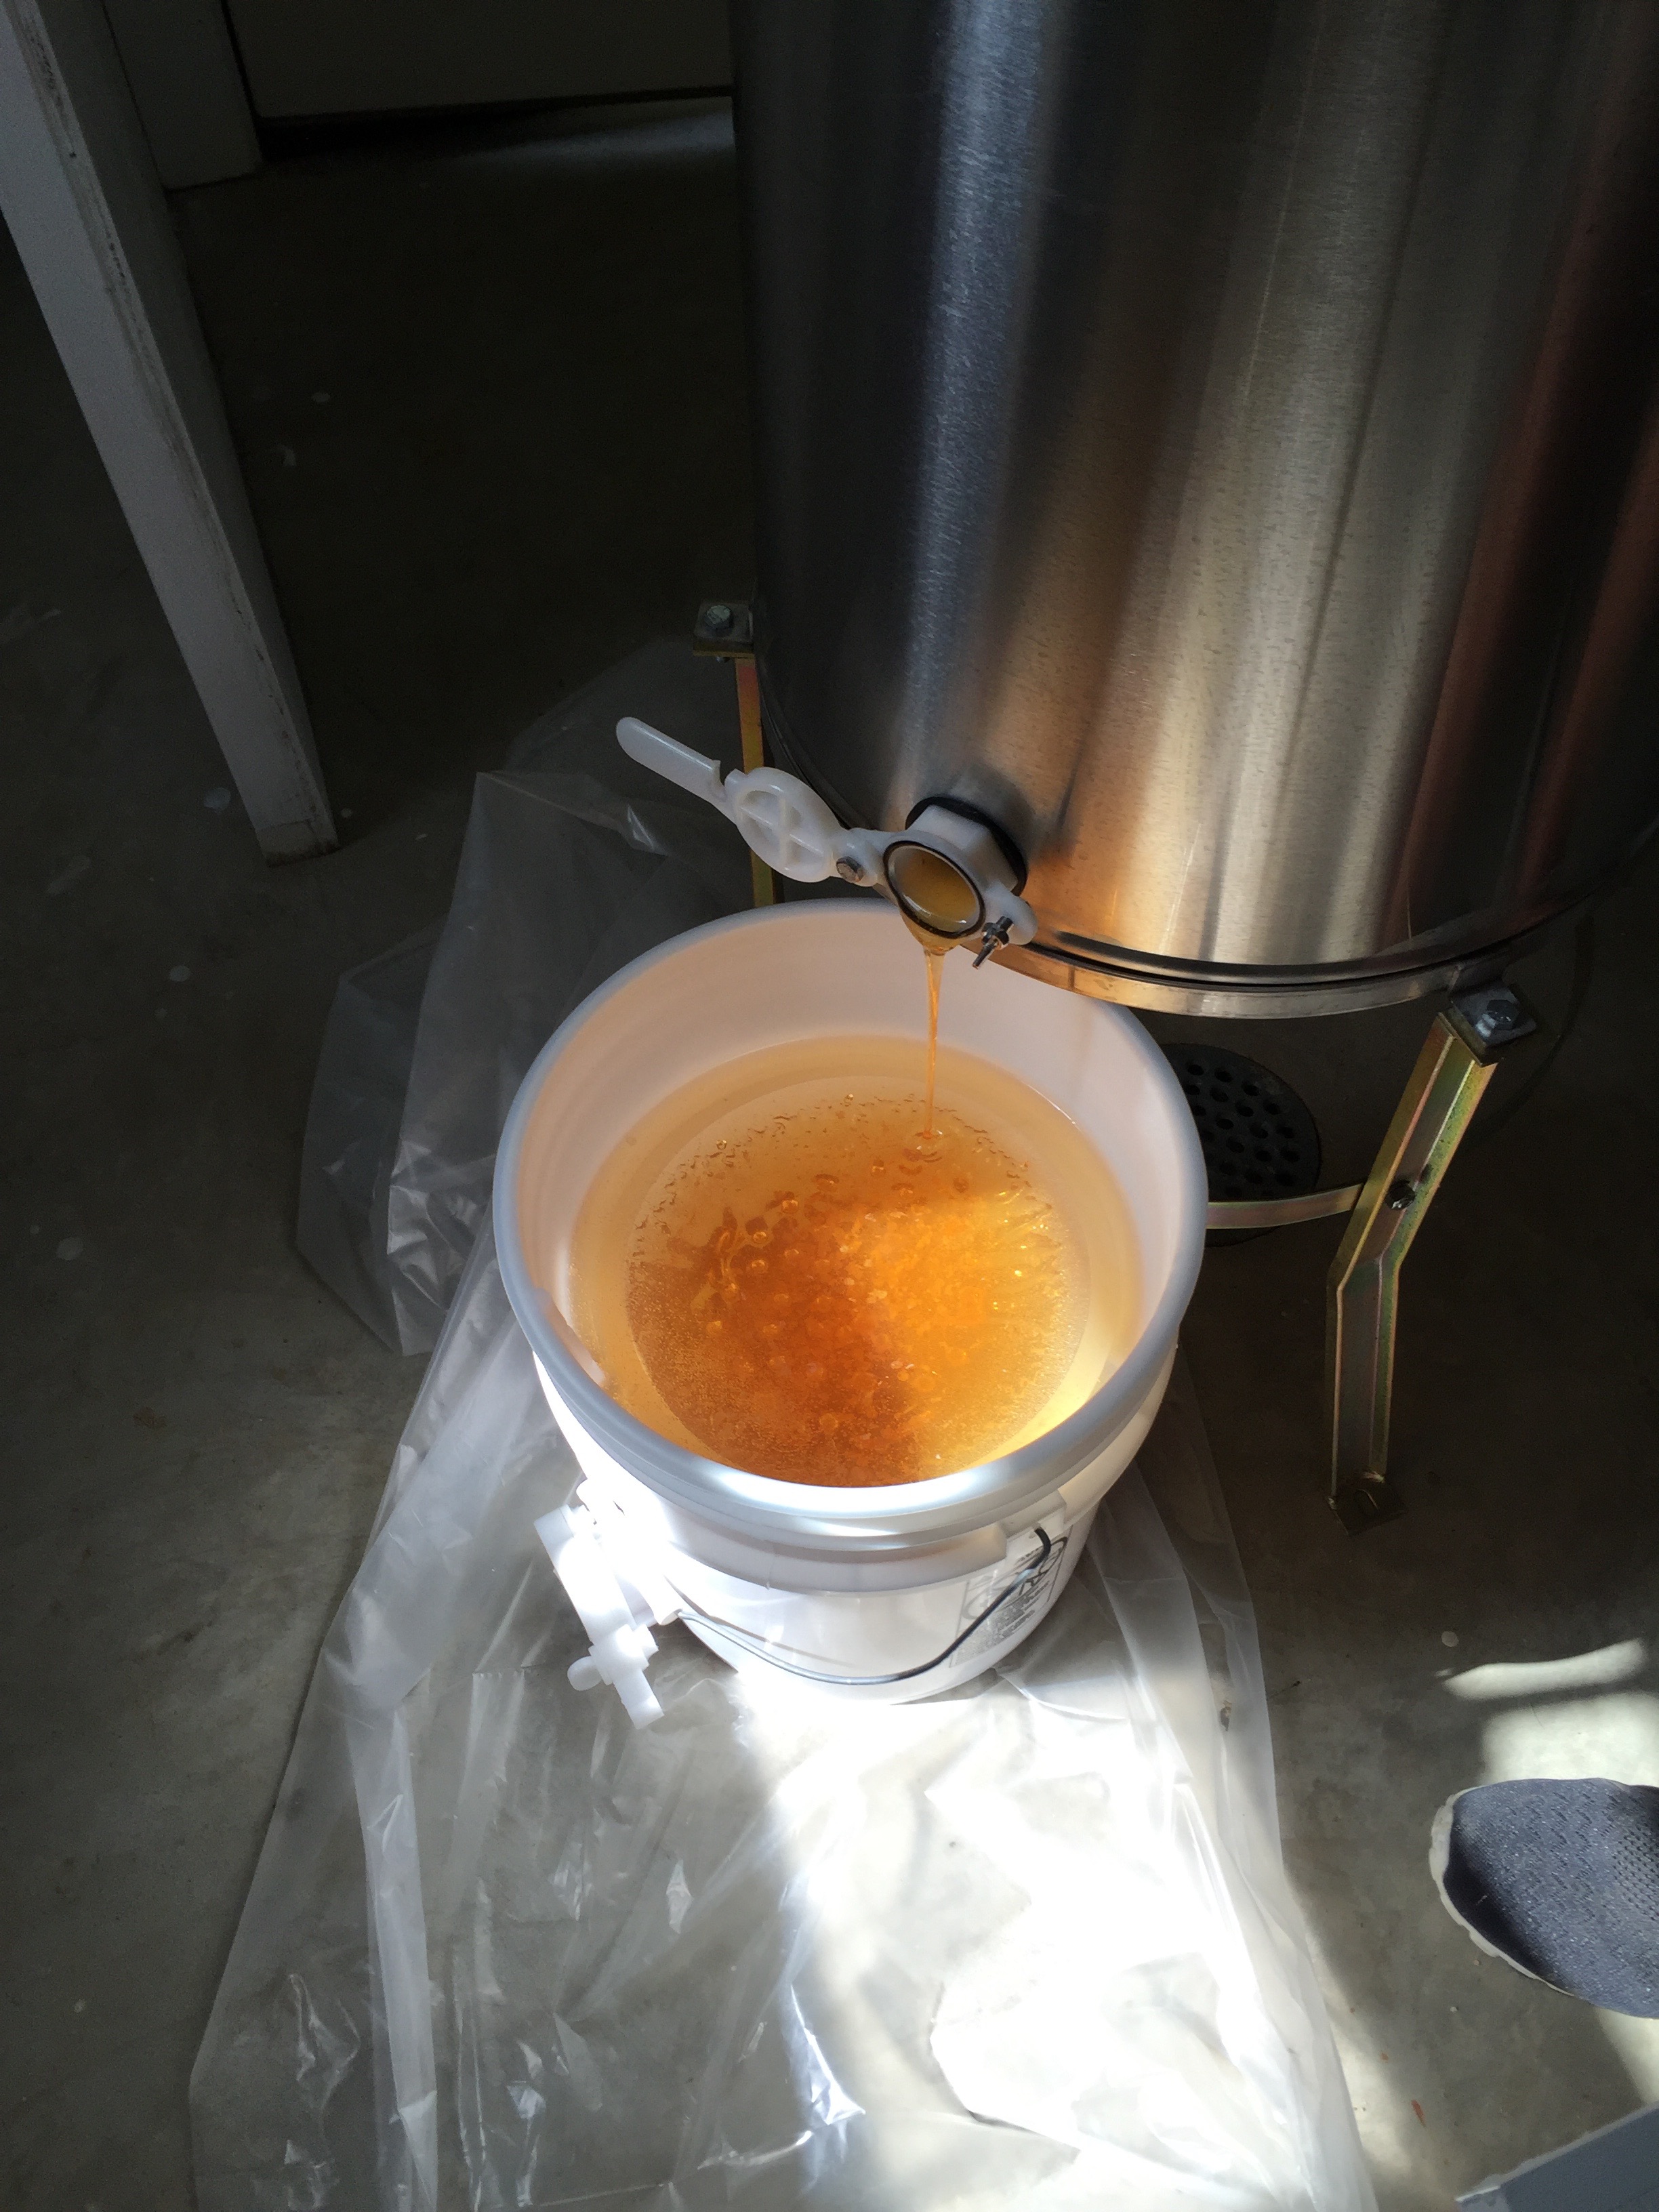
But…despite all the rain (when the bees cannot fly and forage) we managed to harvest more than 150 pounds of gorgeous spring honey this year and have three 10 gallon buckets to show for it while we currently now have 15 summer honey supers in place on the hives for more production to be harvested later this summer.
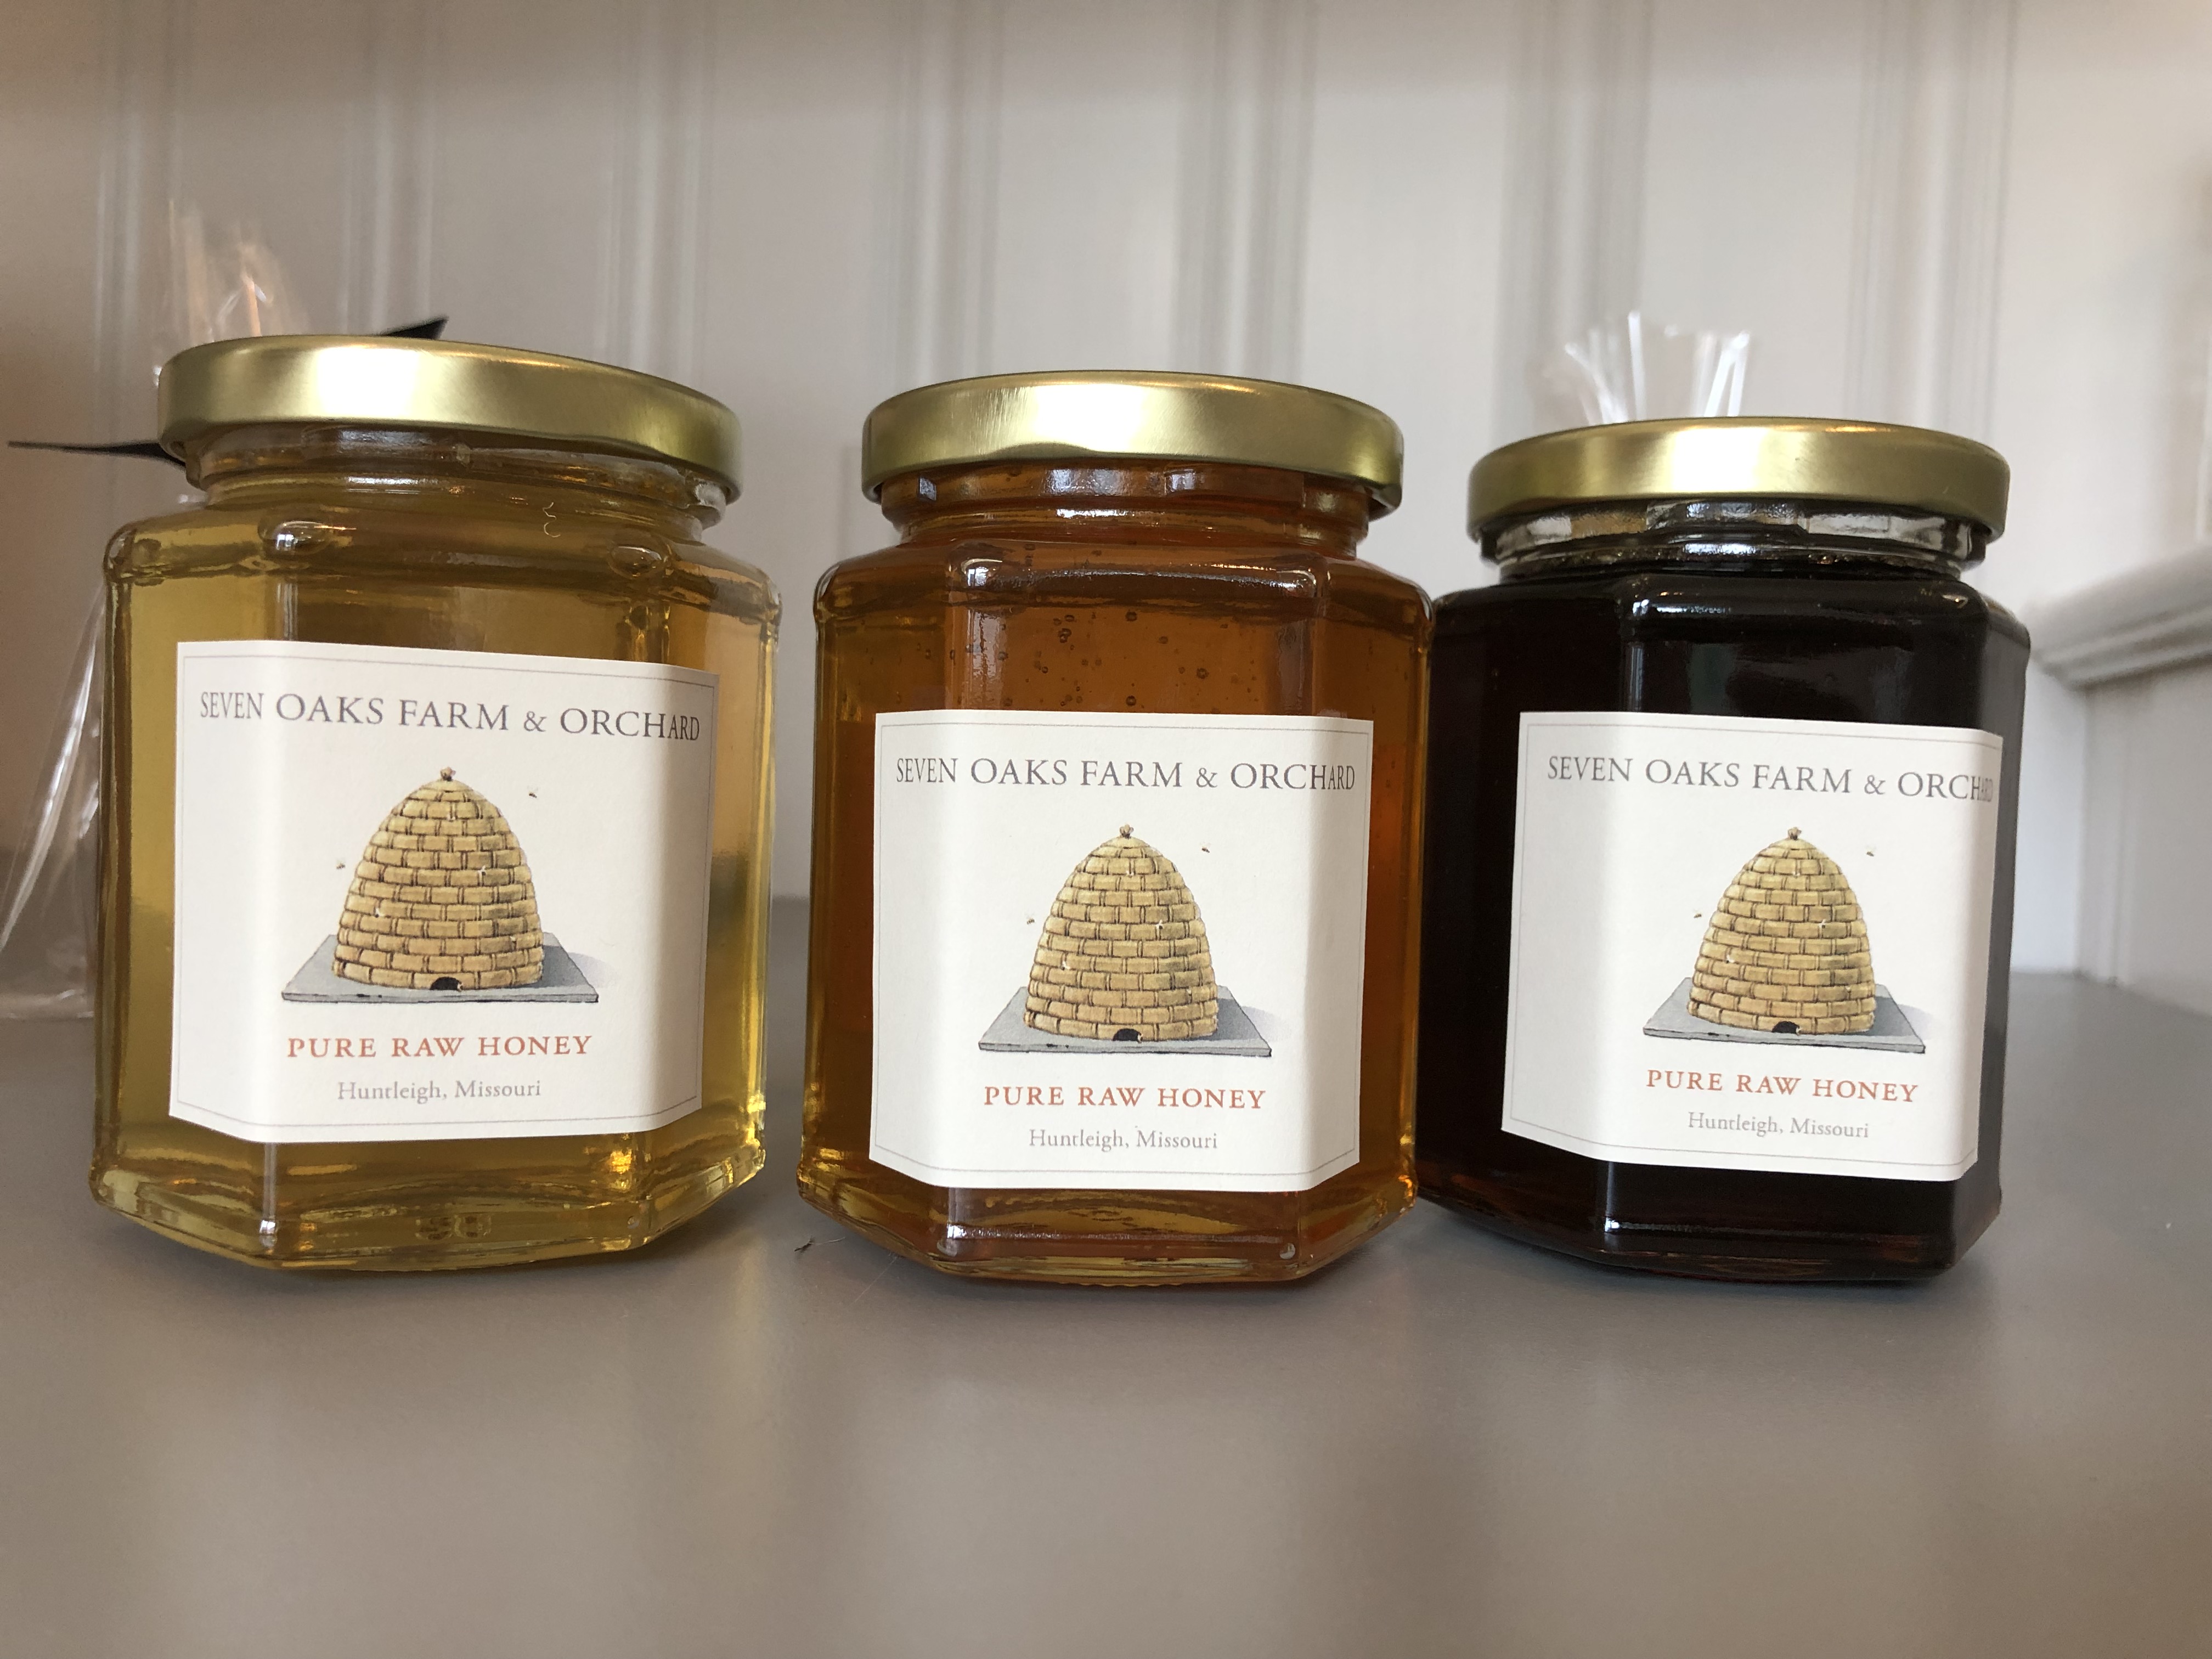
Left to right…Spring, summer and fall honey in jars for sale to our customers…if I ever figure out the WordPress interface, I might start selling these from the blog site! HELP!
Representing the last of the “B’s”…the Ward Boys are always fun to have around…here they are enjoying our recent Father’s Day Brunch!

 As the chicks are growing, I have also been scooping unbelievable amounts of poop from the sandy areas both indoors and out that these darling hens inhabit. I knew this would be the case but I am always amazed at the amount of poop these gals produce! Most effective for this is a kitty litter scooper which I employ as much as thrice daily (’cause I’m a nut) to sift chunks of poo out of the sand.
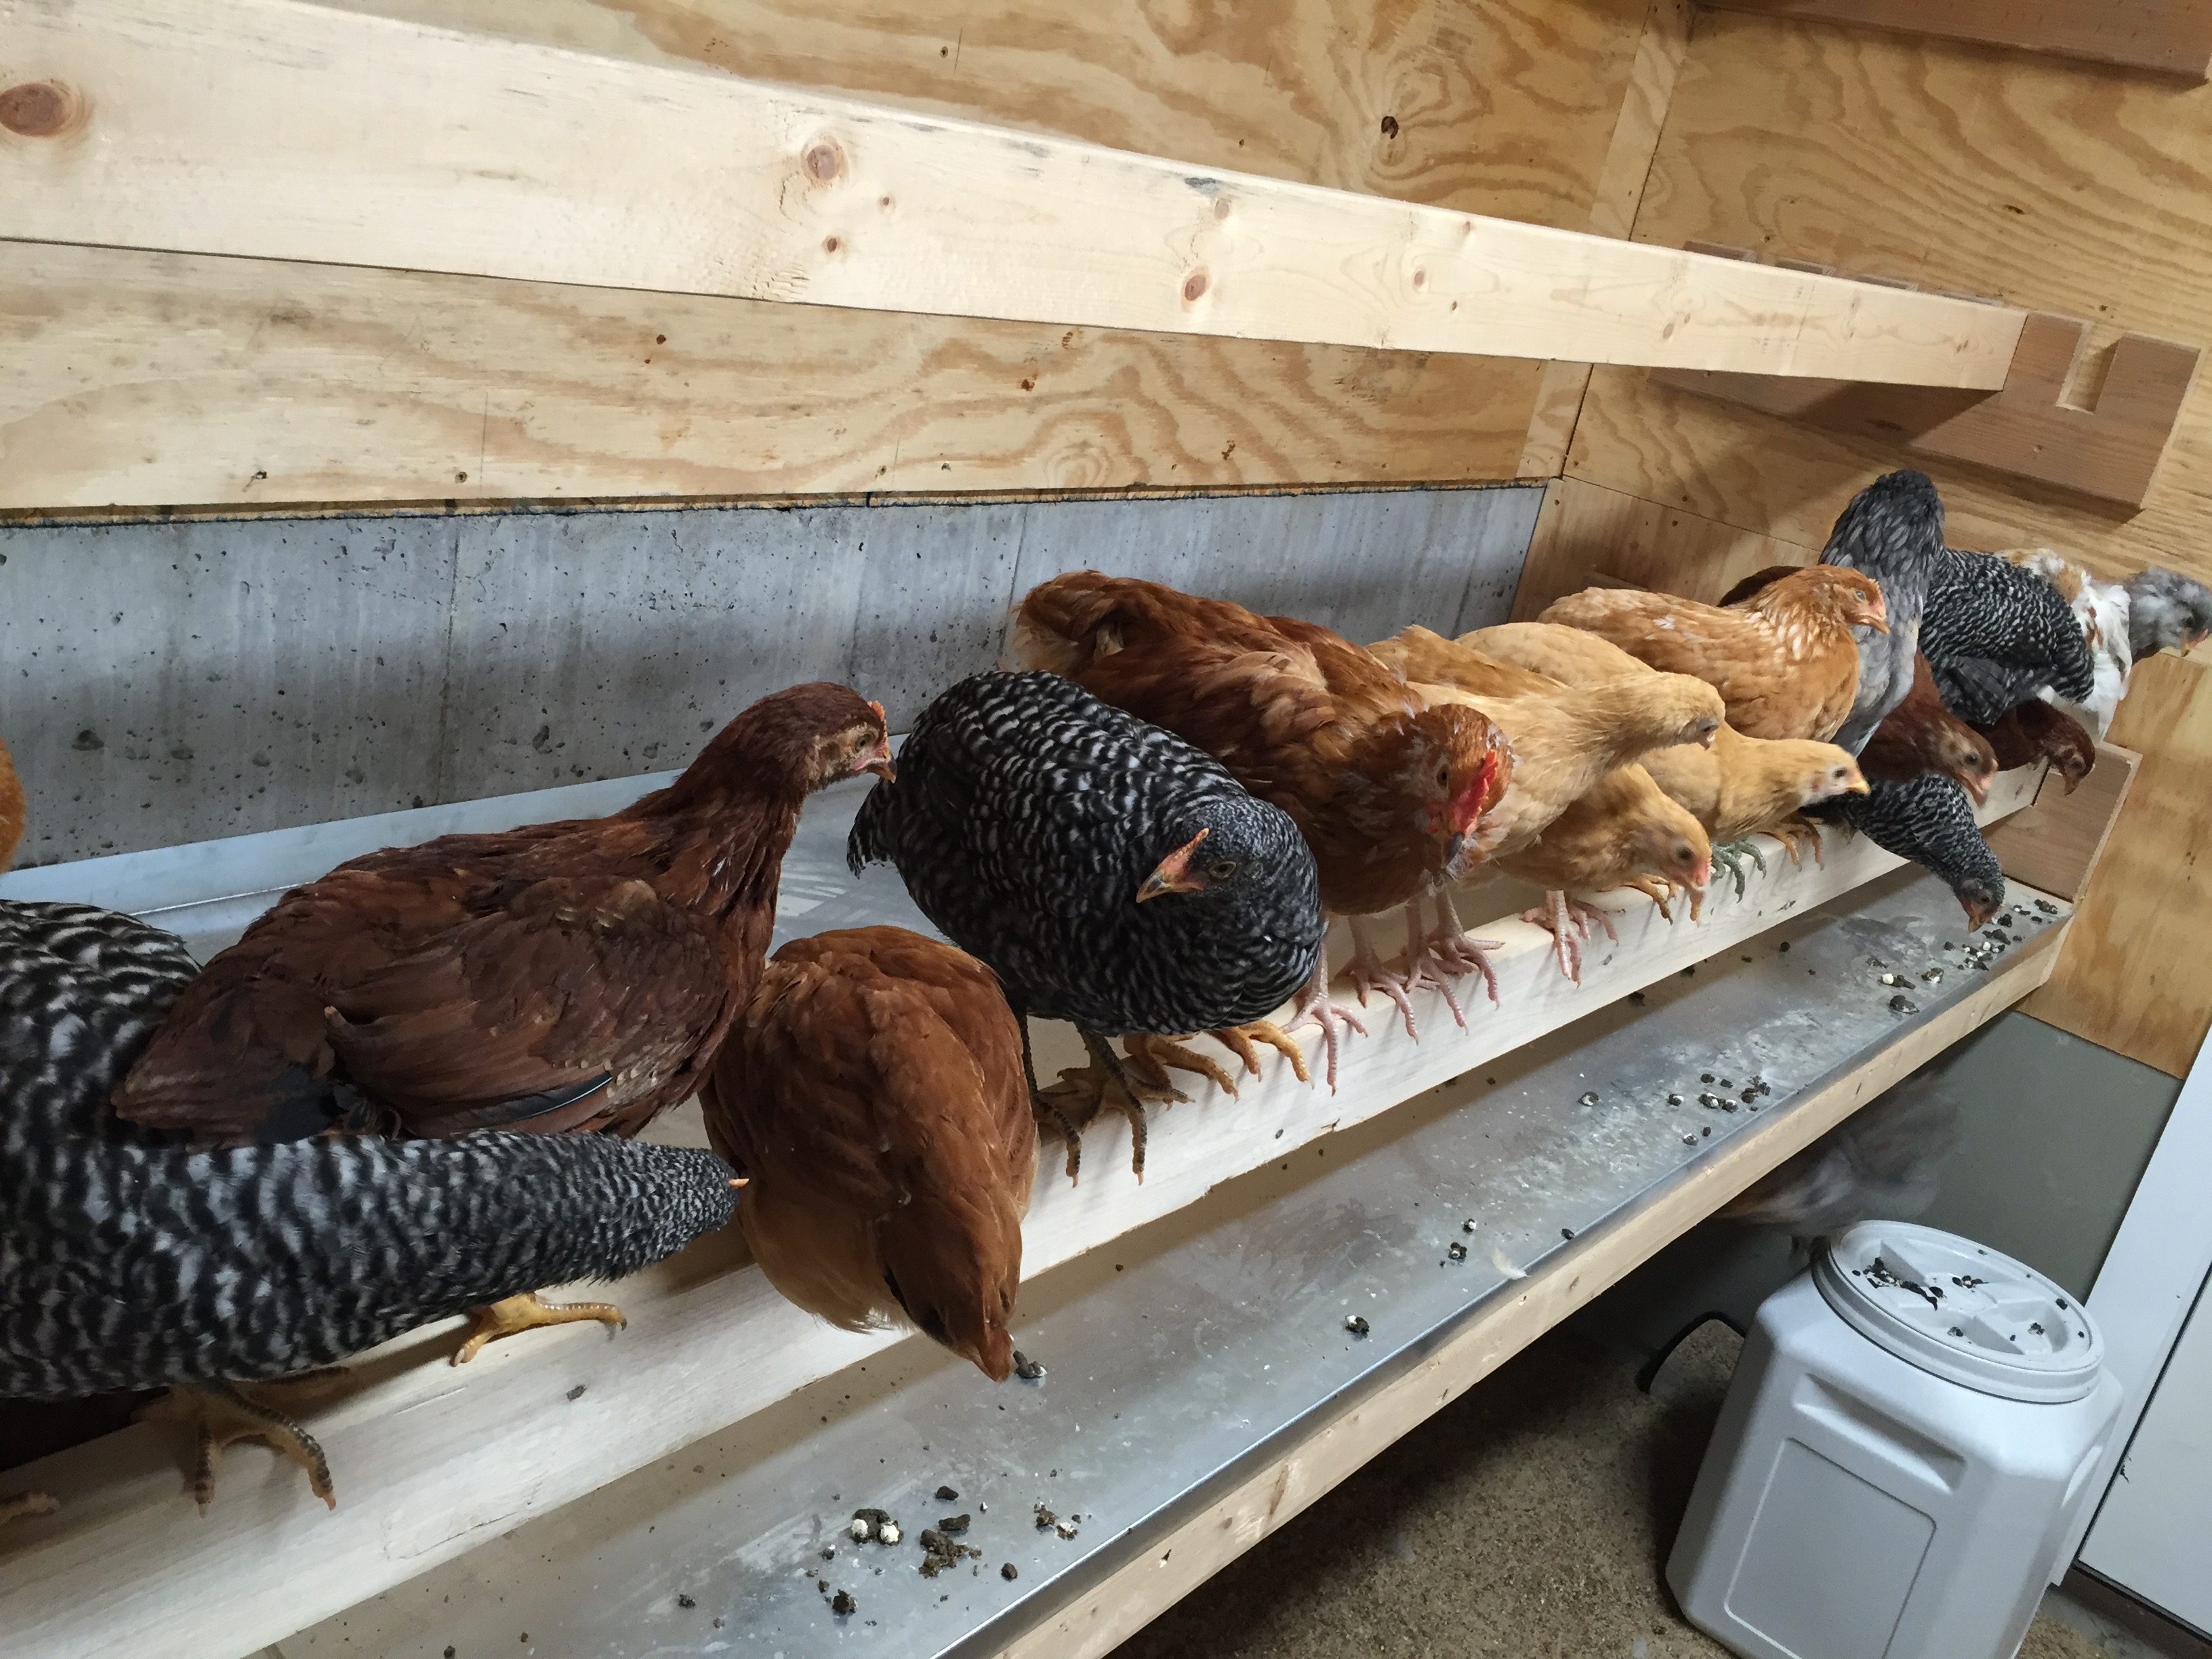 Here is the marvelous line of chicken poop they deposited on the designated drop board and left for me to clean up this morning.
  Why am I so pleased? Because it is so easy to clean up after them this way! I merely grab my handy 12″ drywall blade and scoop it all up from the metal drop board surface in one quick motion, ridding the coop of this overnight waste with ease.
 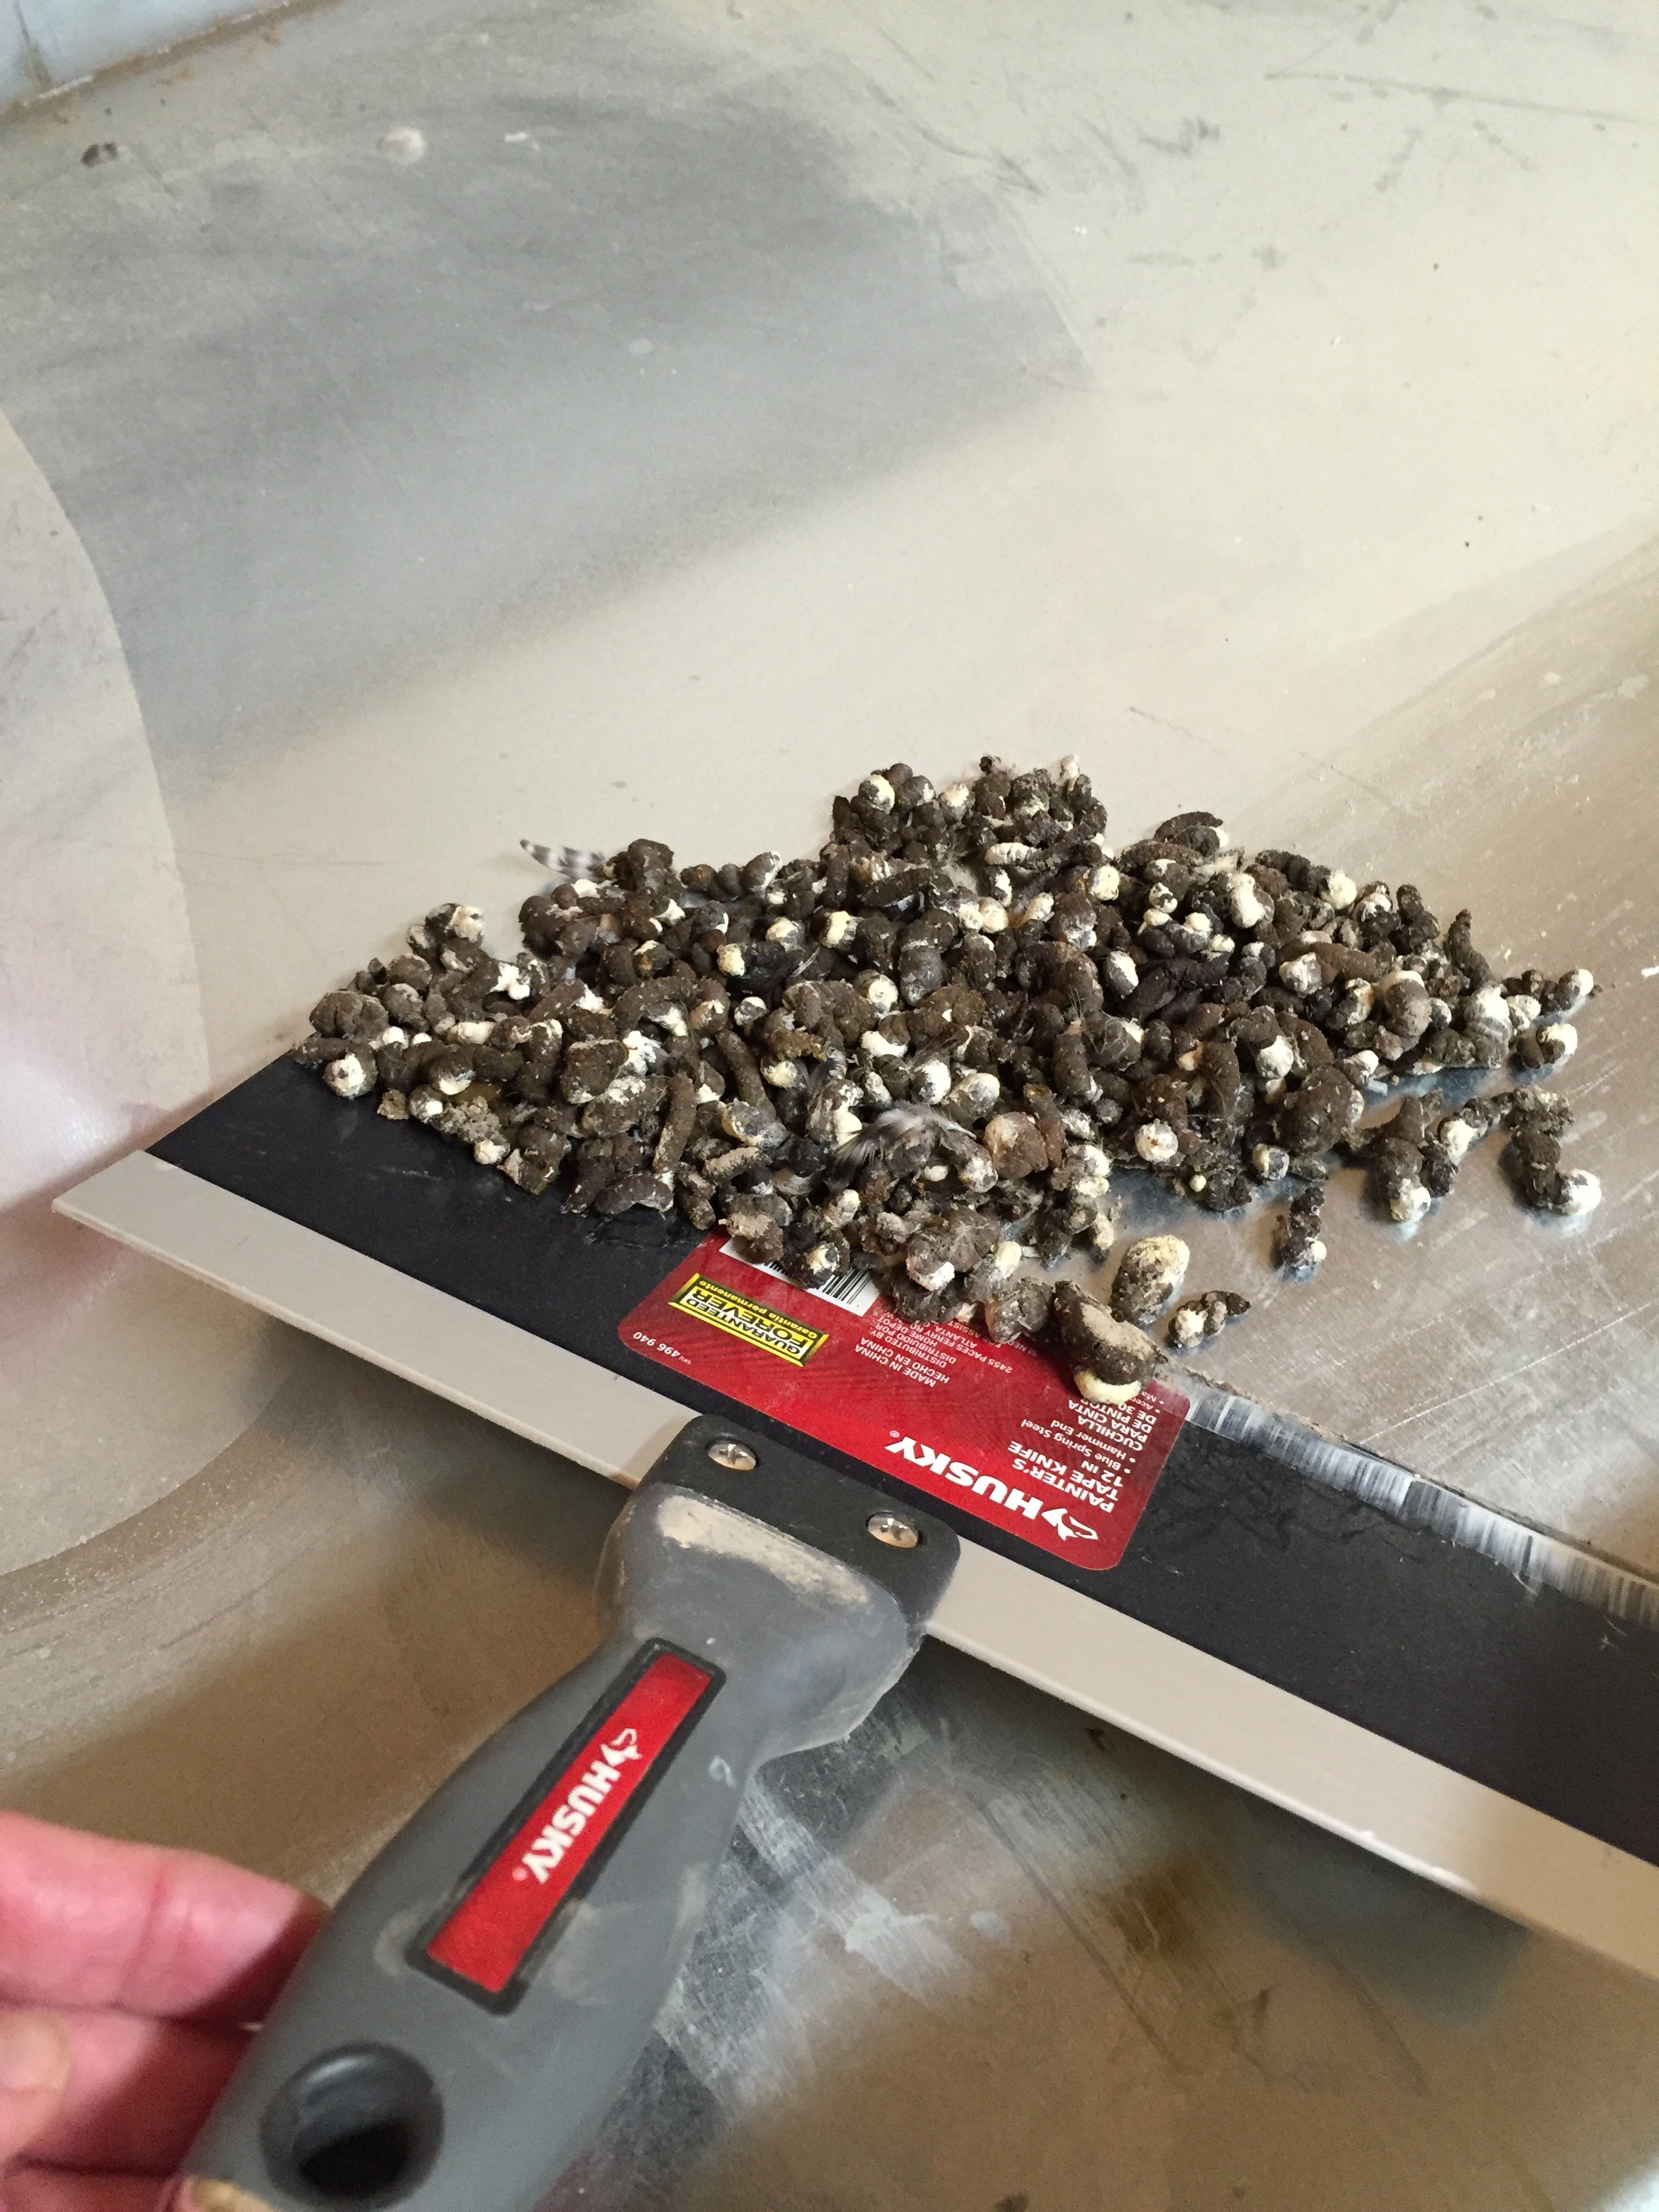 Question from the crowd: Do chickens pee? Answer: No, they do not really but the white part of their excrement is the portion that is considered their pee. The ‘poo’ bit is a brownish to greenish color part. The ‘pee’ is the surrounding white bit which is the uric acid part. It is made by the liver and is not soluble in water. It requires less water to excrete than the water-soluble version, urea, that mammals make so chickens are actually more efficient in this way. Whew! I hope that puts everyone’s mind at ease about chicken poop as well as pee!
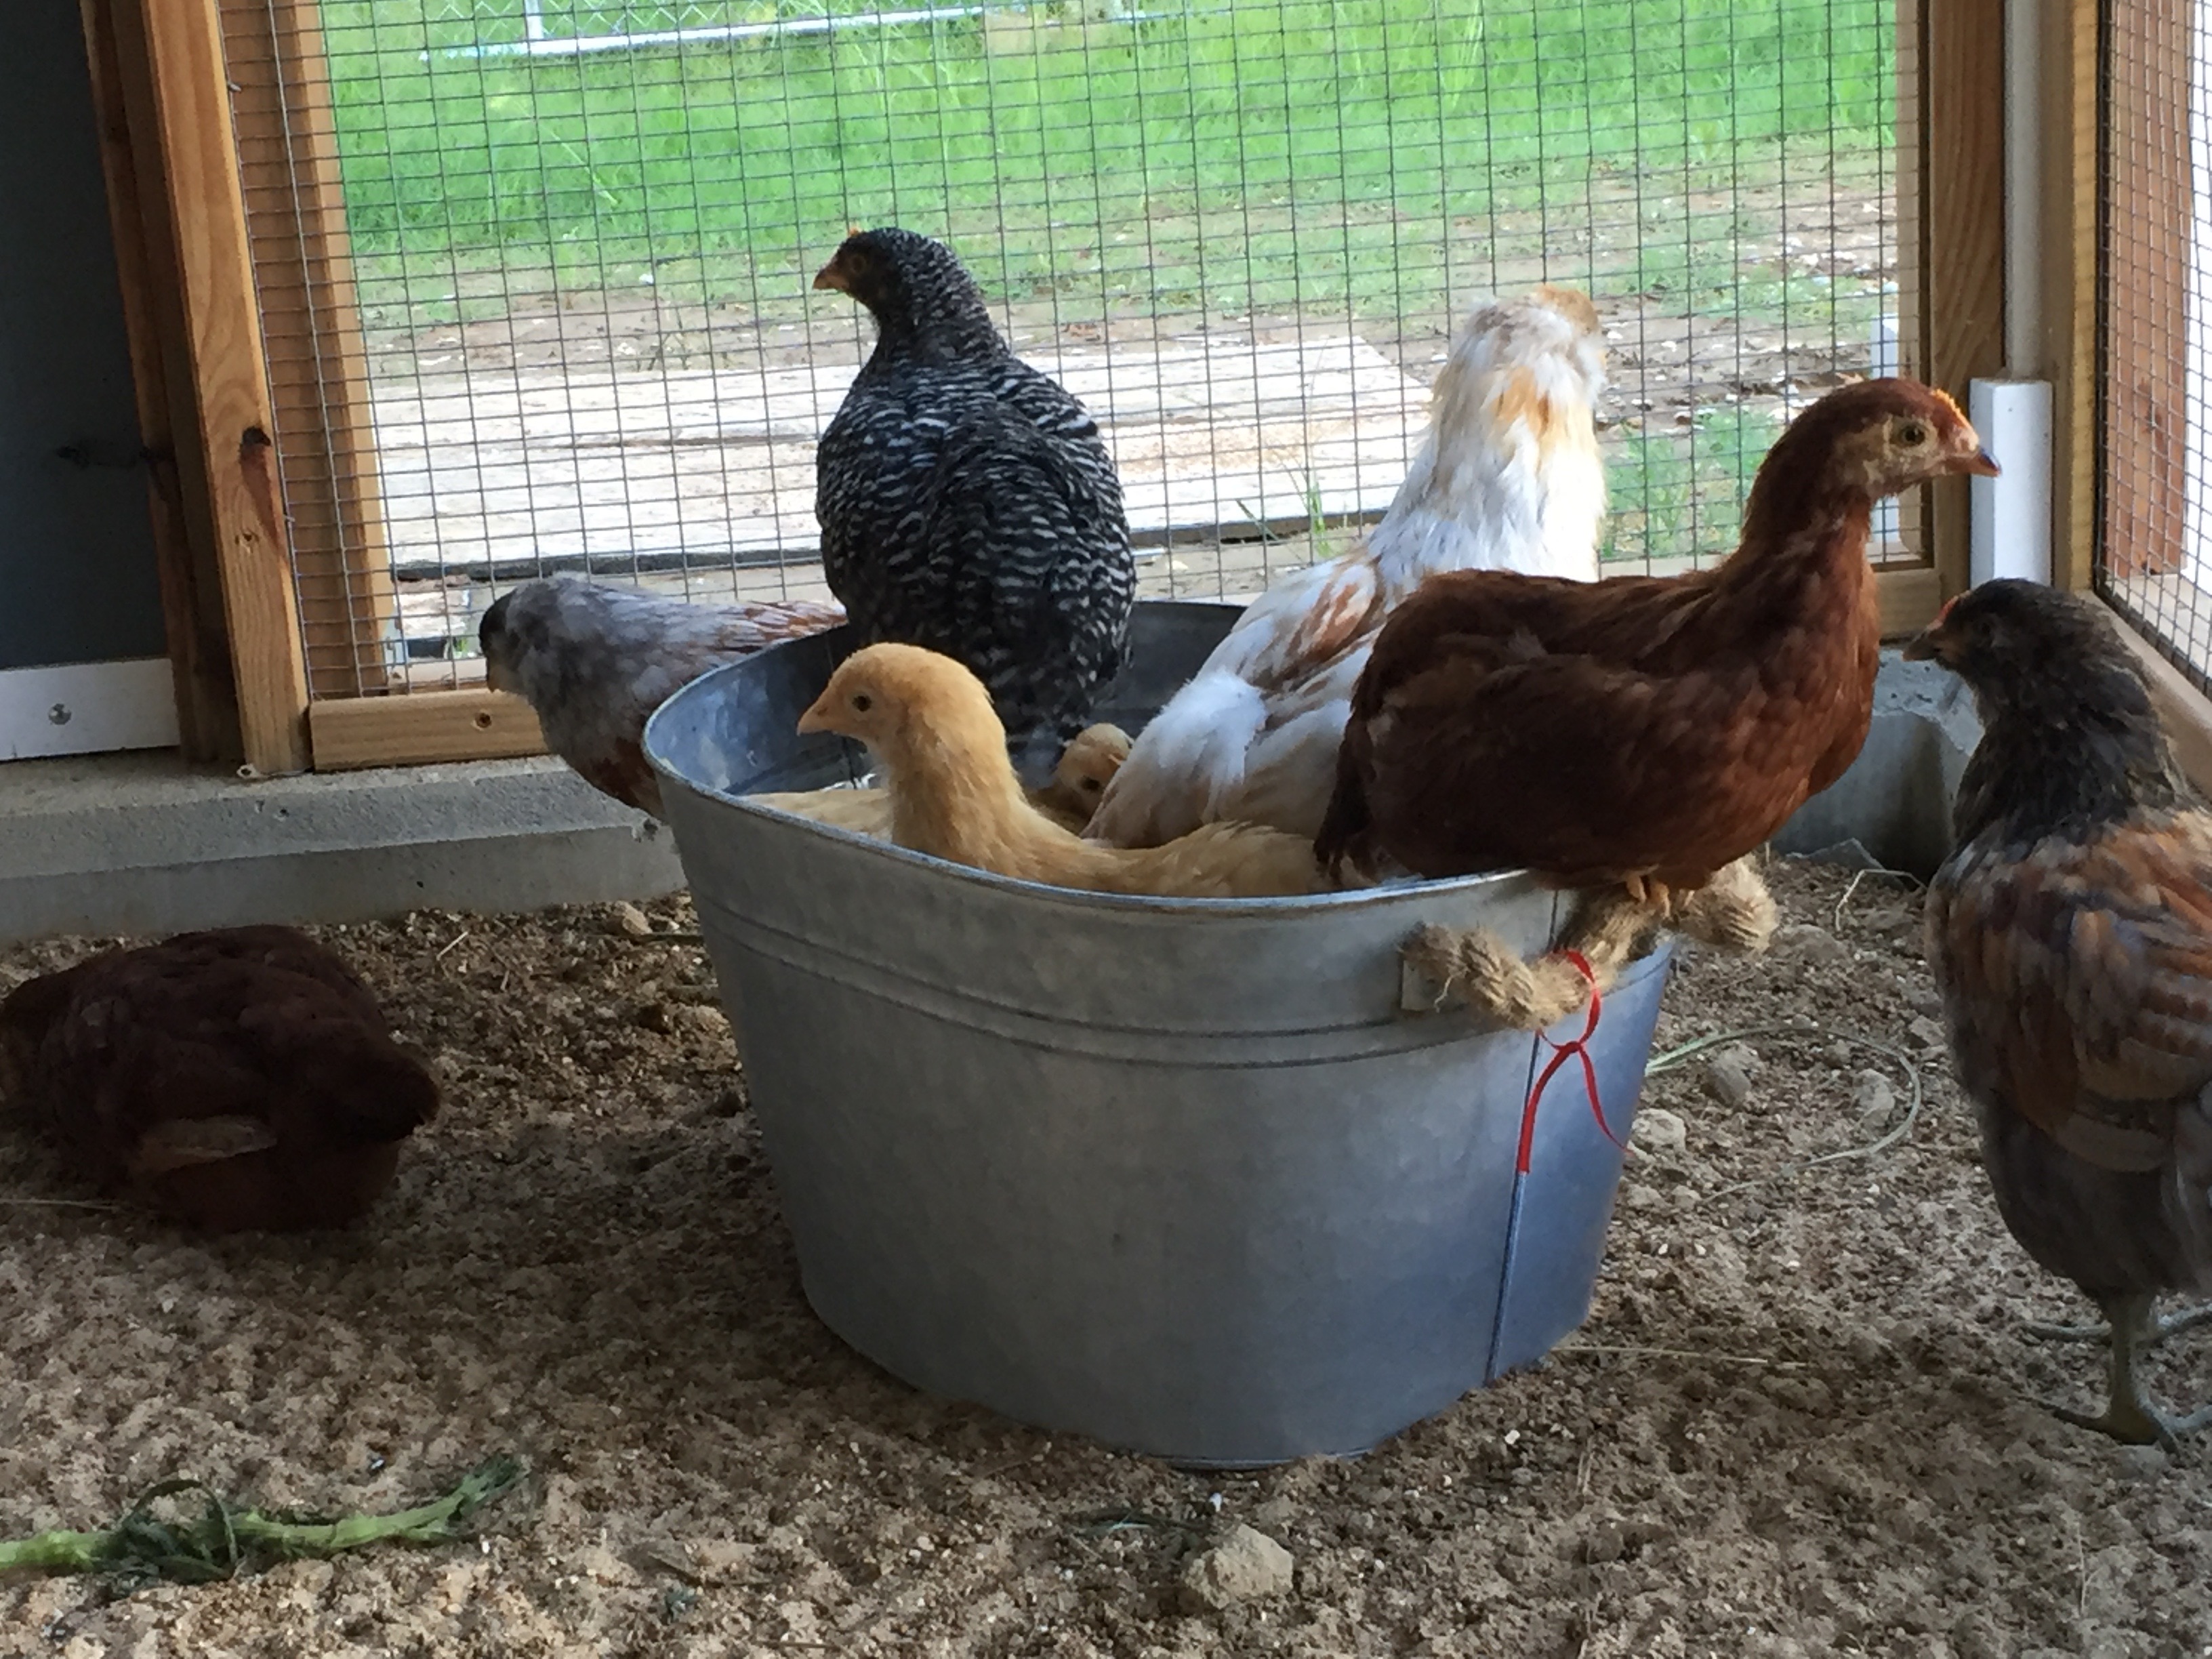 Speaking of the hot tub, Coulter is enjoying the last days of summer pool time. Never without his Cardinal Baseball cap (thanks to uncle Peter) as well as some type of vehicle in his hand, he navigates the water at the local pool.
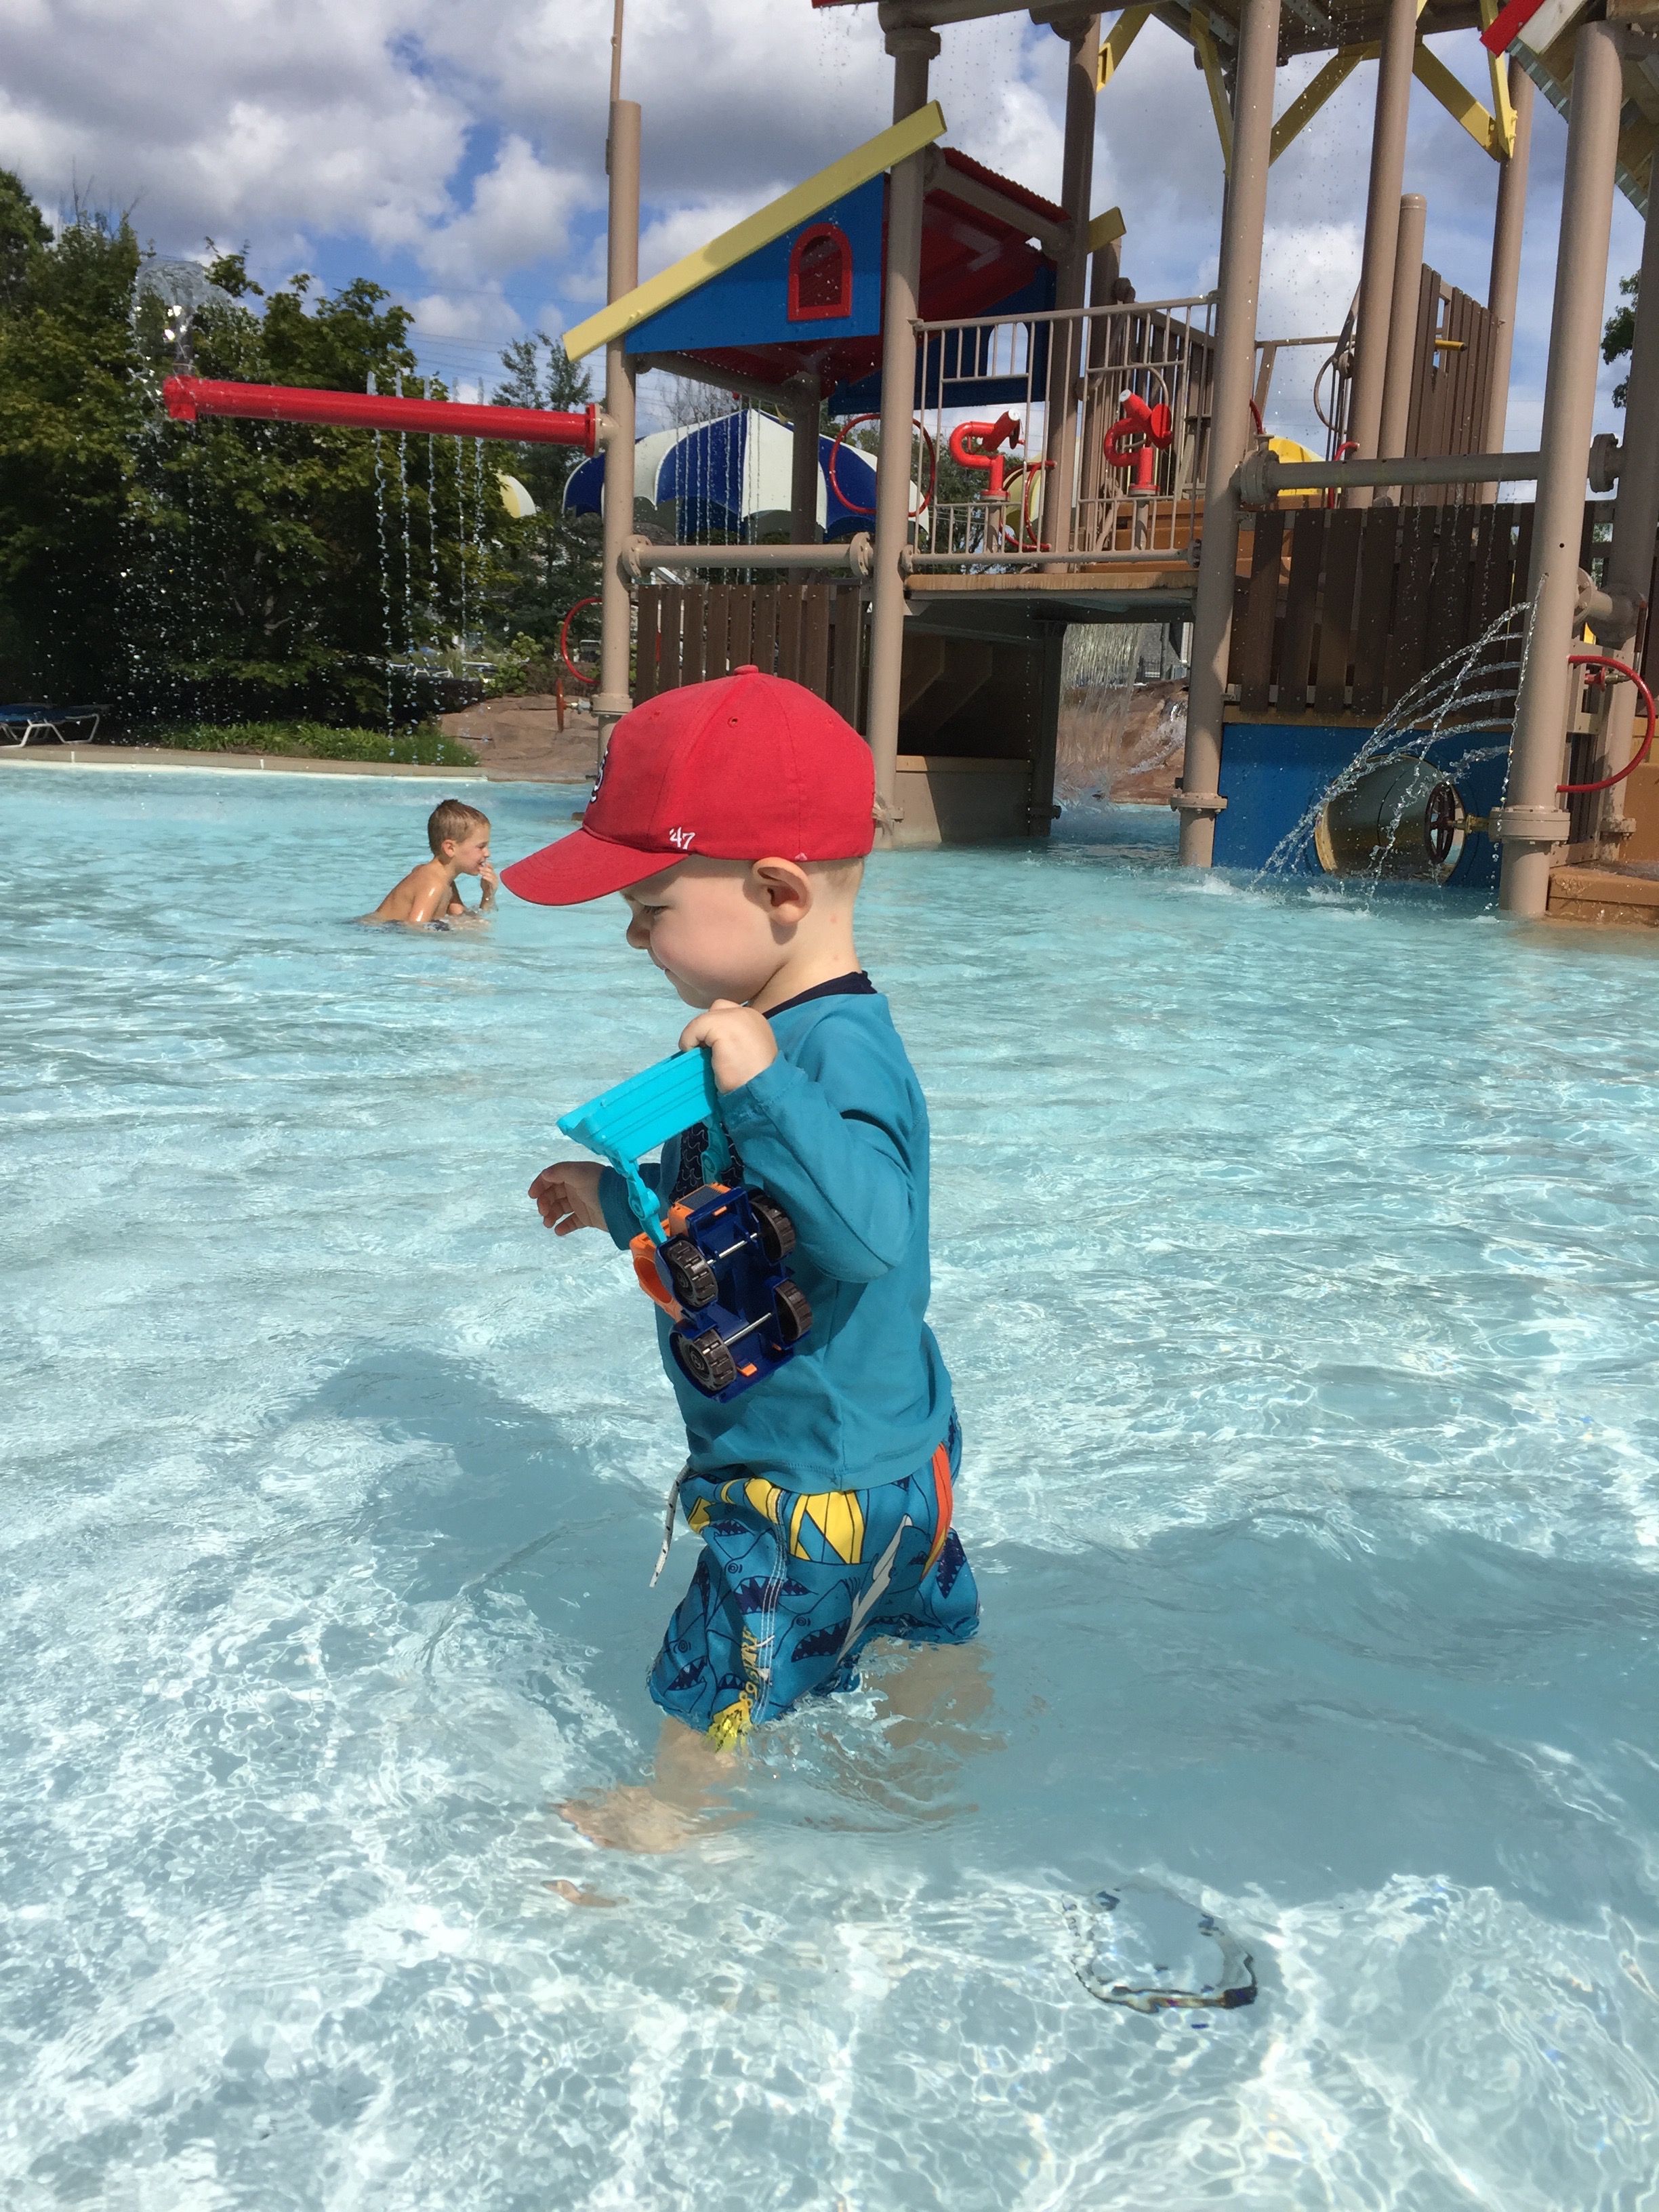

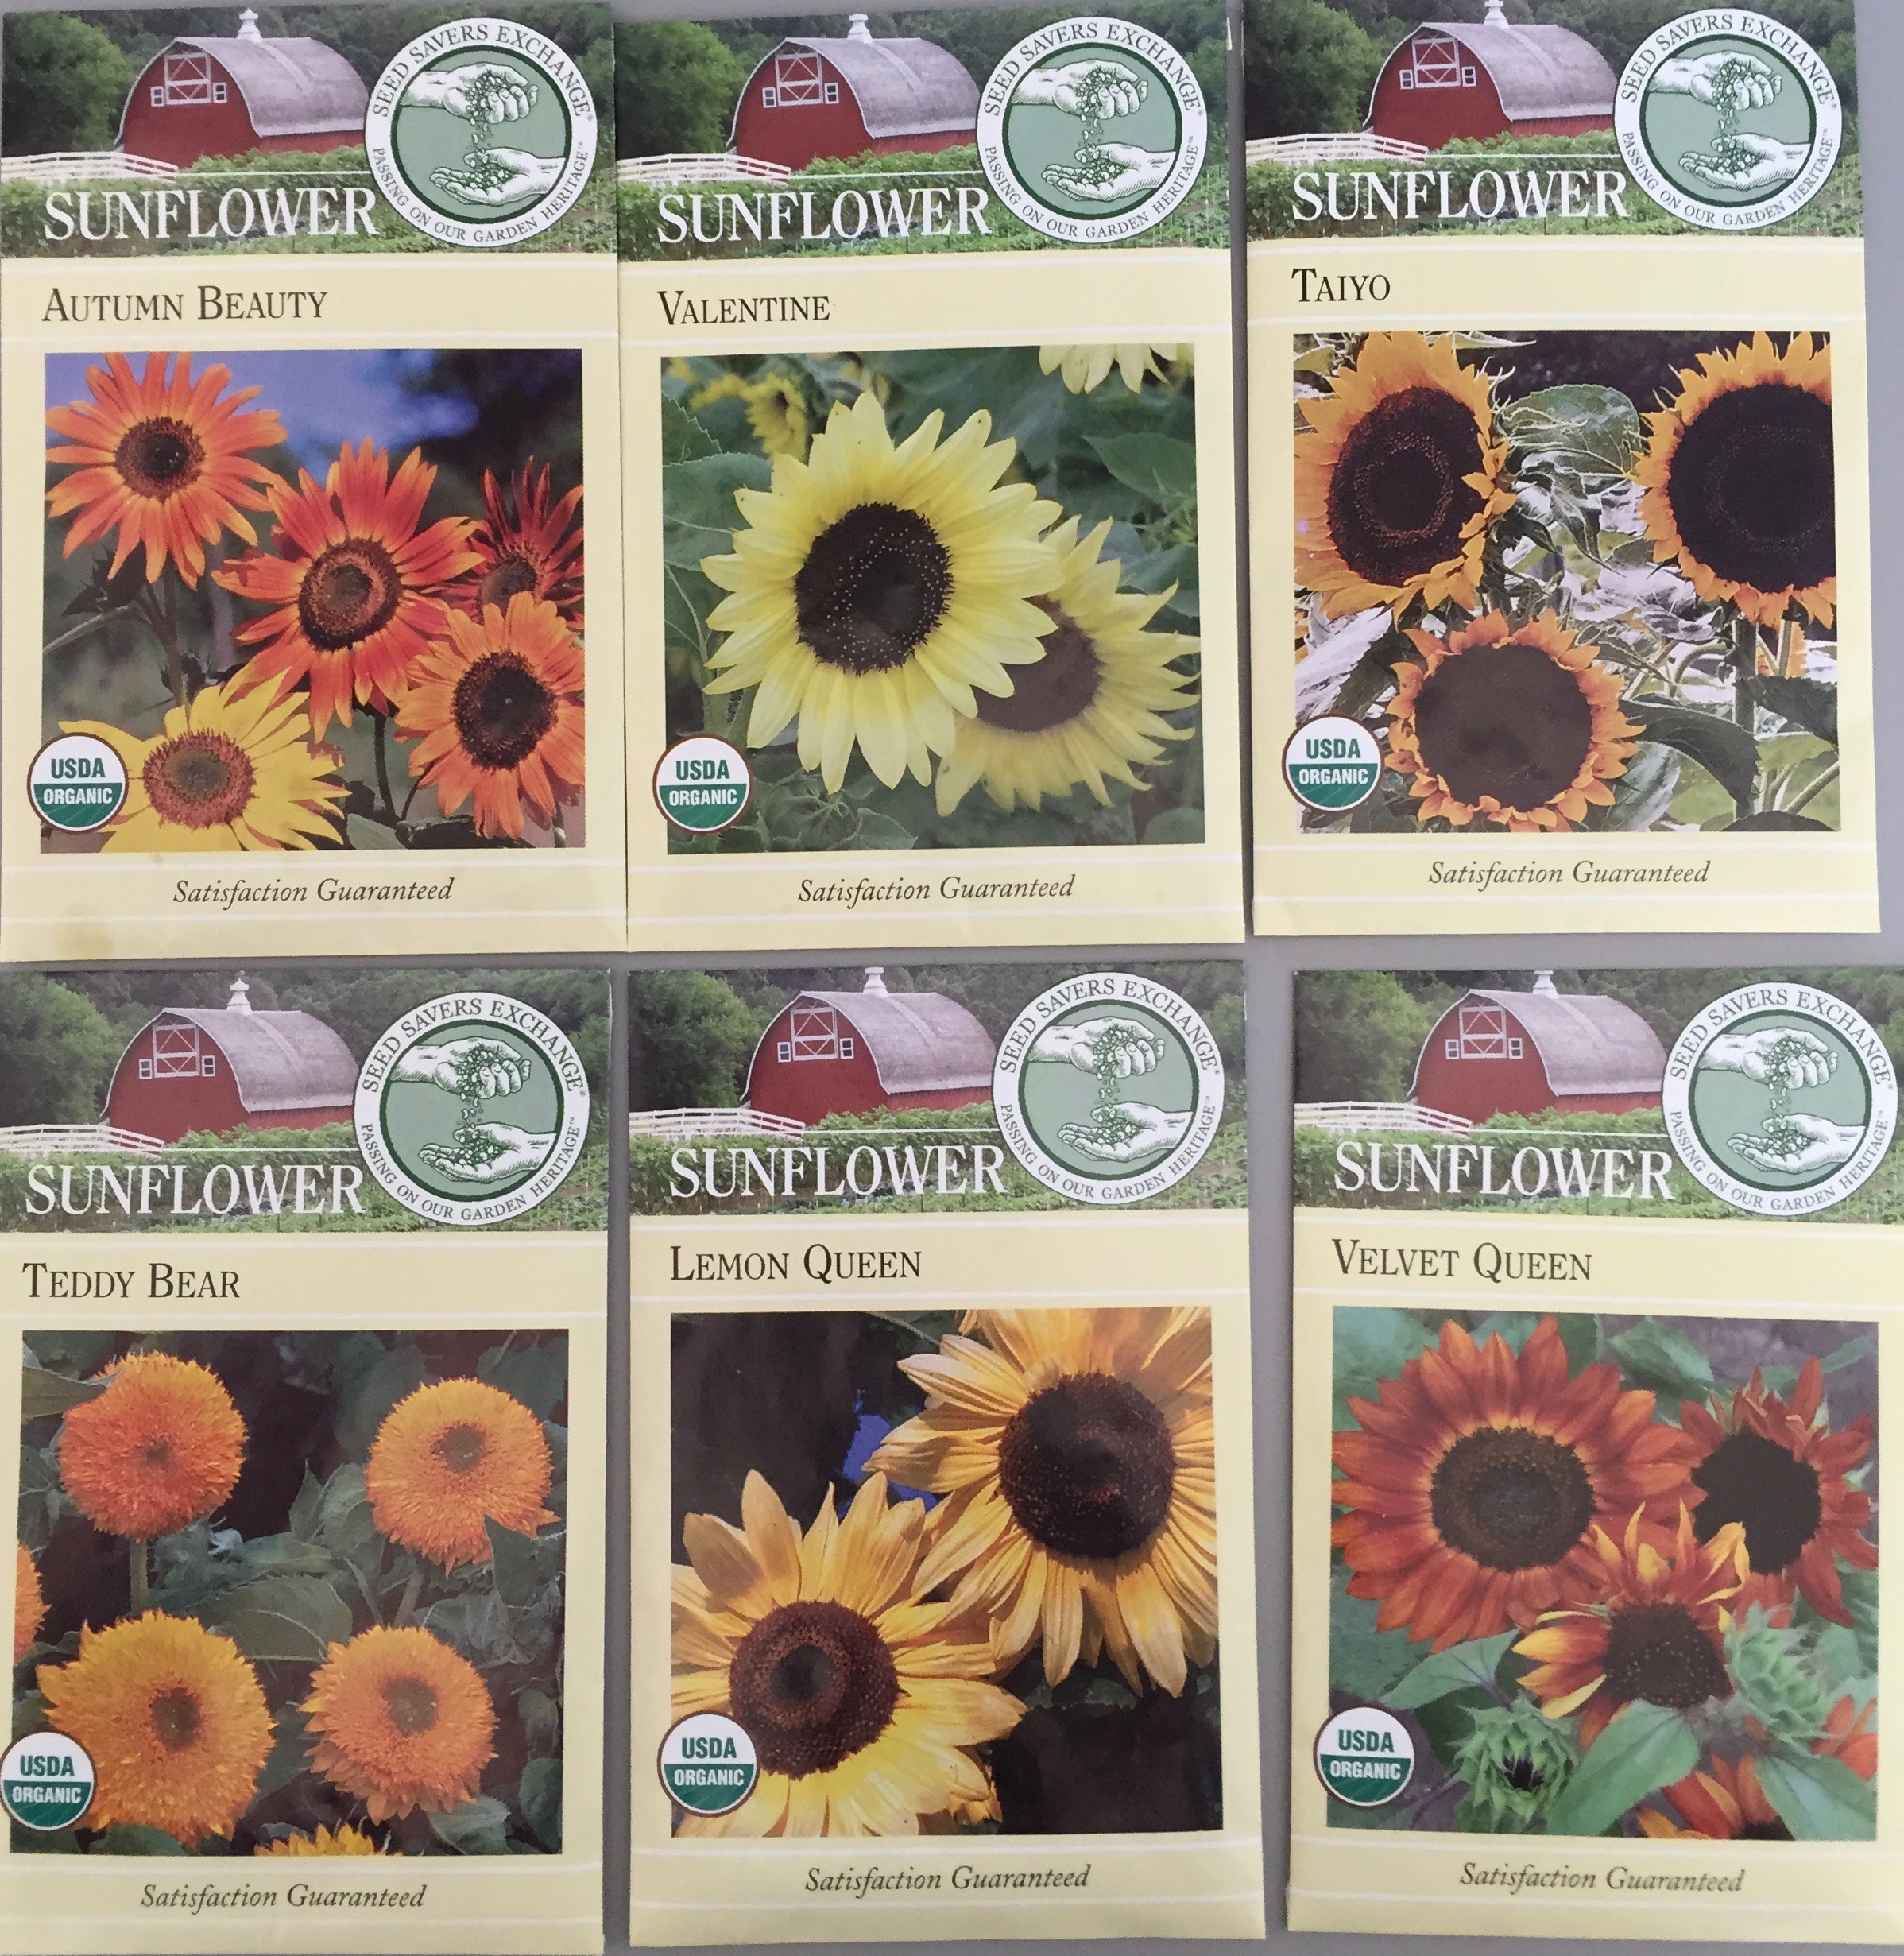 What a welcome site here in the middle of August. Here is the shortest of the group, approximately 12-24″ tall, named Teddy Bear.
  Then comes Valentine at 5 feet tall.
  Then Taiyo, about to open here at 5-6 feet tall.
 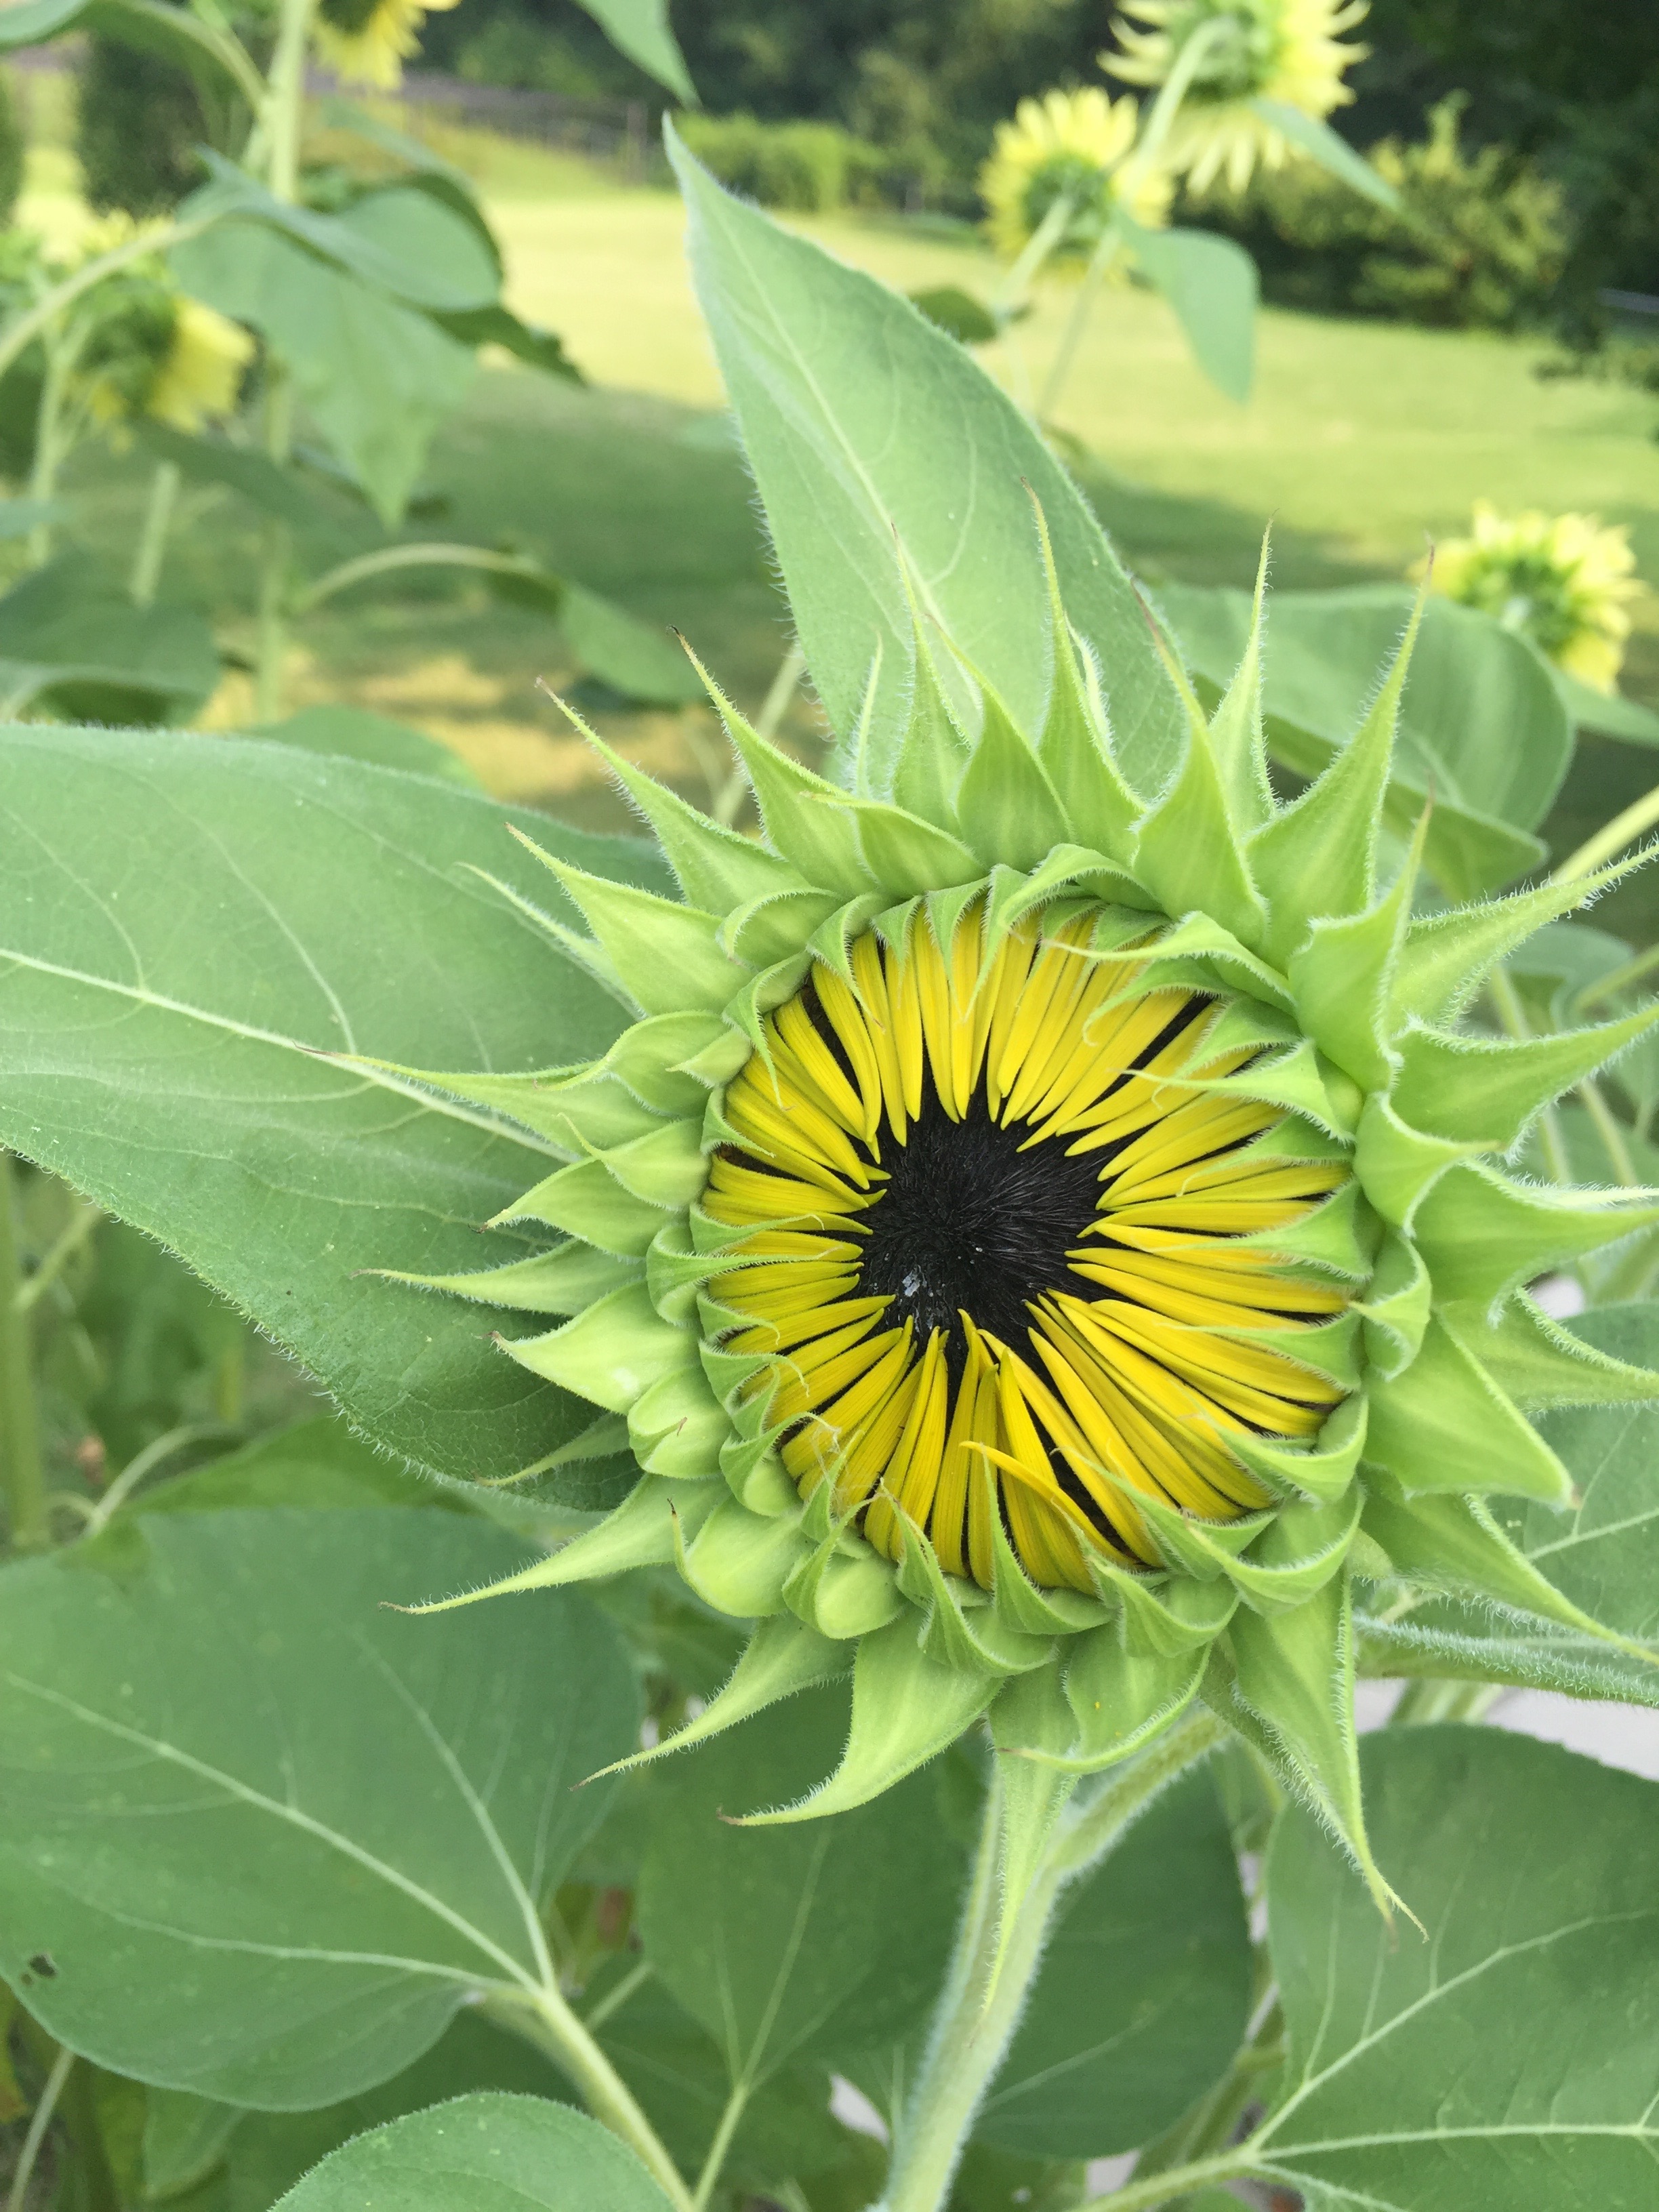 Then Velvet Queen at 5-7 feet tall with Mahogany petals and a nearly black center.
 Autumn Beauty, ranging from 5-8 feet tall, has more than one shade, ranging from yellow to gold to dark burgundy.


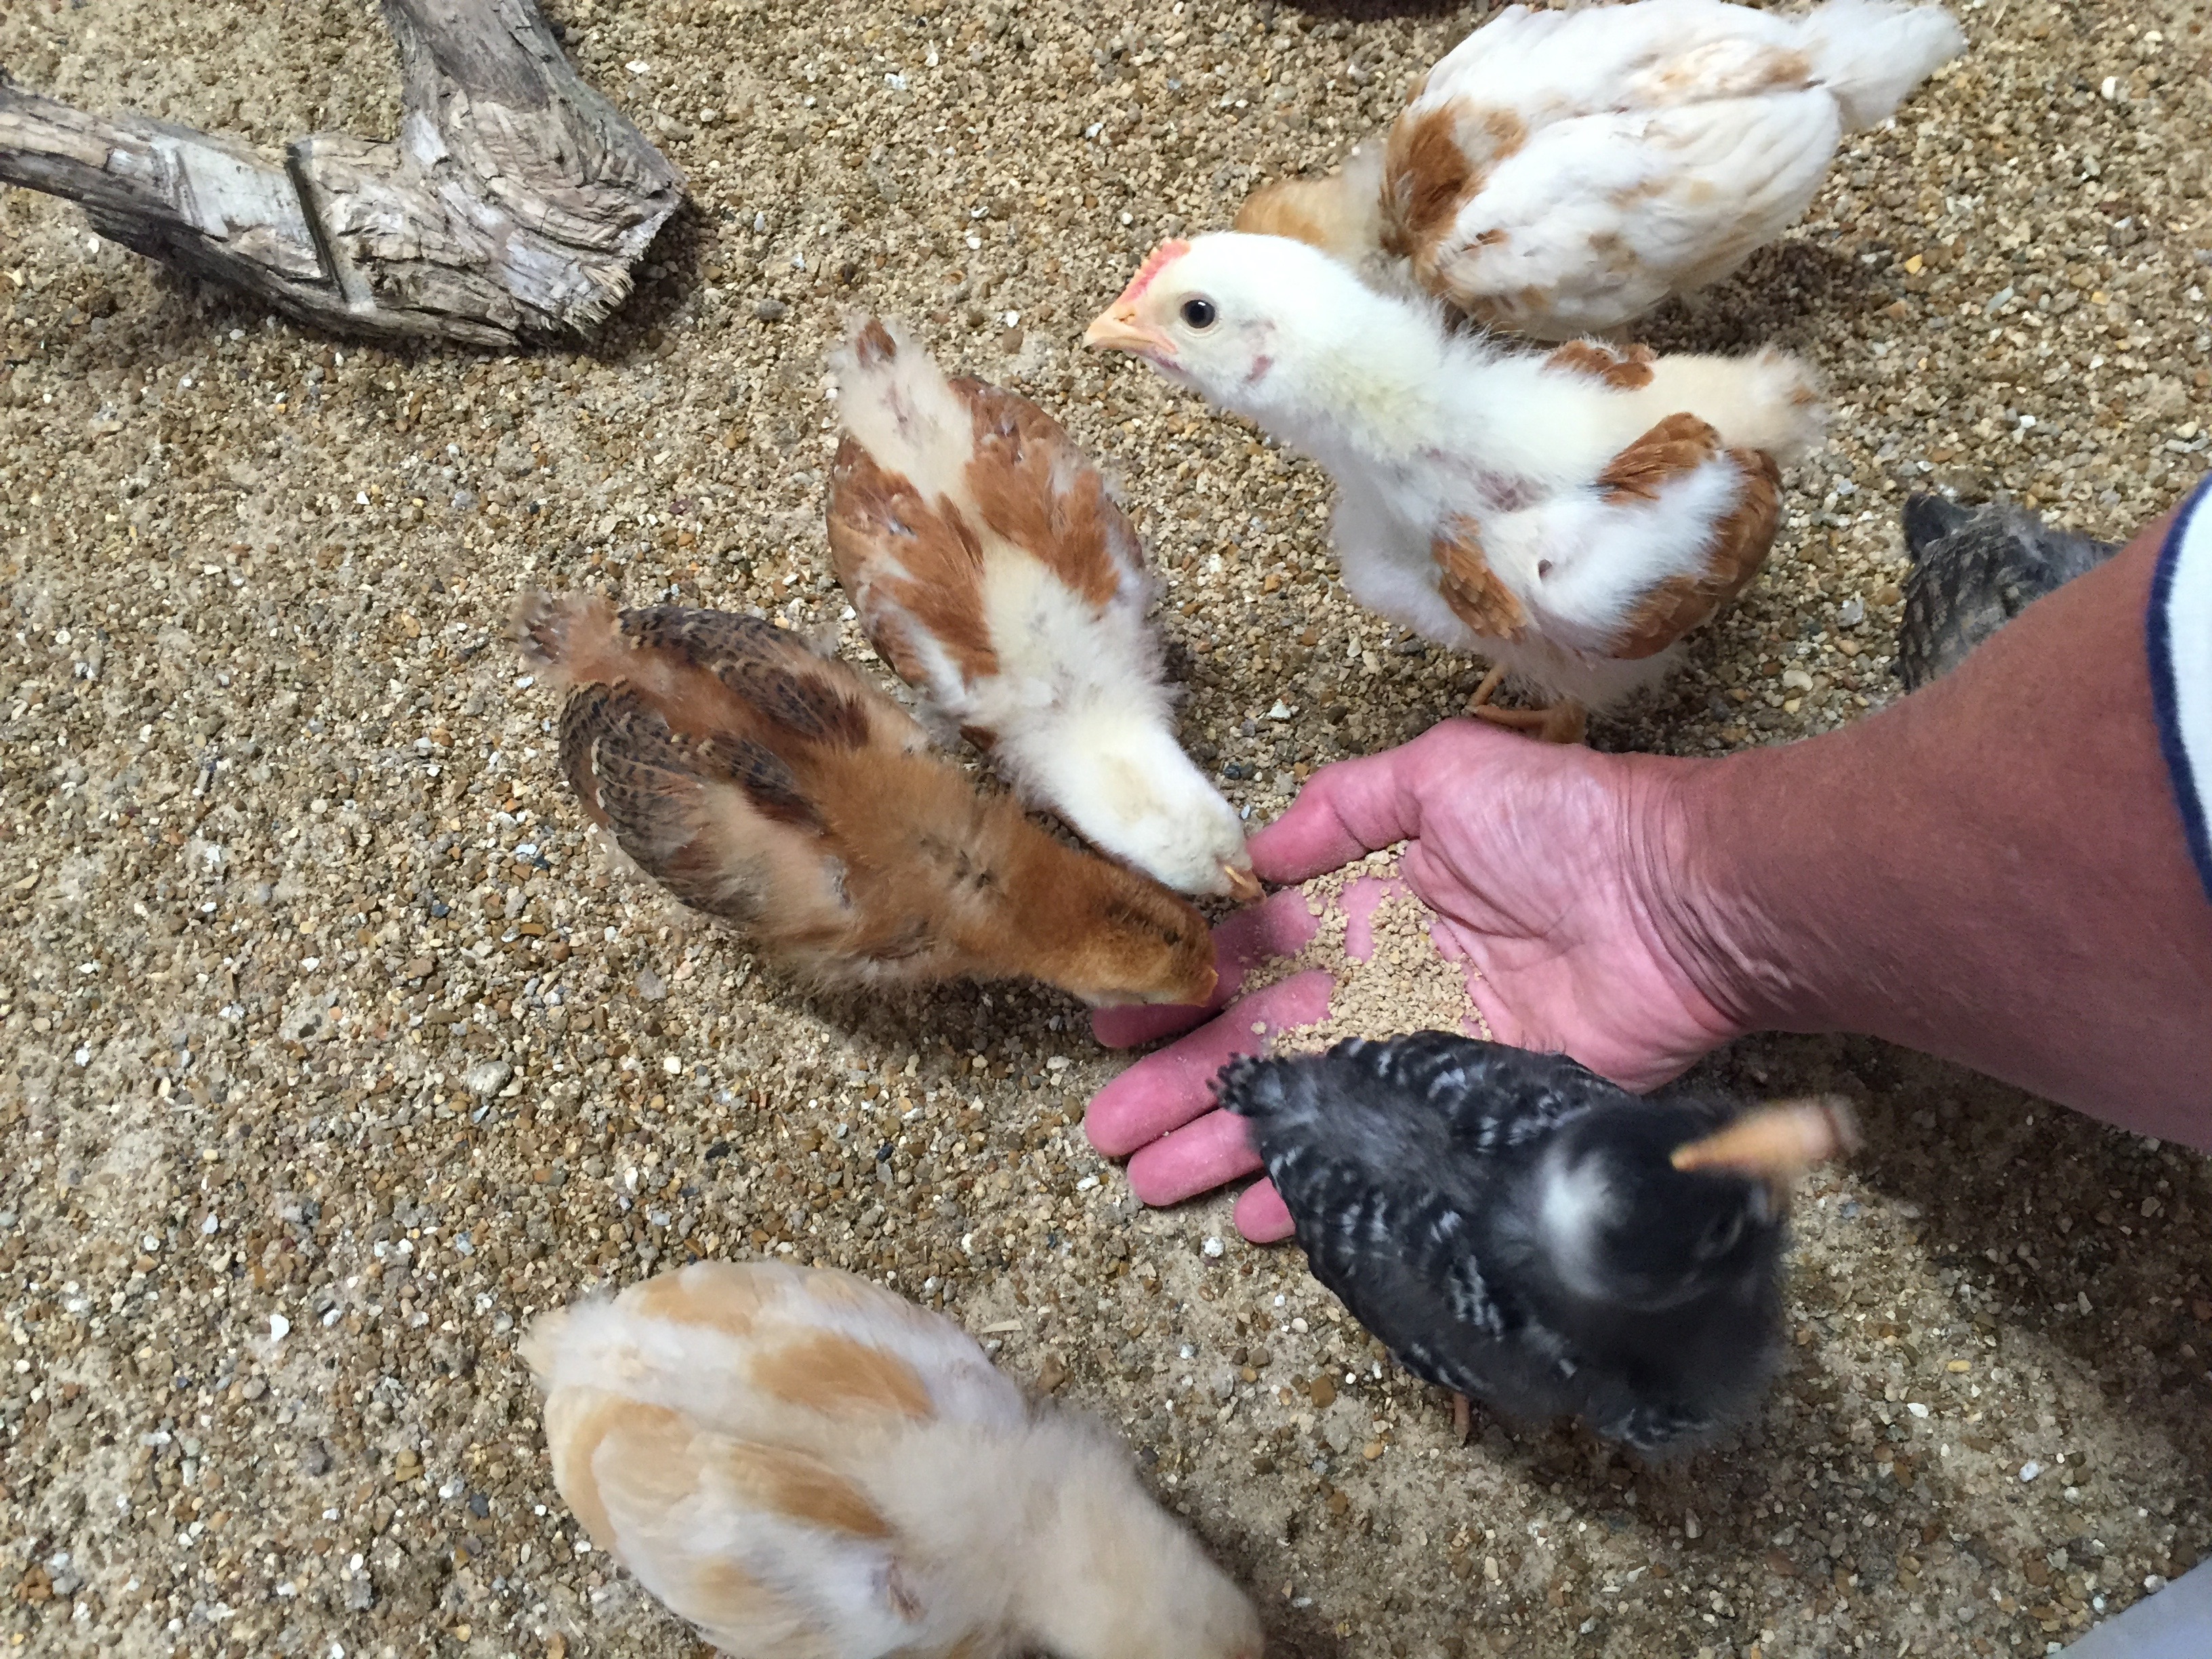
 Do you see anything interesting about this photo? Dave noticed that the flower heads are facing west as the day wears on but they start out their day eastward facing. It turns out that they follow the sun with much drama and movement and
 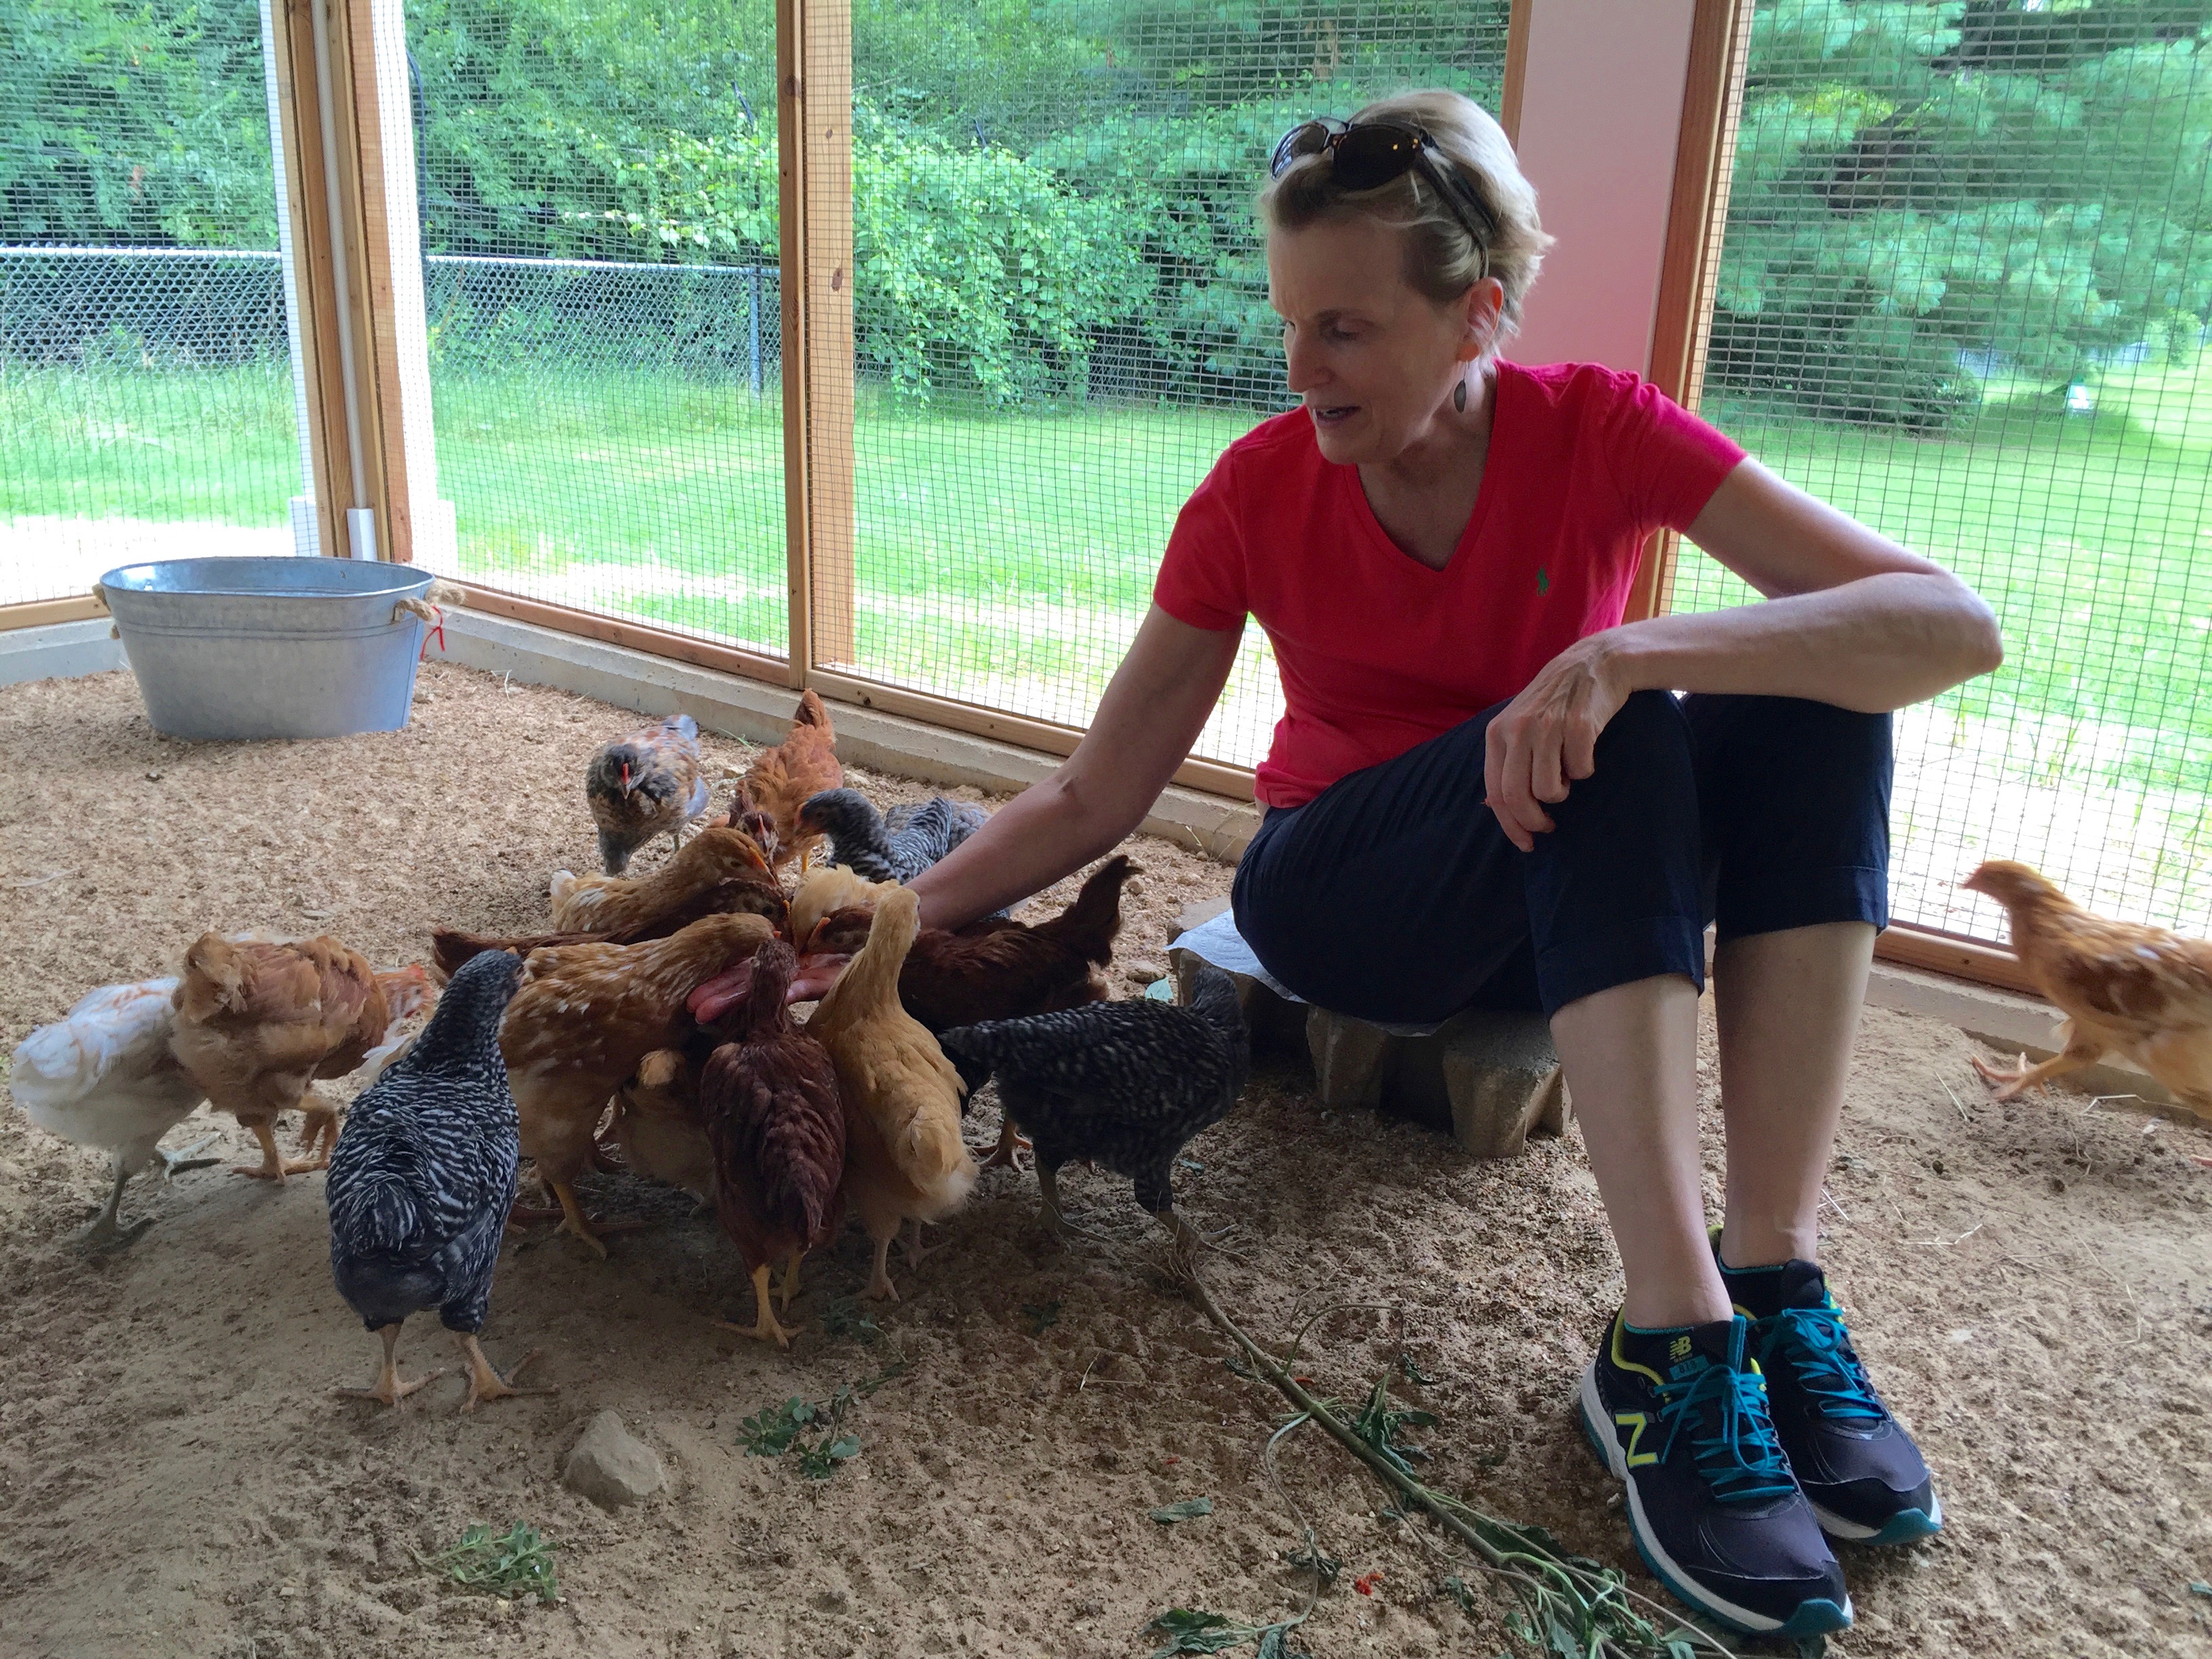 They don’t seem to care whose hand is feeding them when the goodies are leftover skins and seeds.
 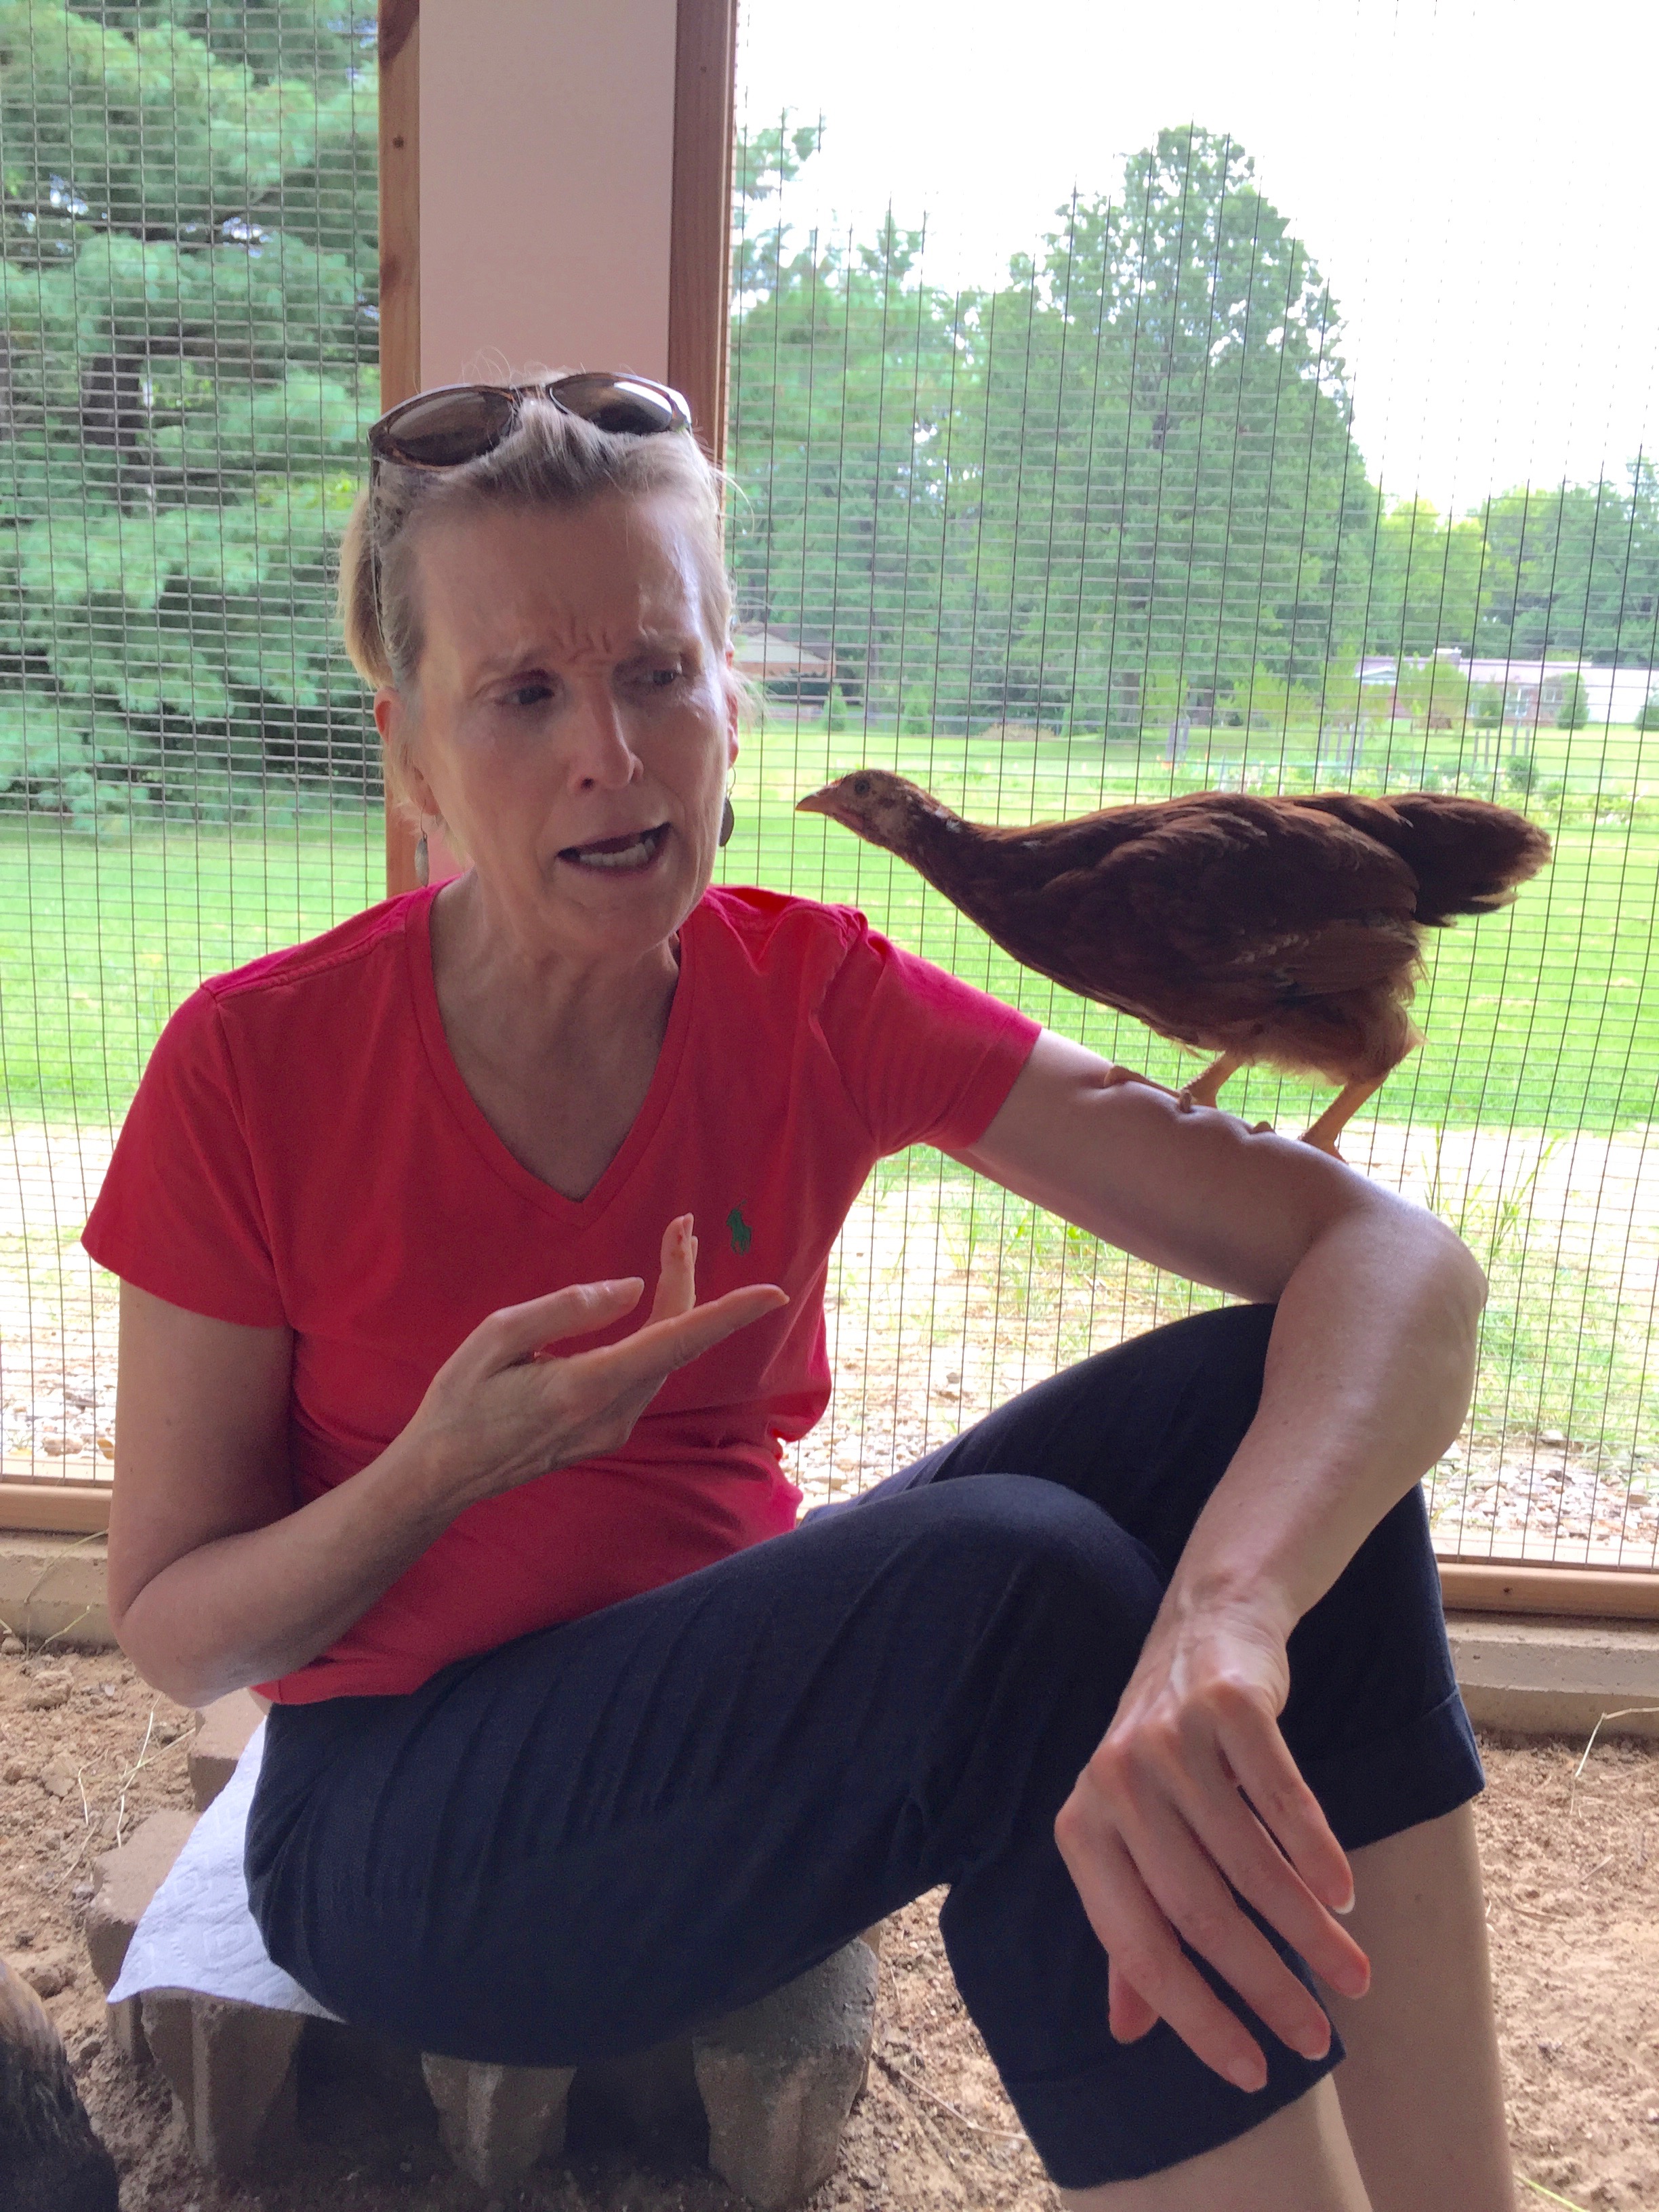 But there was no attitude from little Coulter who had his first haircut this week. Kate managed a Rockwell-esque photo montage.

 Then the slide…
 And finally a cool off with a bit of breeze from the swing!!!
 What a difference a year makes when you are 15 months old!
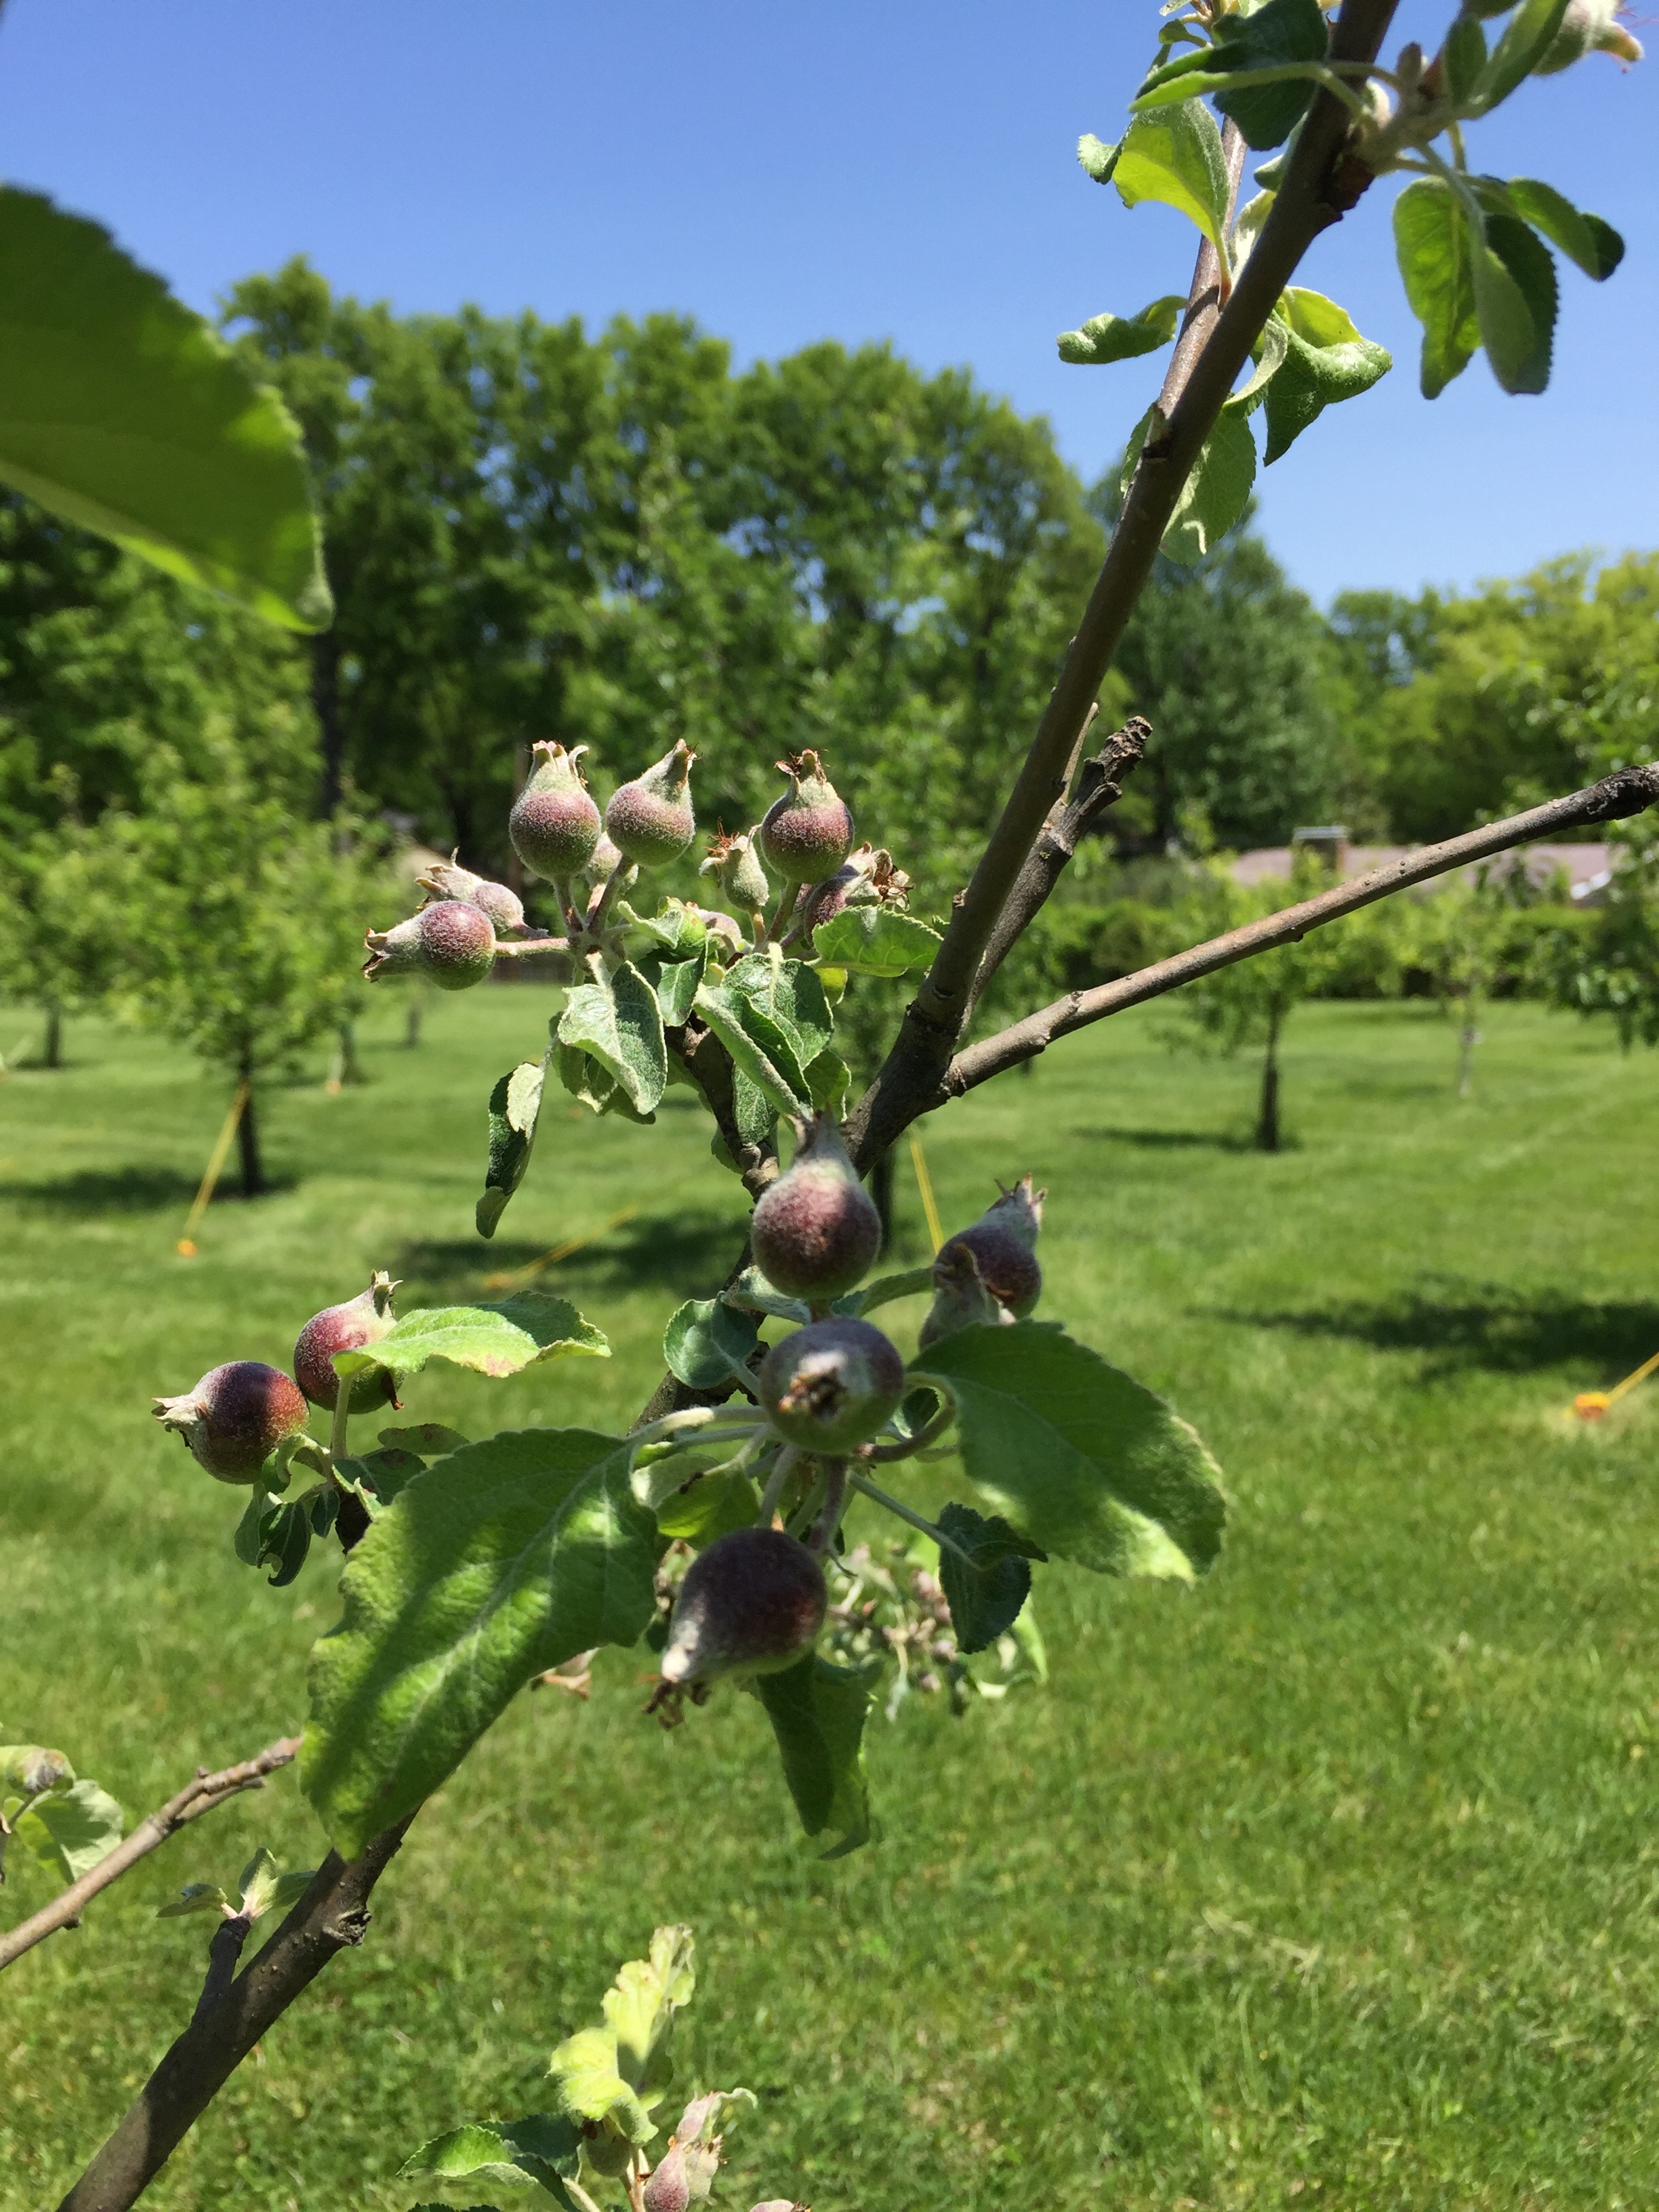 Not too long after this, the deer discovered the back way into the orchard and began helping themselves to the lovely fruits which had grown well beyond golf ball stage. Arg! Not only were we greatly discouraged by this predatory activity, we knew that the deer were also nibbling the branches and doing additional harm to the trees. So we did a second culling and took all the fruits away so that the deer would no longer be attracted to the trees. We brought in a modest harvest of 25.5 lbs of small sized apples and just could not throw them away. These are a few of the green ones from the first culling. The second ones were much farther along and were turning beautiful shades of red.
 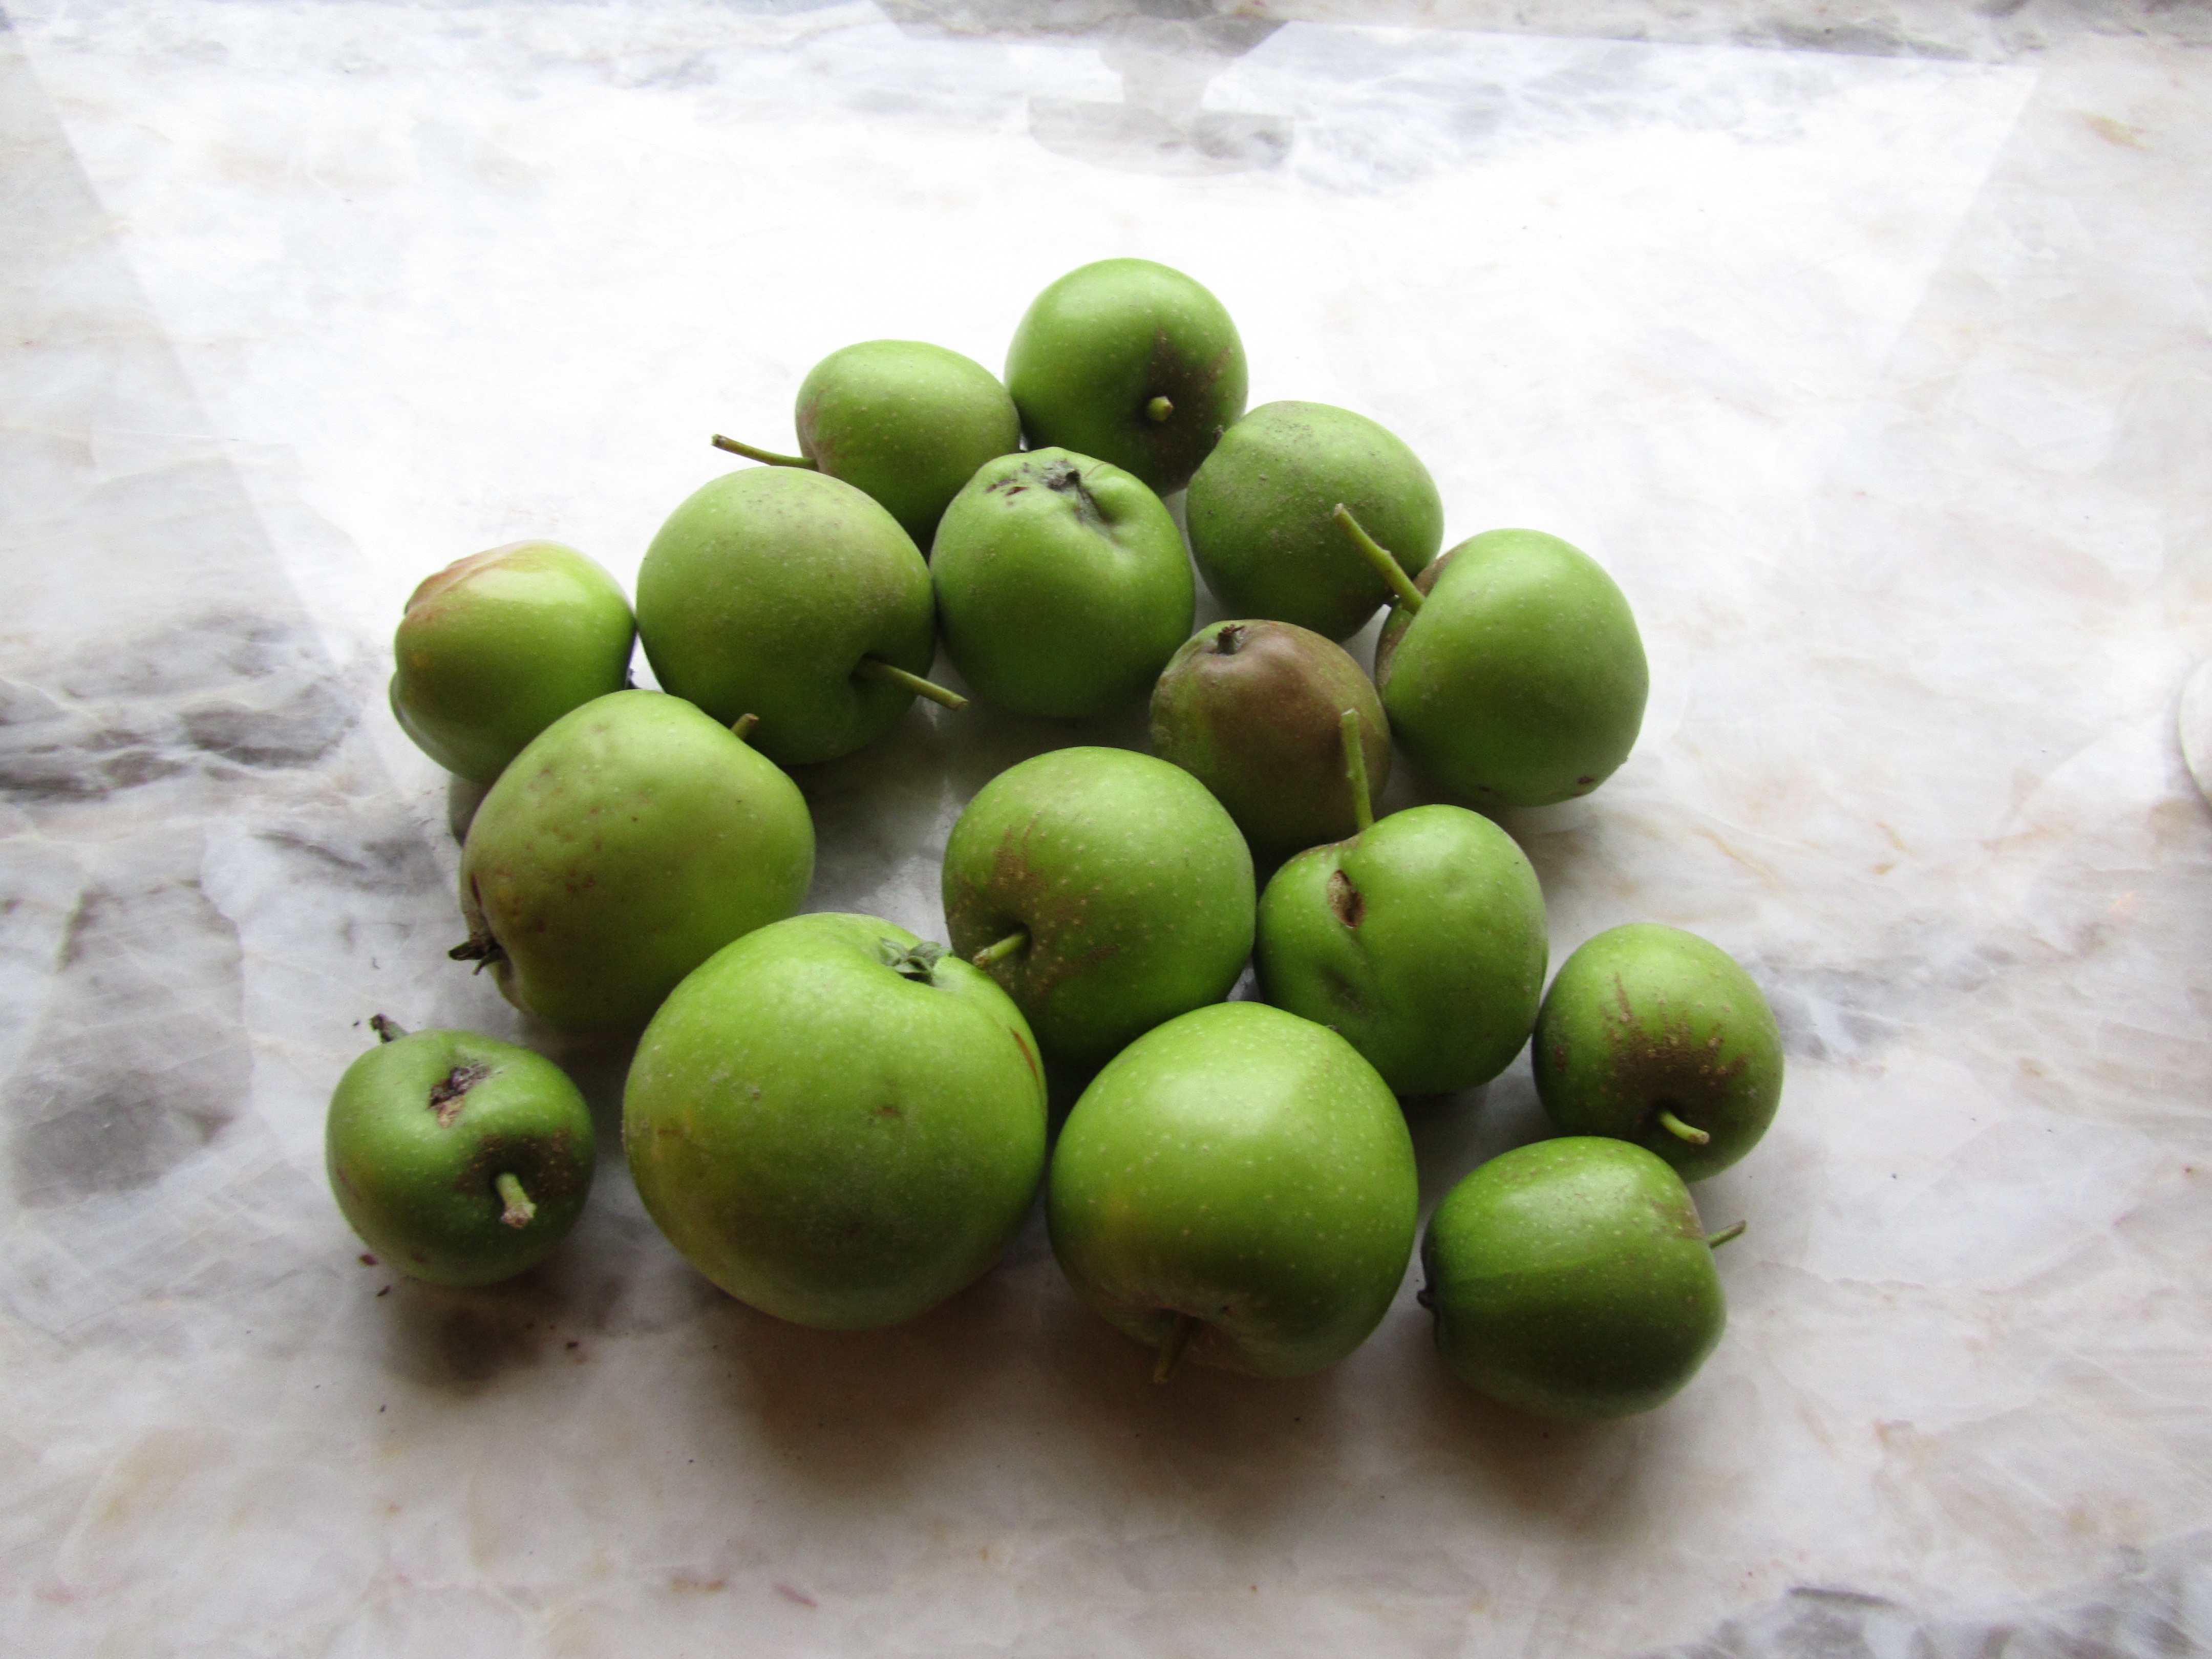 So, after researching recipes and with a bit of time yesterday, I decided to make apple butter with these apples. No, I did not have enough volume to involve the lovely copper apple butter kettle that I purchased from a farm sale several years ago but I hope to use this item some time in the future!
 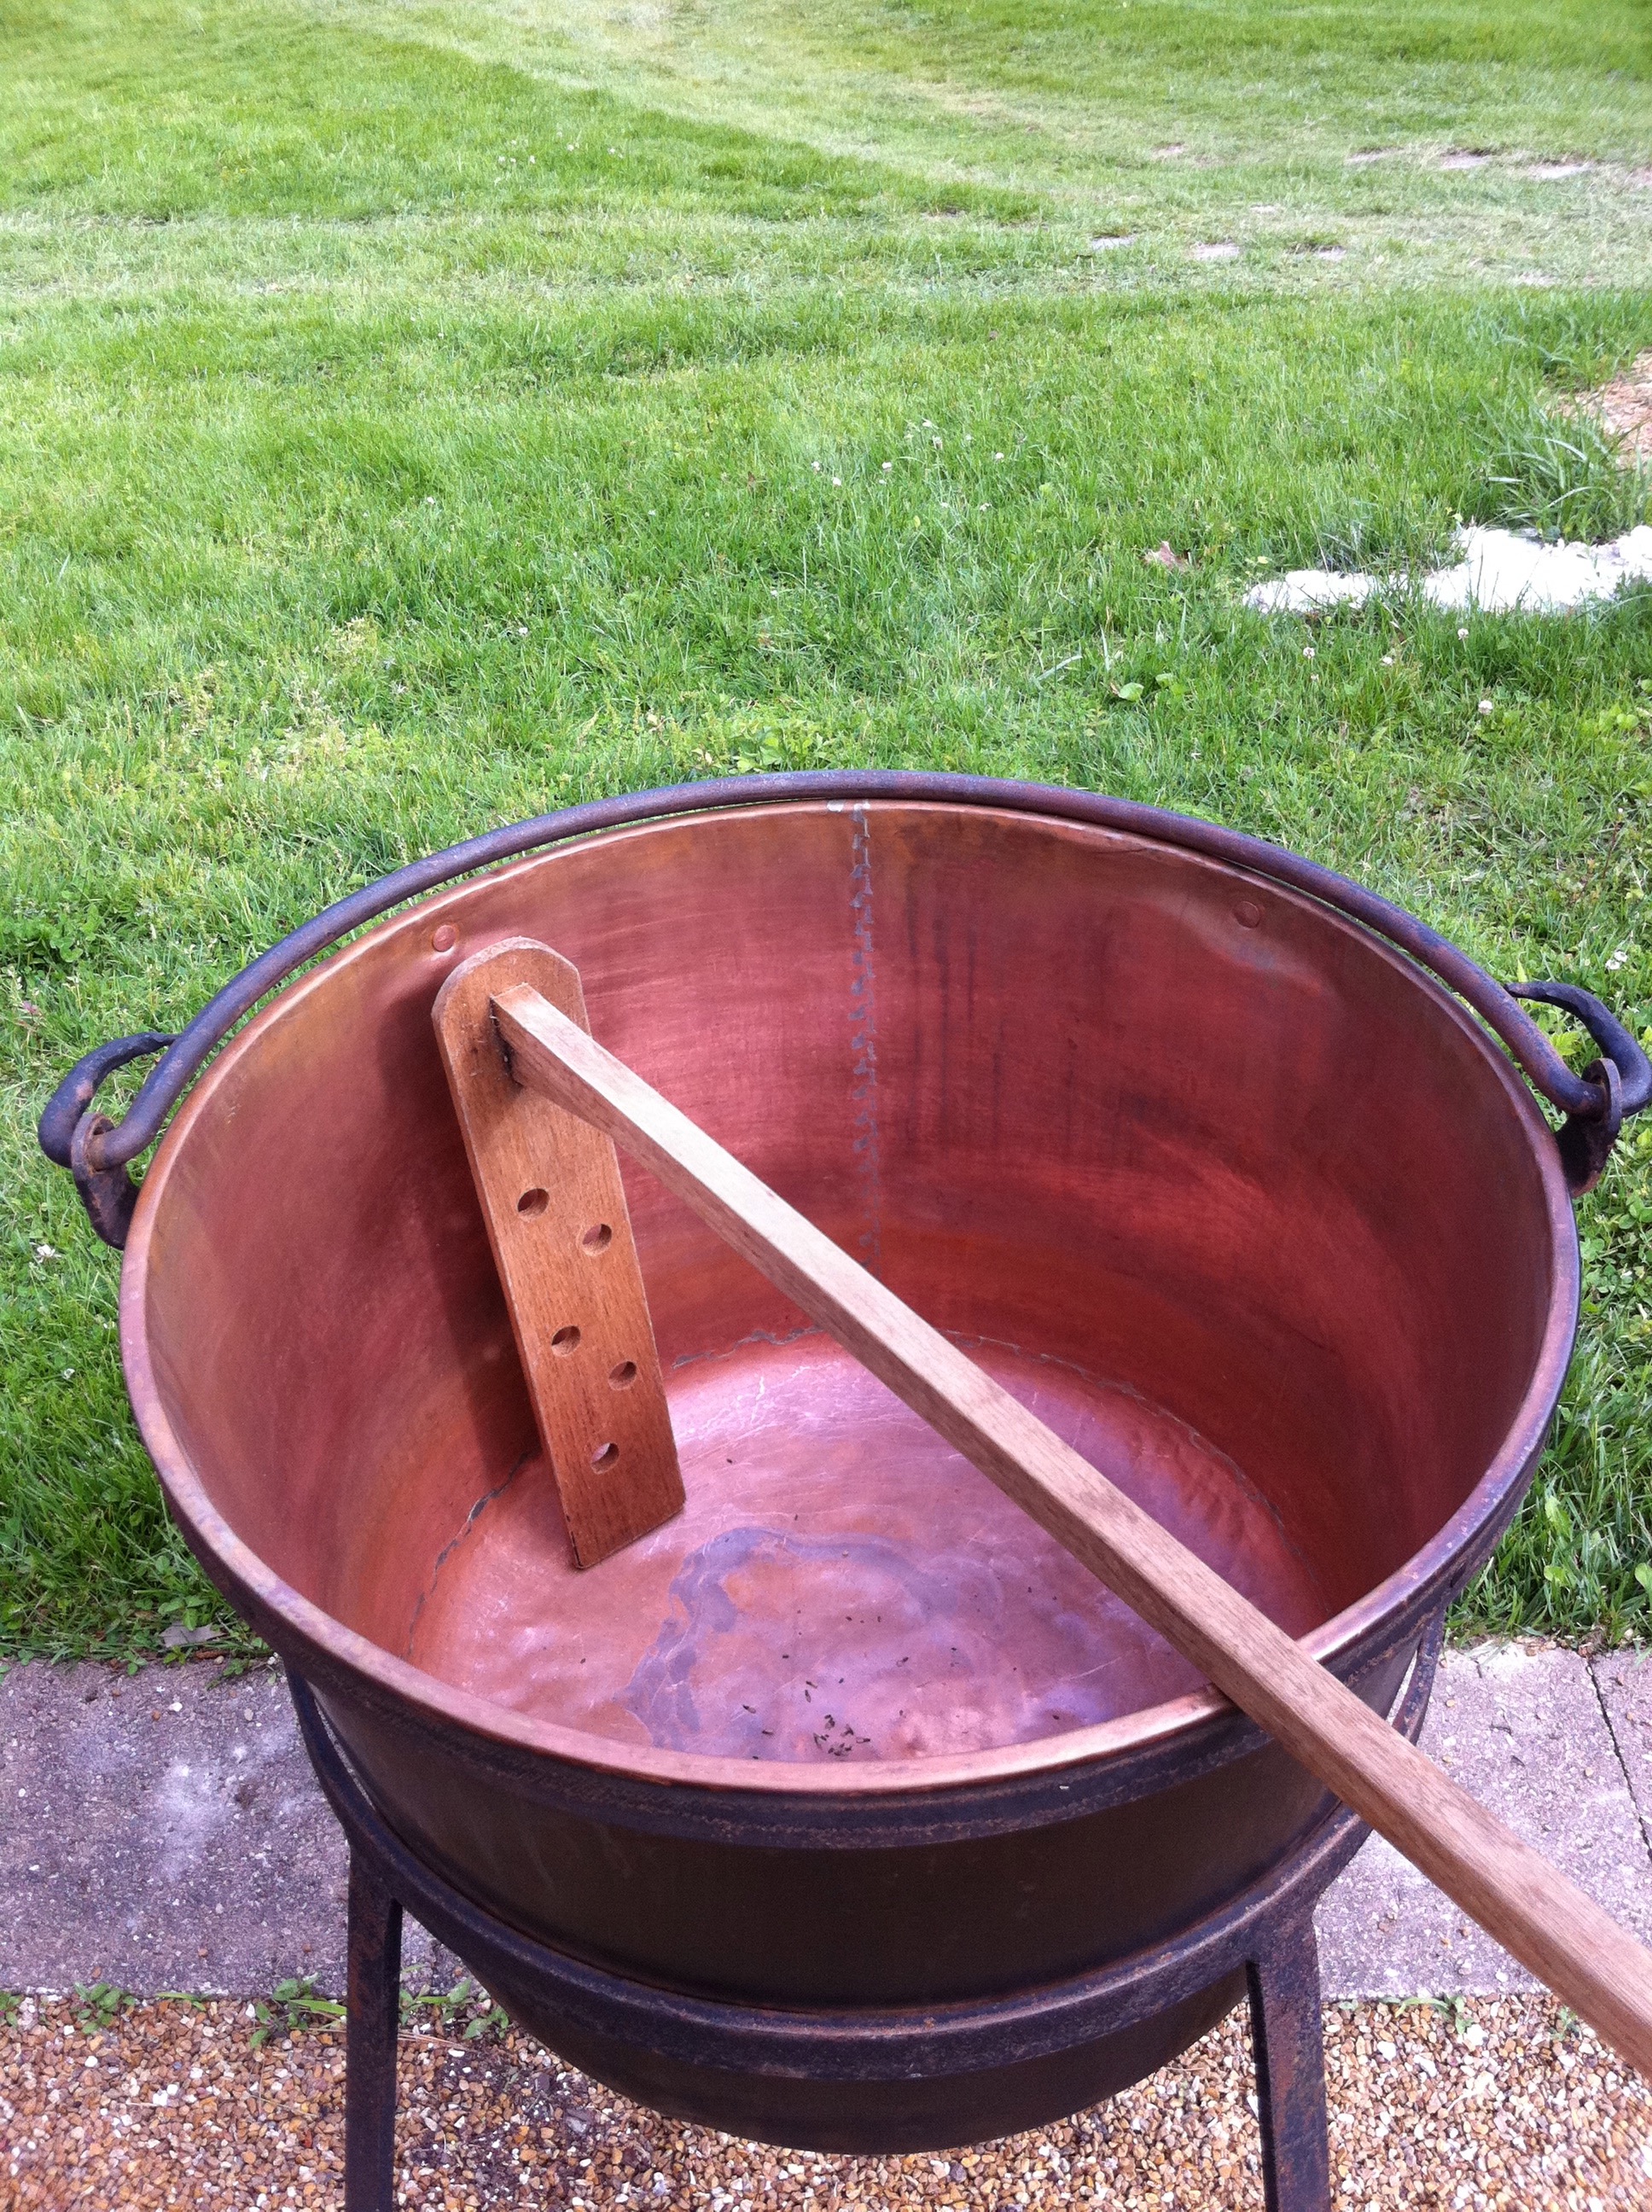 So I started by weighing up a small batch of 6lbs of apples and quartered and cored them and popped them into a large pot on the stove to cook down and soften.
 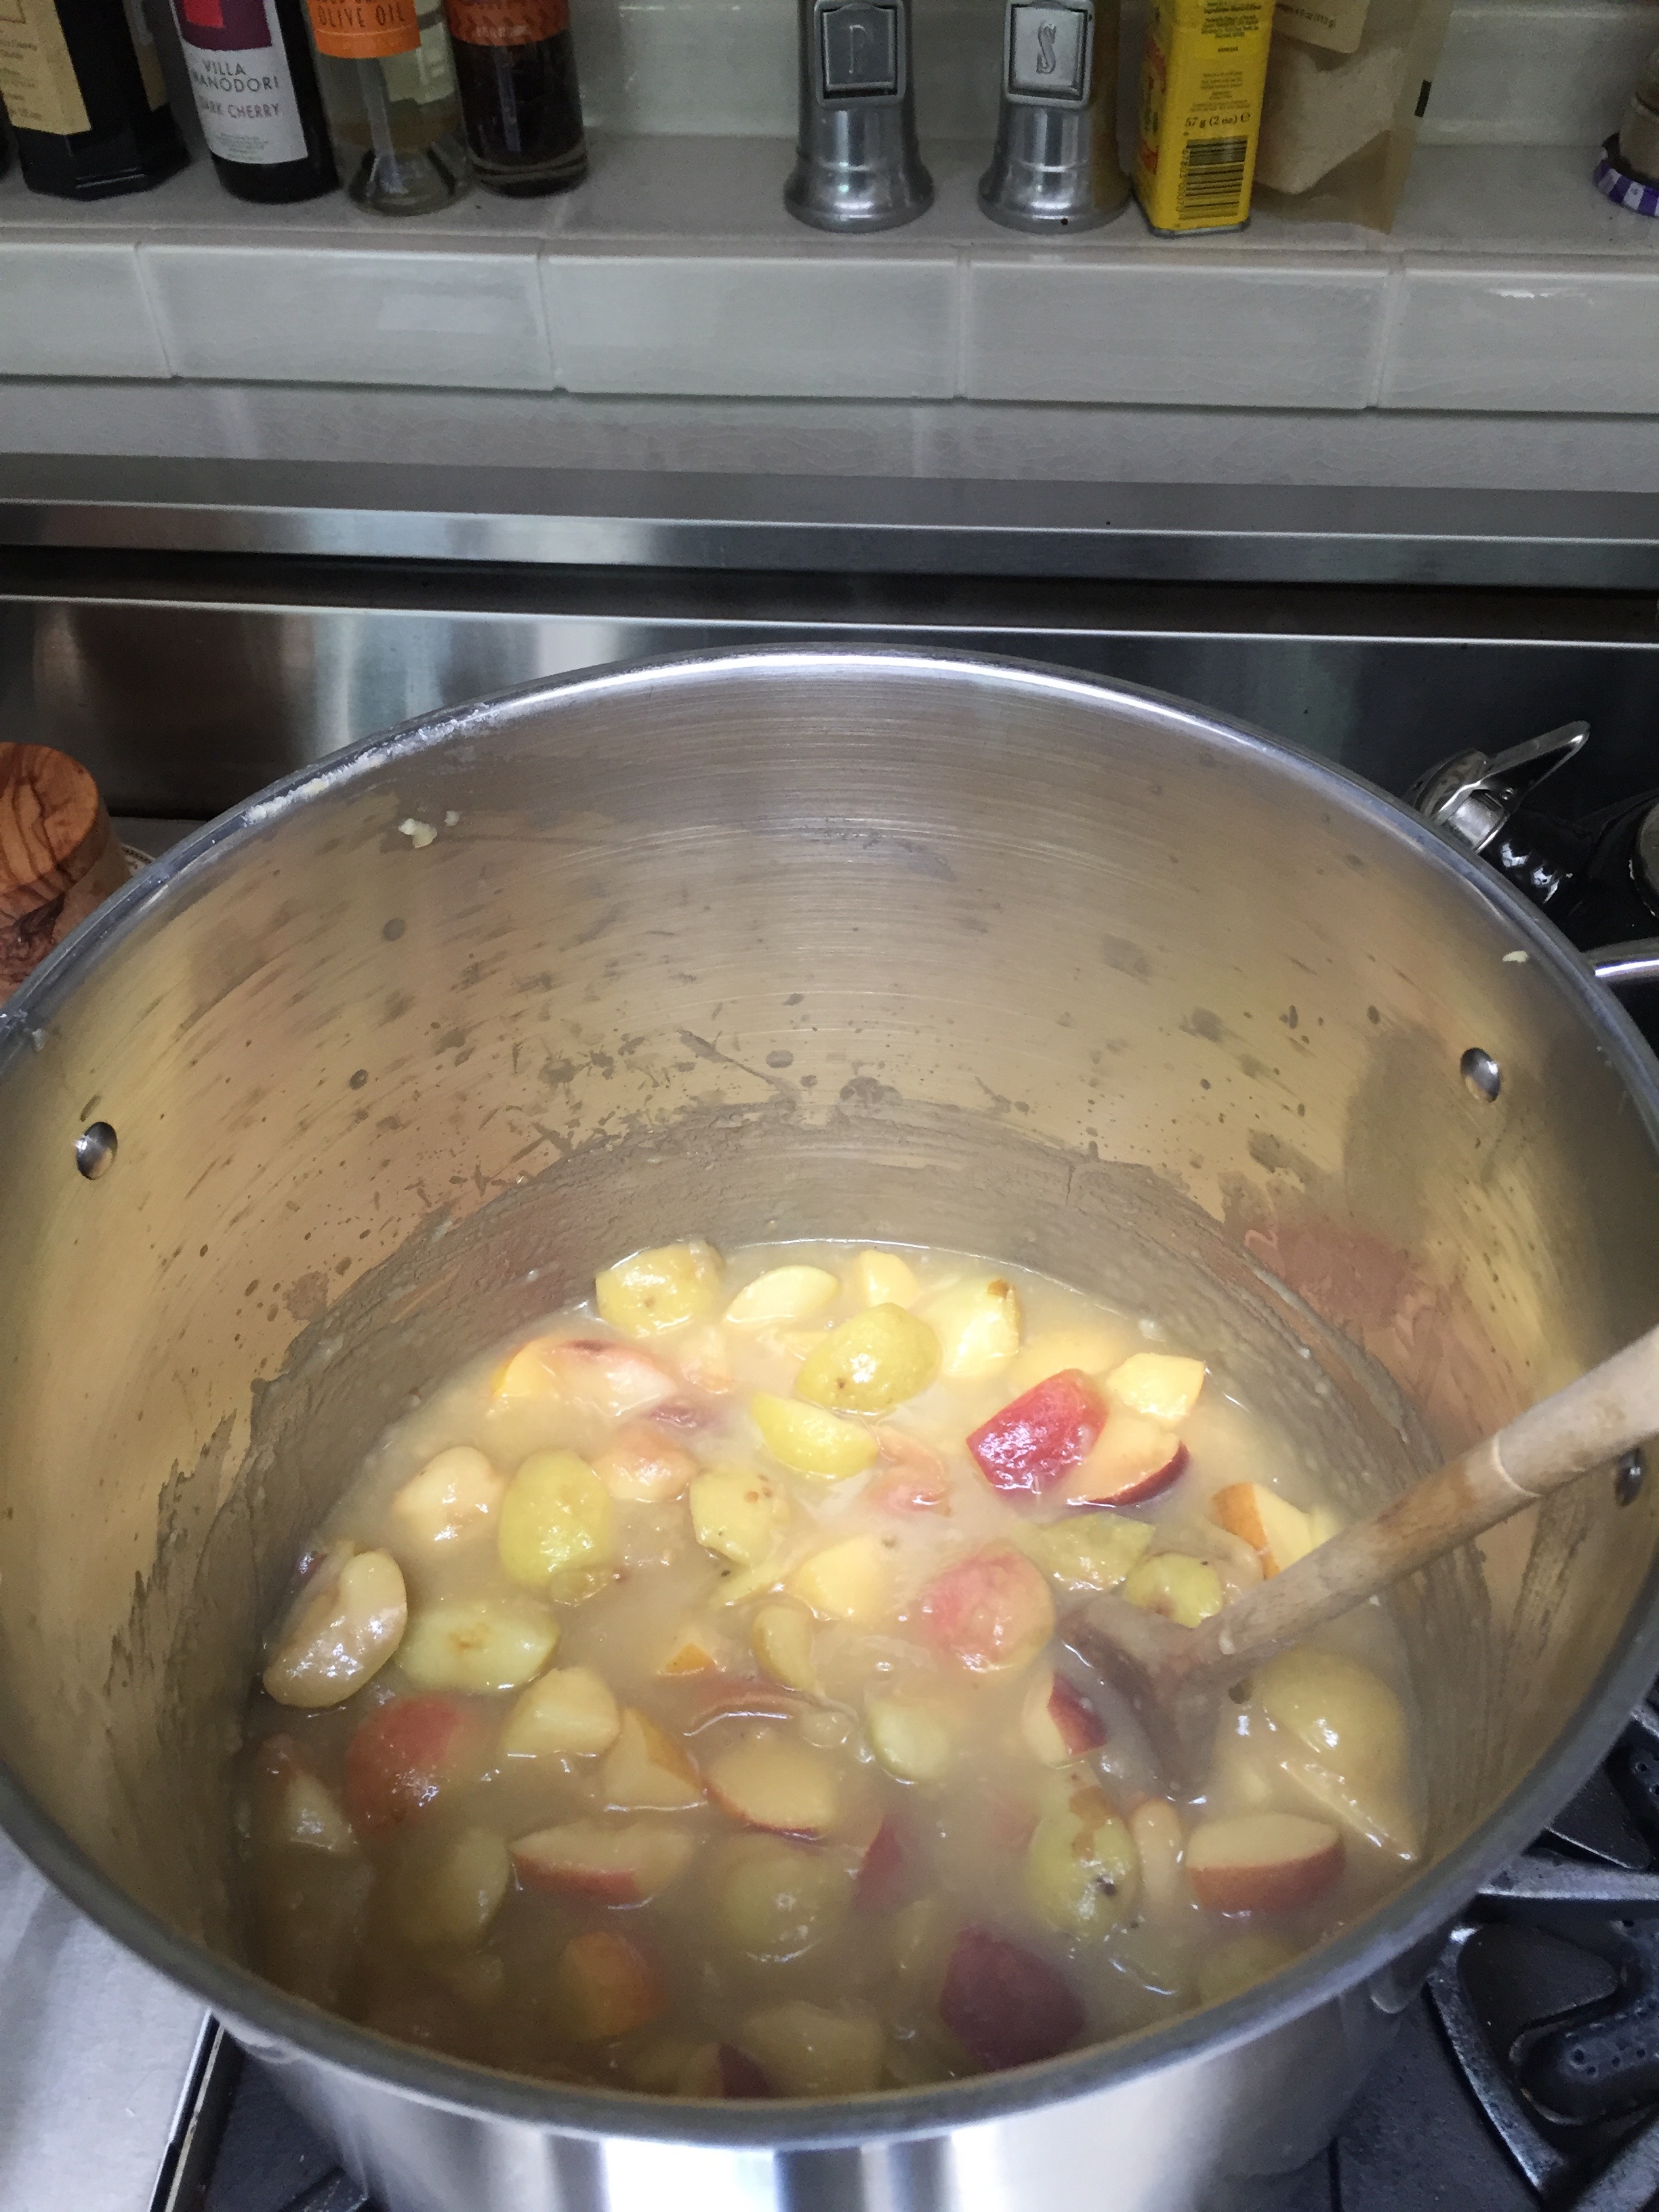 As instructed, I added some liquid in the form of apple cider instead of water but either would have done the trick.
 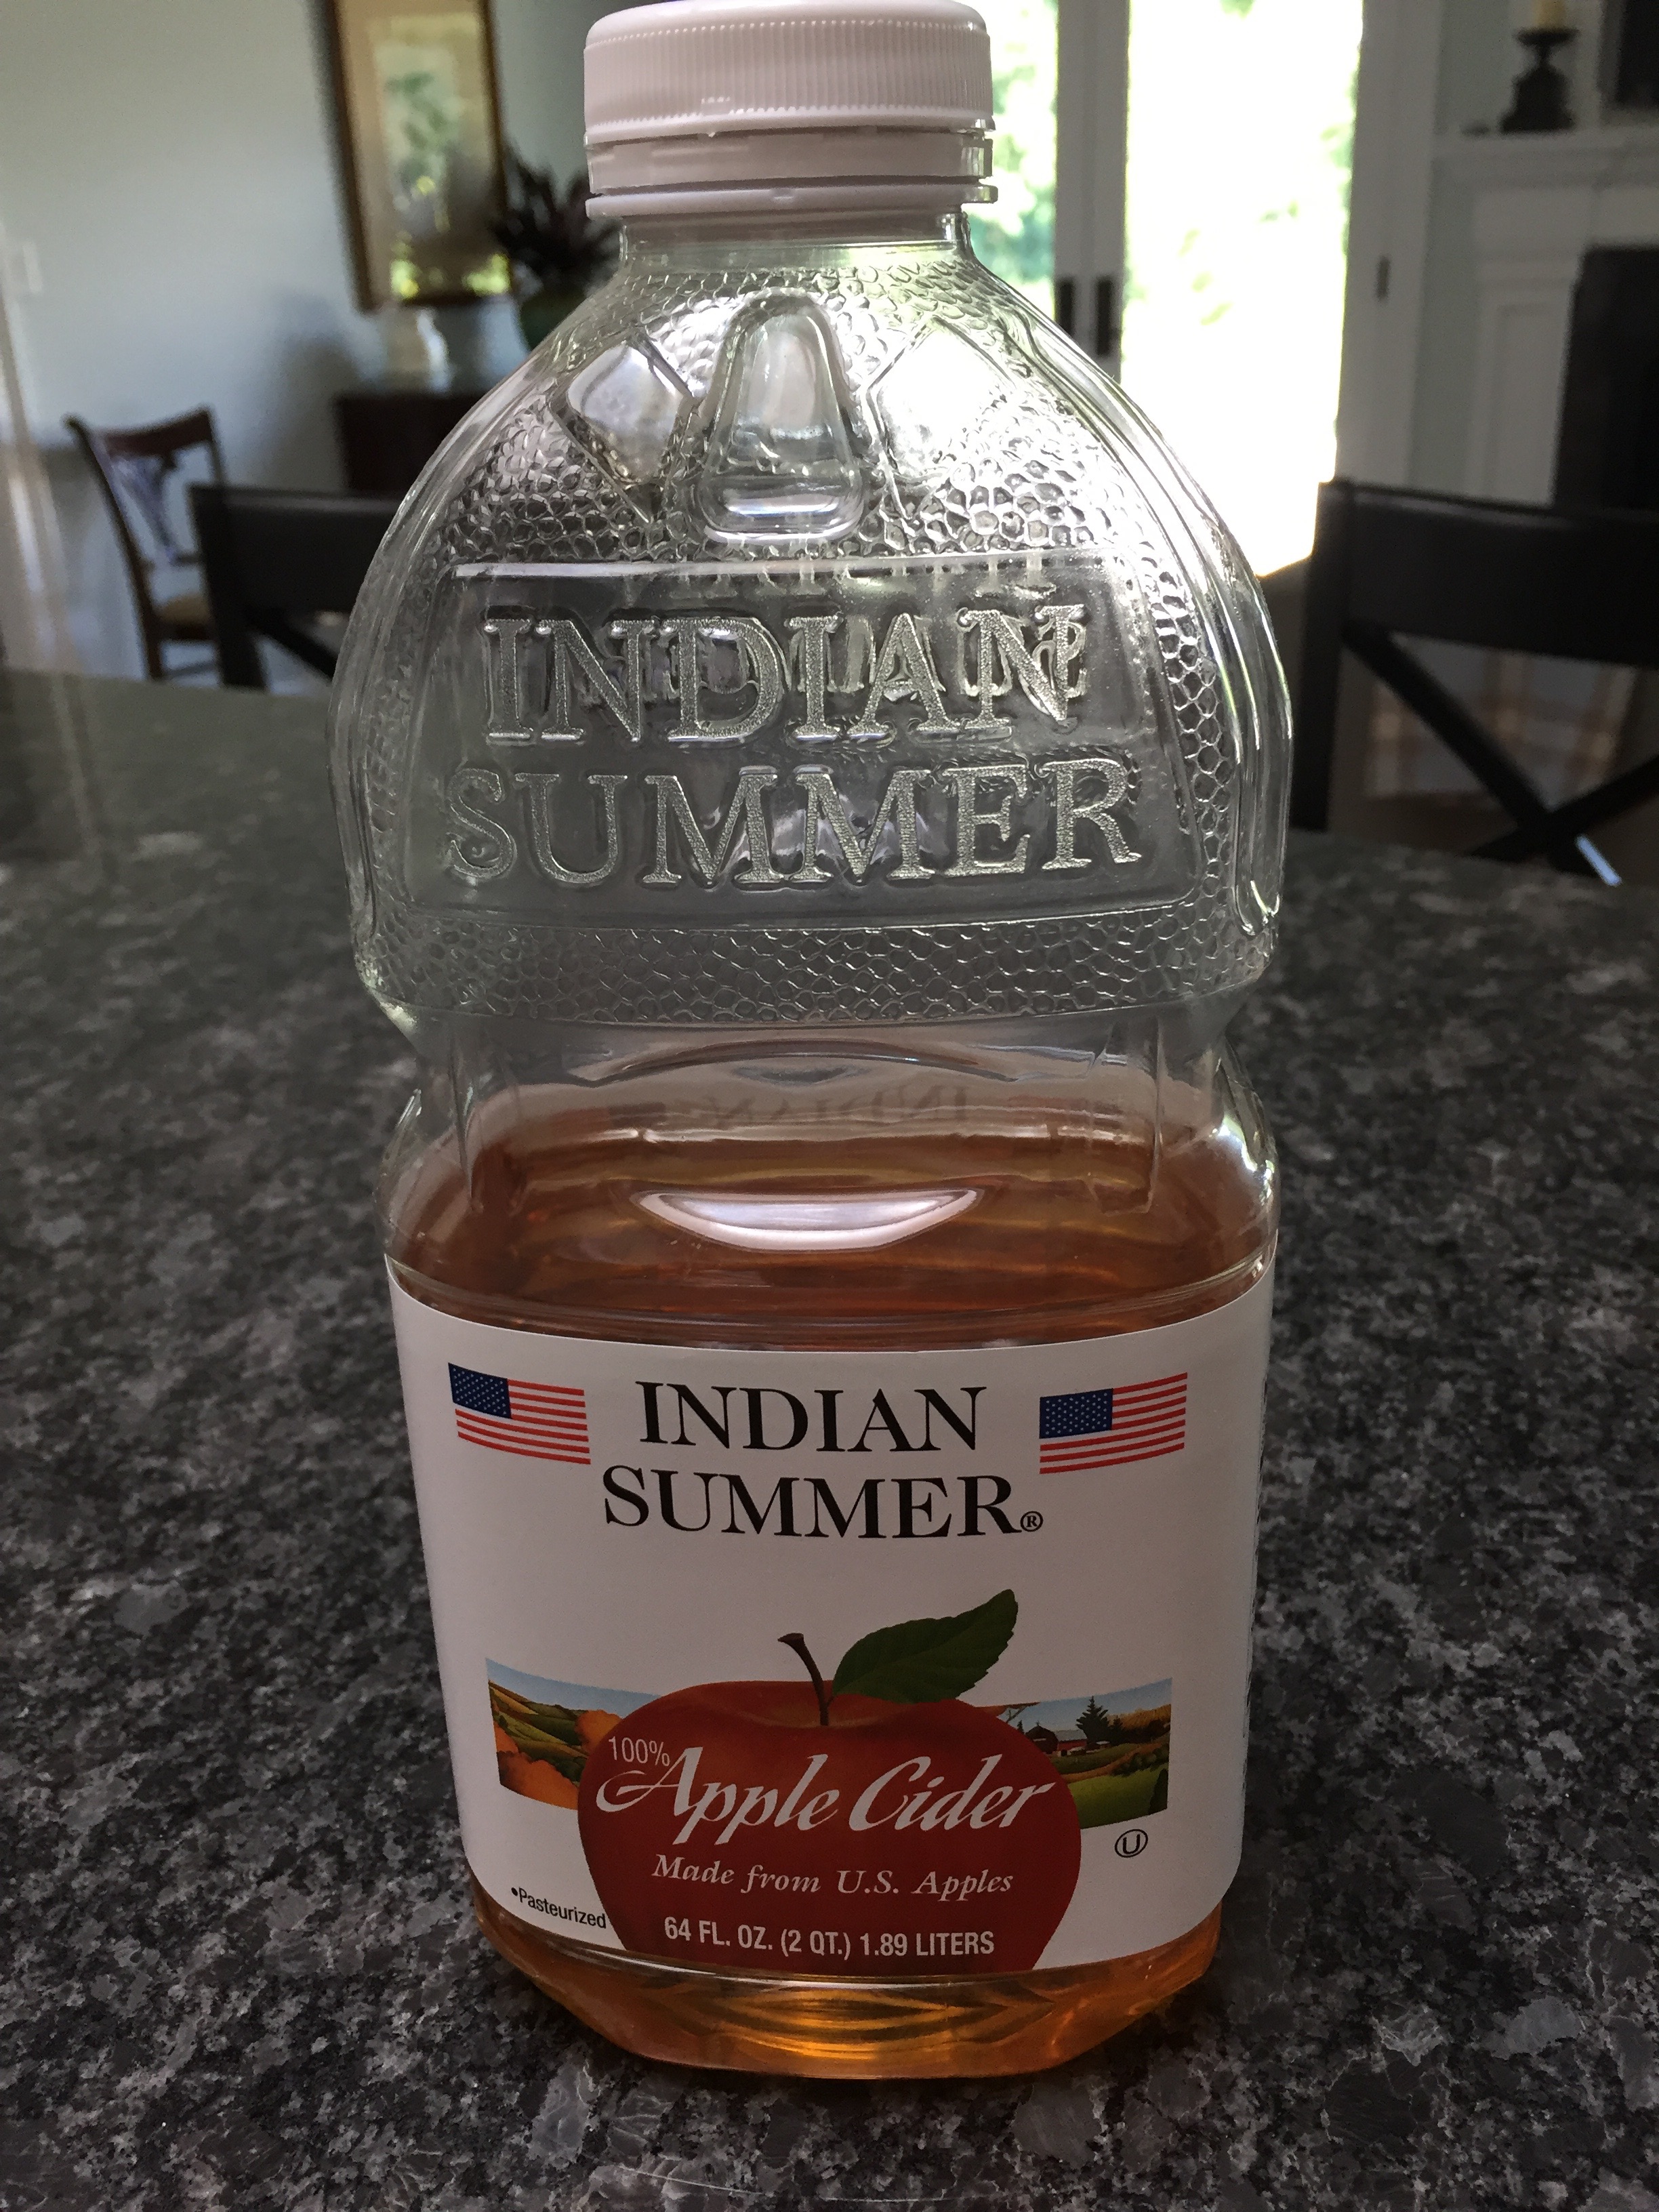 These had to cook longer than the recipe indicated, mostly because they were less ripe, but when they were finally soft, I put them thru my food mill.
 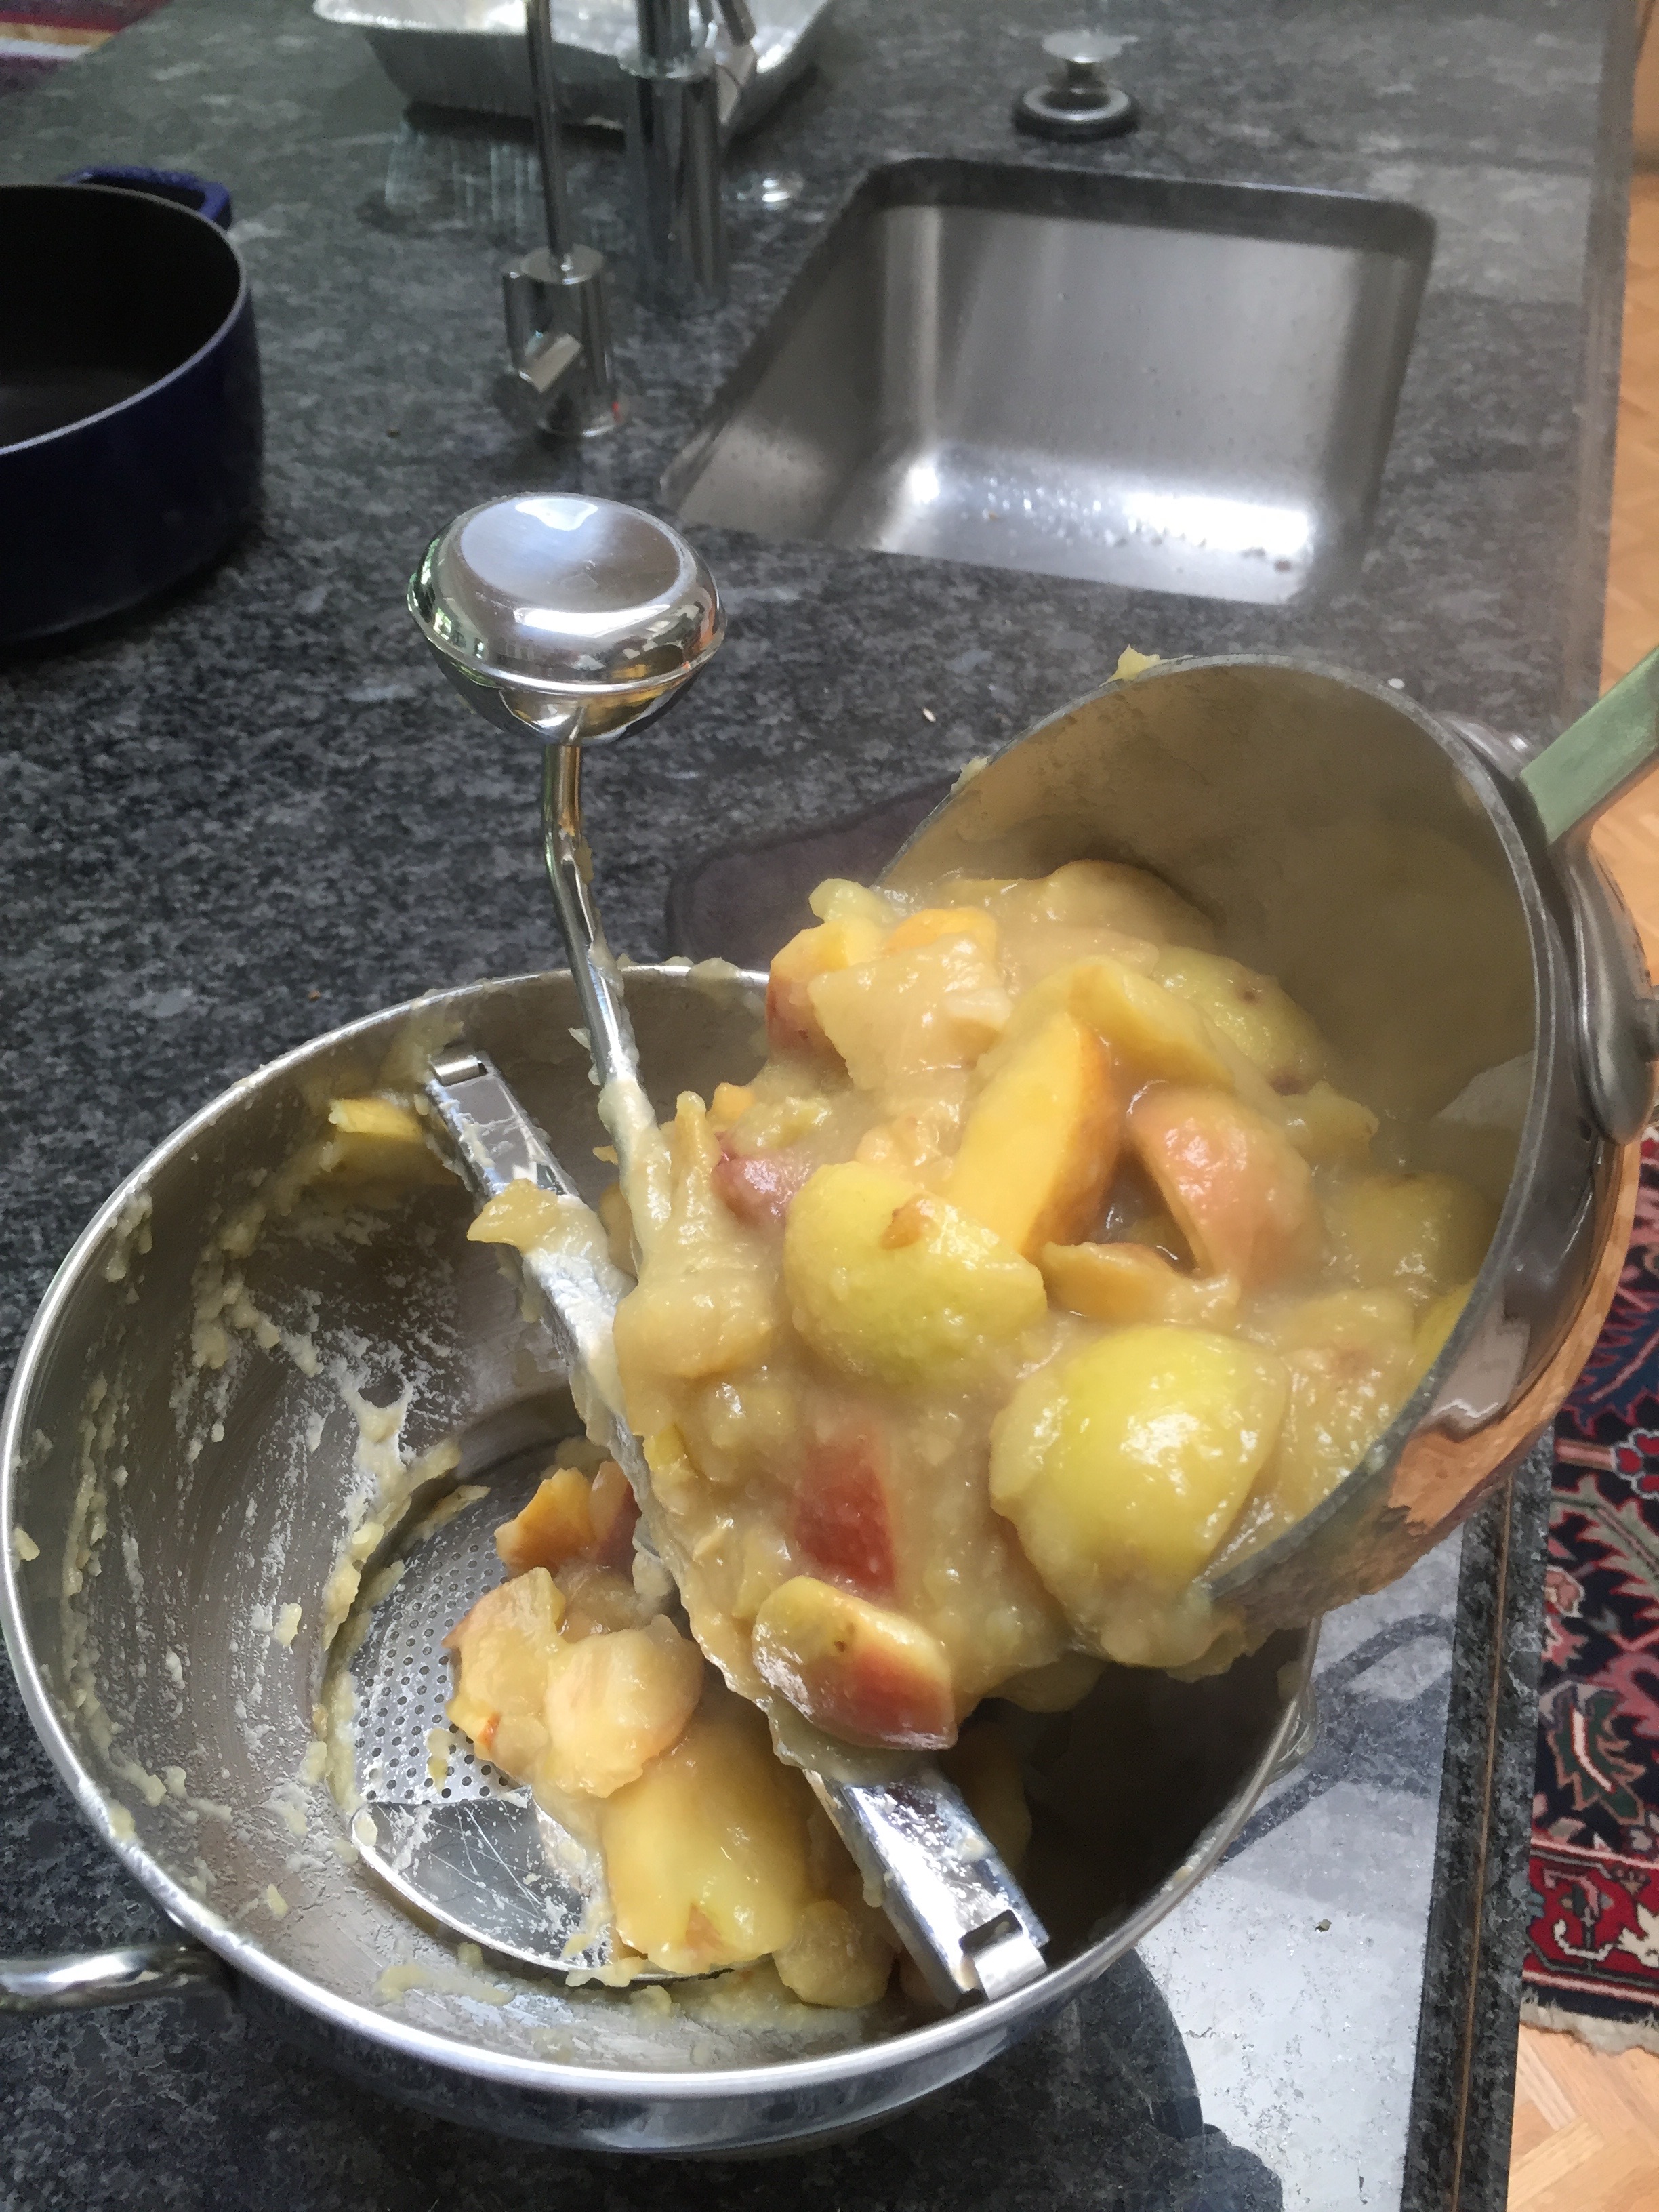 Here is where I made a miserable mistake. I grabbed the food mill from the dishwasher after previously milling tomato sauce and never gave much thought about the size of the sieve plate in the bottom that I was using. Ugh! How dumb! Here are the three plates I had to choose from – since I was only separating the apple skins I should have used the largest one (on the left) instead of the smaller one on the right (which keeps tomato seeds from going thru!) – I would have saved my poor arms another work out! Live and learn!
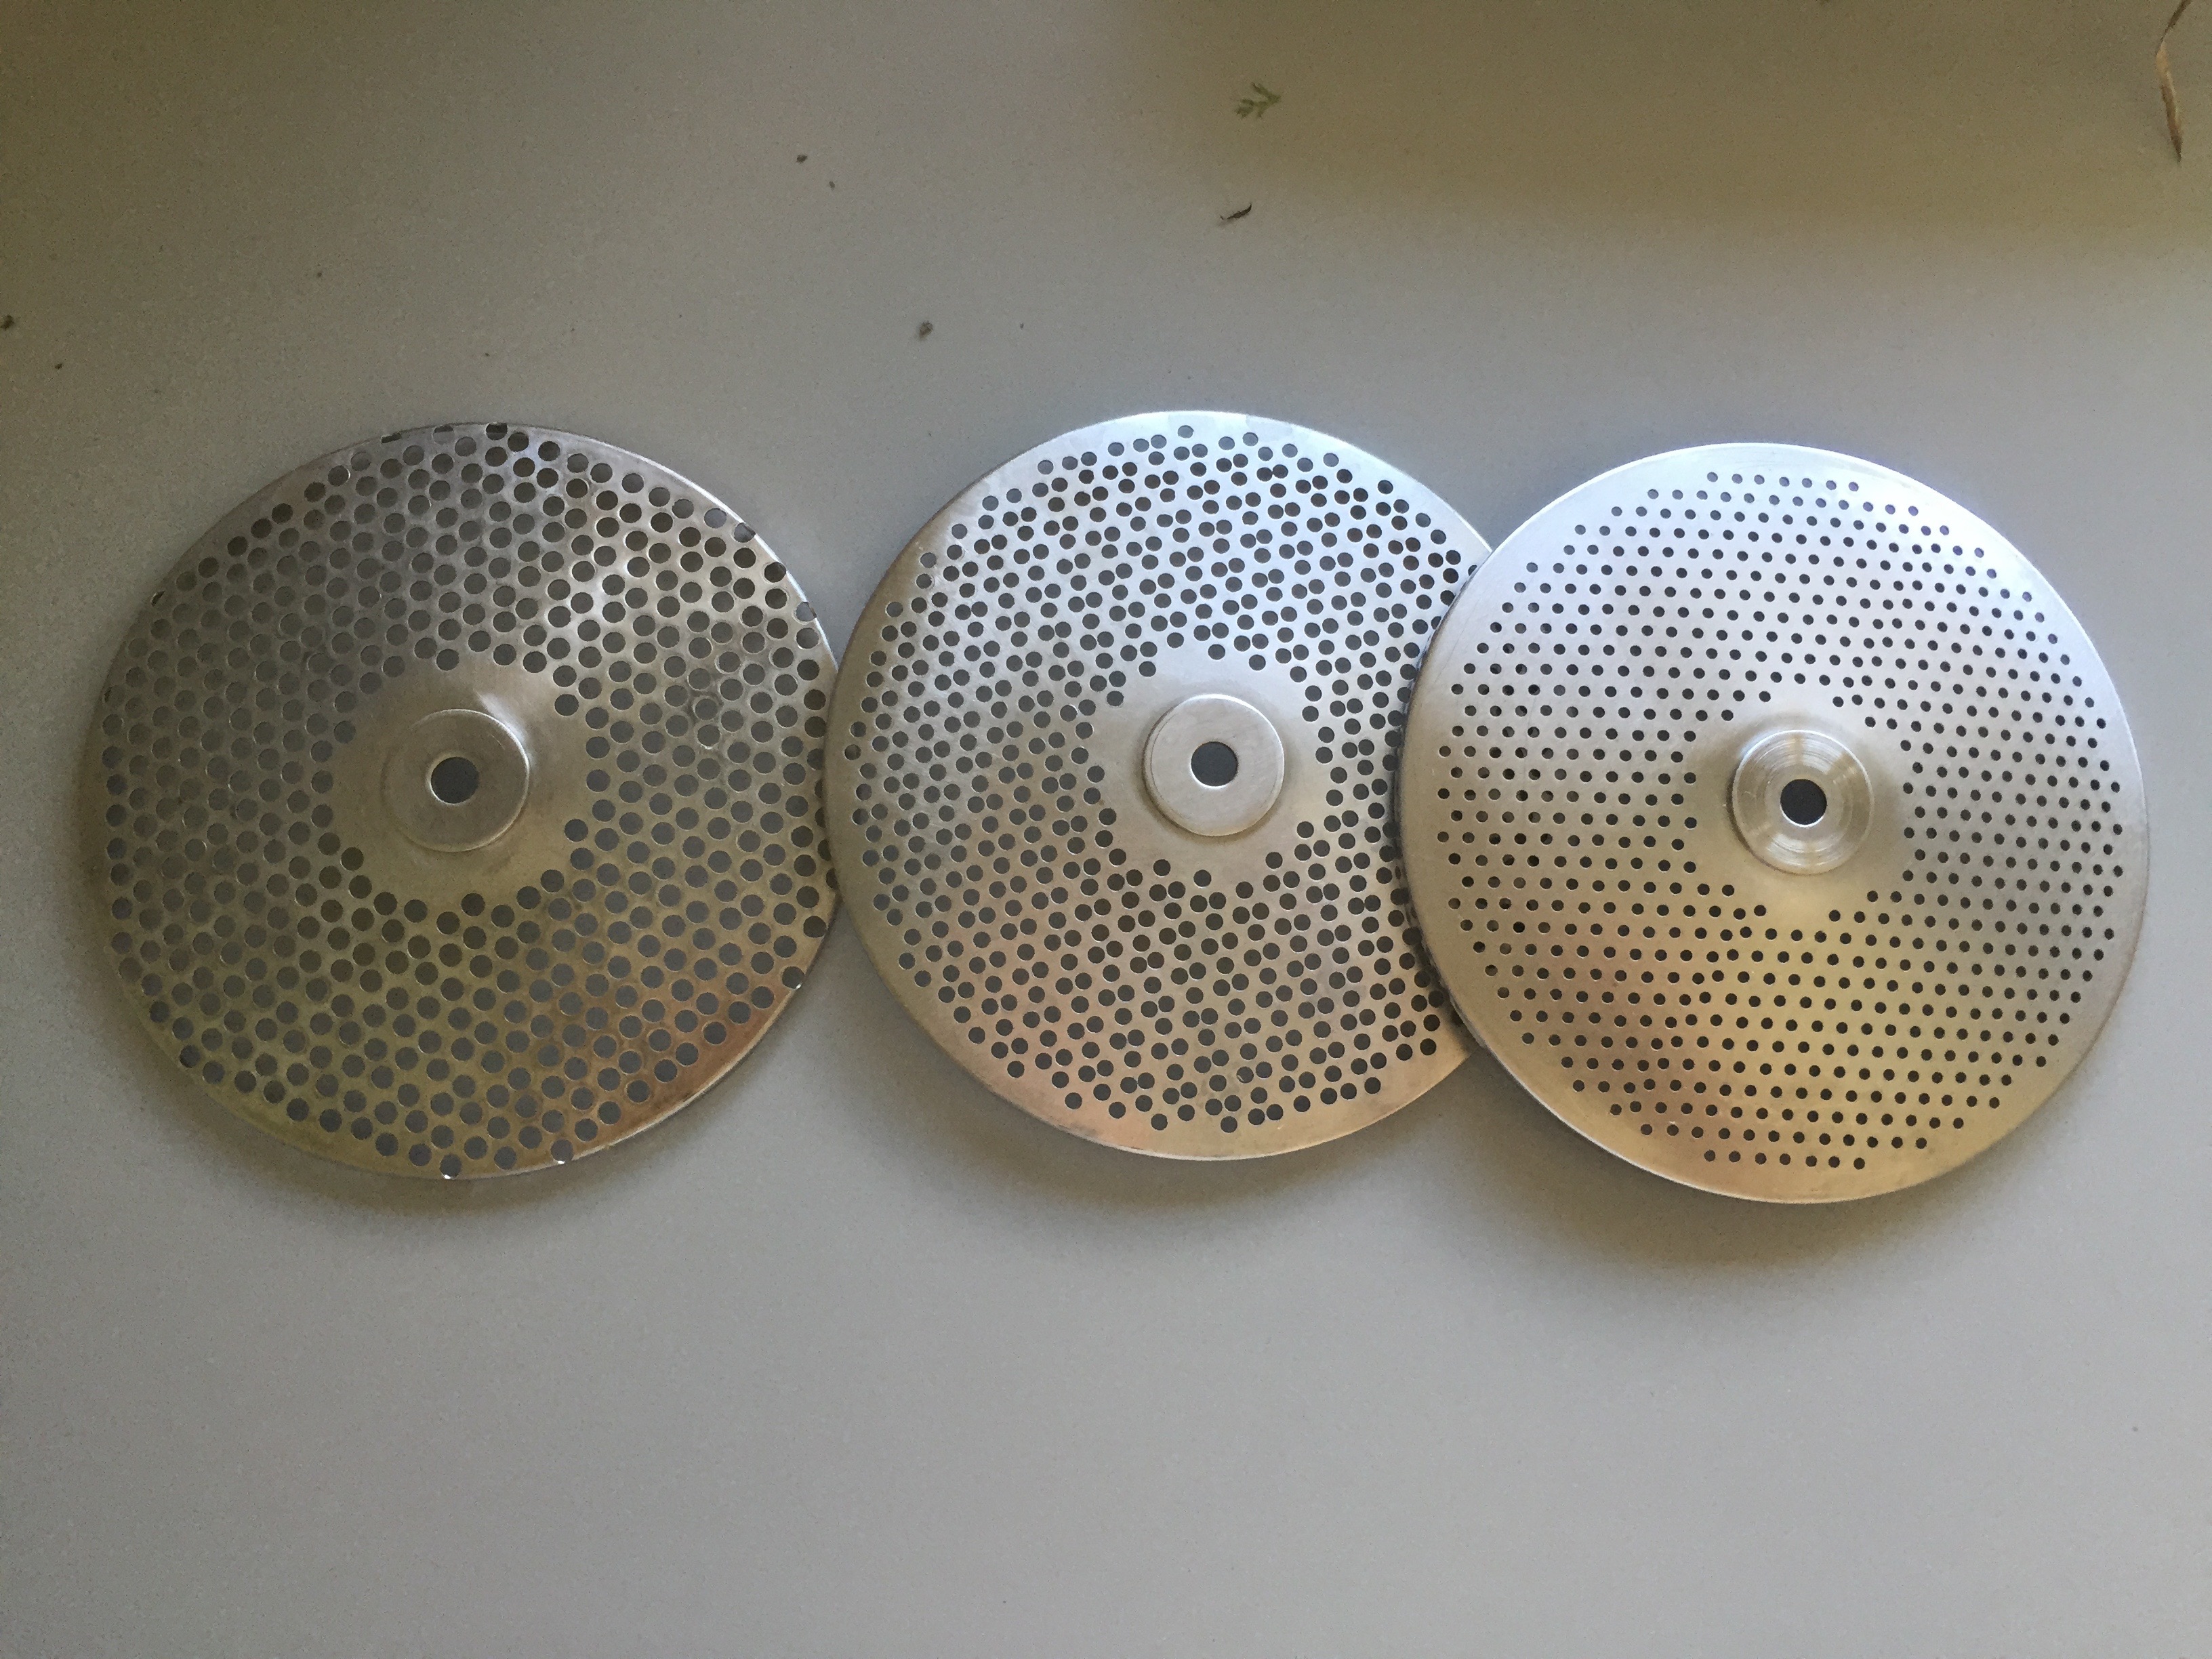 So, after the fruit was cooked and separated from the skins using the mill, I returned it to the stove top to begin the next stage of apple butter making which is to add sugar and spices and continue to cook. But wait a minute! I started to wonder why I was making apple butter instead of just apple sauce with this lovely fruit since that is what I saw before me!
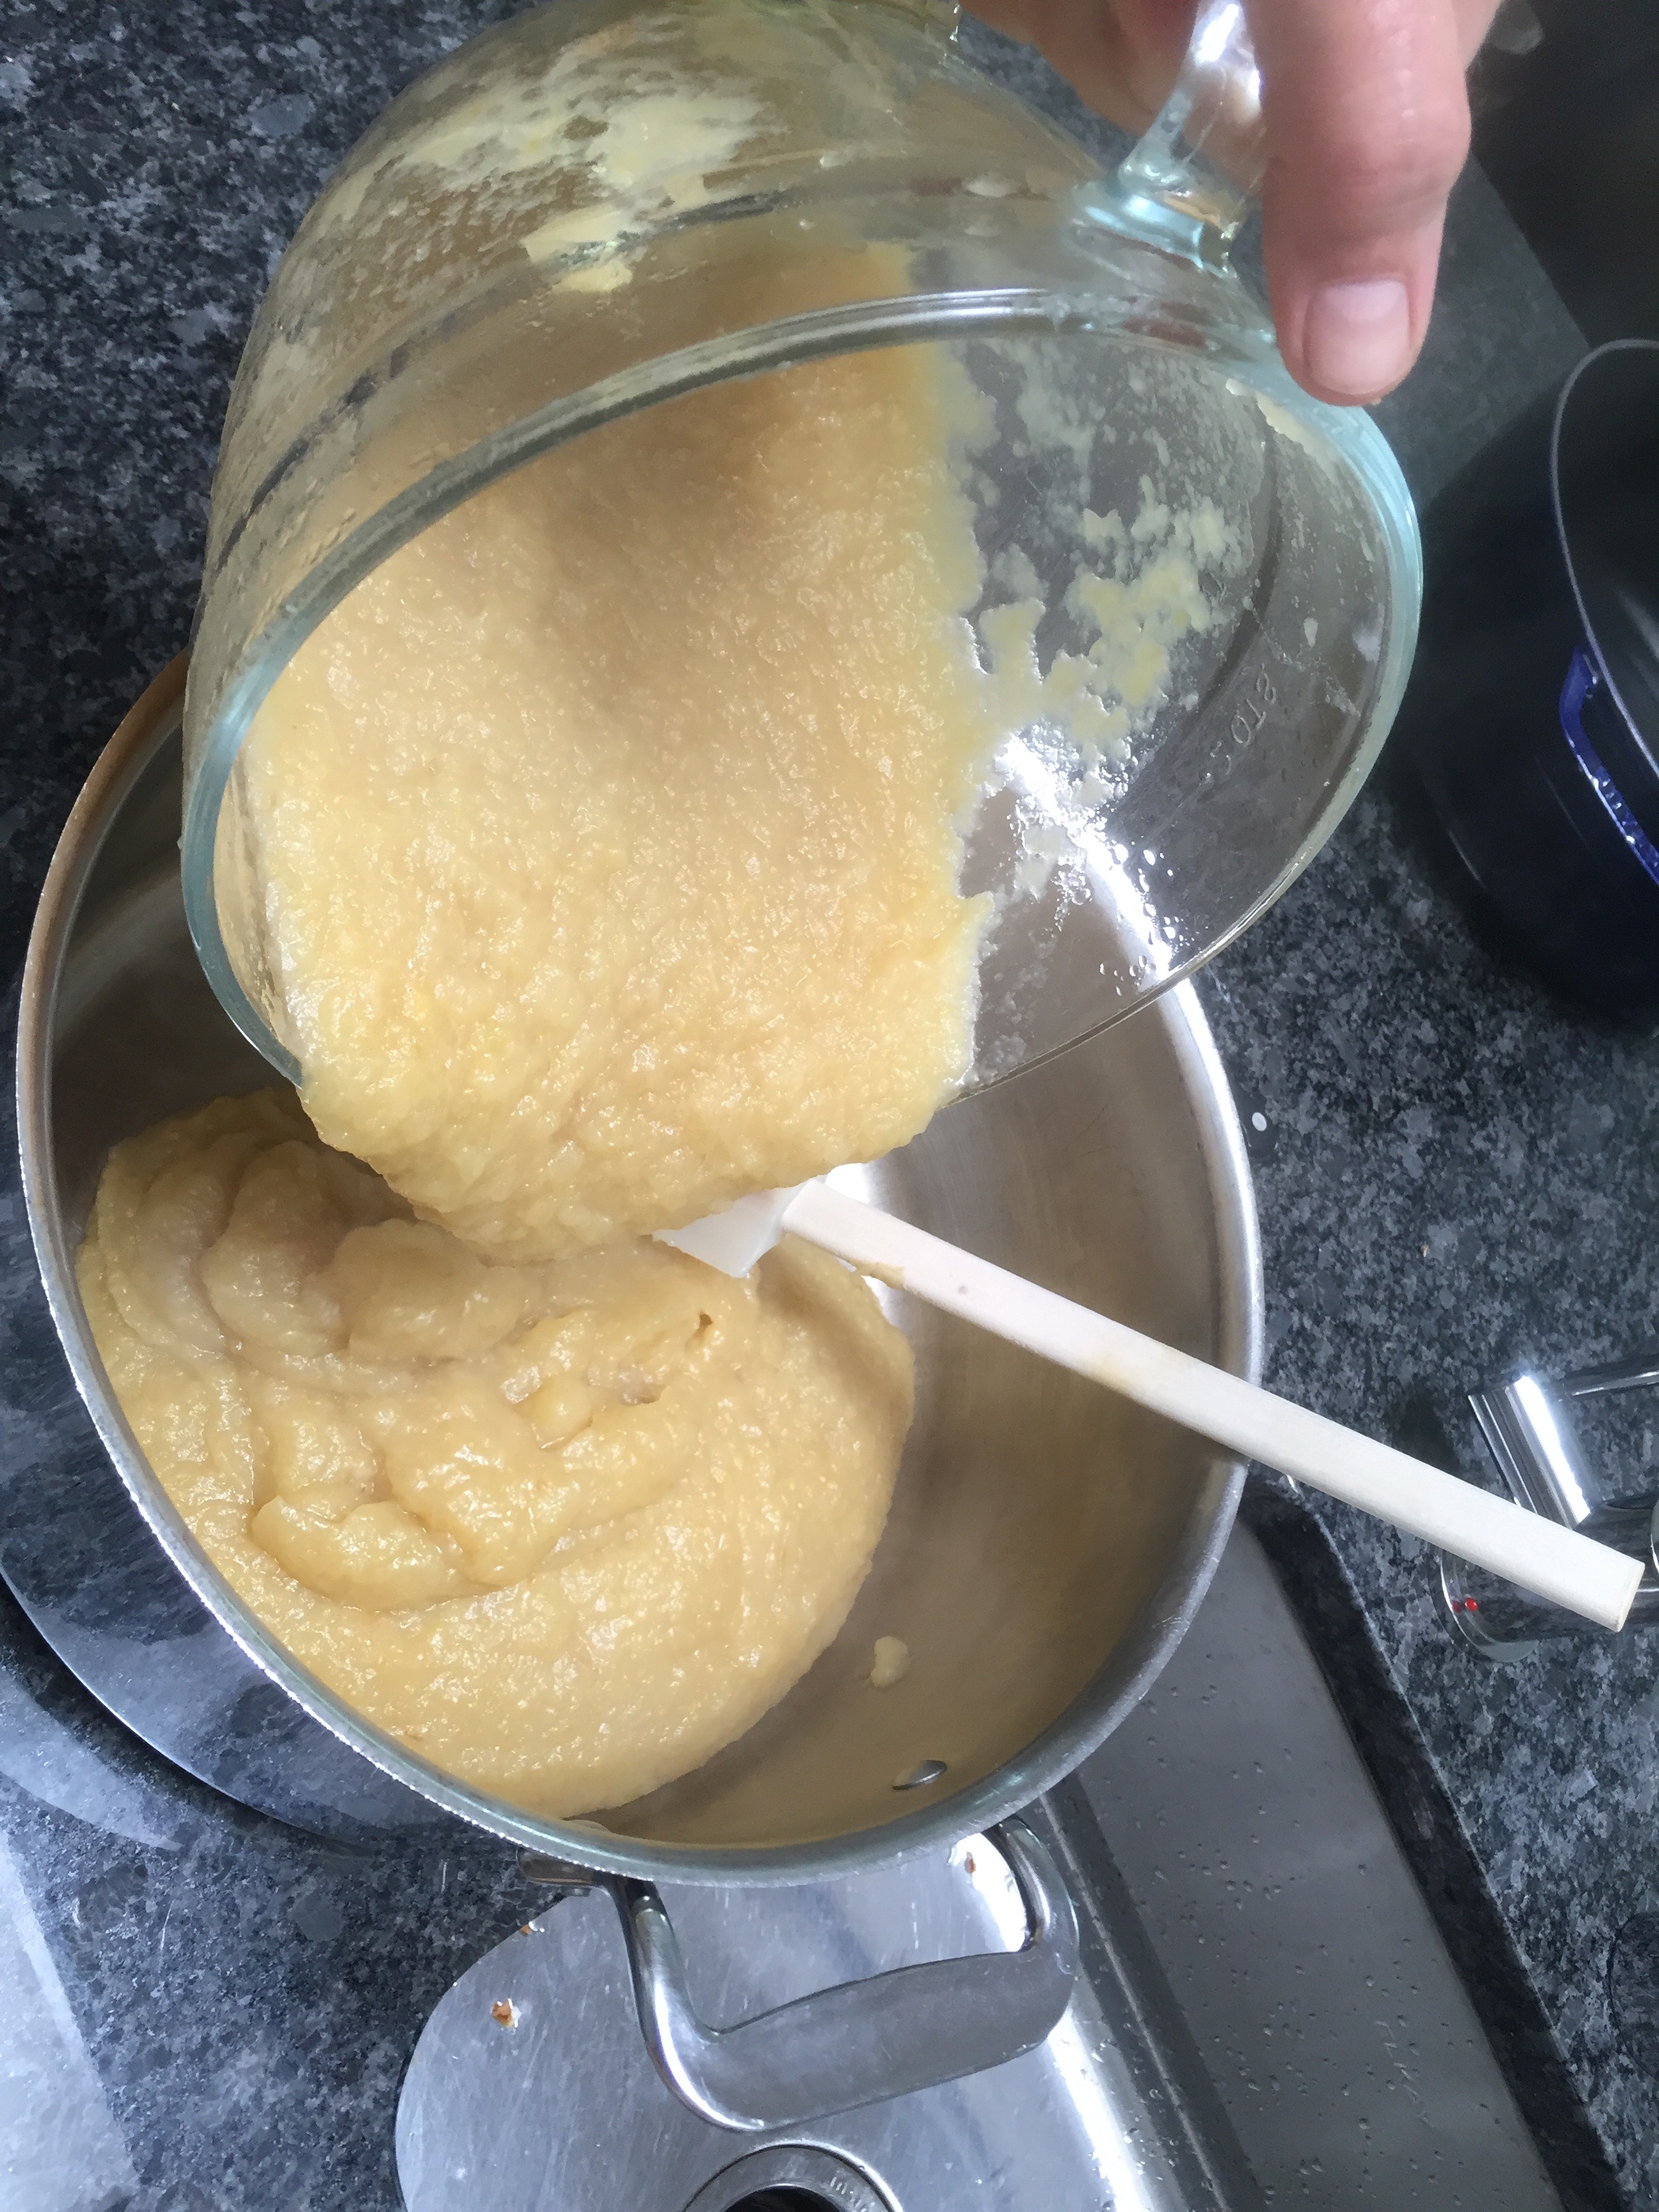 I quickly reversed course and found out that I could just heat this fruit and put it in jars to can it (or freeze it) as is without all the extra sugar and cooking time. I decided on the canning method and after bringing the mass back to a boil, I put it directly into six jars with just a little left over for refrigerator samples. Here are my six pints ready for capping.
  I processed it as prescribed and viola, the first apple sauce from Seven Oaks apple trees!
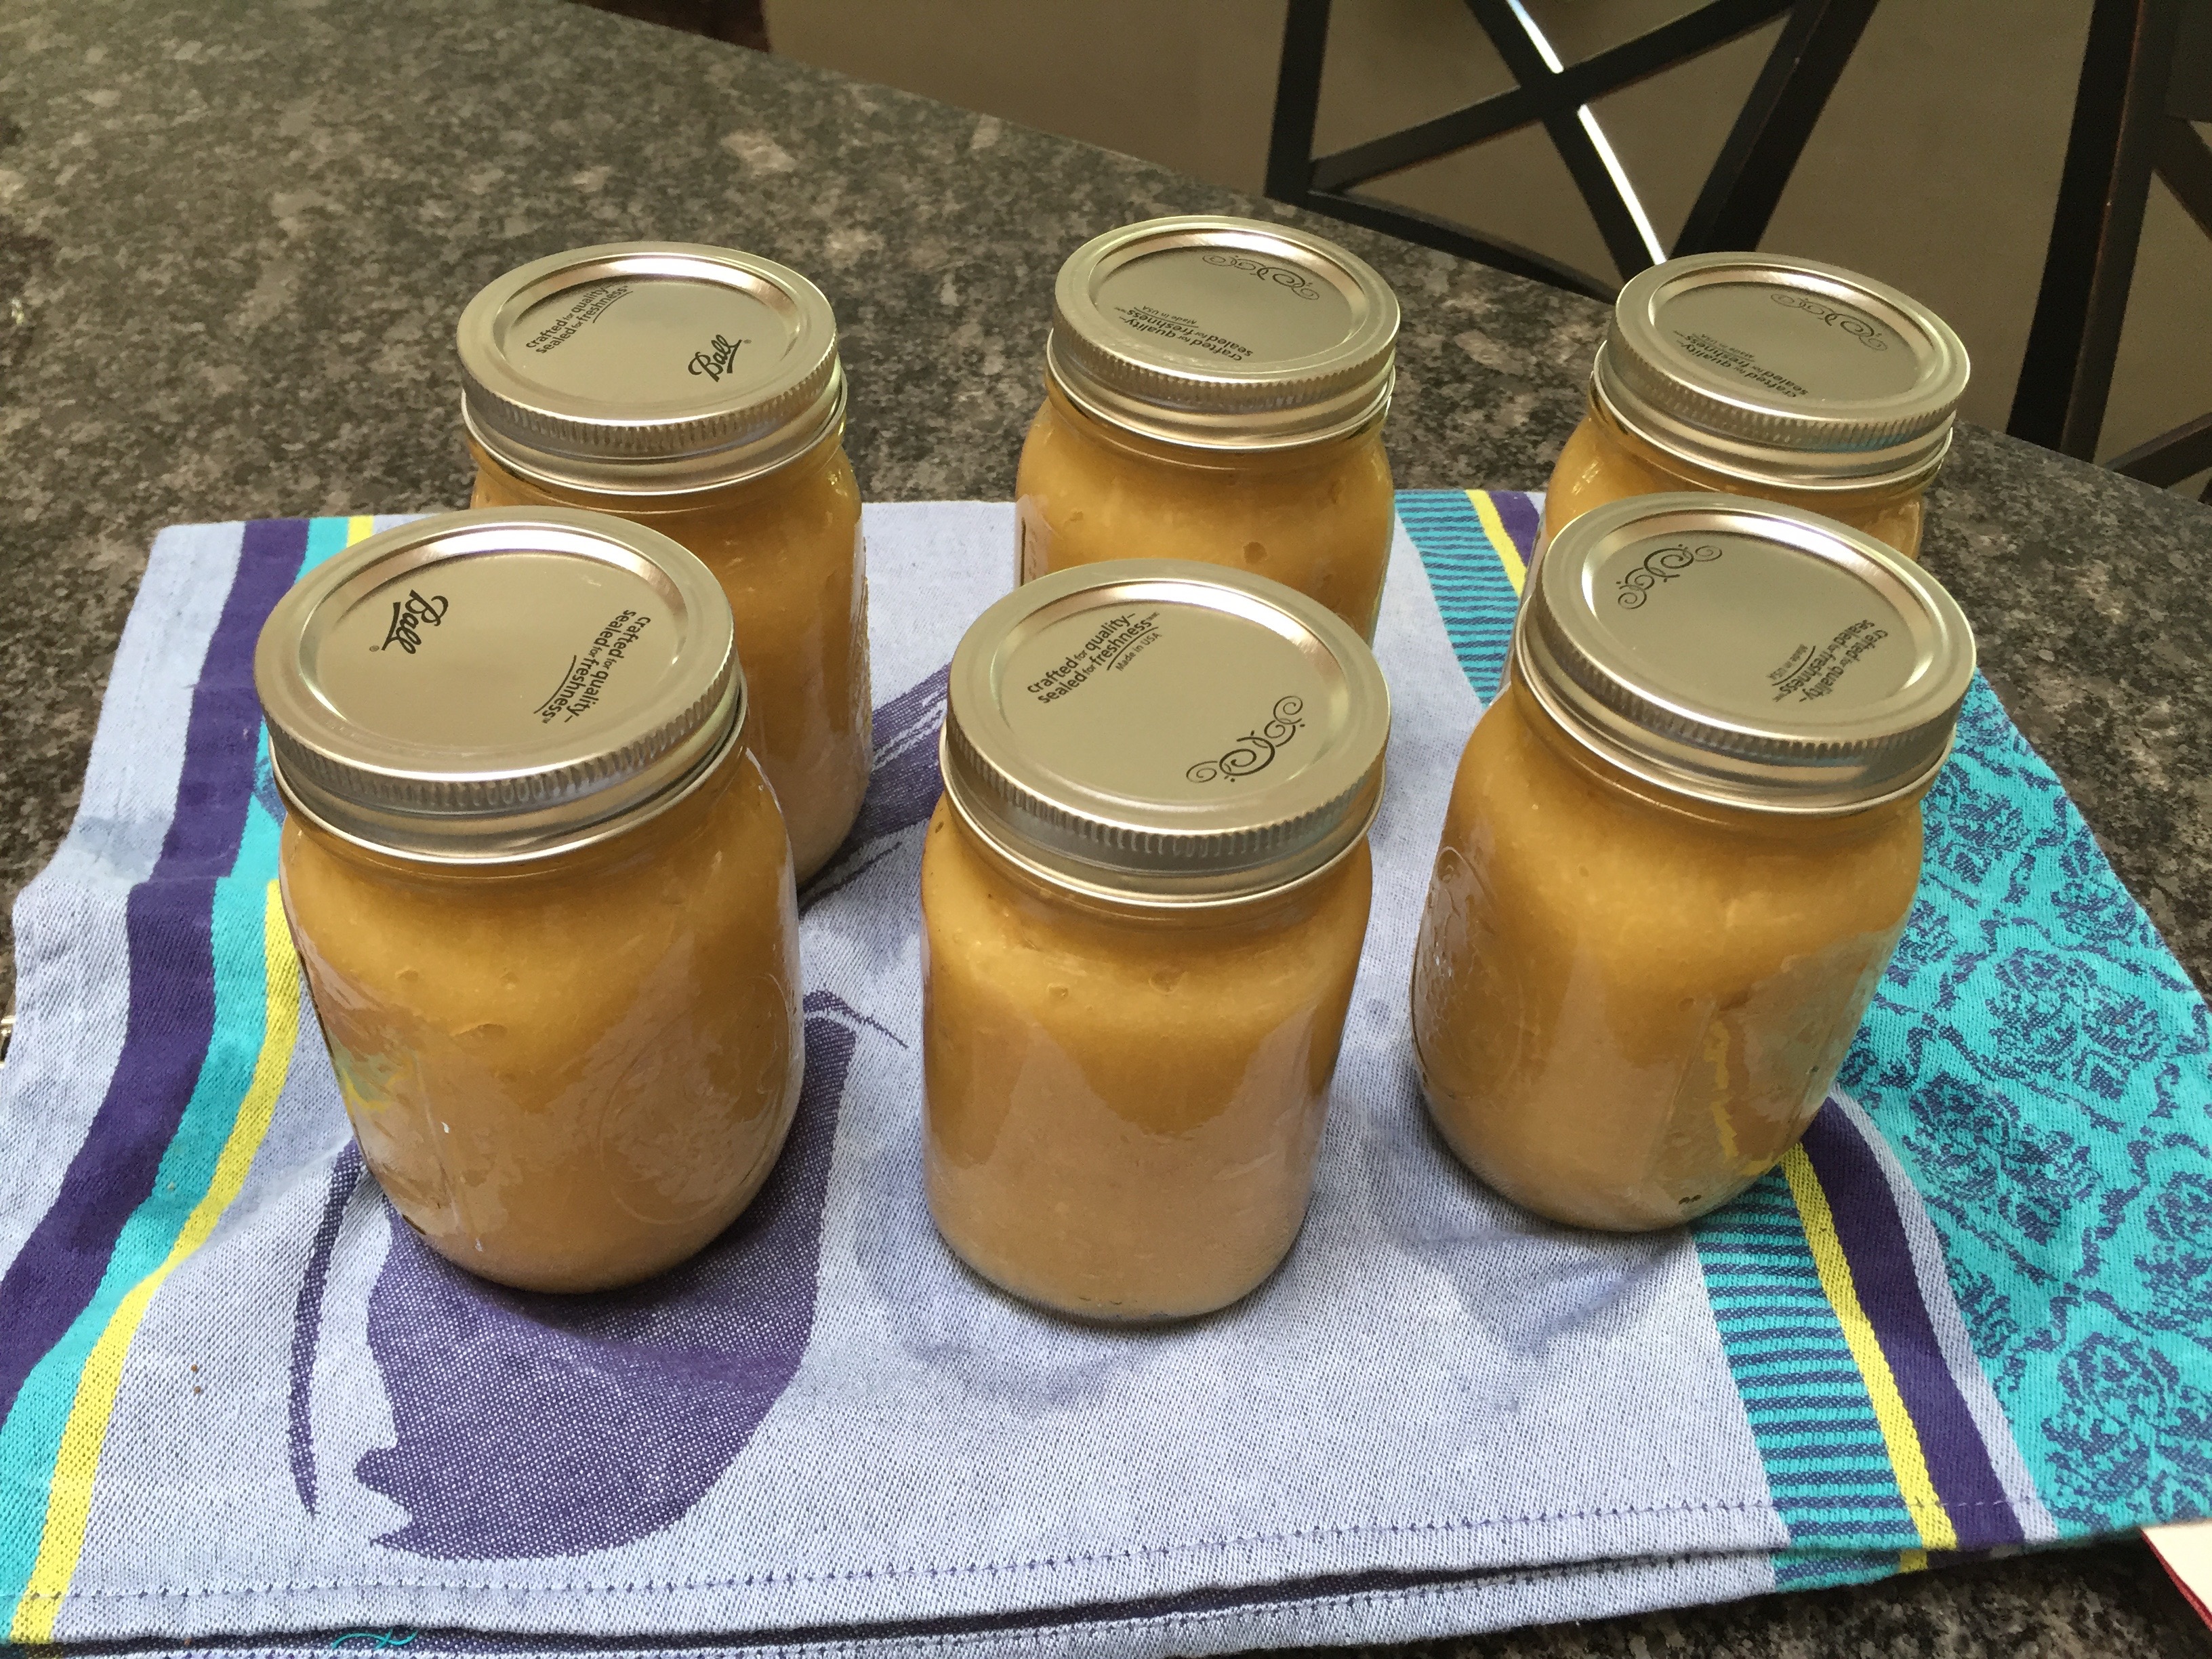 Here are the leftover scraps that I offered to the chicks that evening…they browned out a bit while awaiting delivery but the chicks didn’t seem to mind…
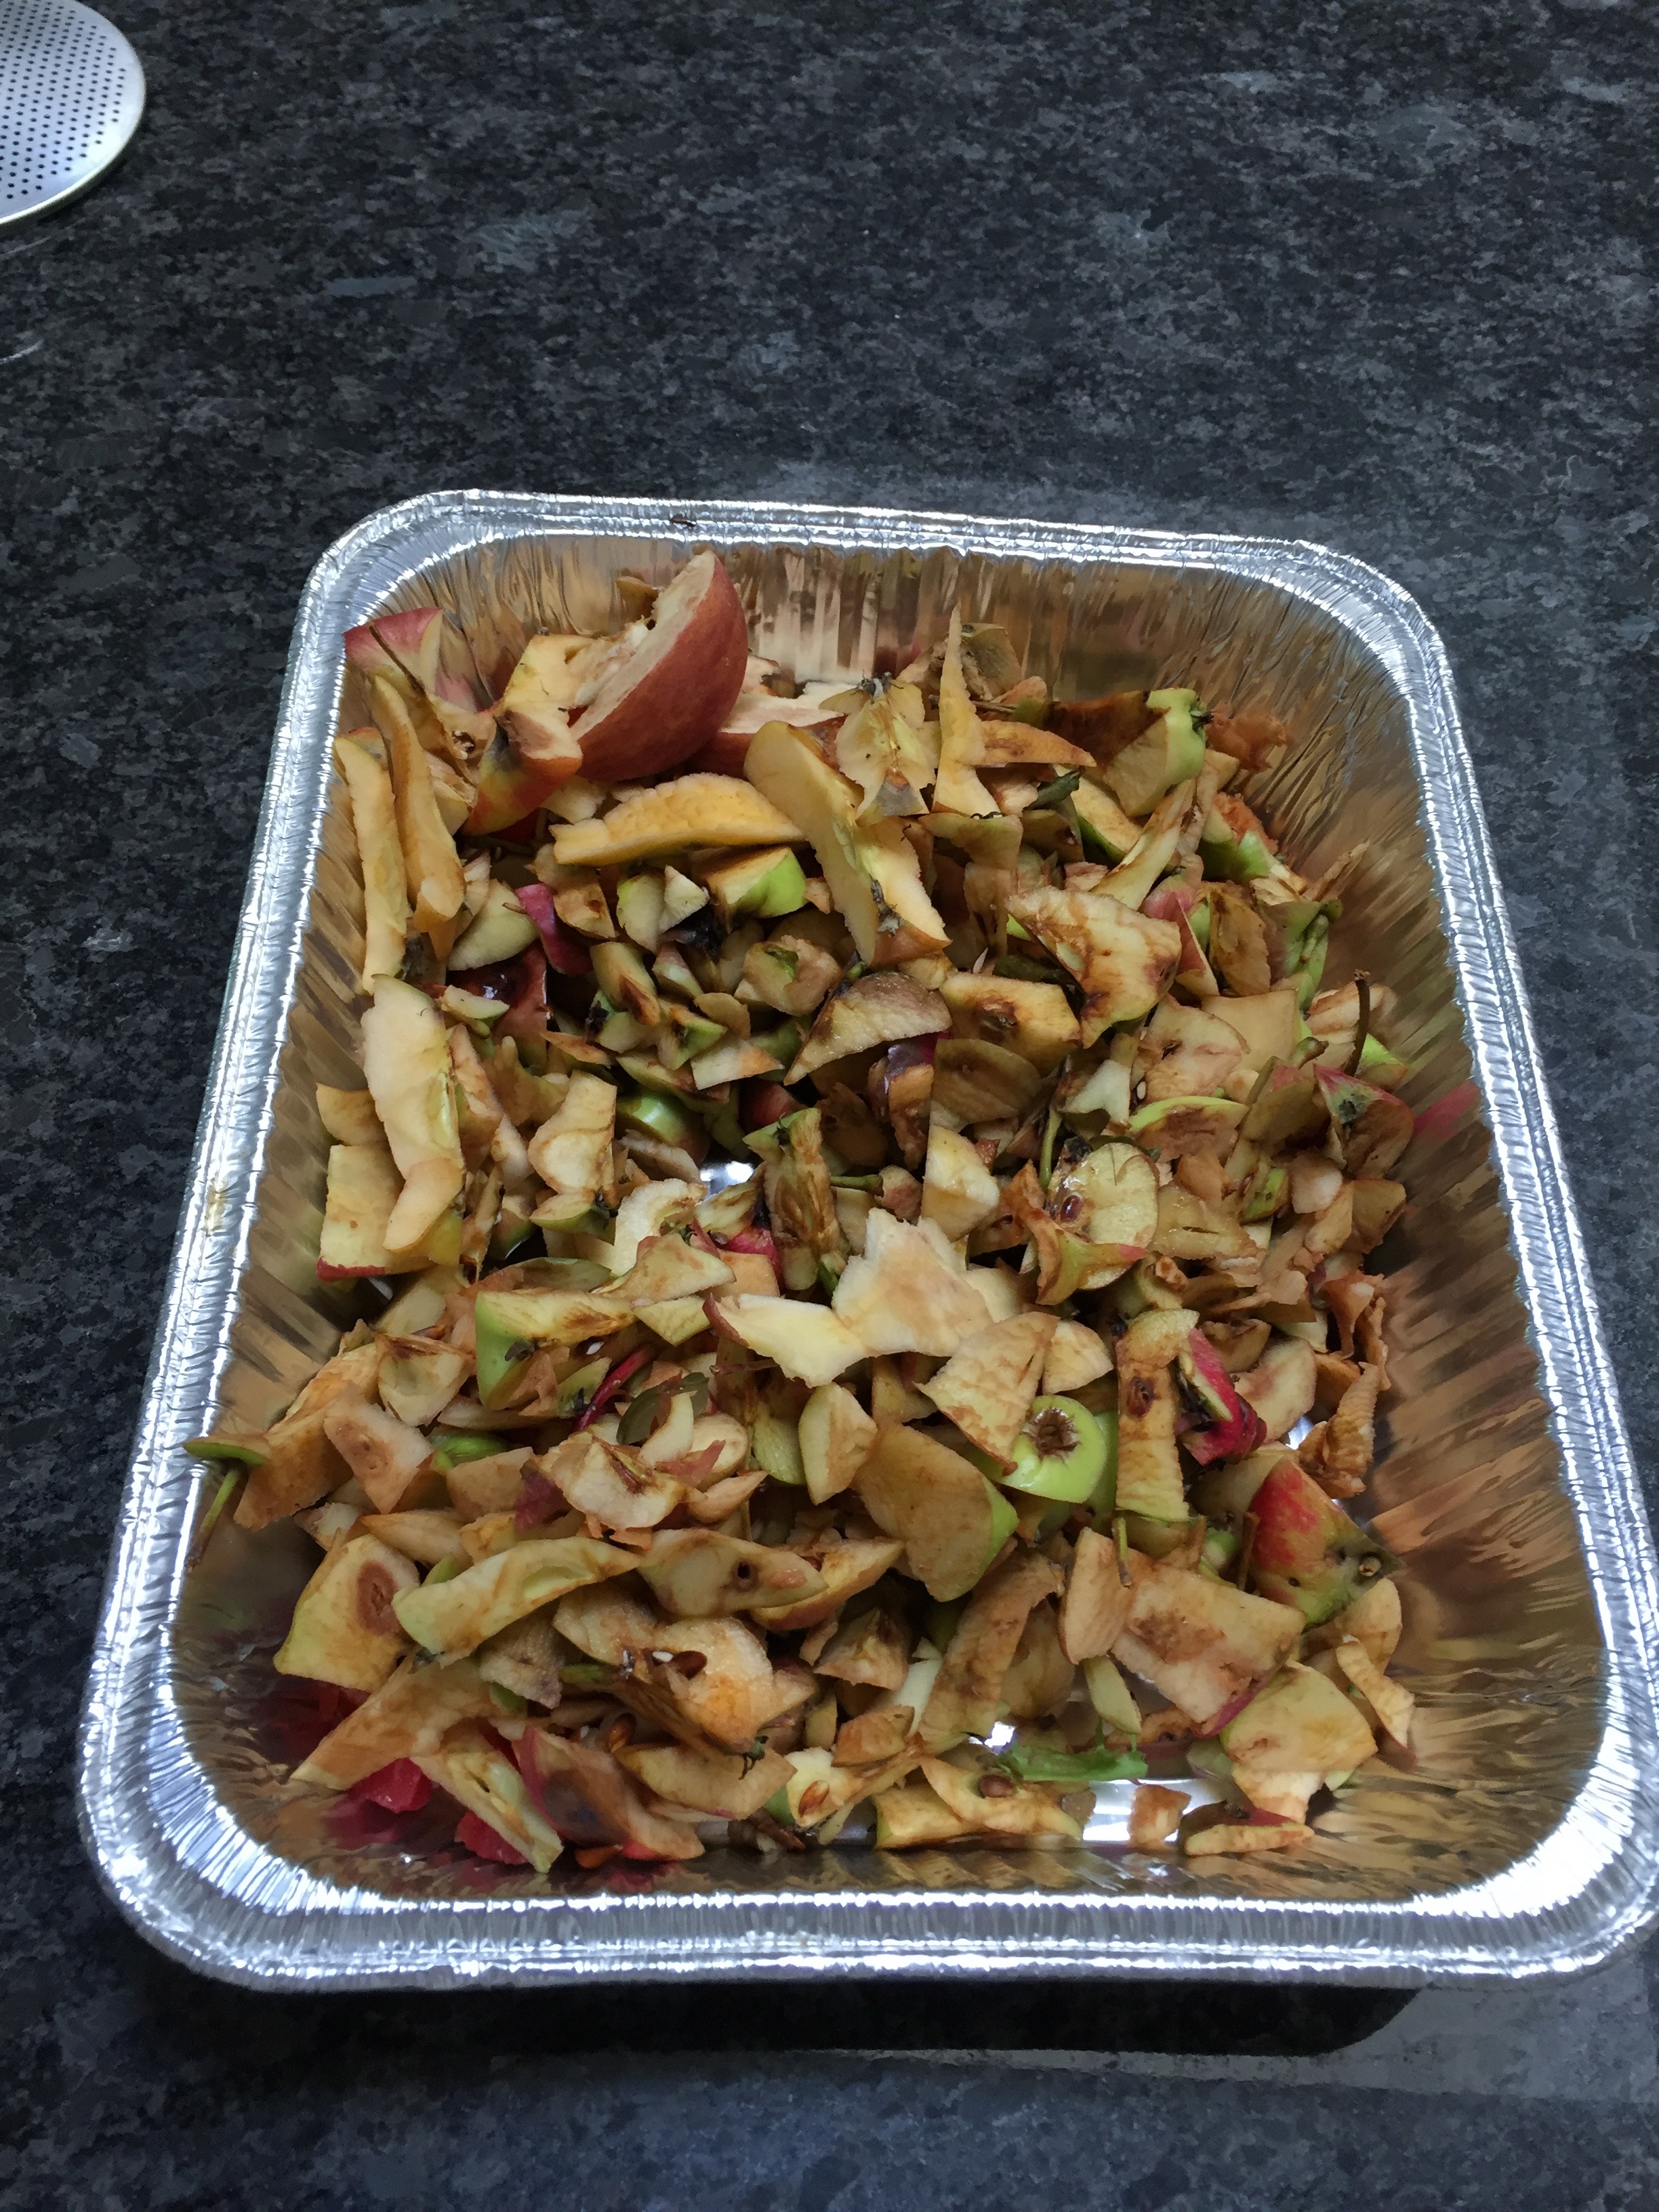 As they gobbled them up…
 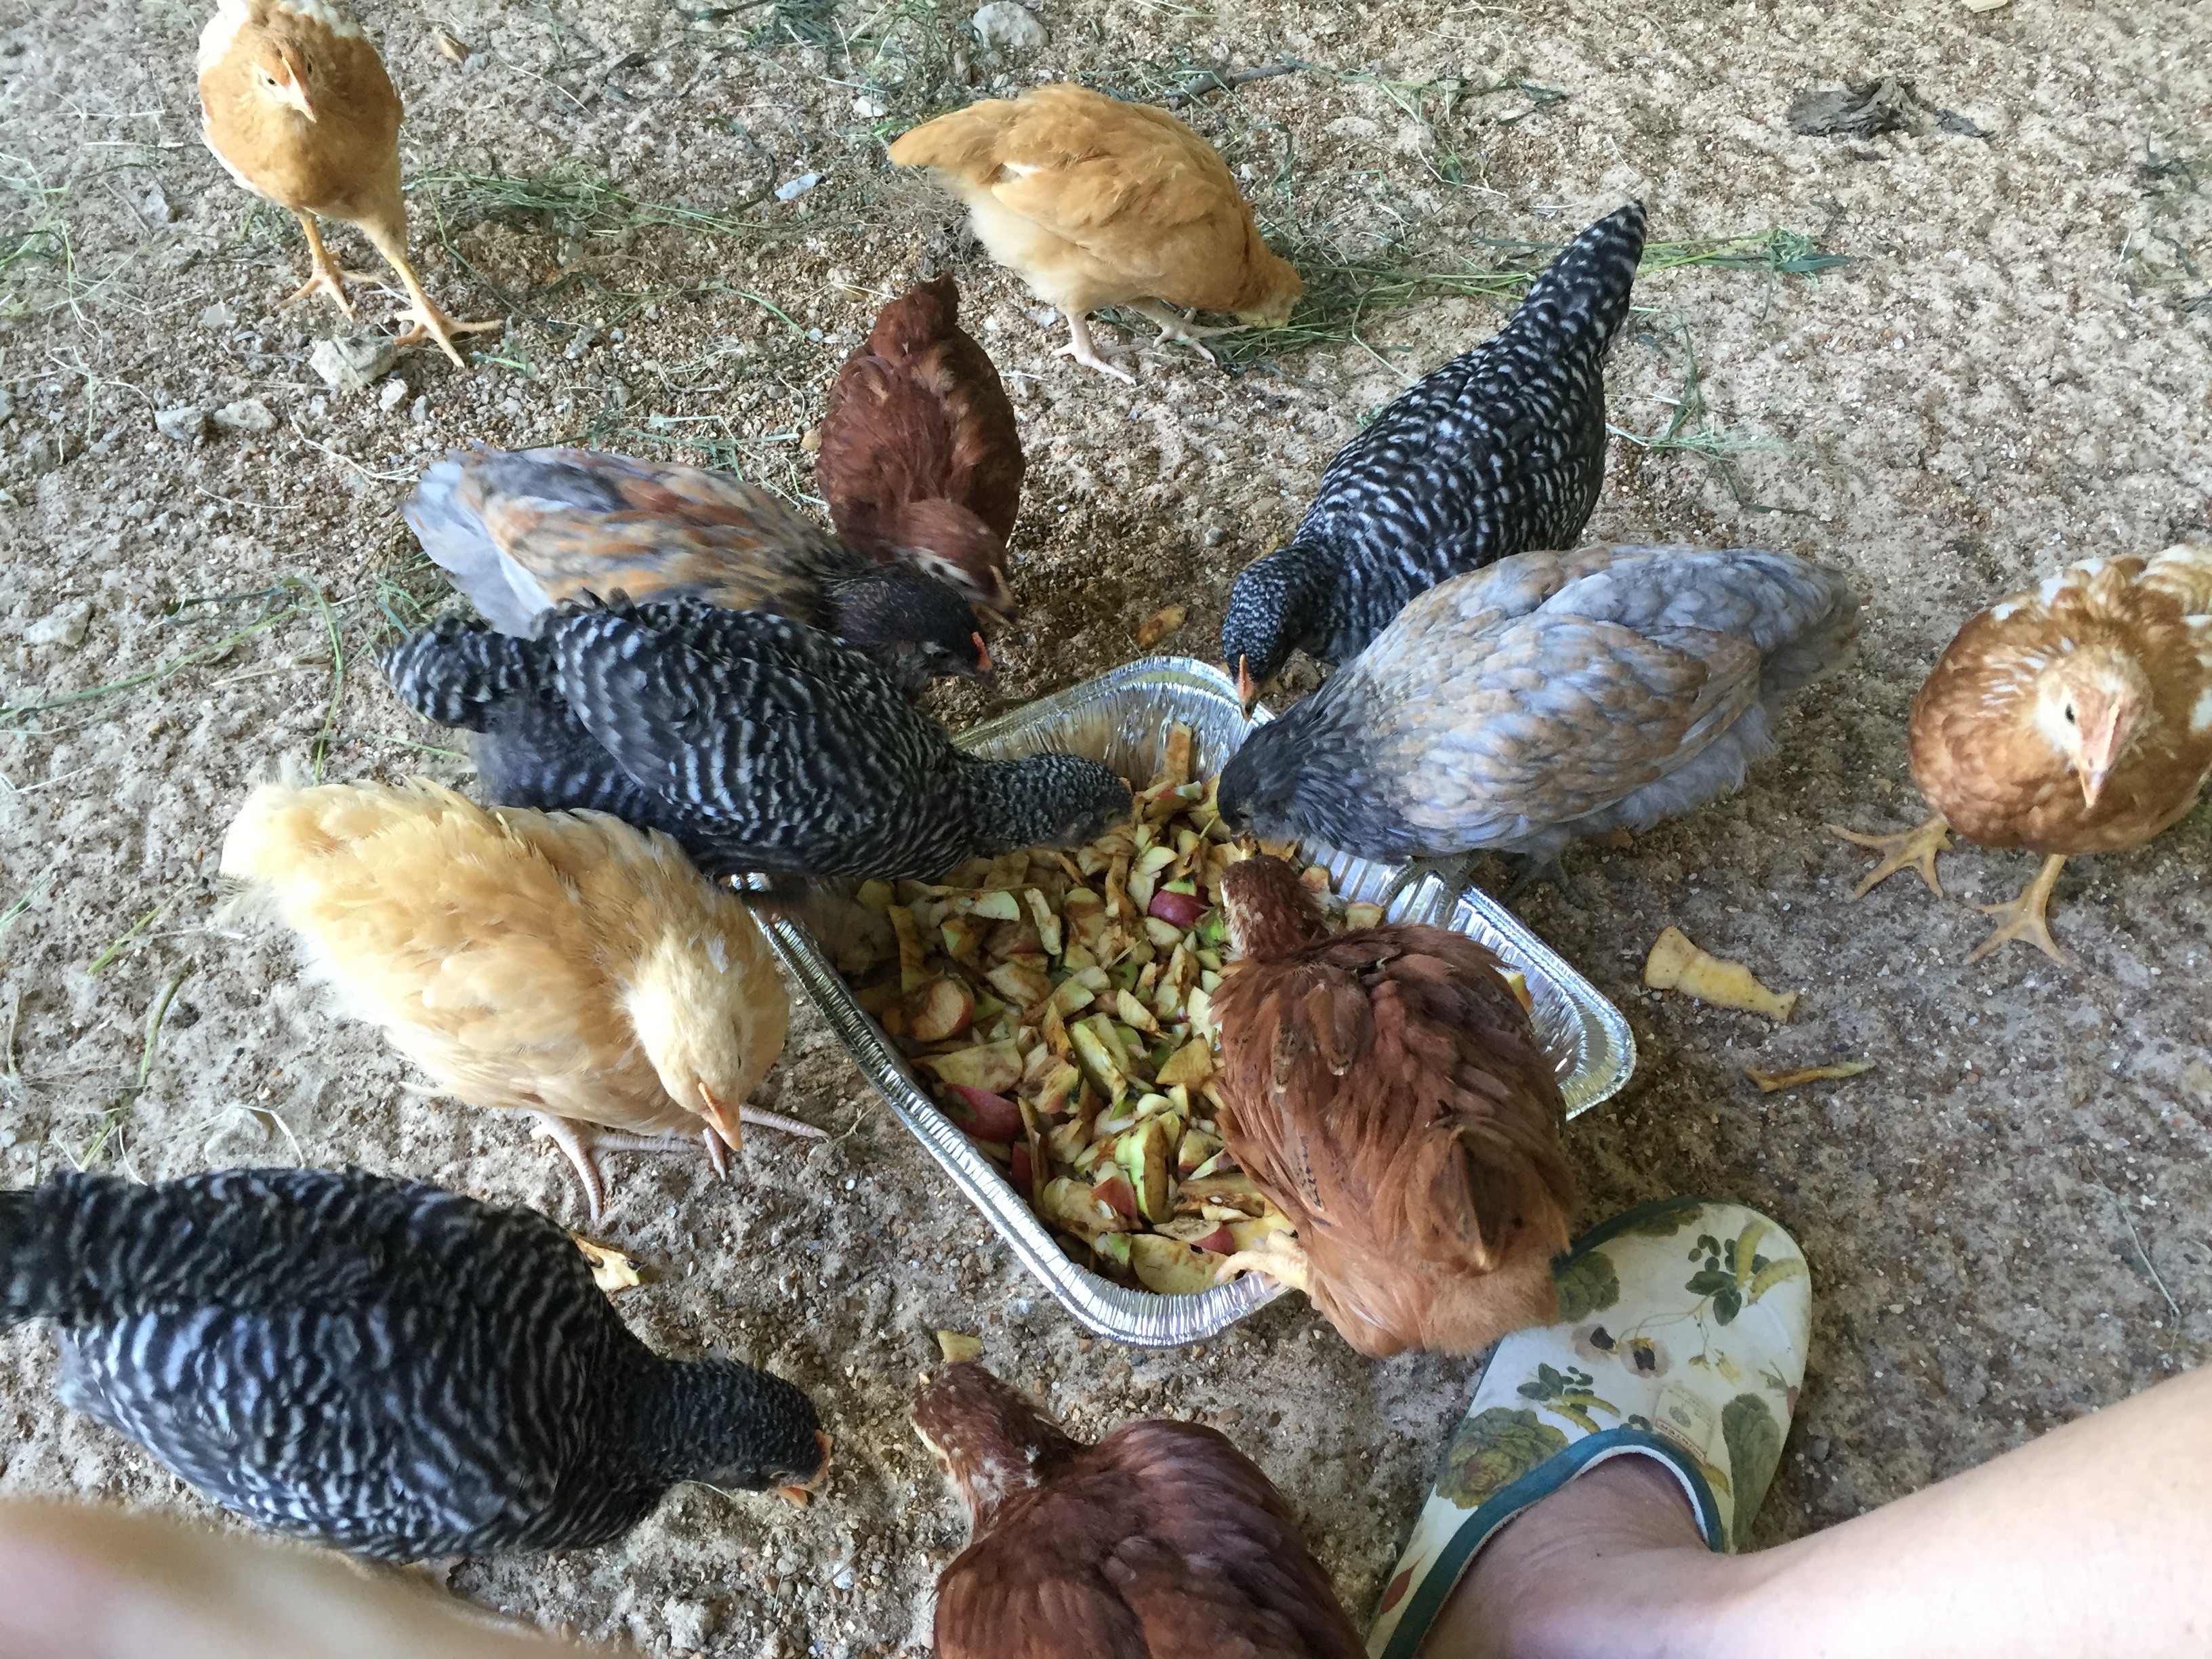 I also offered the reserve from the food mill the next day and they much preferred those leftovers…I guess this is because the product is soft and cooked? Either way, it is a good use of scraps that would otherwise go into the compost.
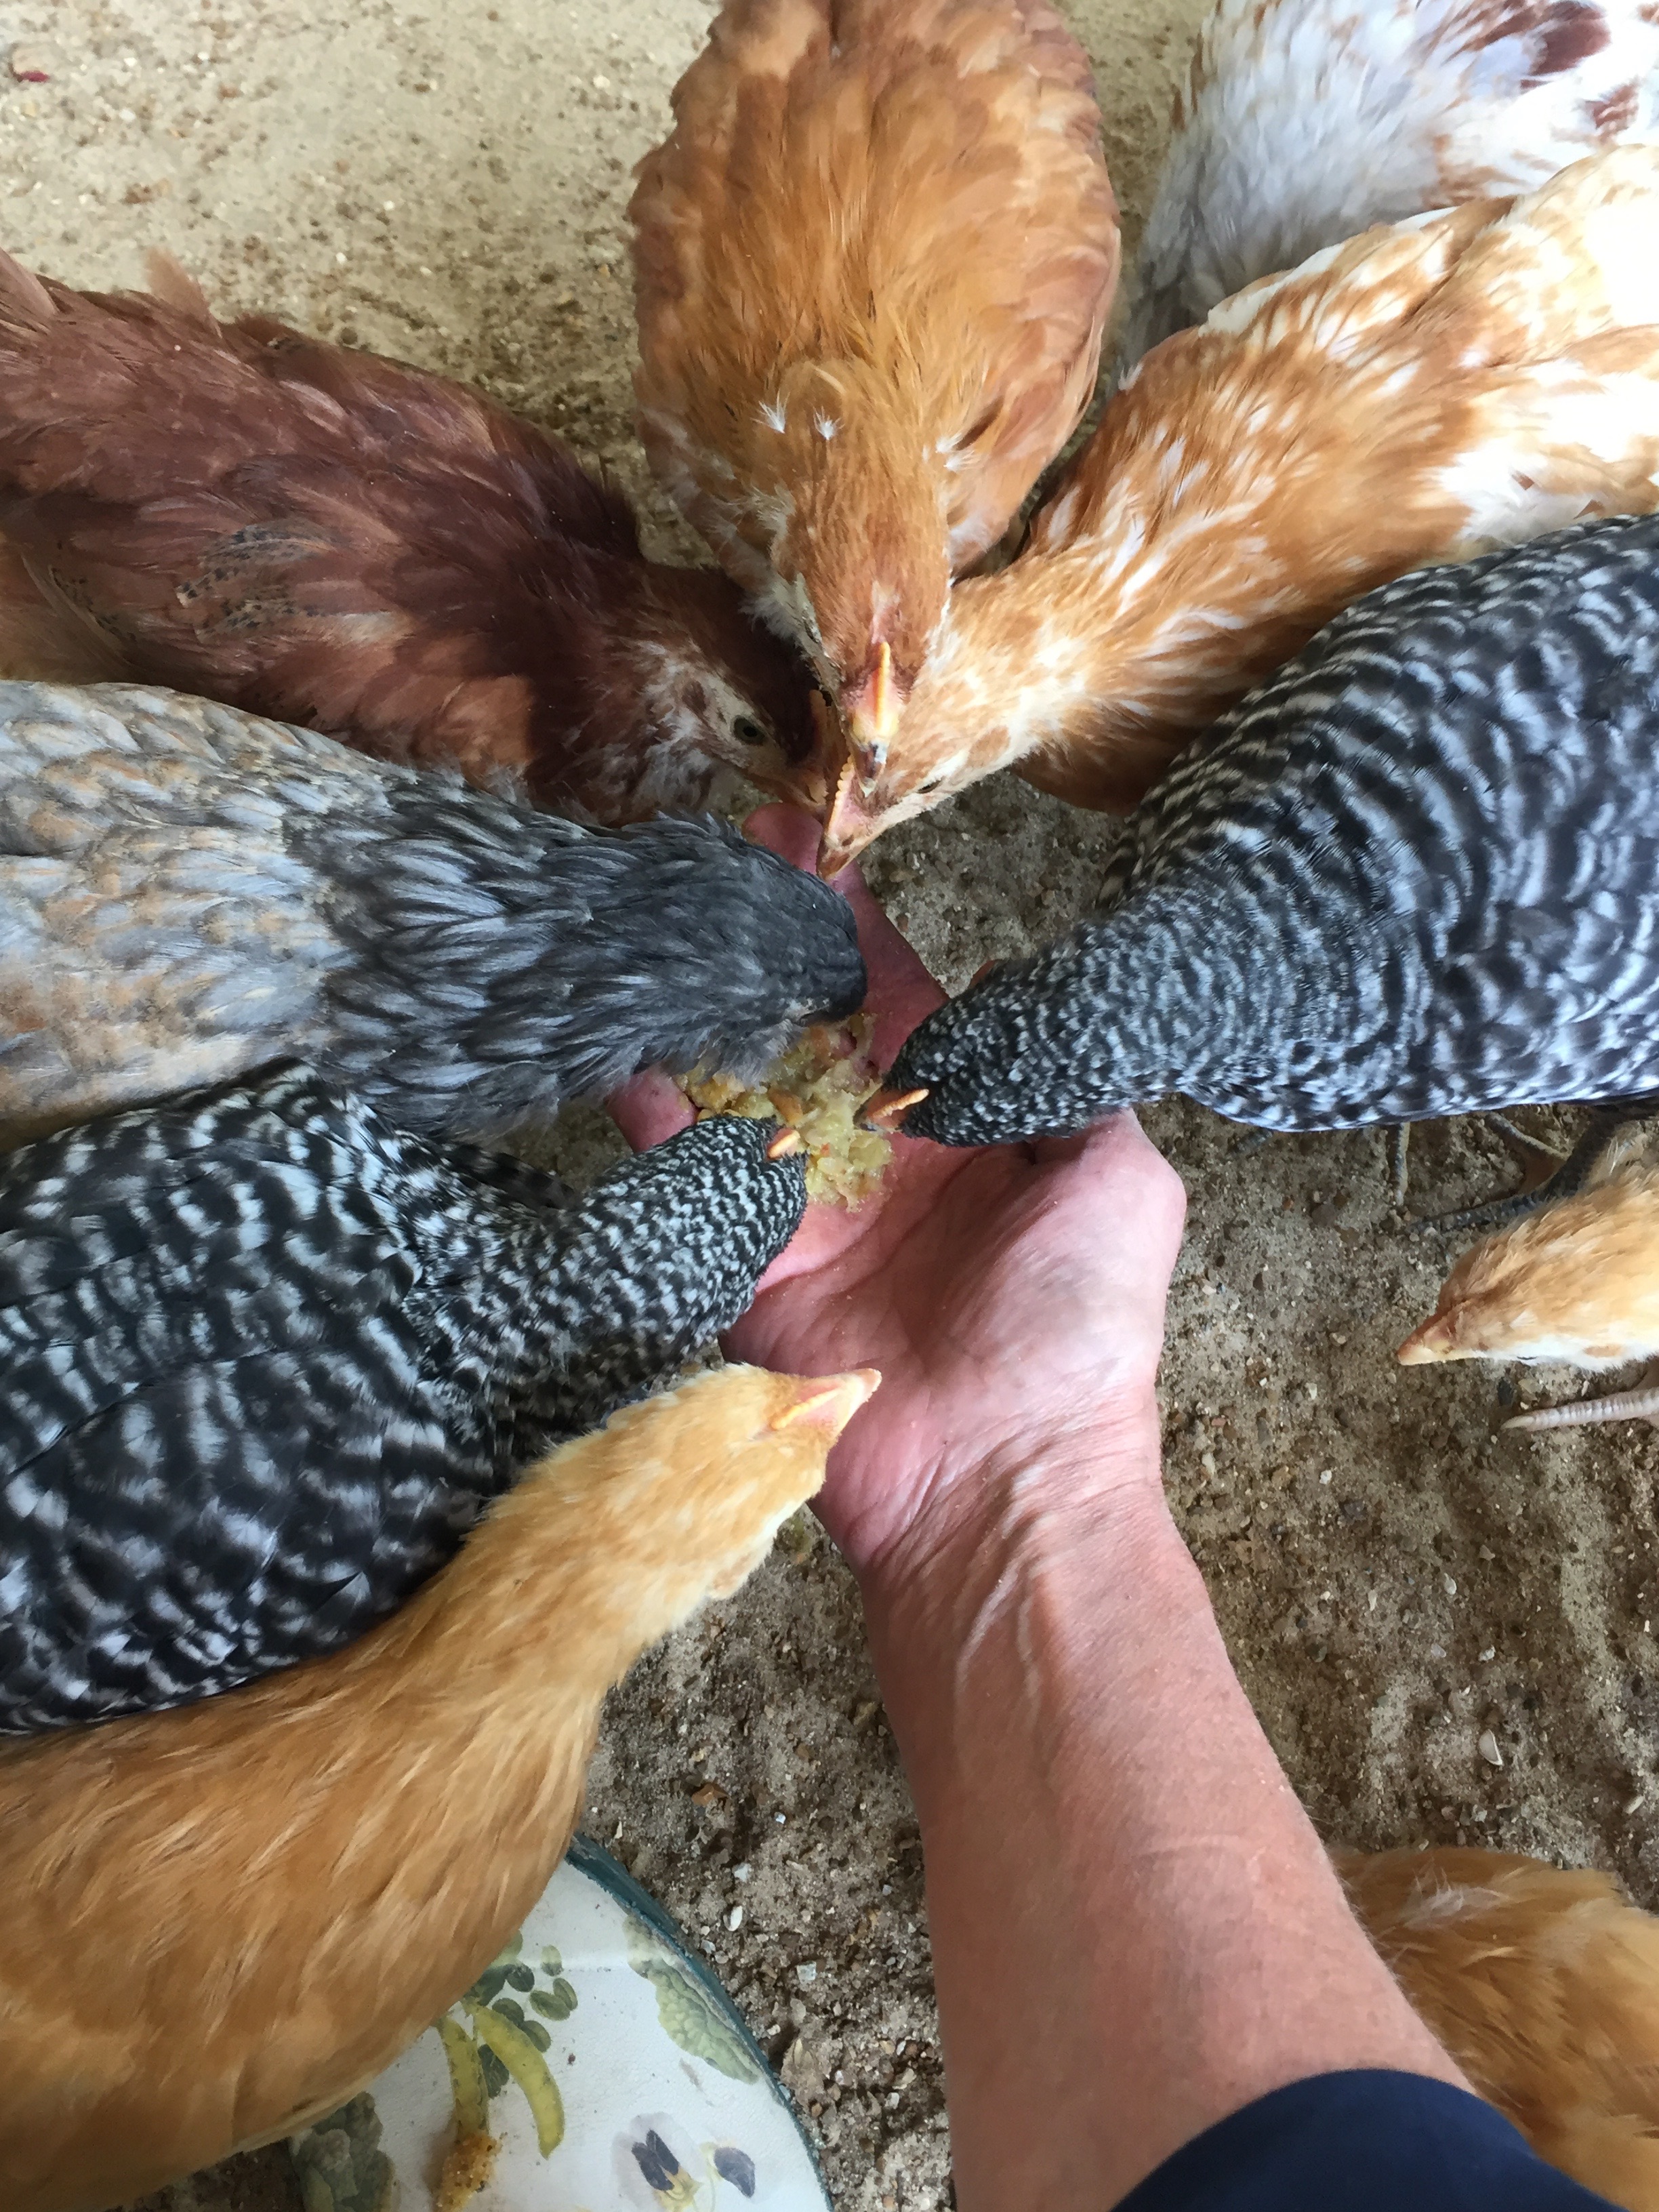 In other news, the new deer fence project is going forward with a little help from a neighbor’s handyman, Tony, since we are in crunch time with other farm commitments. He has helped to pull off much of the overgrowth from the existing fence in the last couple of days so we will be better prepared for the installation of the new fence. We have nearly 300 feet of fence line to clear. Here you can see a long line of Green Giant Arborvitae trees on either side of the current fence which we planted a couple of years ago to promote a ‘green’ fence between us and the neighbors. We are looking forward to a seven foot tall deer fence soon!
 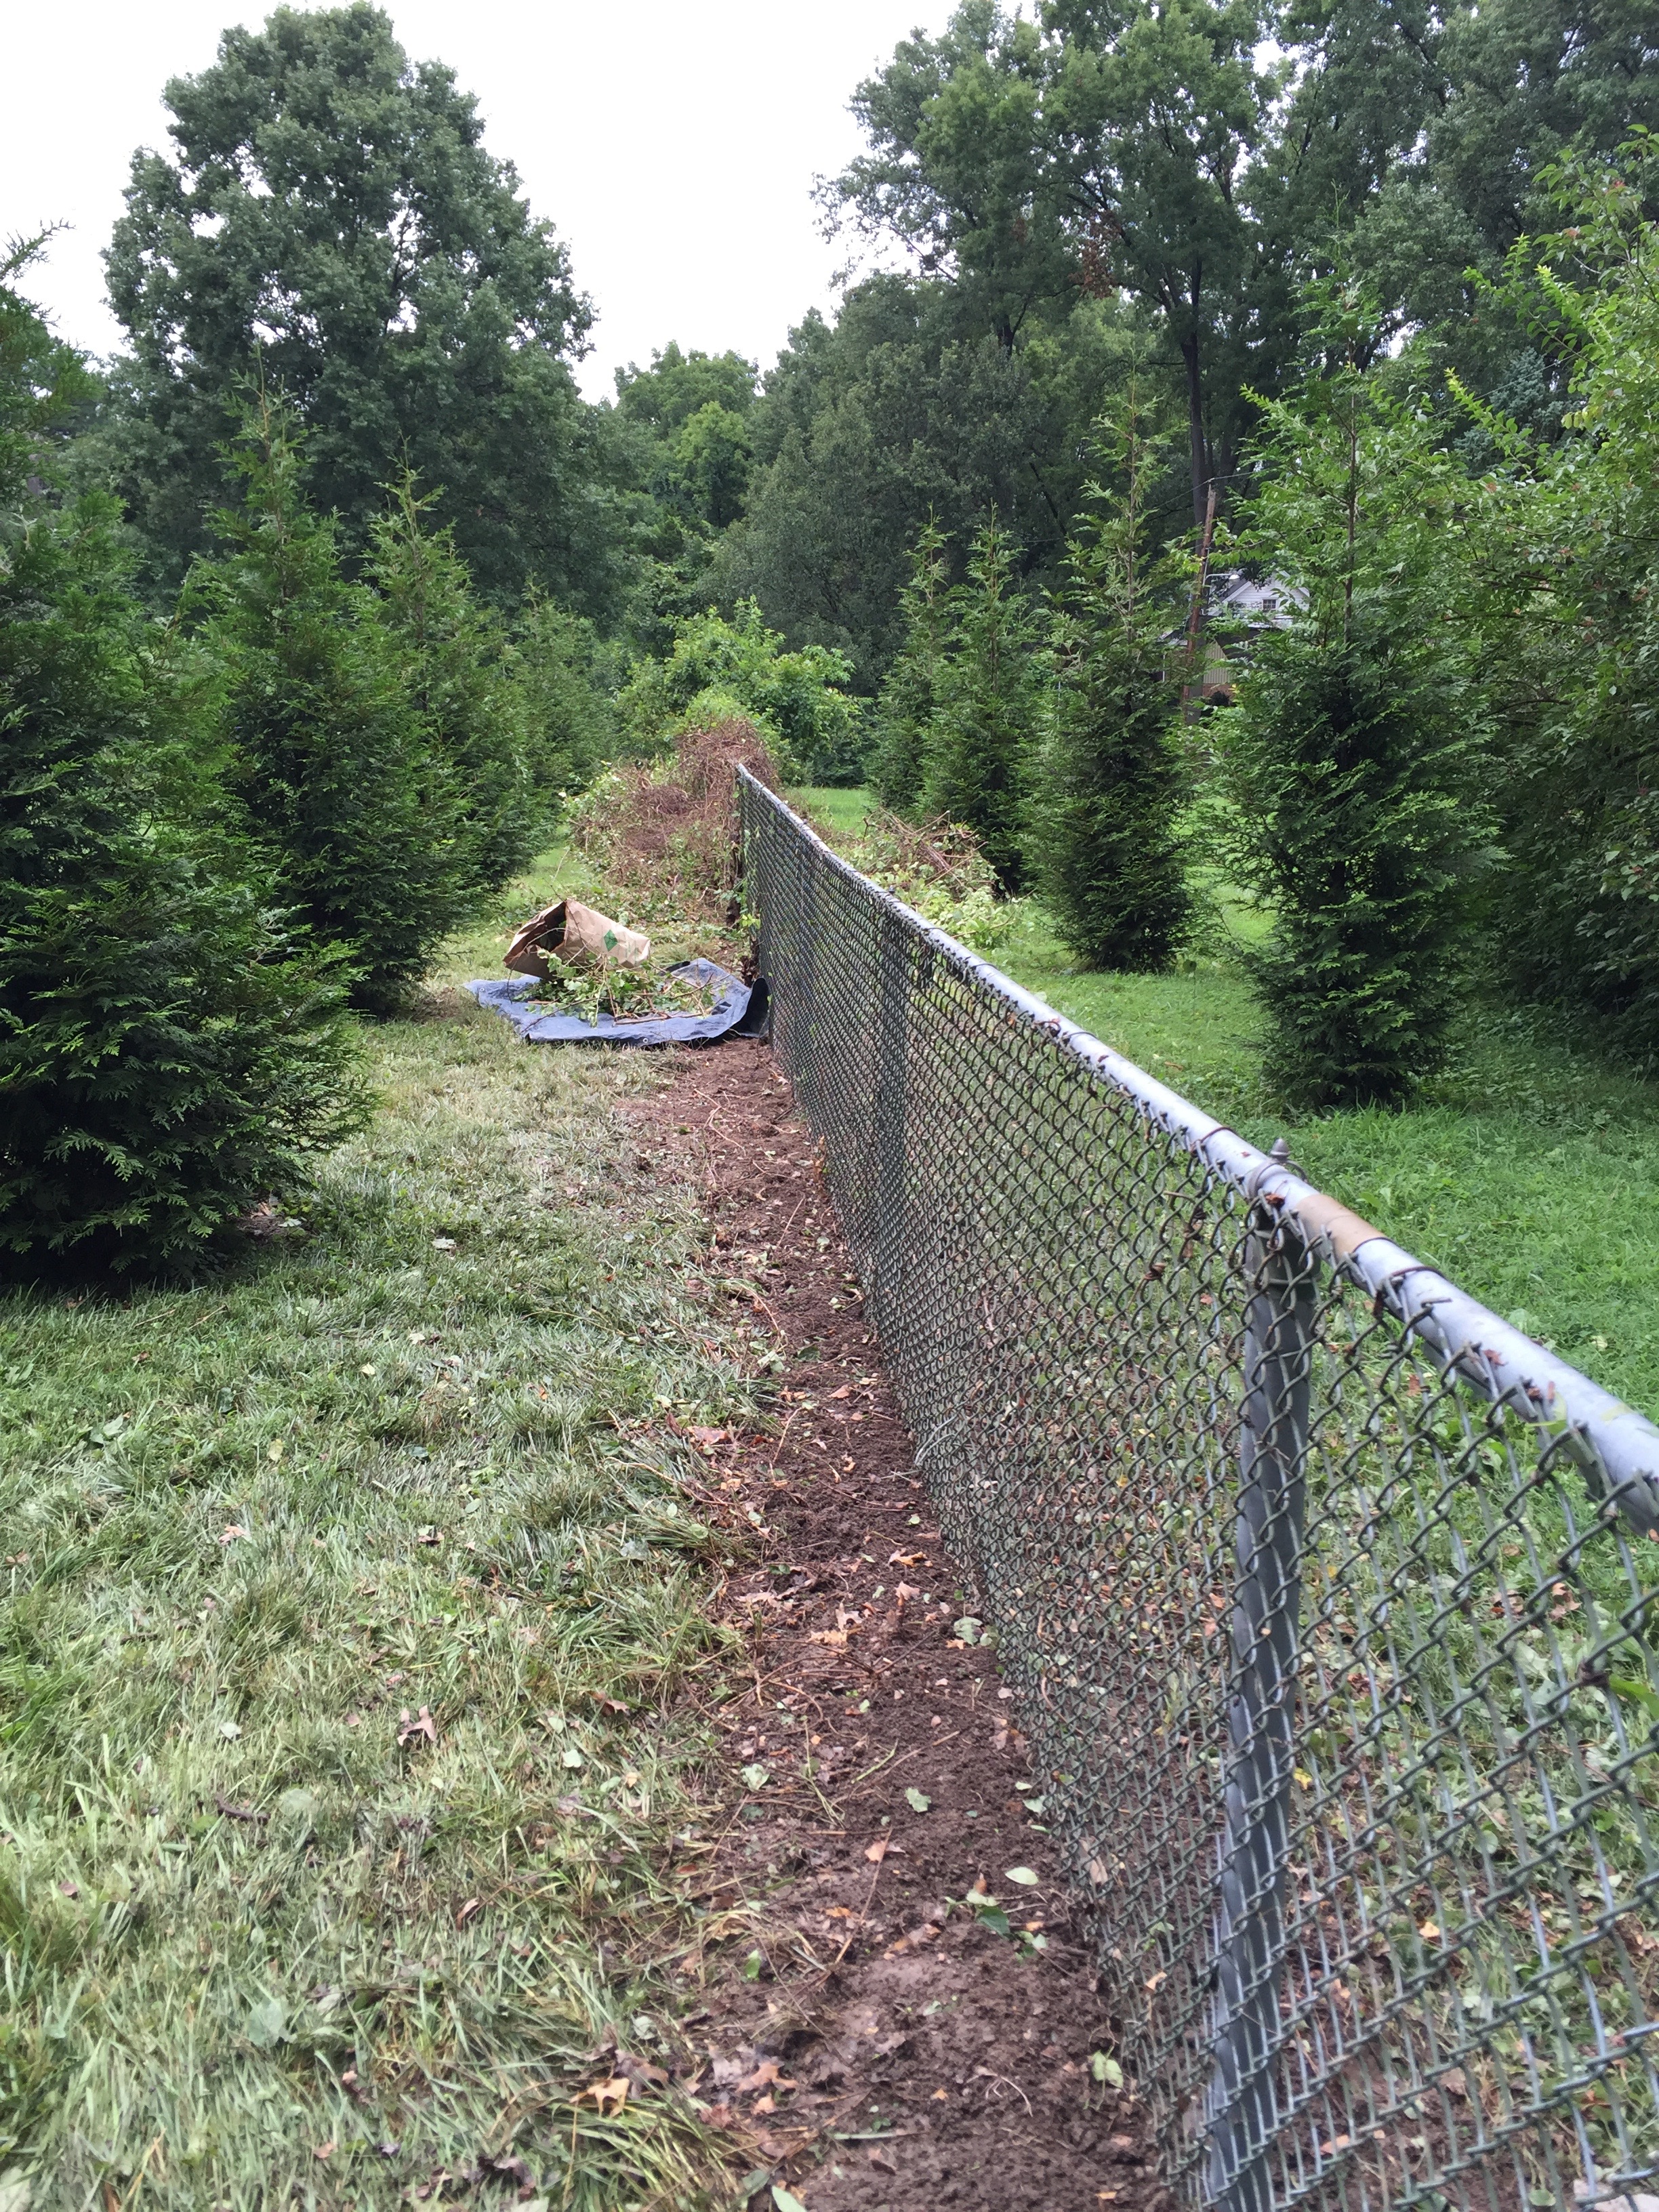 In other news, the bees are currently getting a treatment for Varroa mite control called Apiguard. Now that the honey has been harvested, I added this treatment to each hive on Saturday and they will get another dose in two weeks. It seems this is the recommended treatment for the mites that are causing such a problem with colony collapse lately. Crossing fingers for good results to keep our colonies alive!
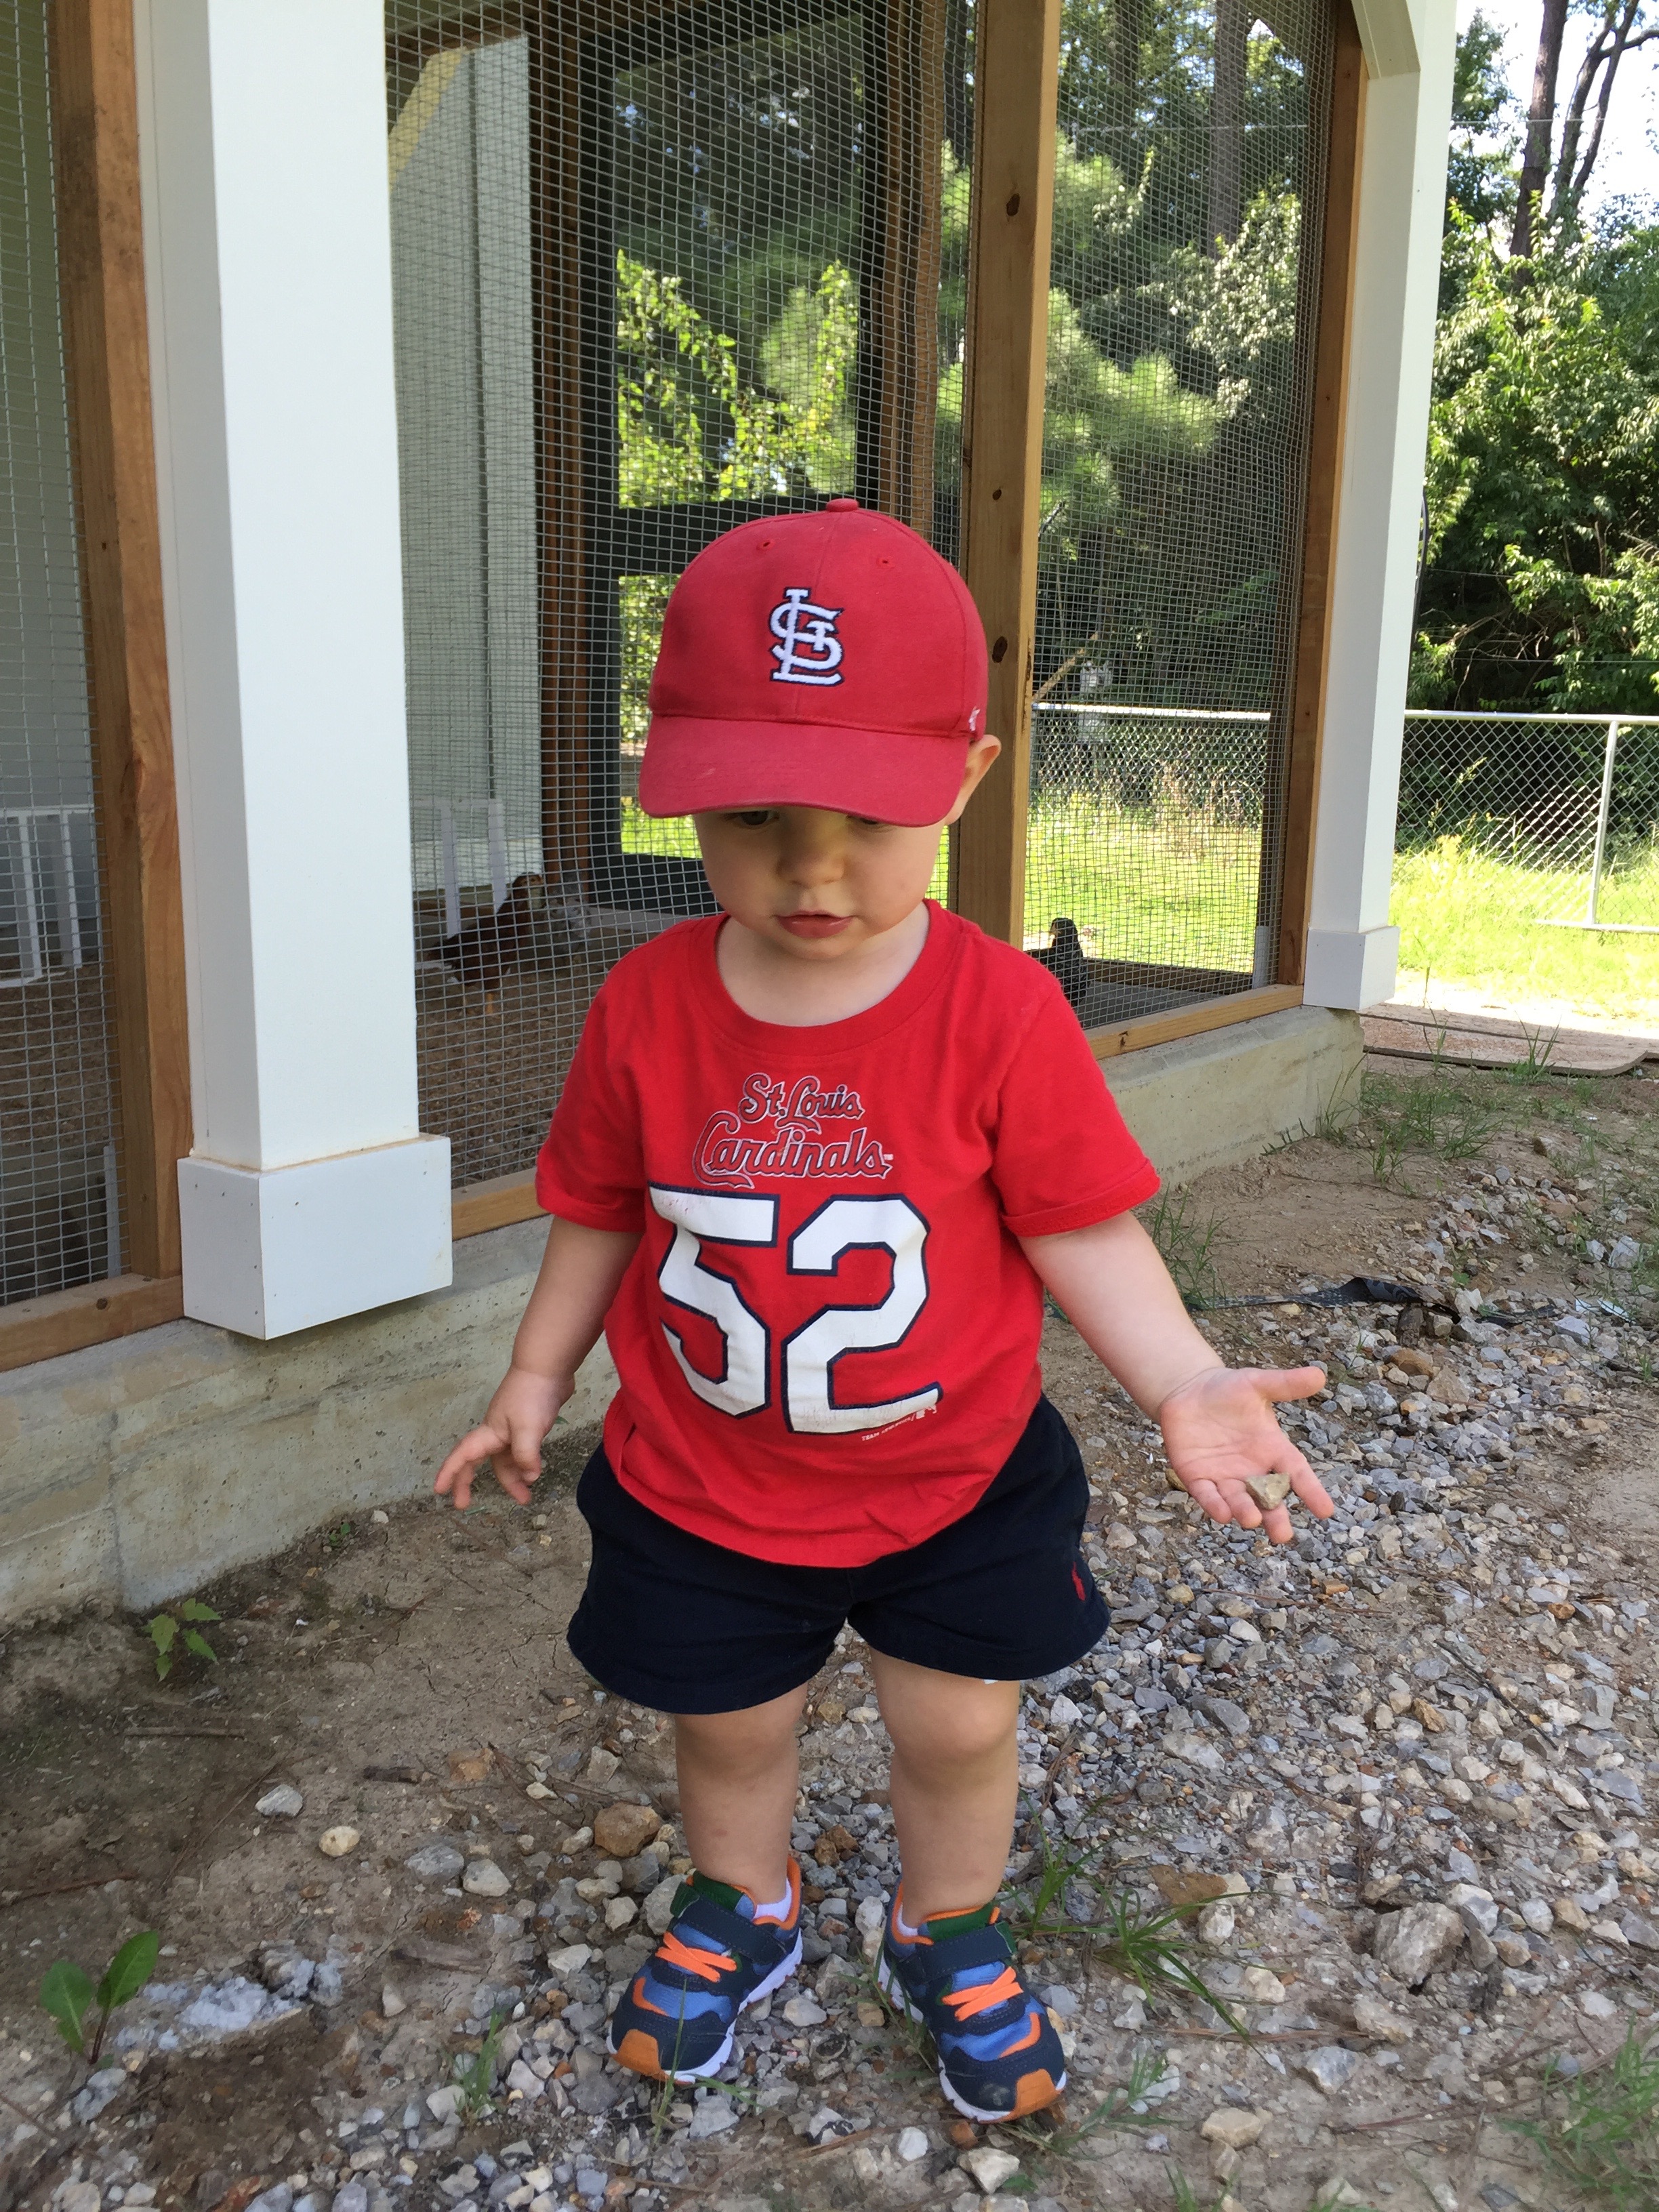
 Coulter continues to enjoy visiting the chicks but is a bit distracted lately by the fun rocks he finds just outside of their run! He picks them up one by one and shares his collection with Nana before putting them back down, which is a game that can go on and on!
 Our little Cardinal fan! Stay tuned!
 The idea is that they peck at the little nipples and they get a drip or two of water. This keeps their water supply clean and helps to eliminate any standing water which could grow bacteria. It also serves as a distraction since it is almost like a new toy to them.
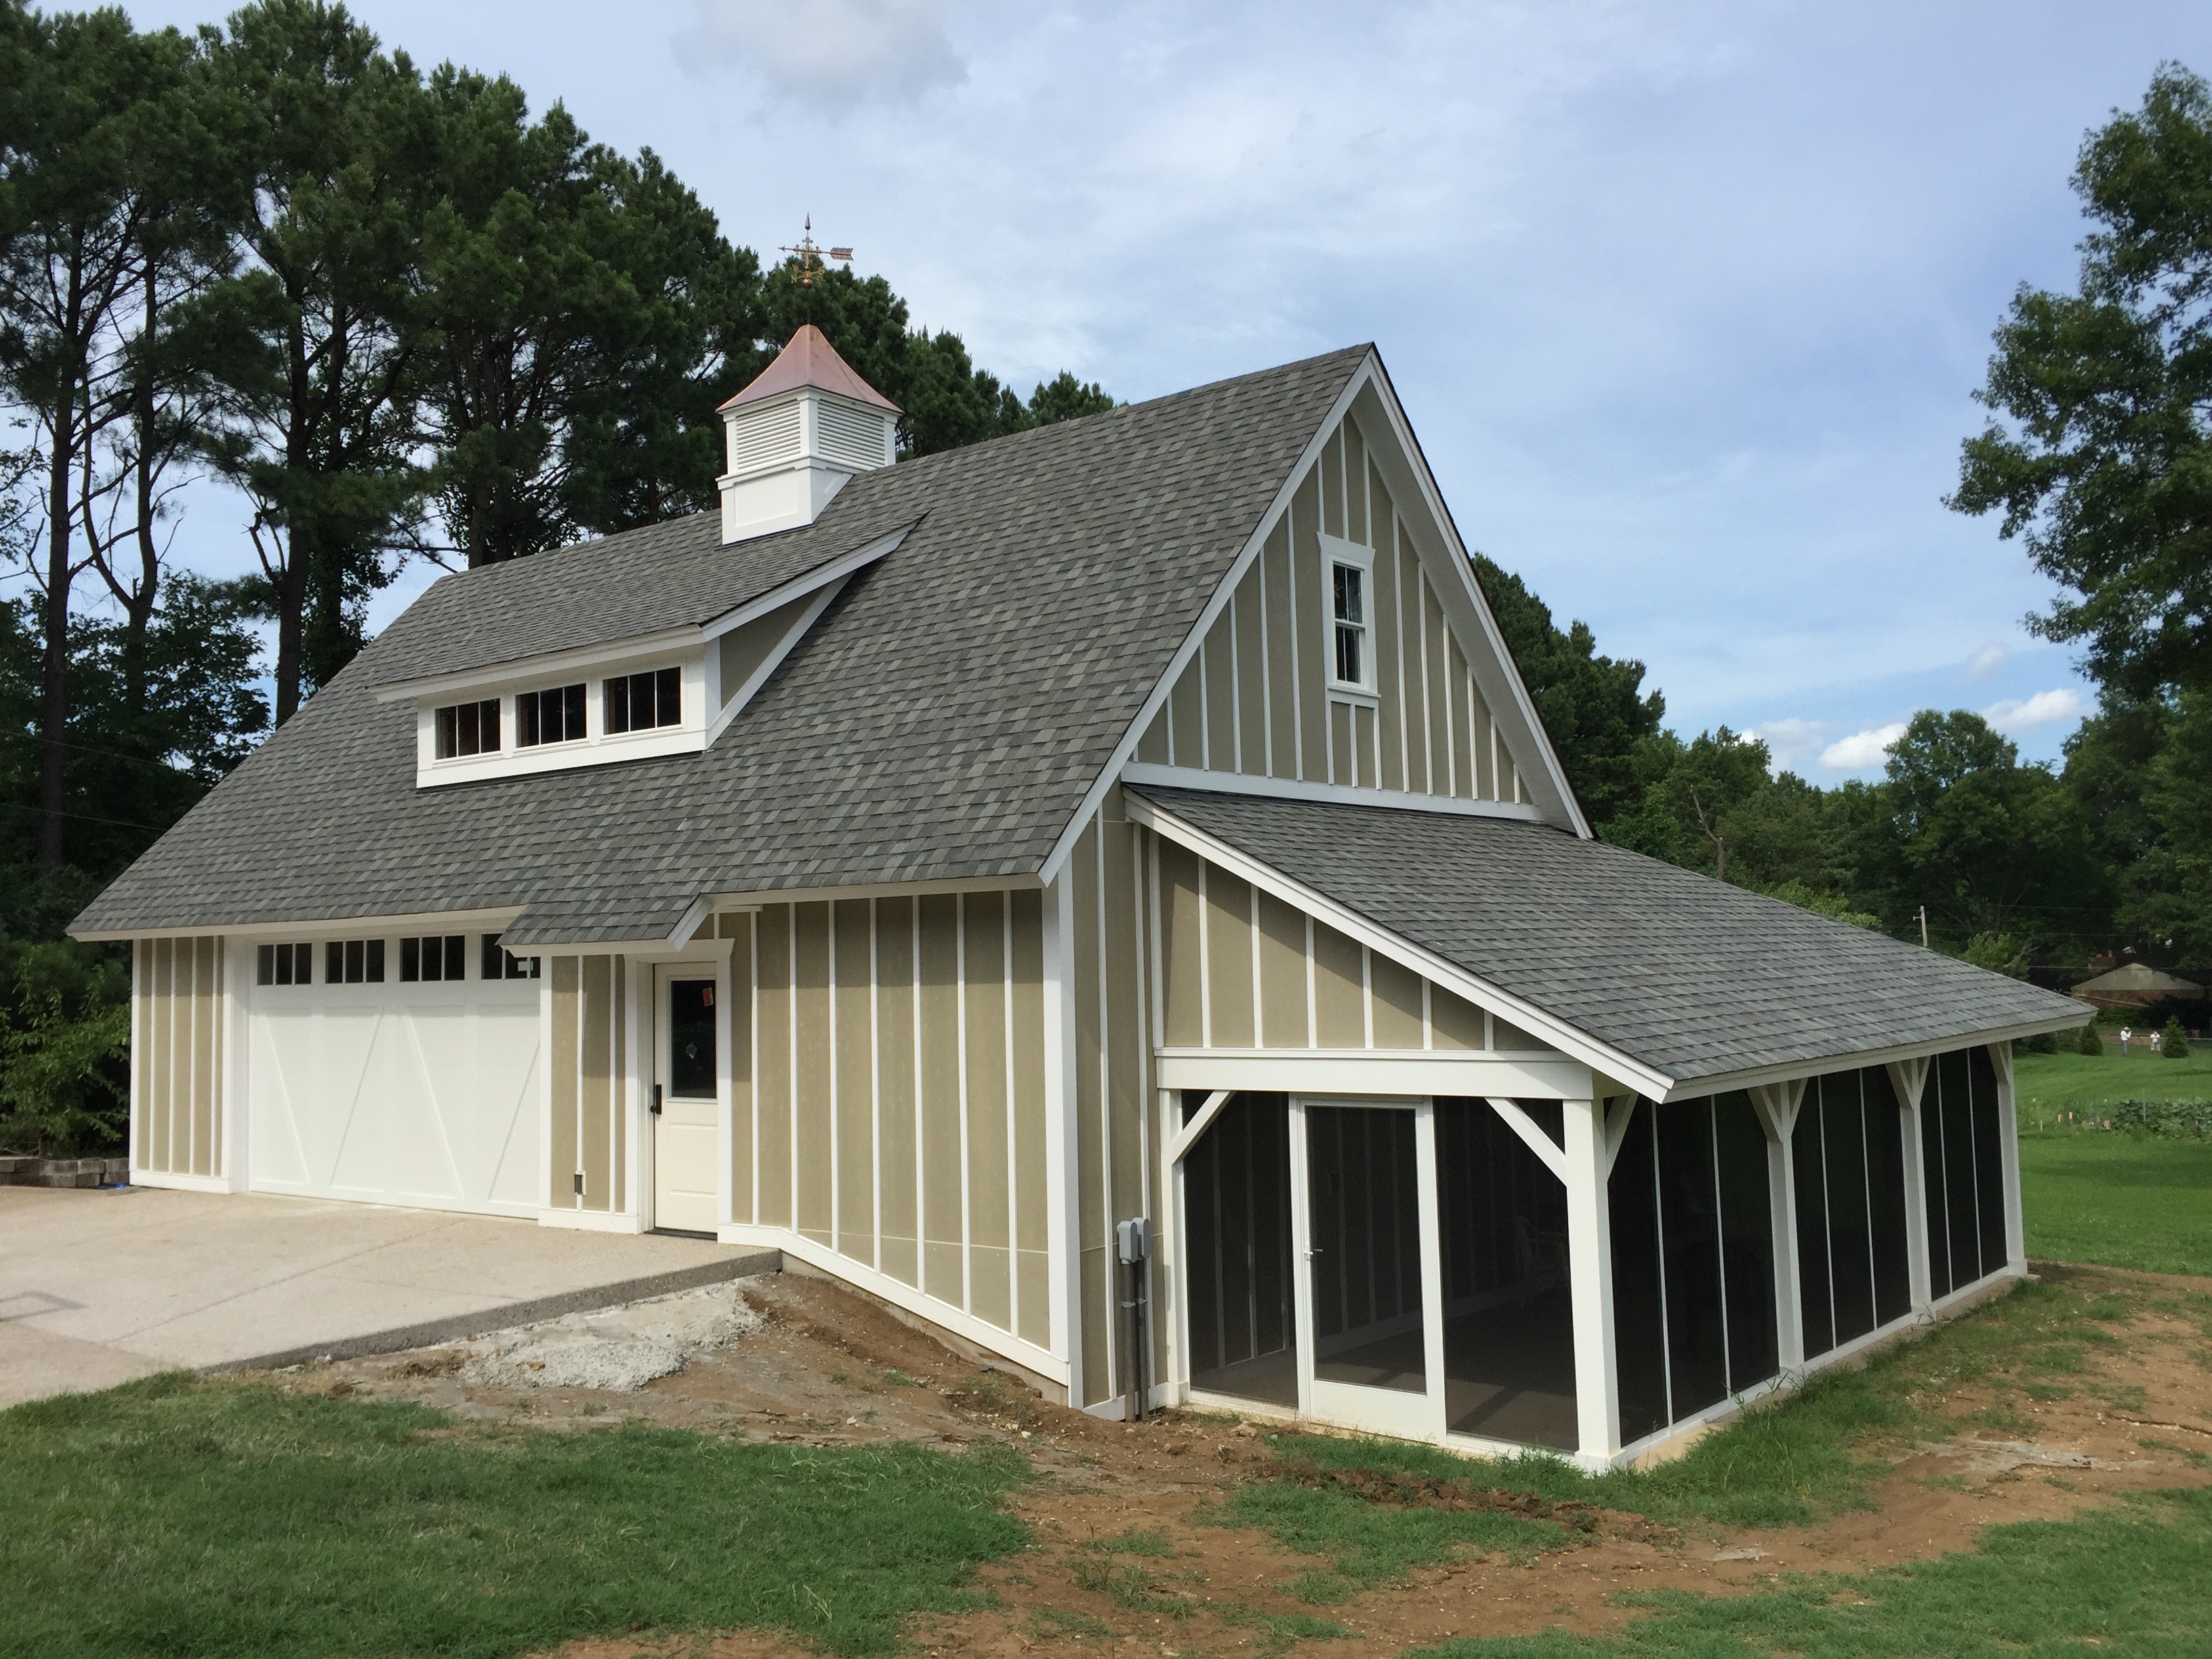
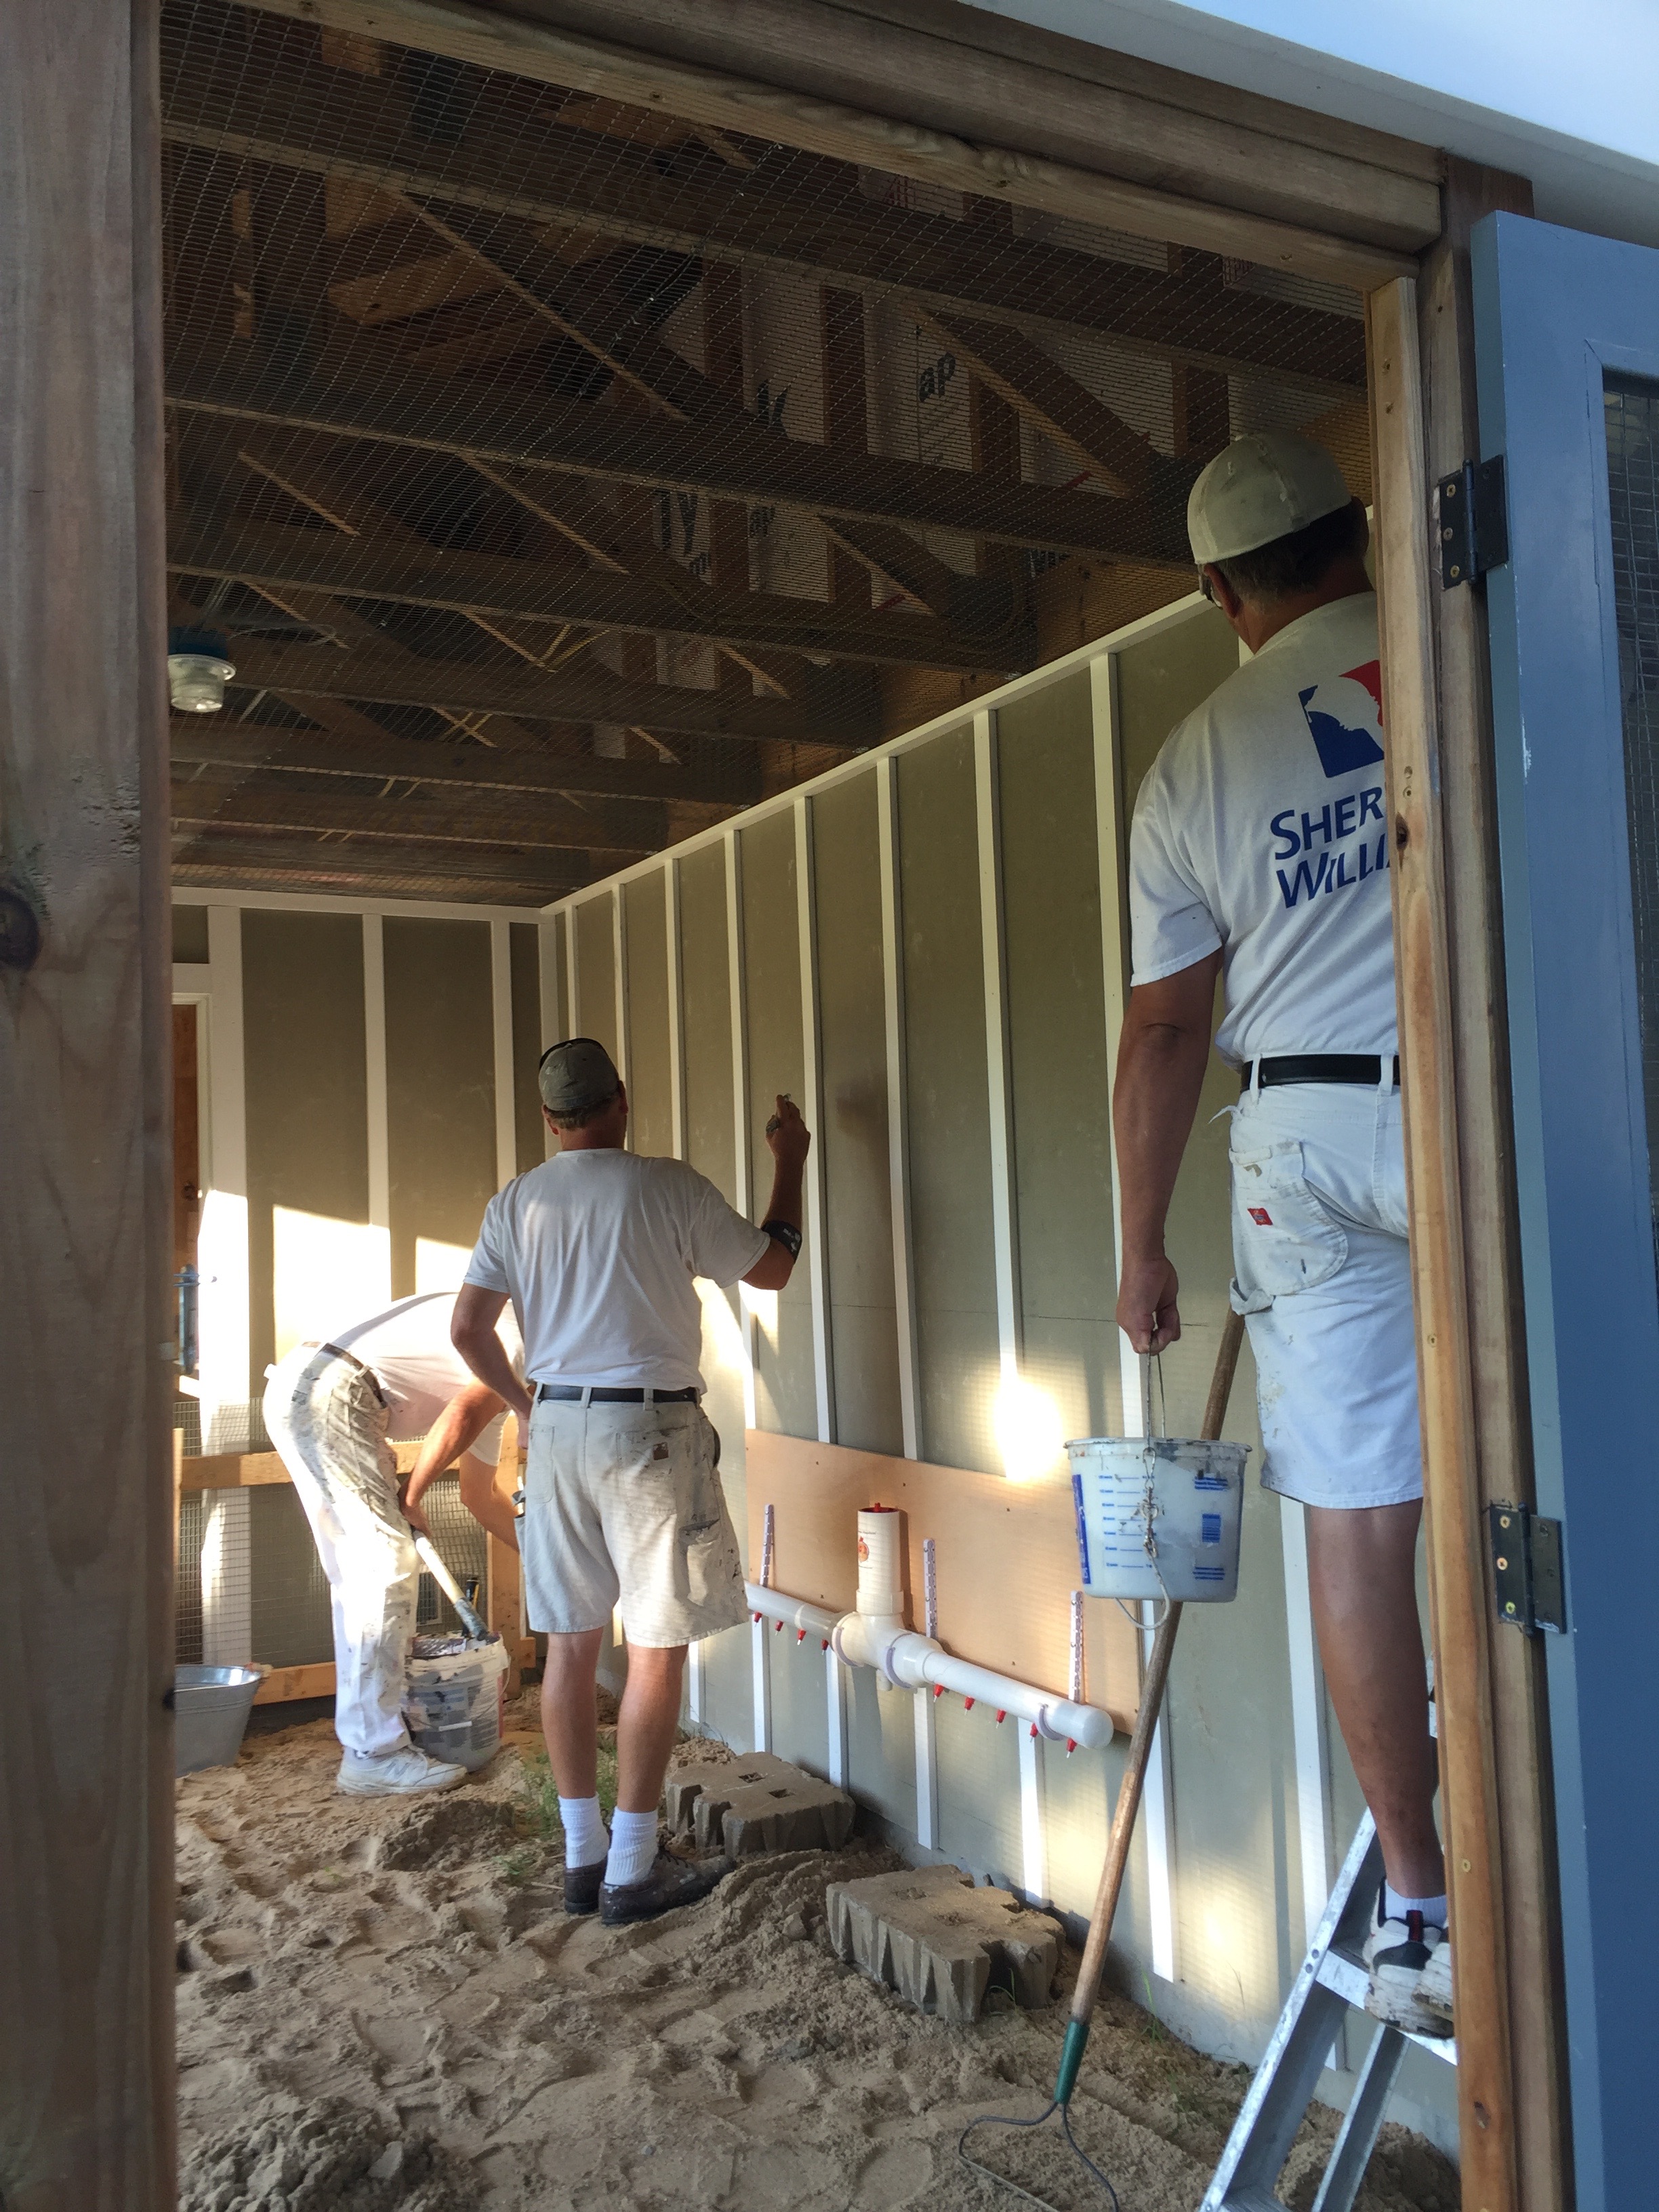 Looking much better now with a bit of color on the board and batten exterior!

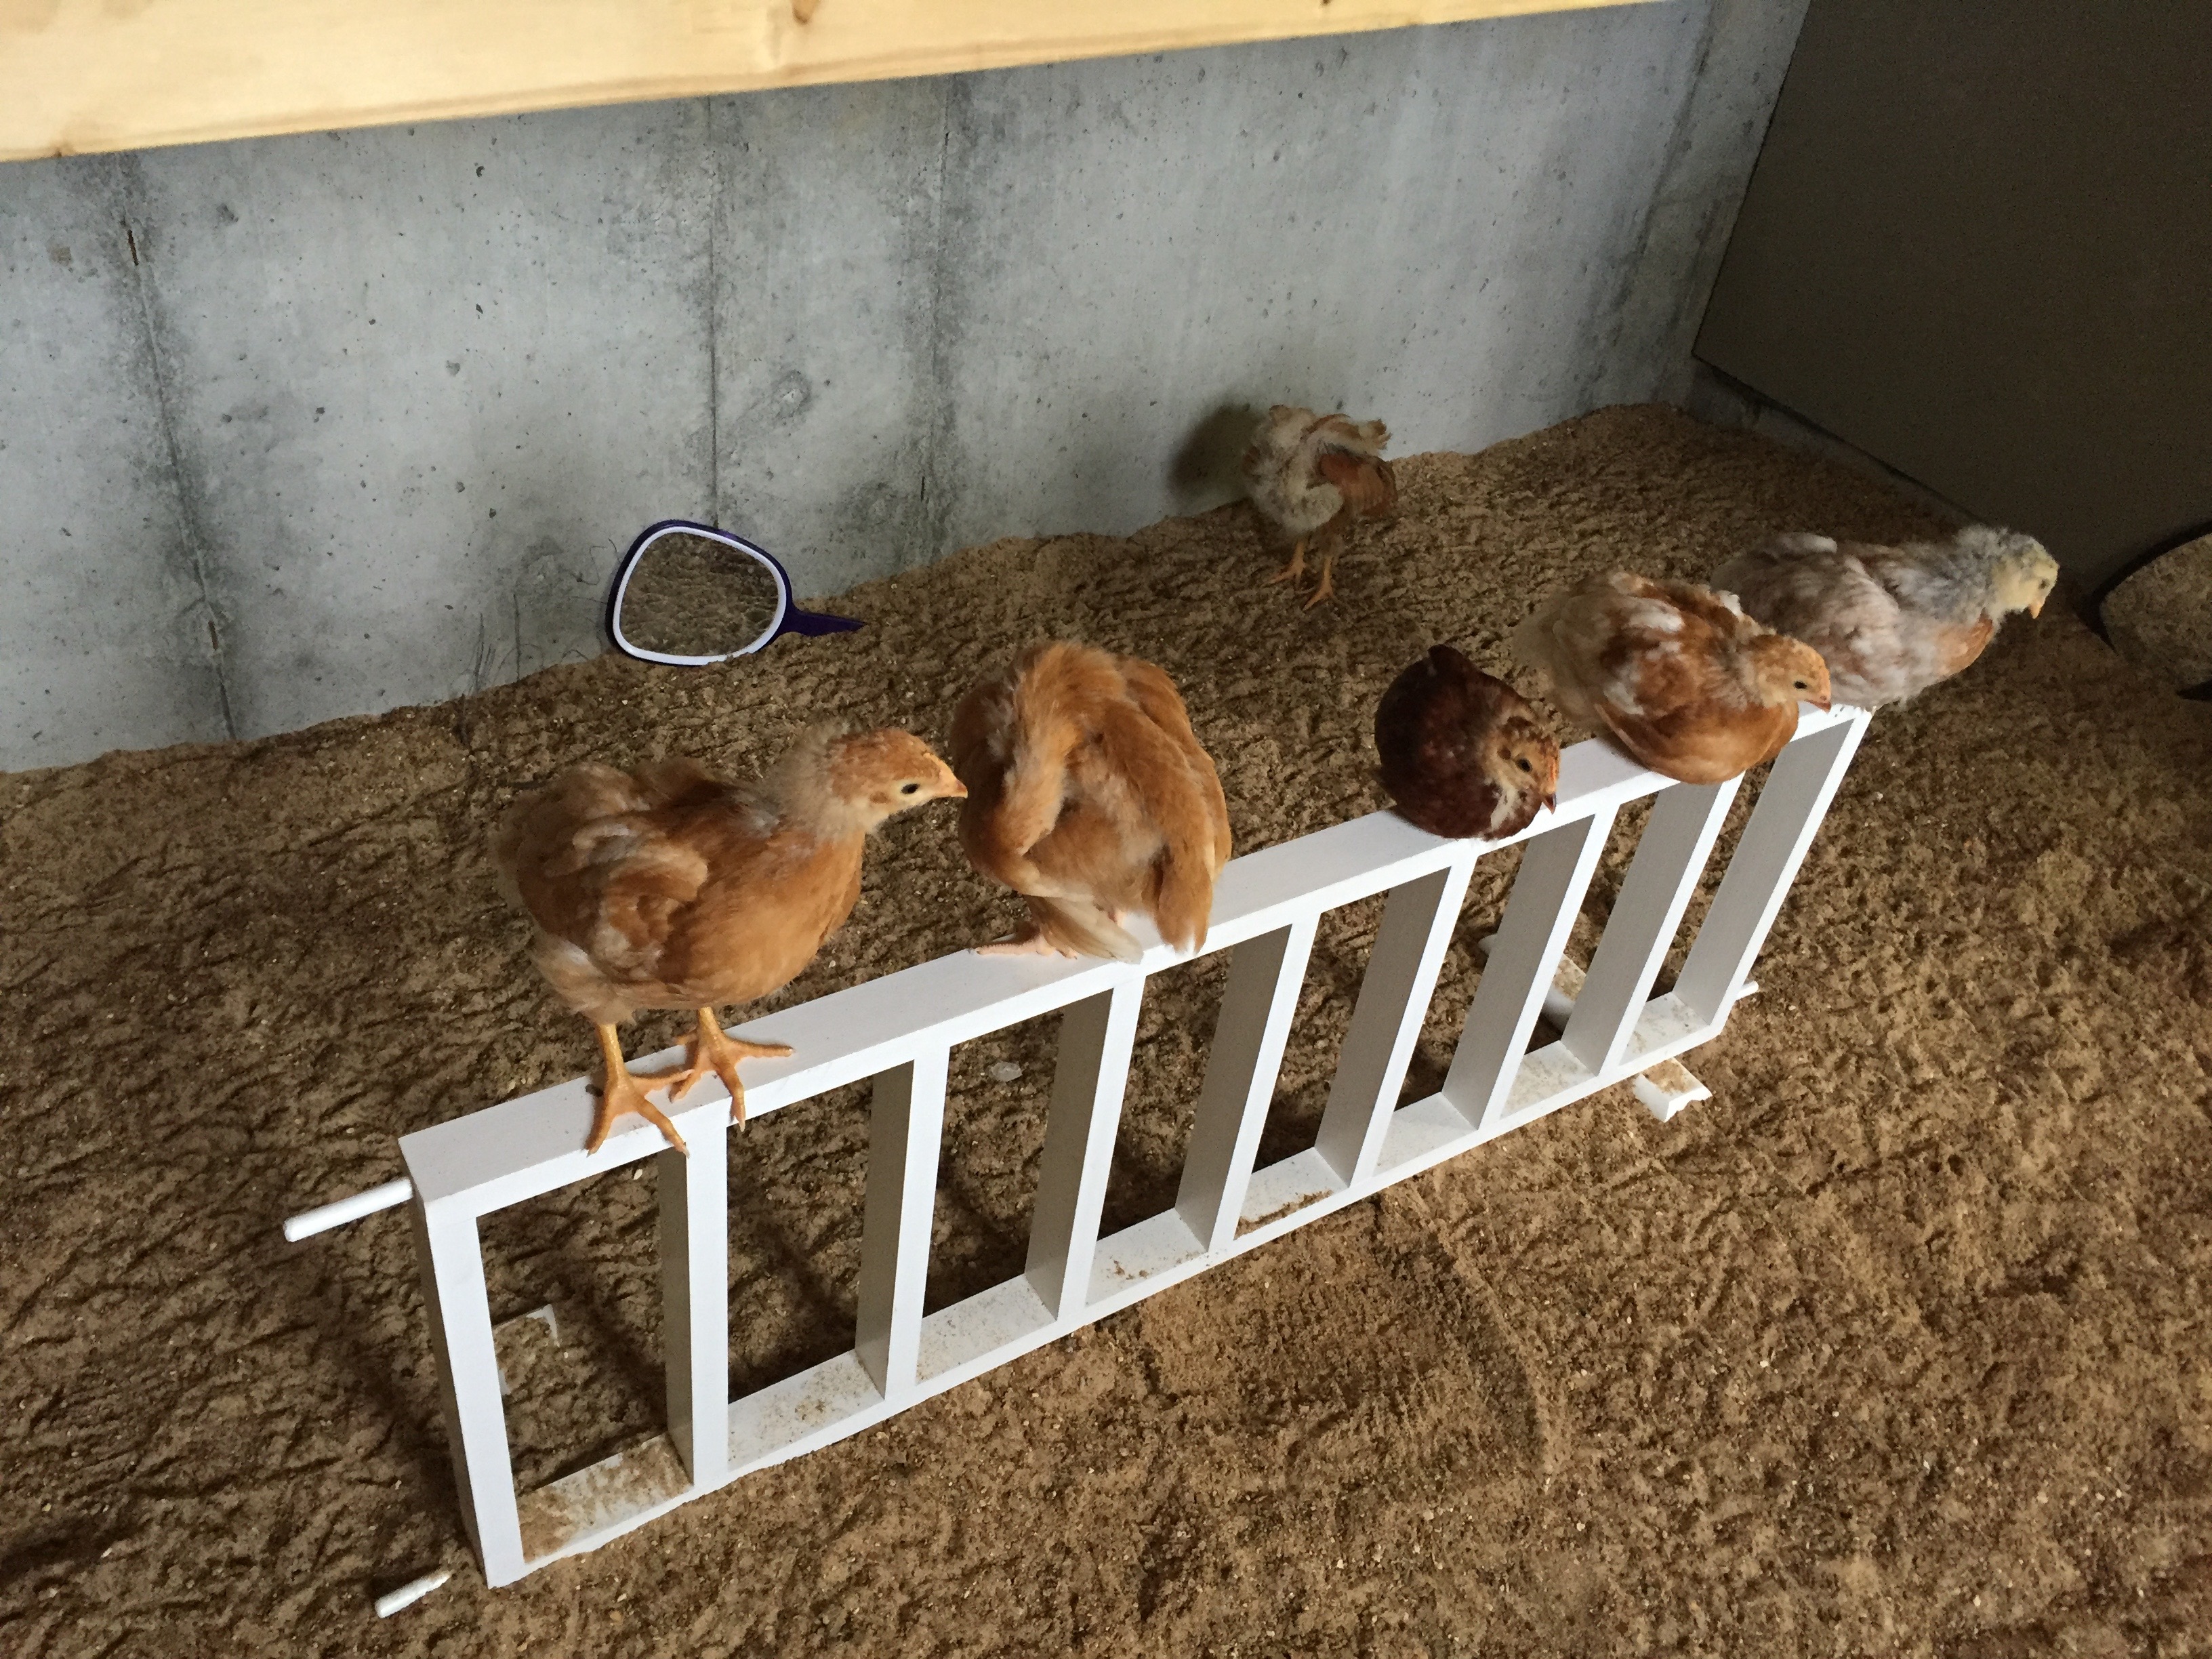
 They found another Farley gate for roosting purposes and have taken their first dust baths!
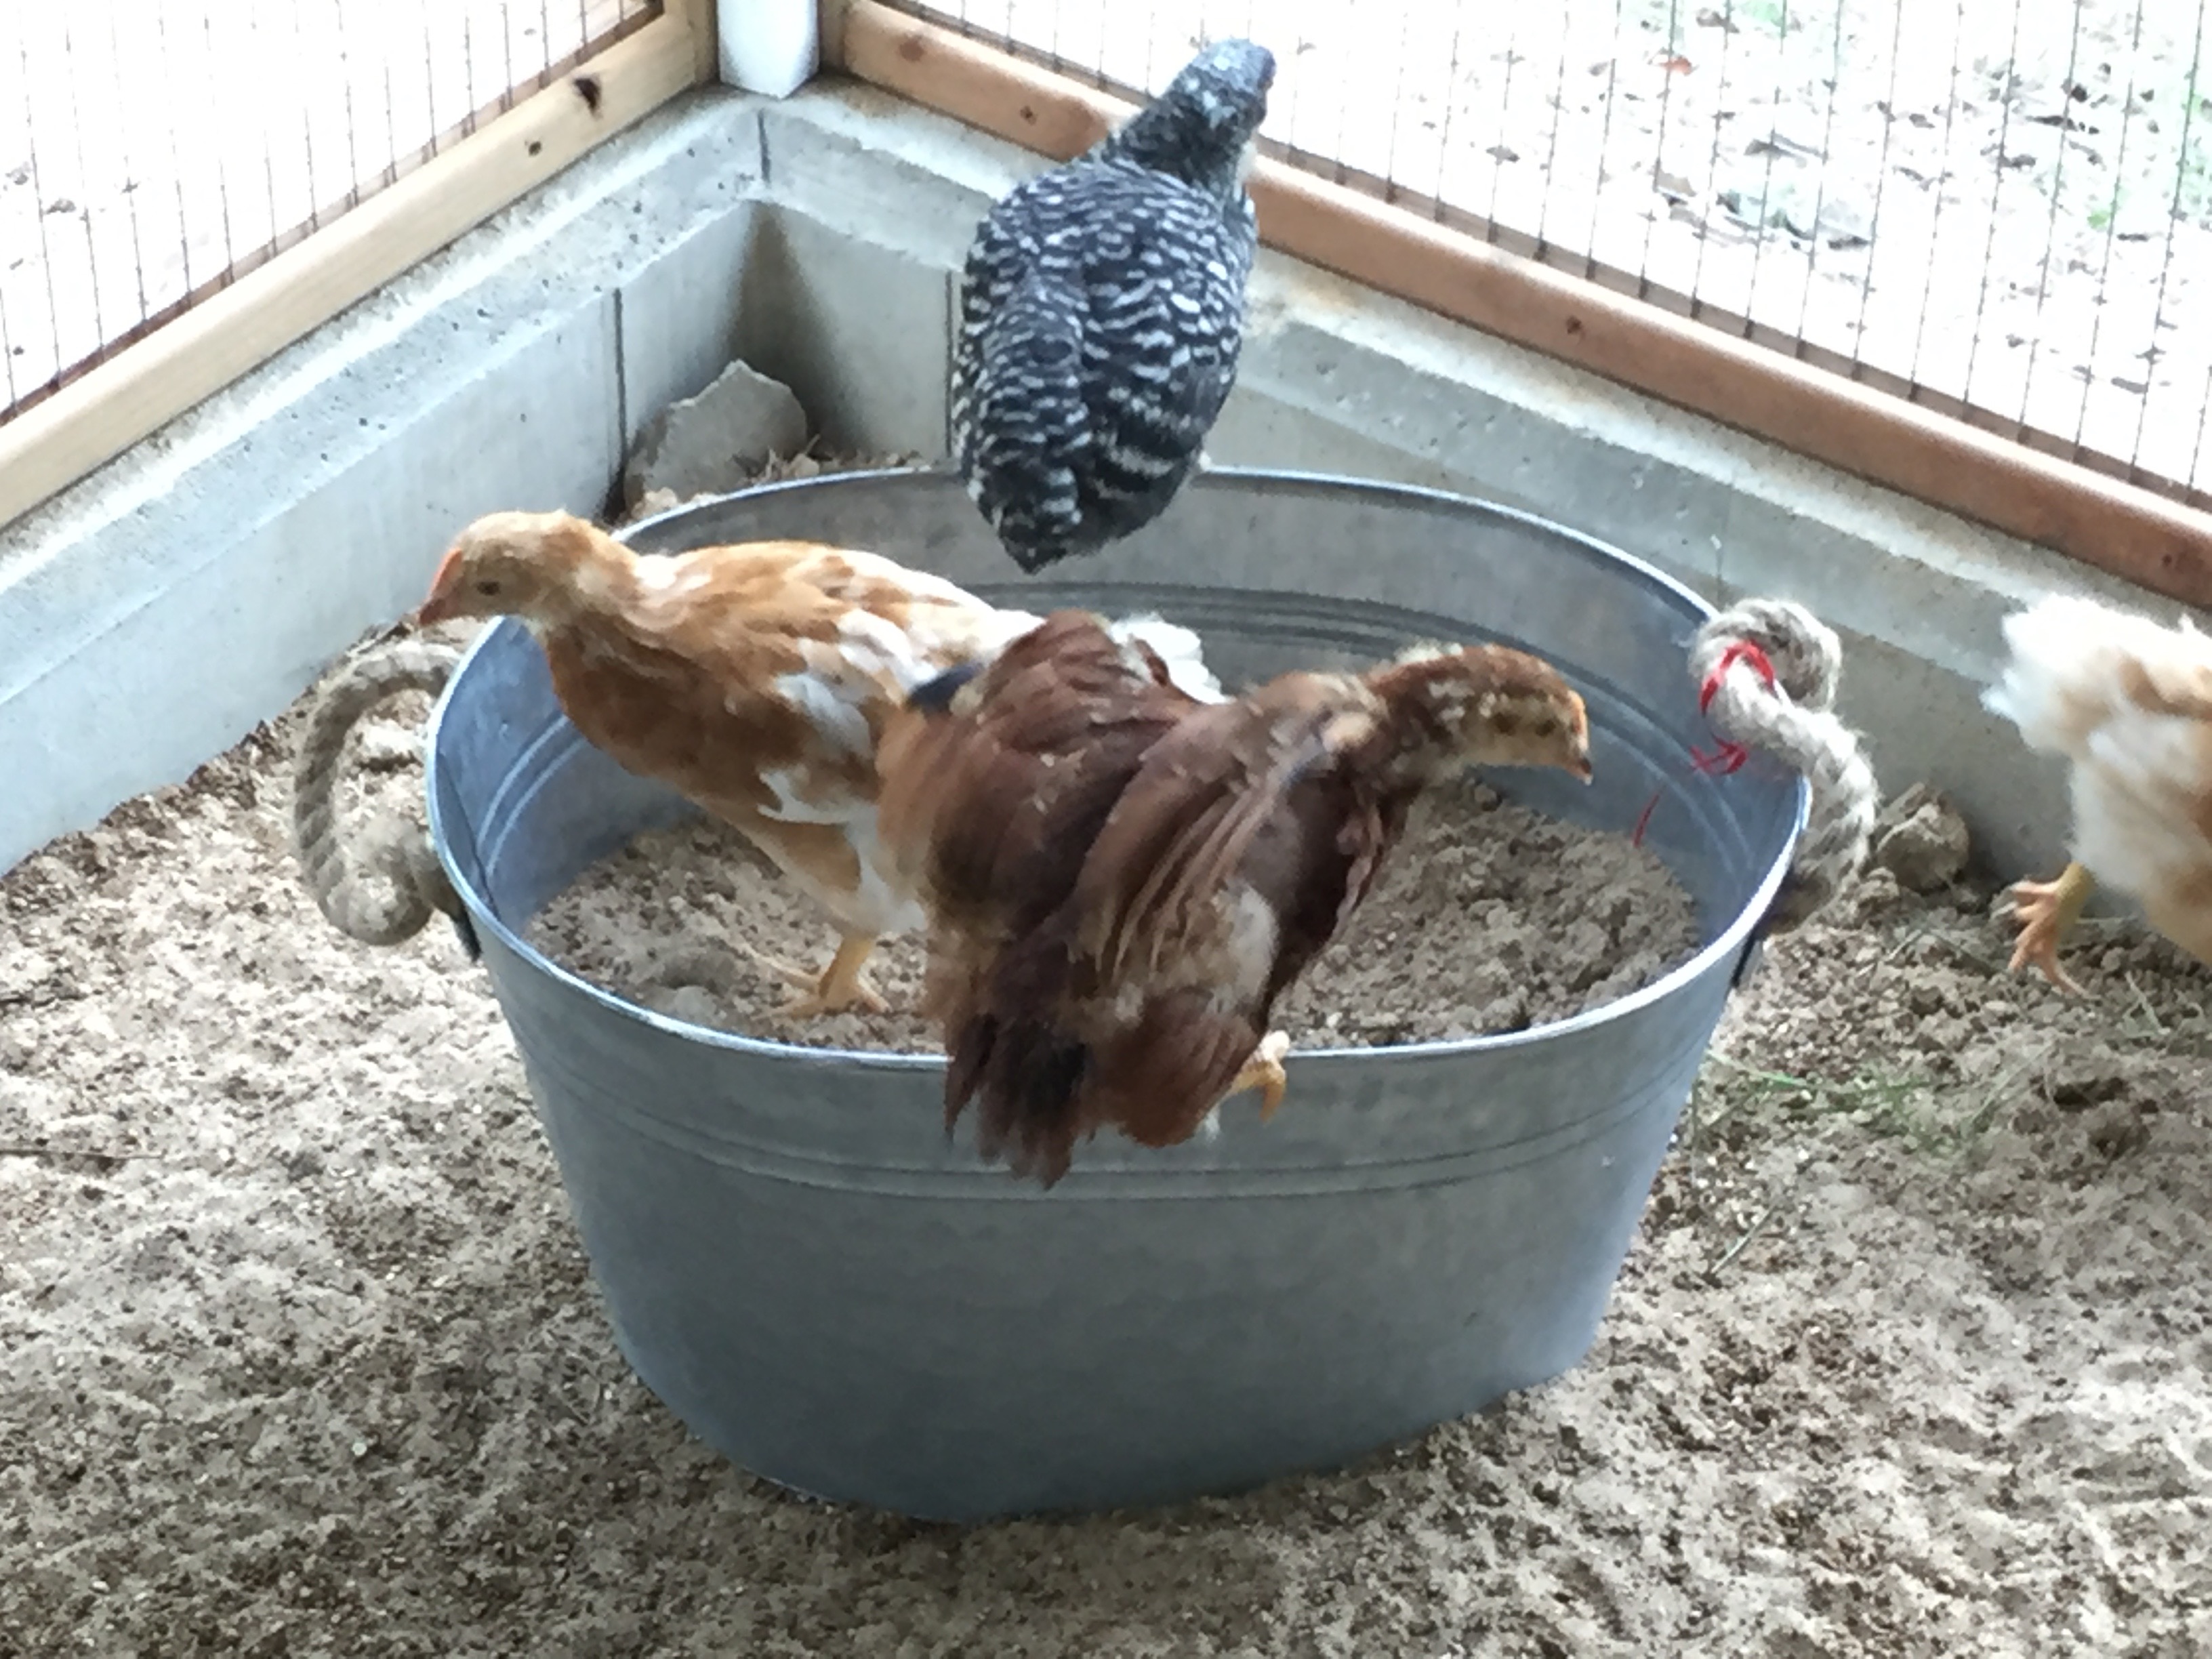
 Coulter now goes out with us each day to visit the chicks but as much as he likes all their activities, he may best enjoy the chicken on the screen porch as it stands still for his inspections!
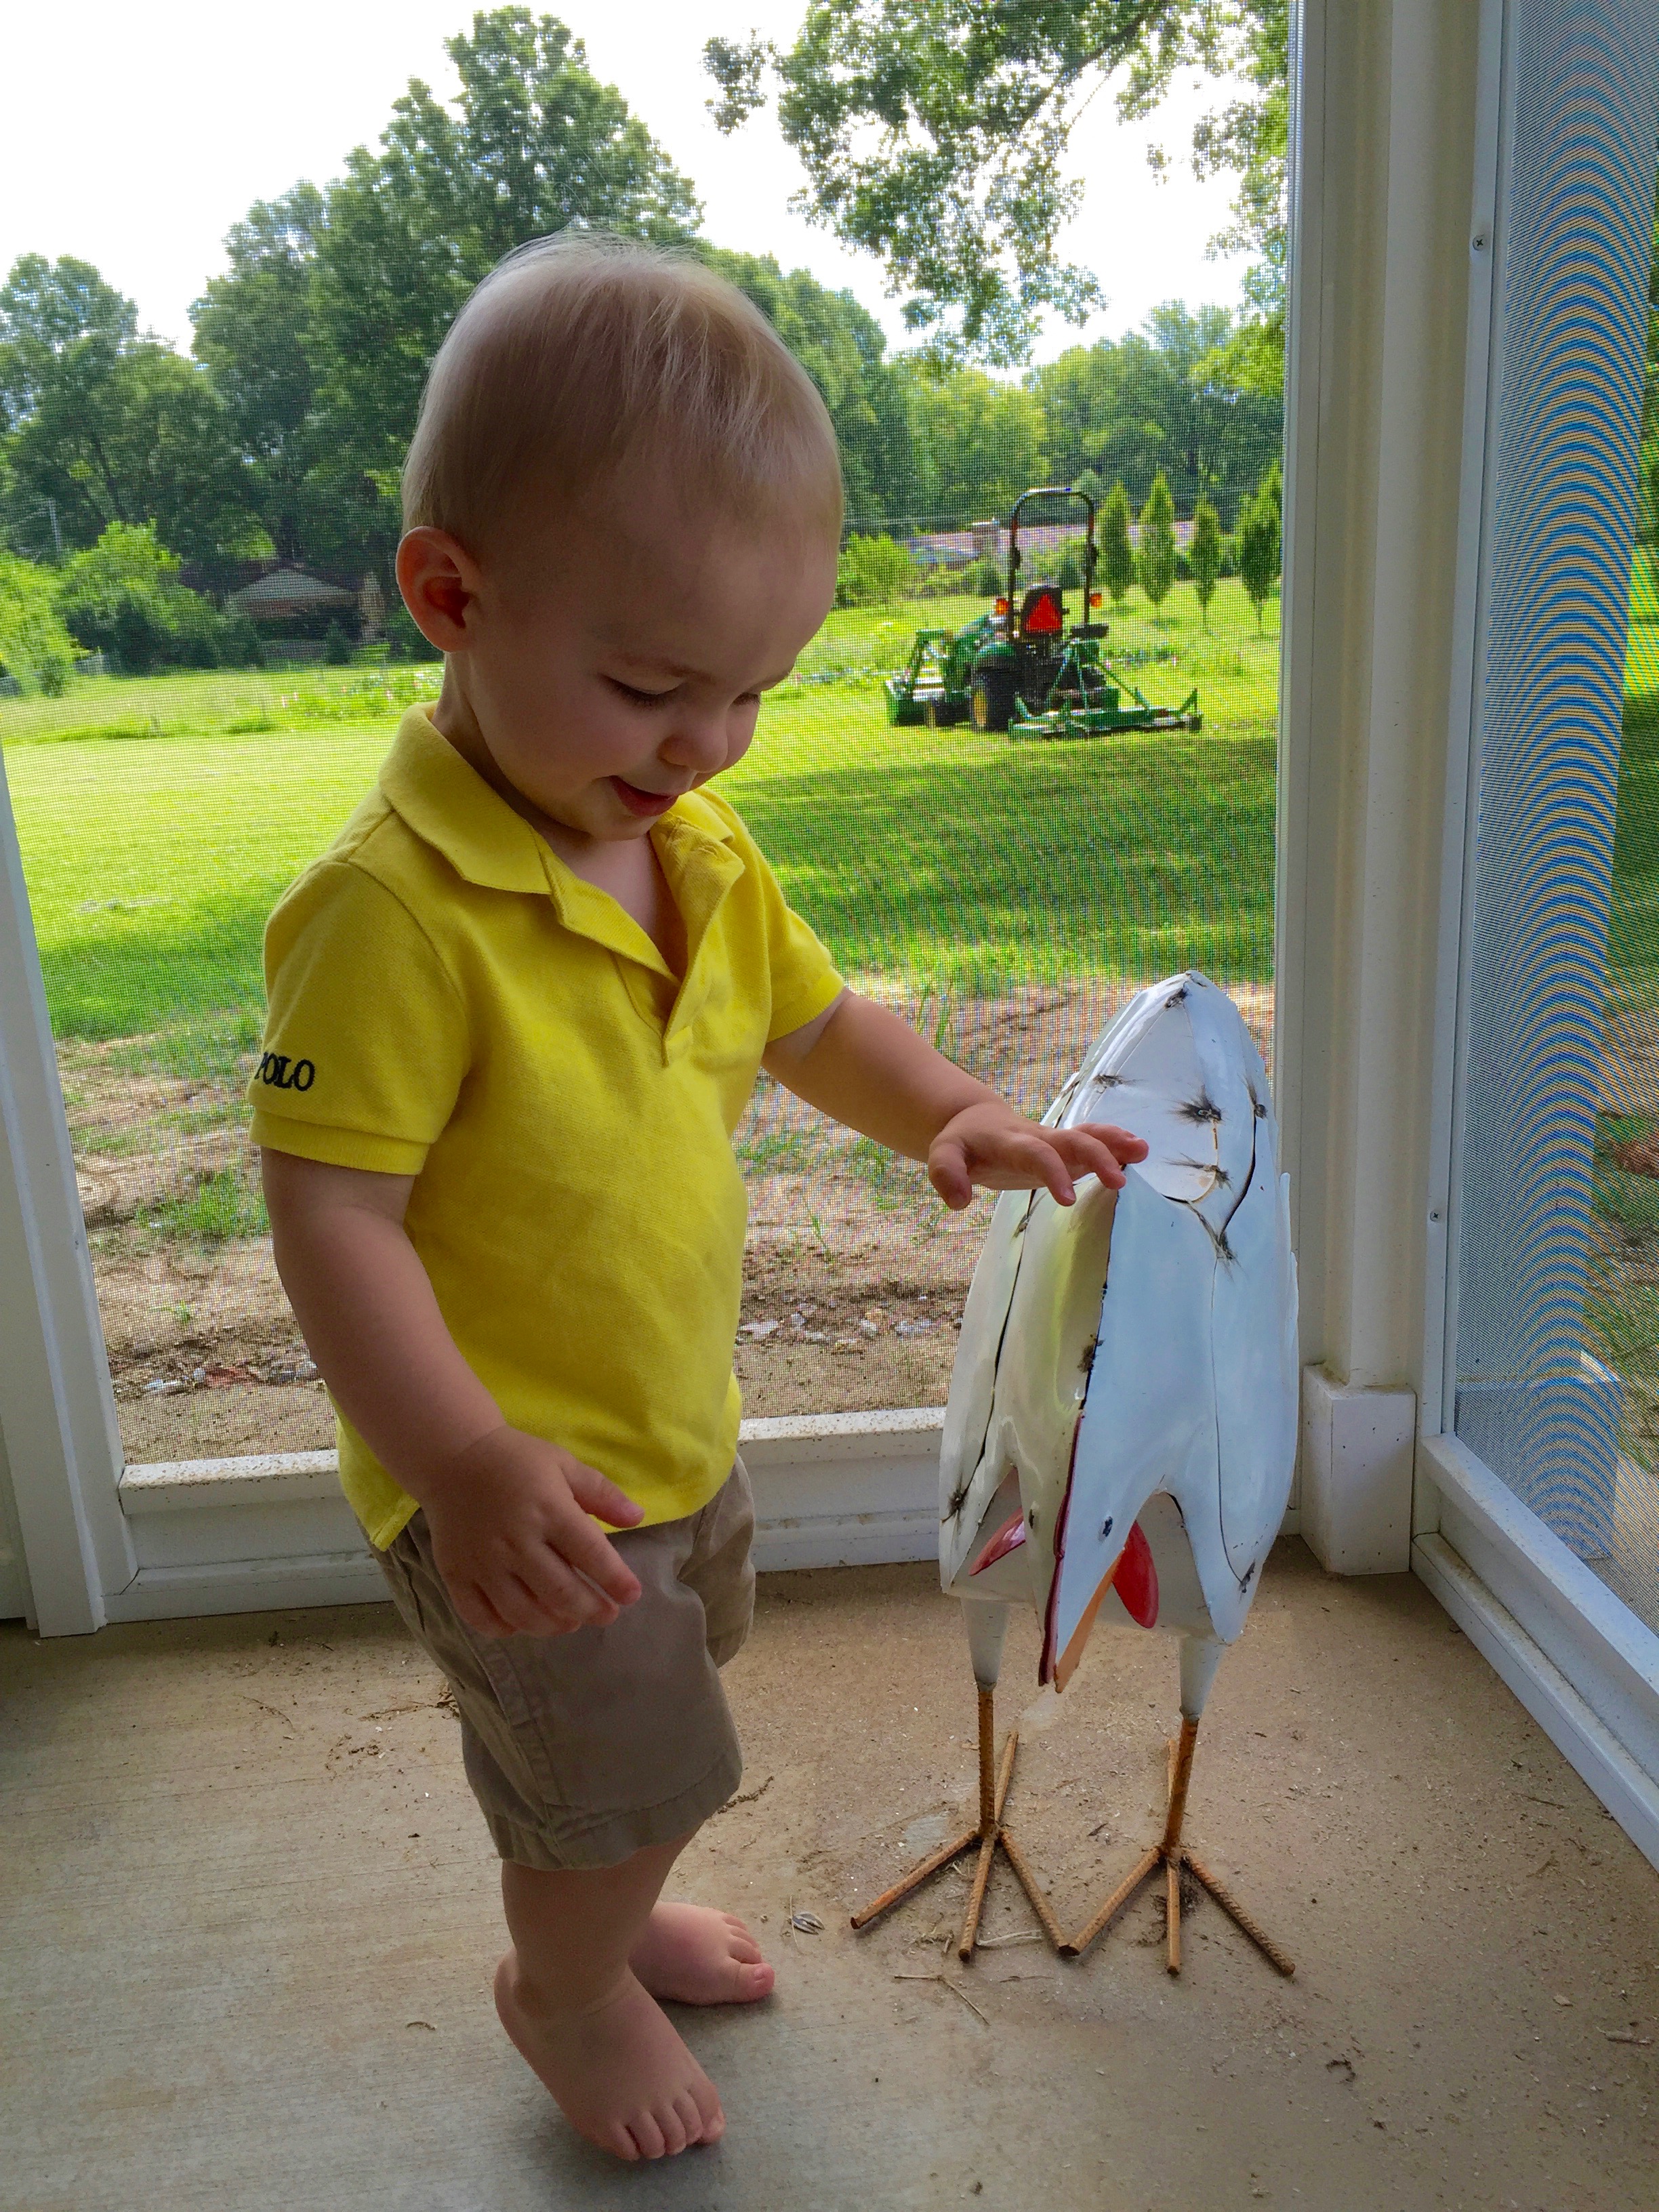
 On to the bees: We picked up and installed the new queen on Wednesday. Here she is in her little cage with some attendants waiting to ‘go’. She is “marked” with a dot of ink on her back so she is easily spotted in the crowd. I took a nail and punctured the sugar plug that separated her from the rest of the world and knew that her new subjects would eagerly eat thru the sugar to welcome her to the hive.
 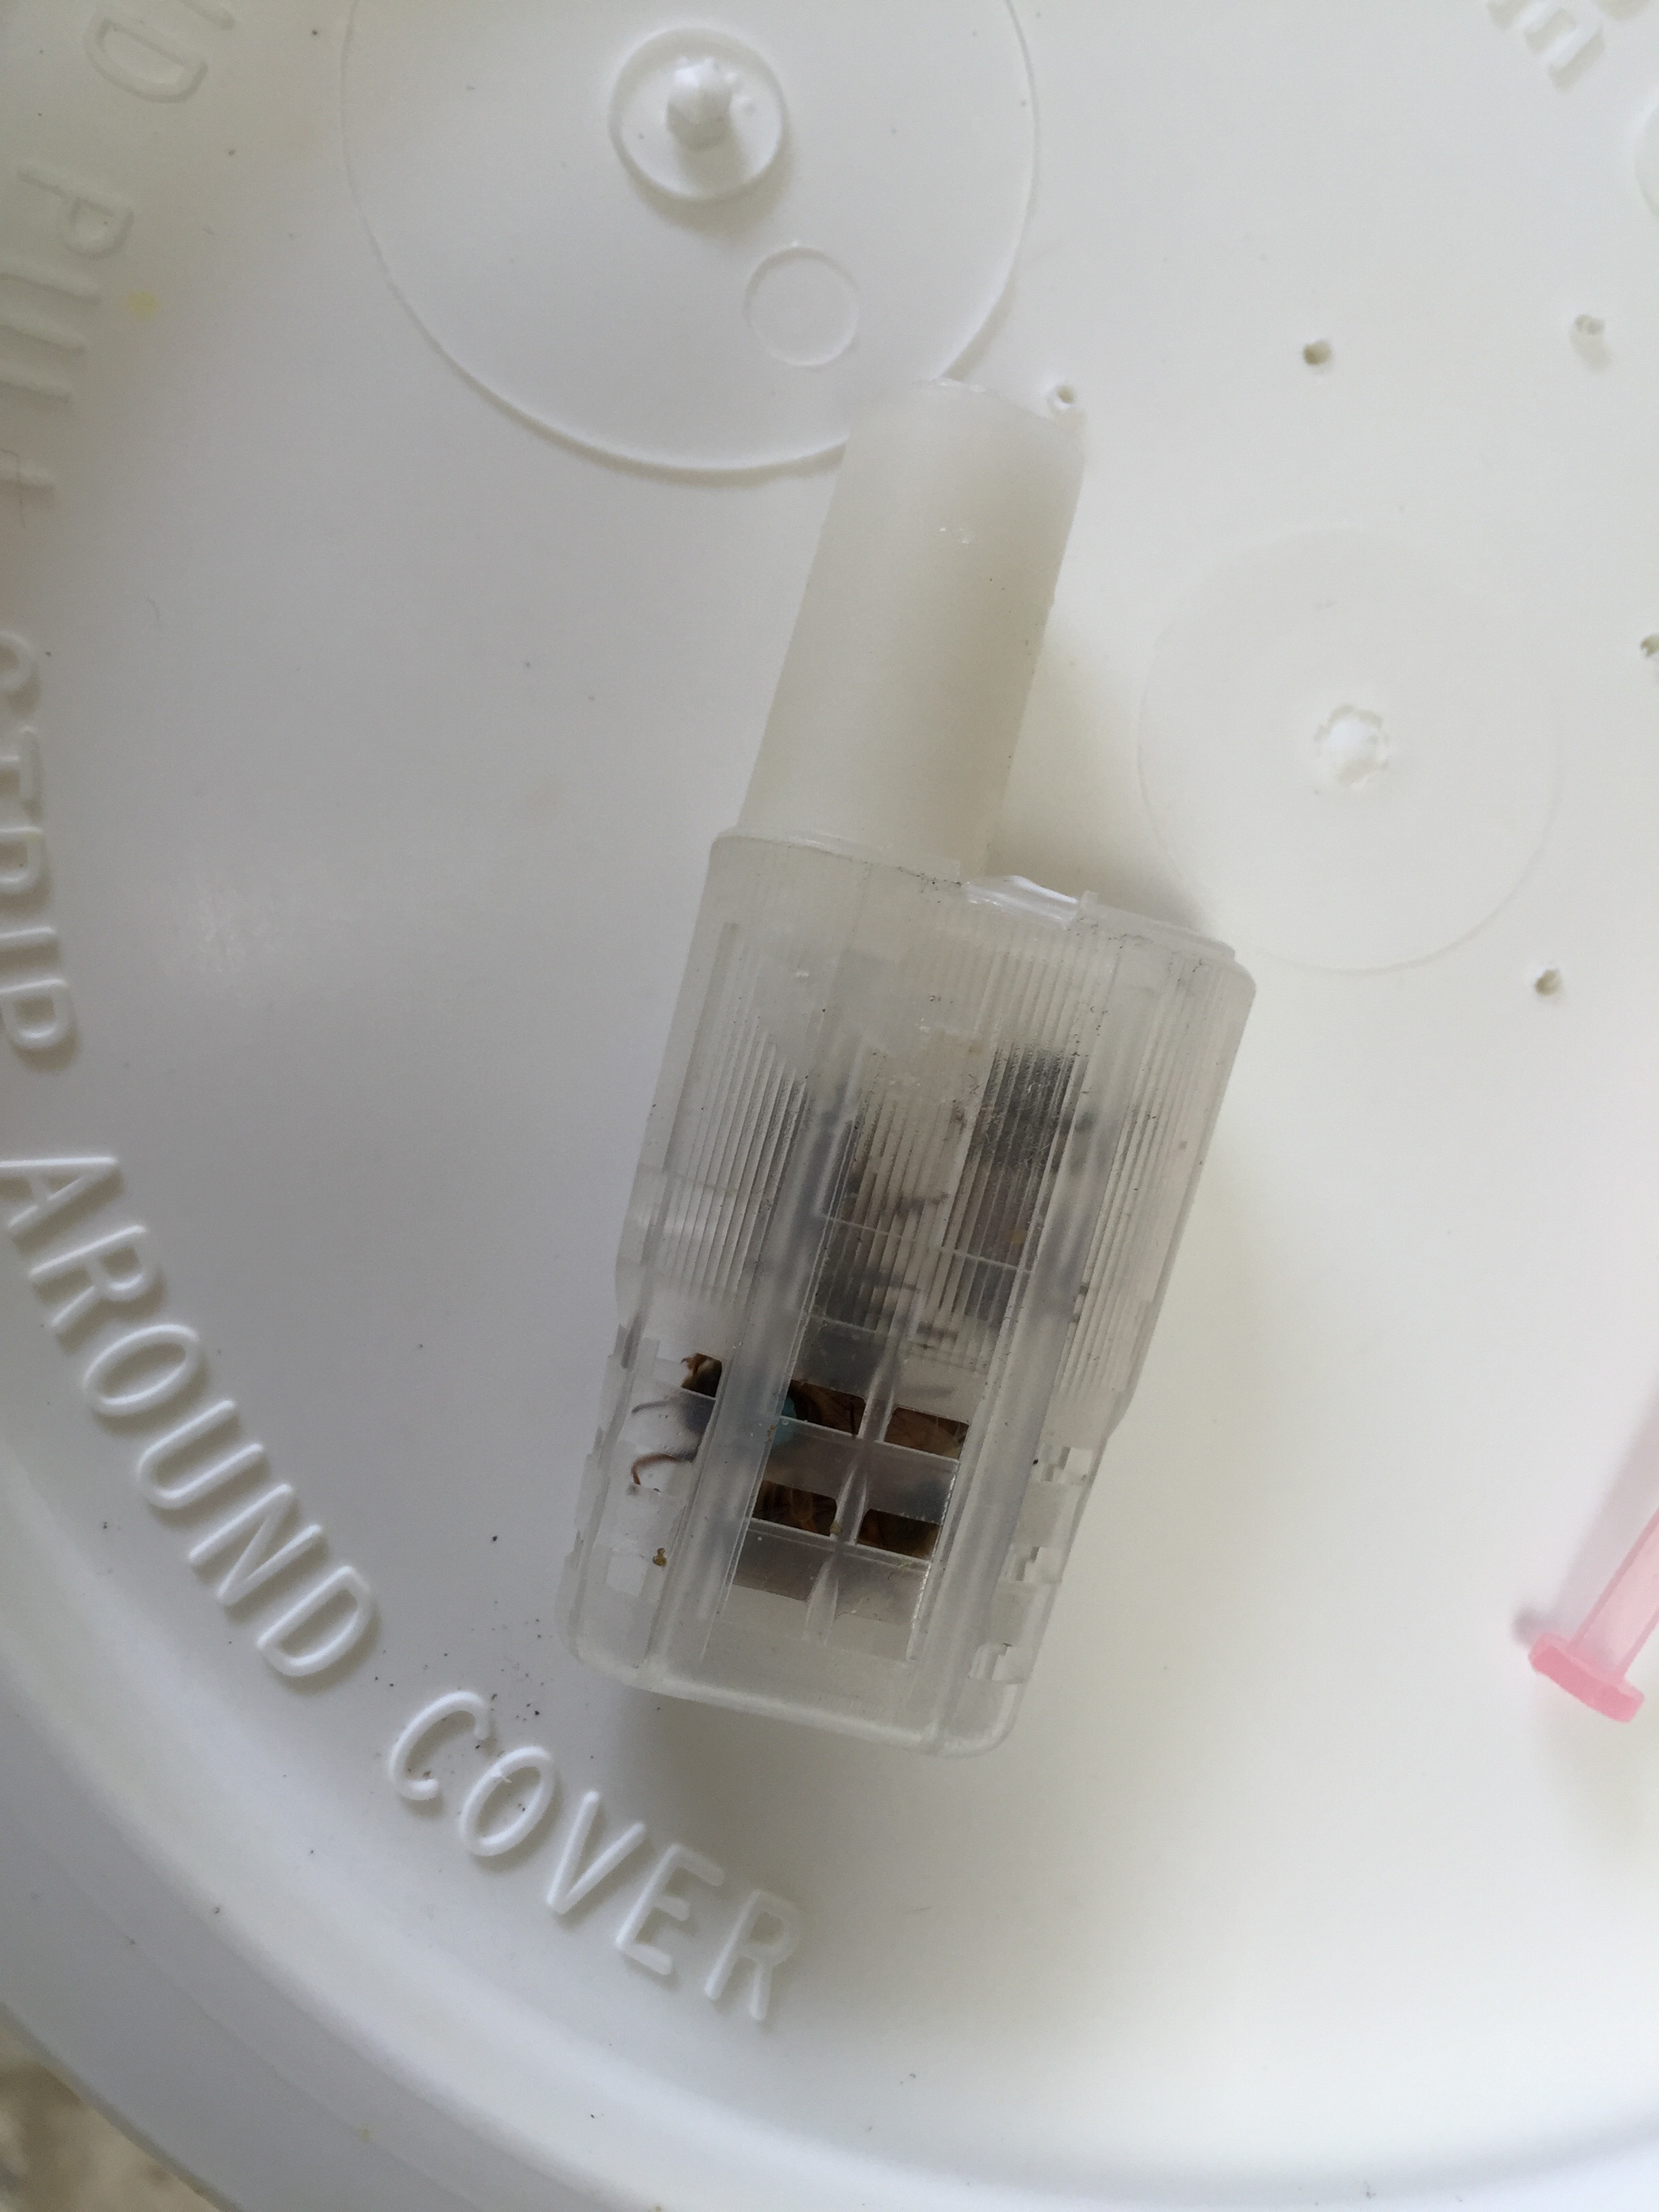 I re-inspected the hive yesterday and sure enough, she was out, roaming the frames and hopefully filling lots of empty cells with eggs! This hive is currently being fed with sugar syrup to help them adjust. The next step for the bees is to test for mites which is best to do around August 1st. More on that later. I’m pleased that the assortment of sunflowers I planted near the back terrace are now really starting to bloom and the bees will enjoy this summer time pollen and nectar!
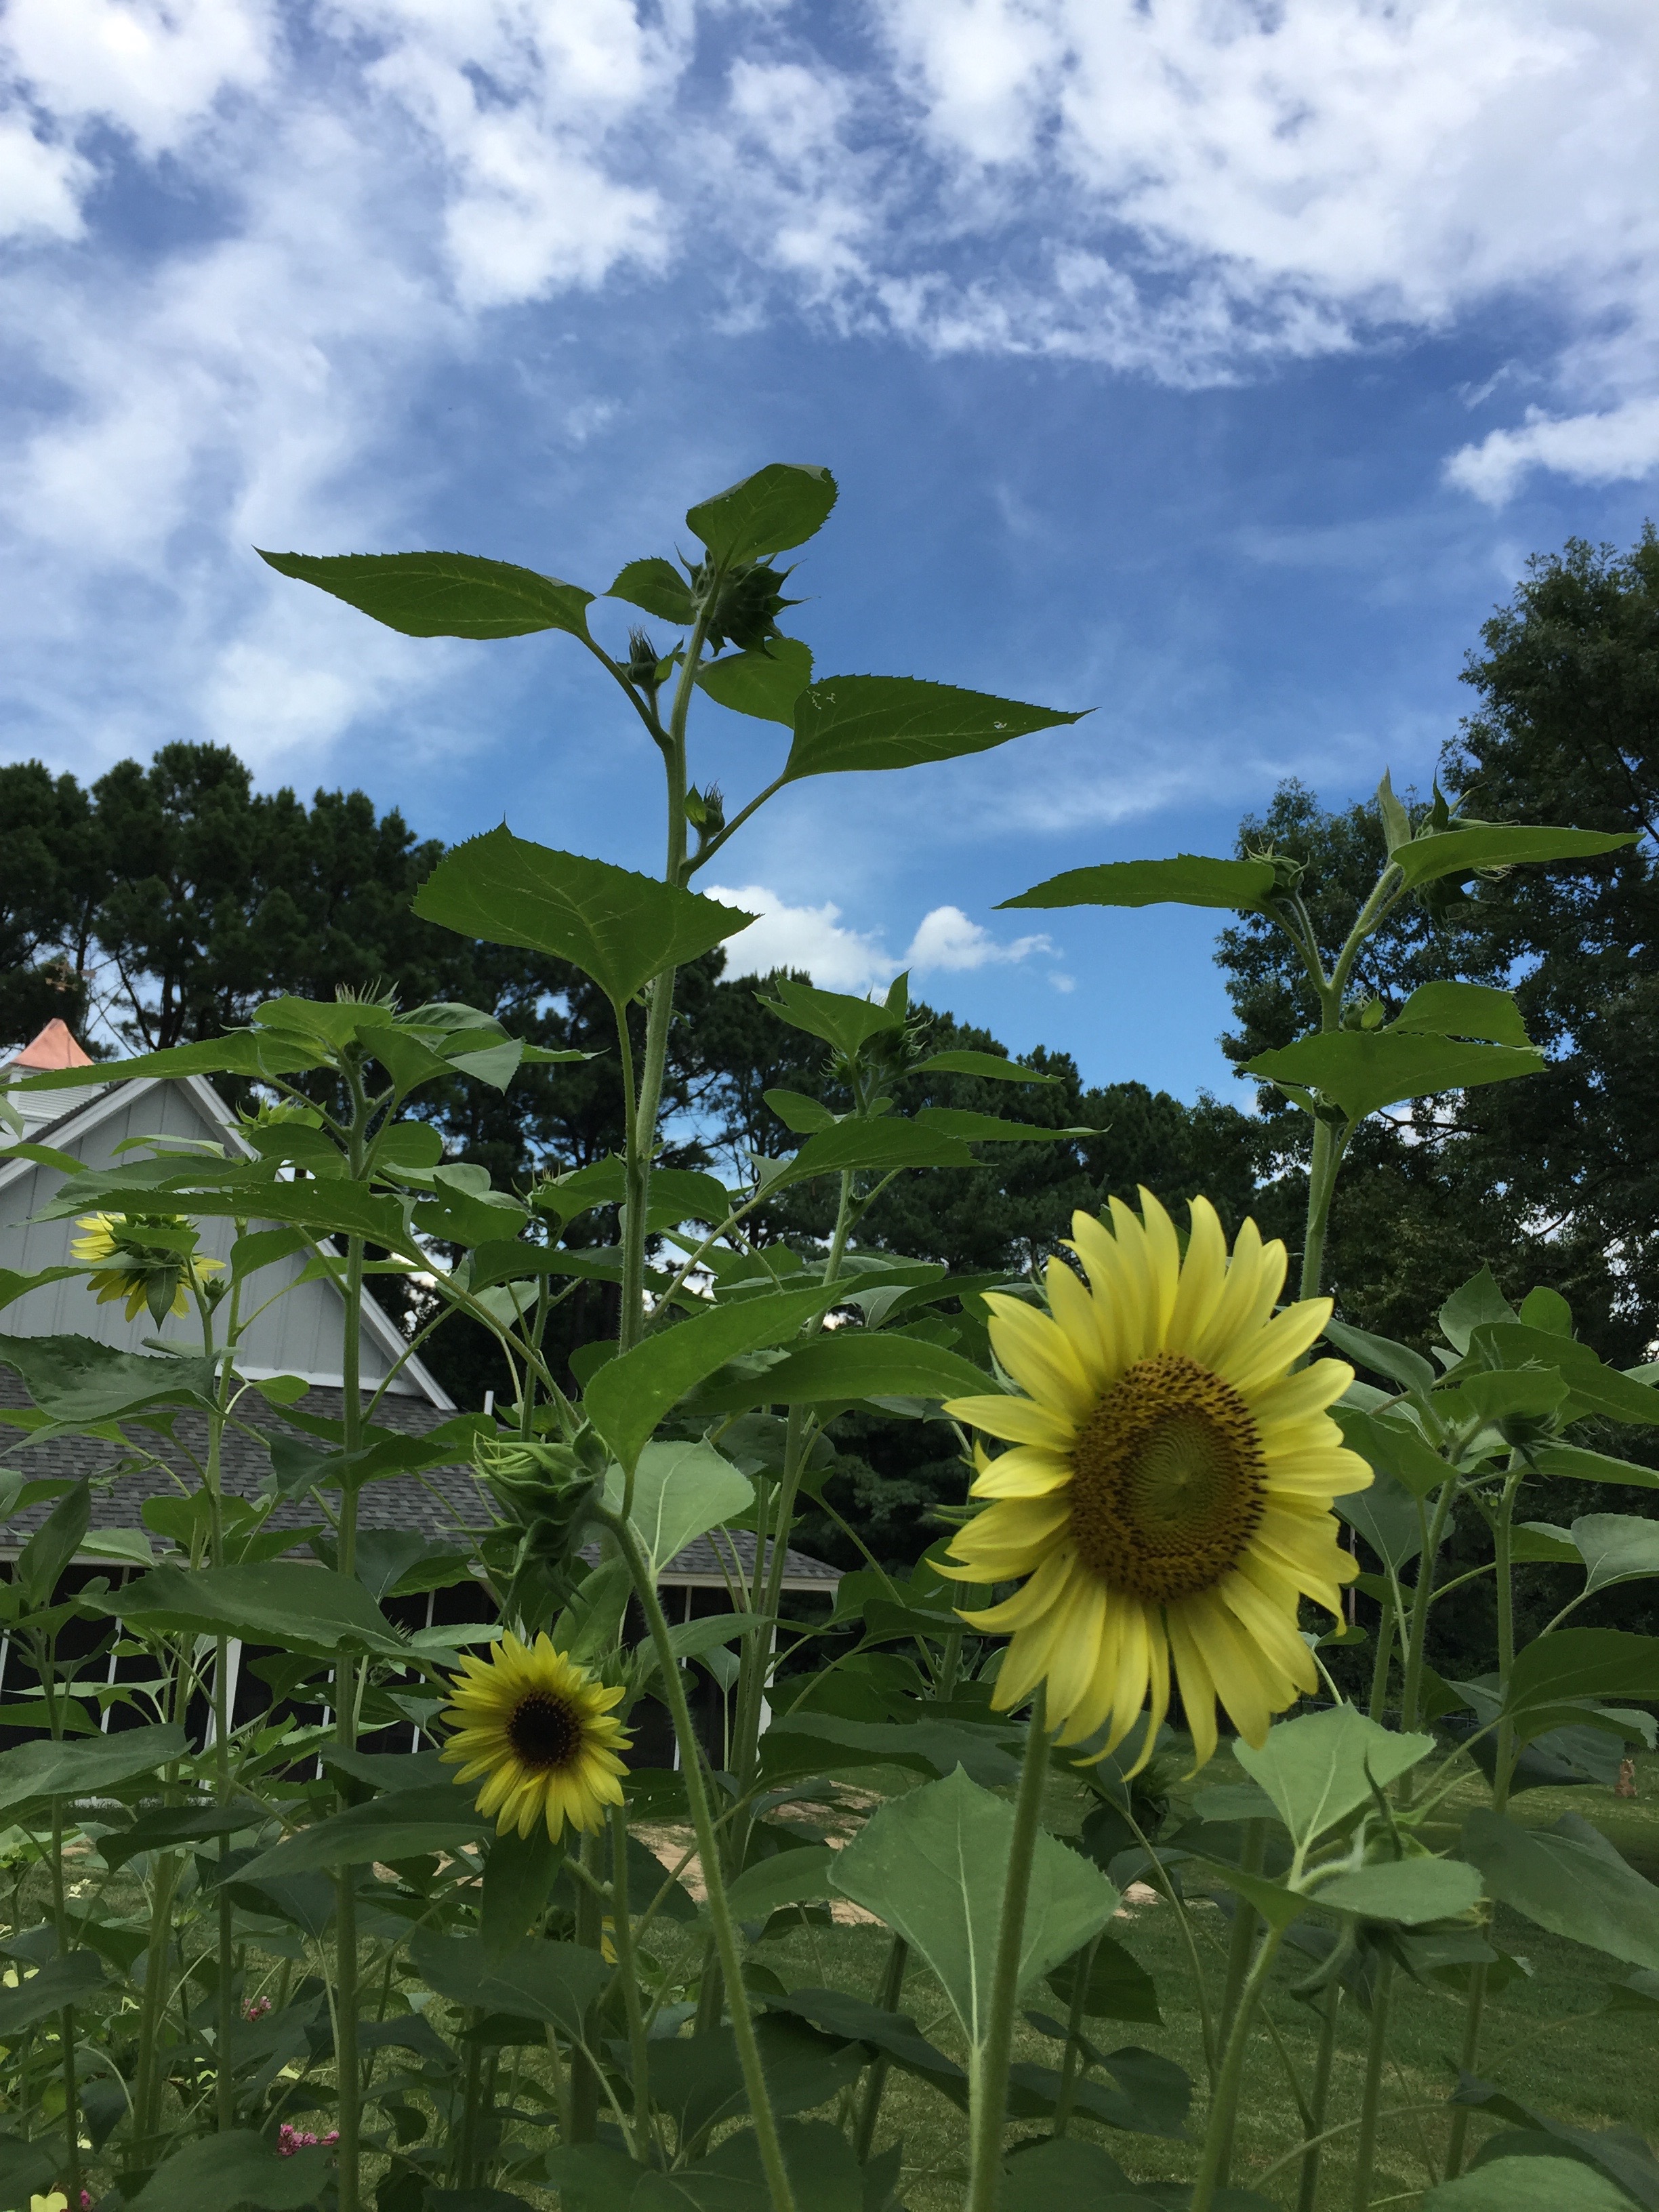


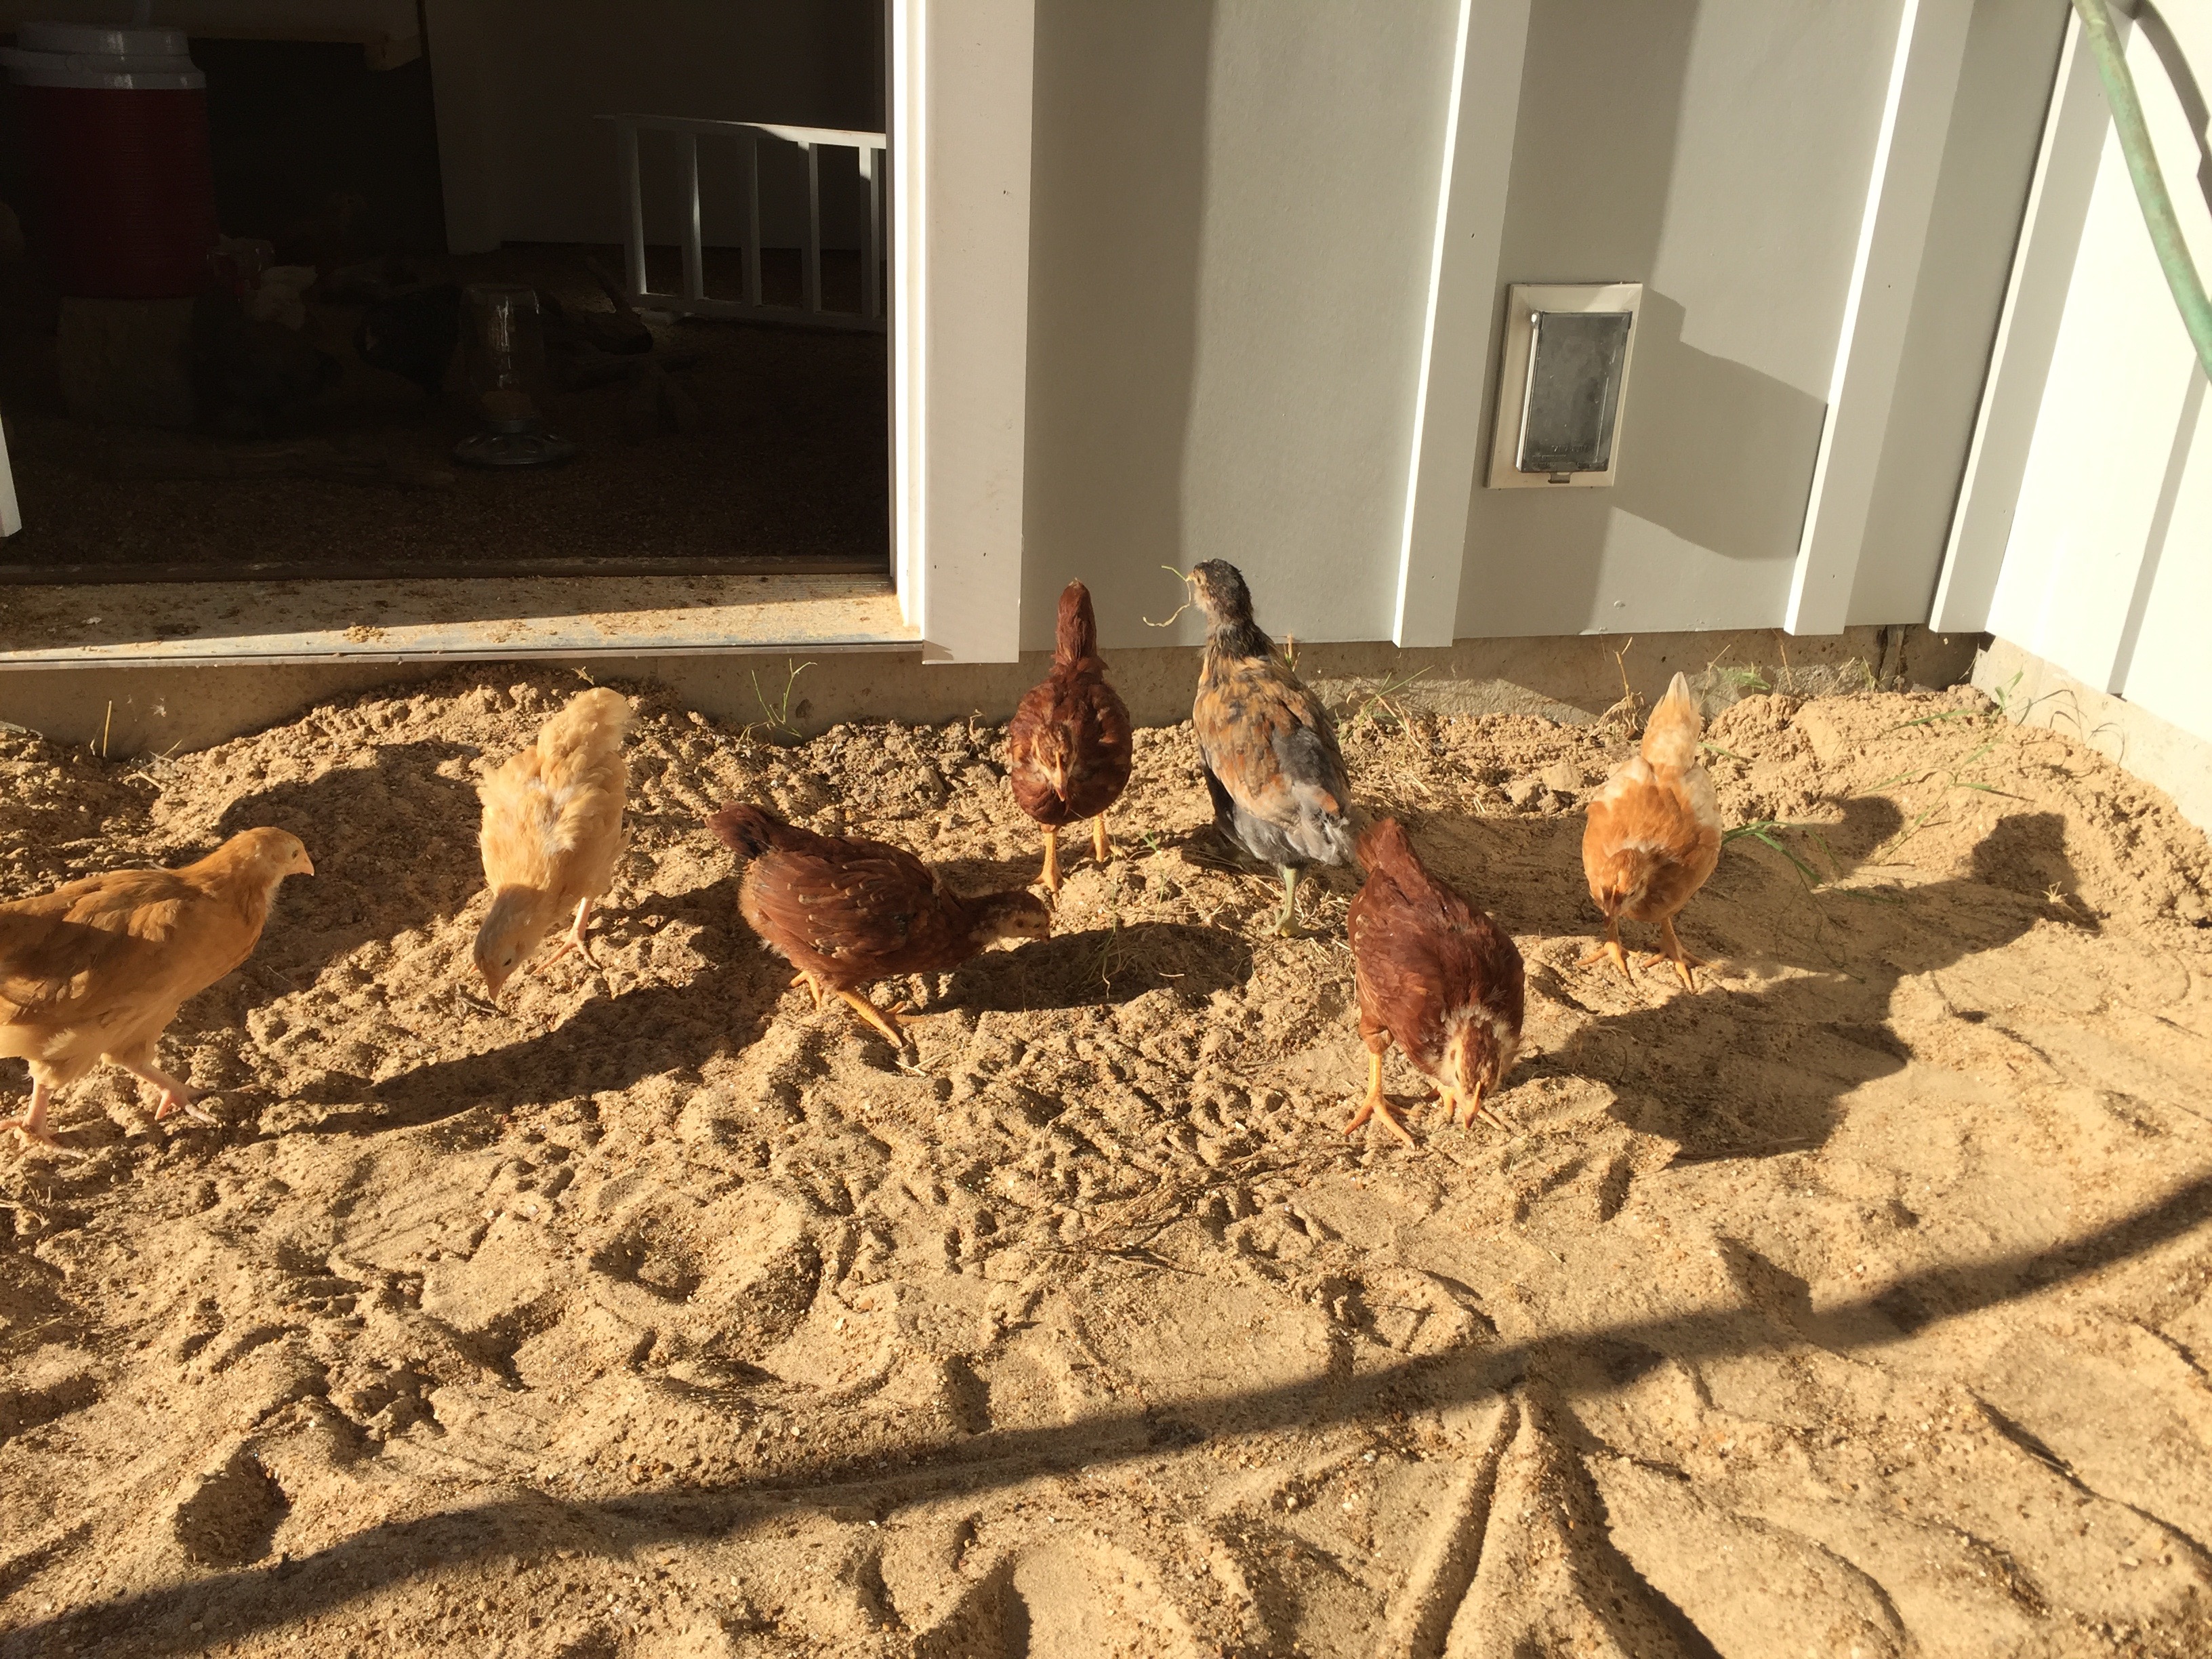
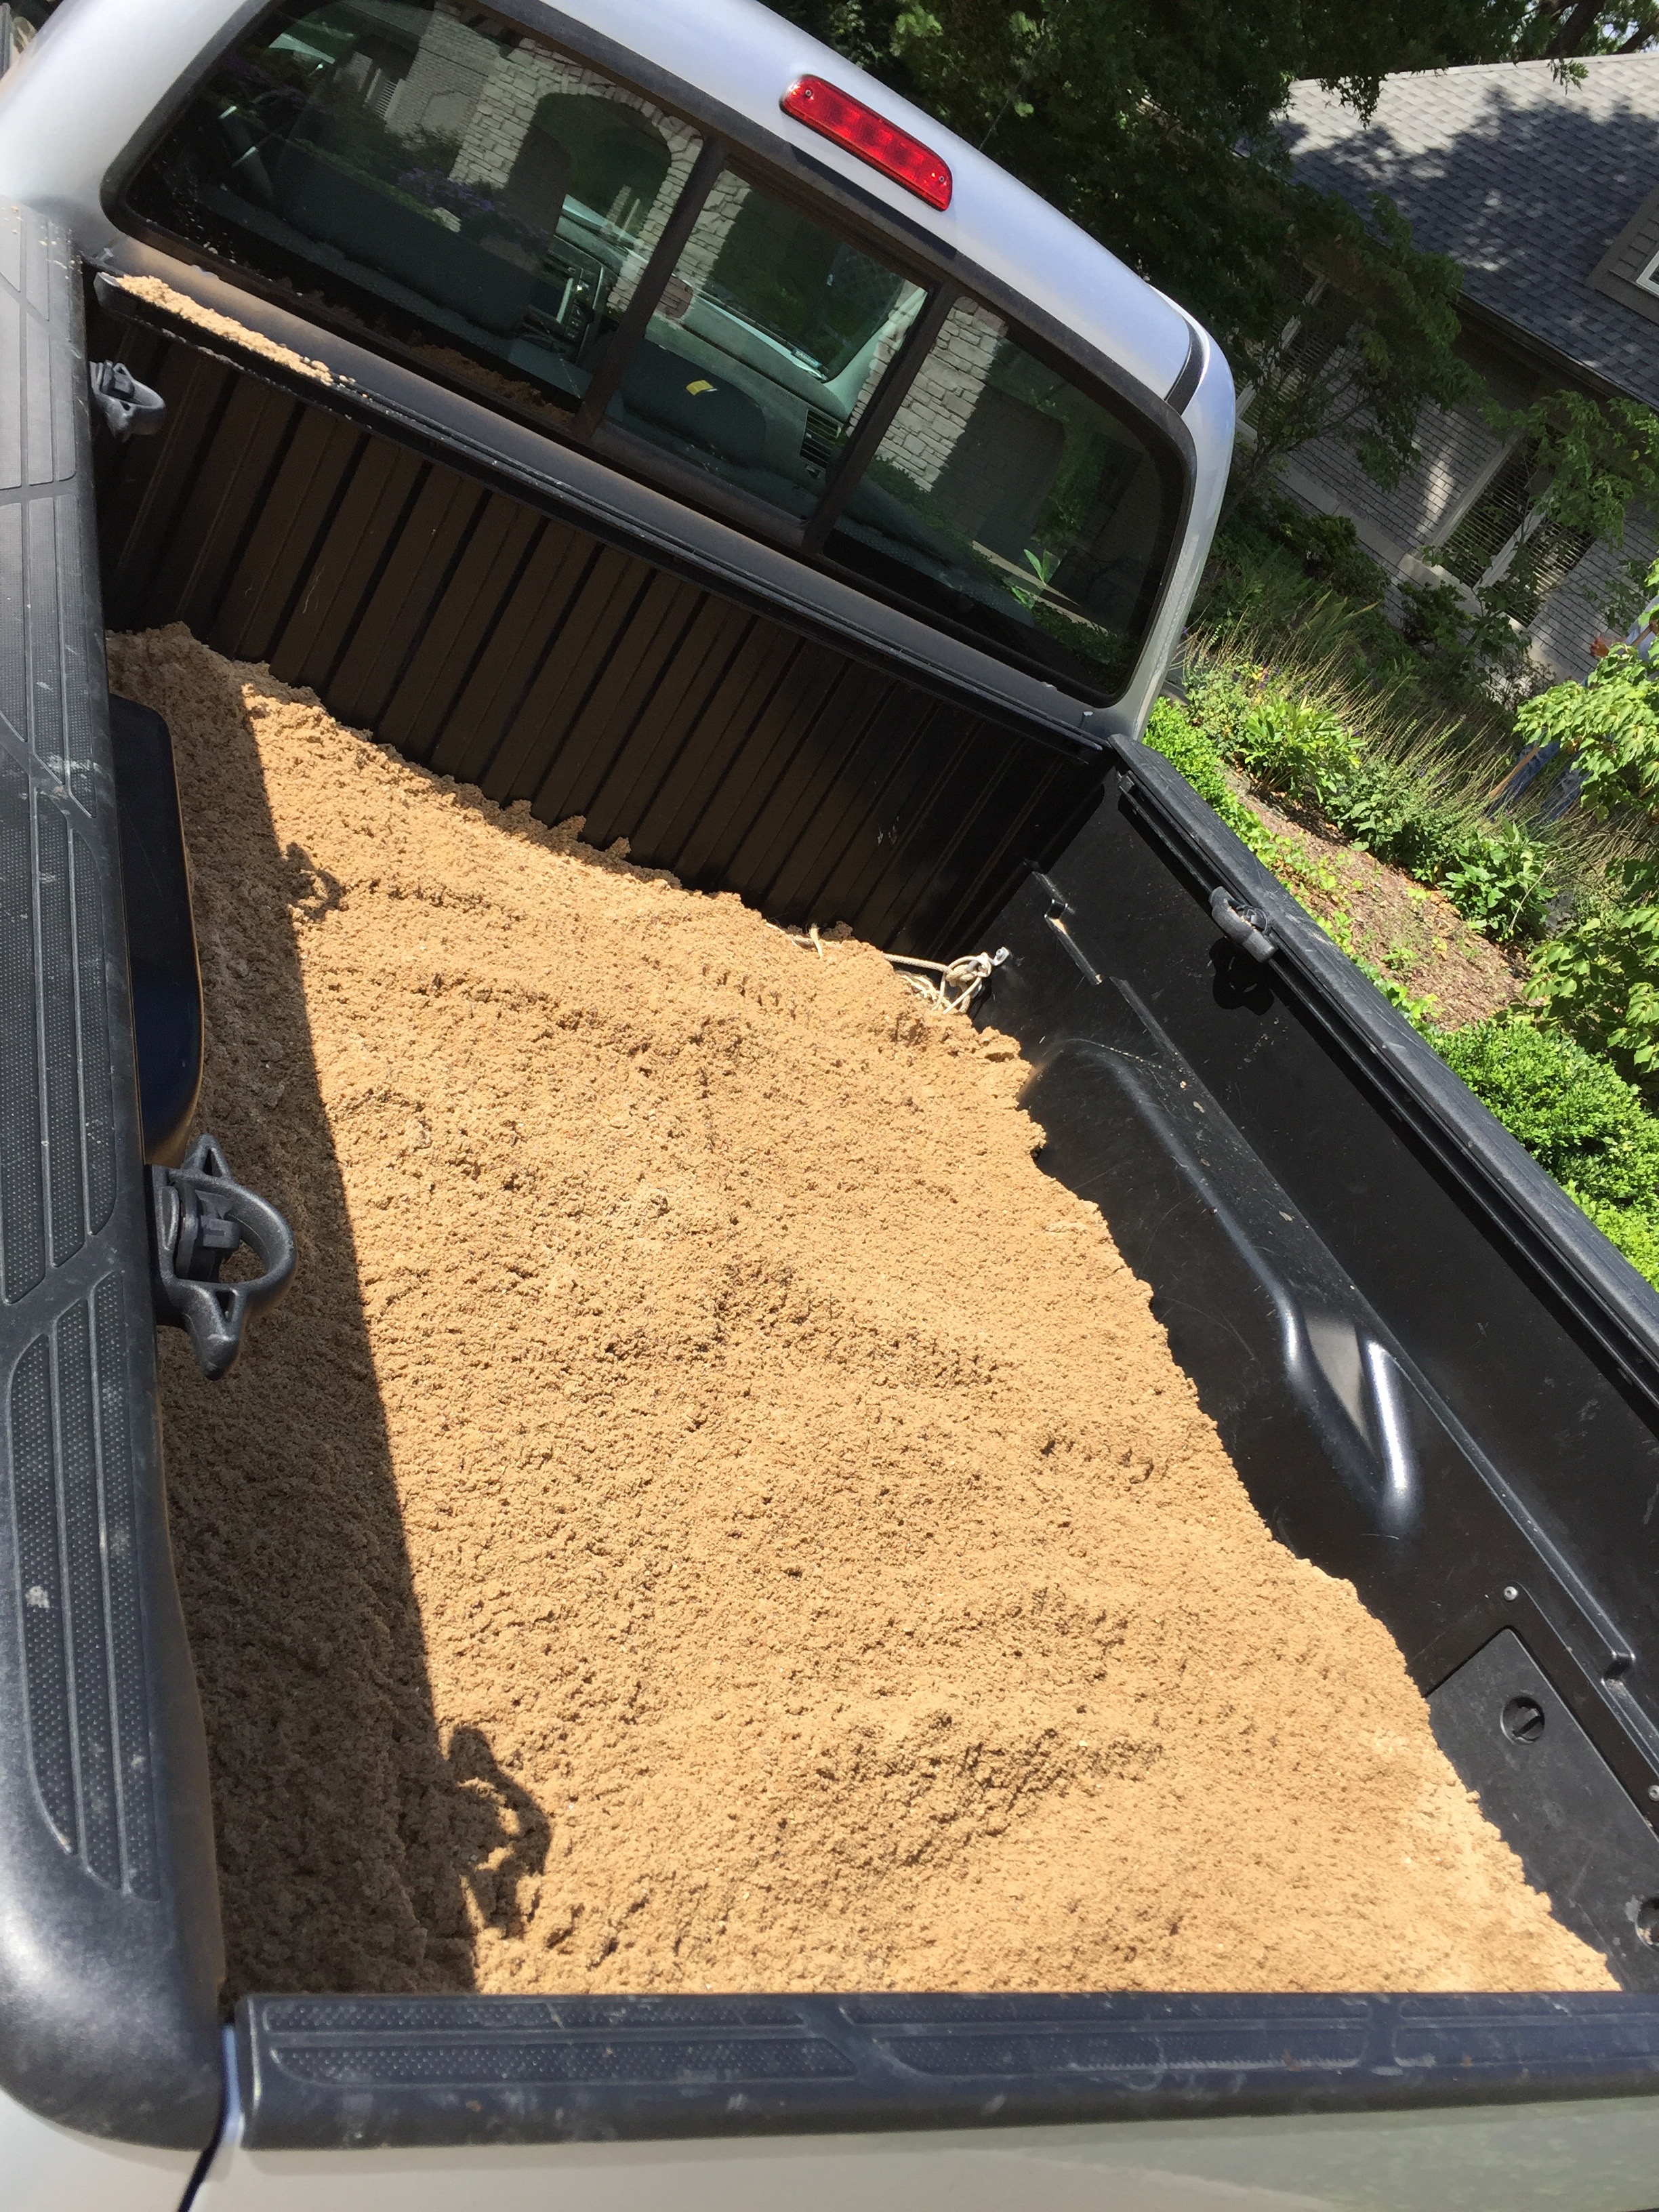 We spent the morning off loading it (OMG, sand is heavy!) into small containers that we carried down to fill the pool surround in the coop. After many trips, we felt pretty good that the new brooder was ready, so I transferred all the chicks to their new home. As a well intentioned new chick mom – AKA “playground attendant” – I hung around and watched the ensuing activity. I’m glad I stuck around since the pool walls (ony 15″ tall) did not prove high enough to keep the chicks from lofting up from their food dish and then to the top of the wall…and out from there! Oh, drat and arg and all those other words I know so well!
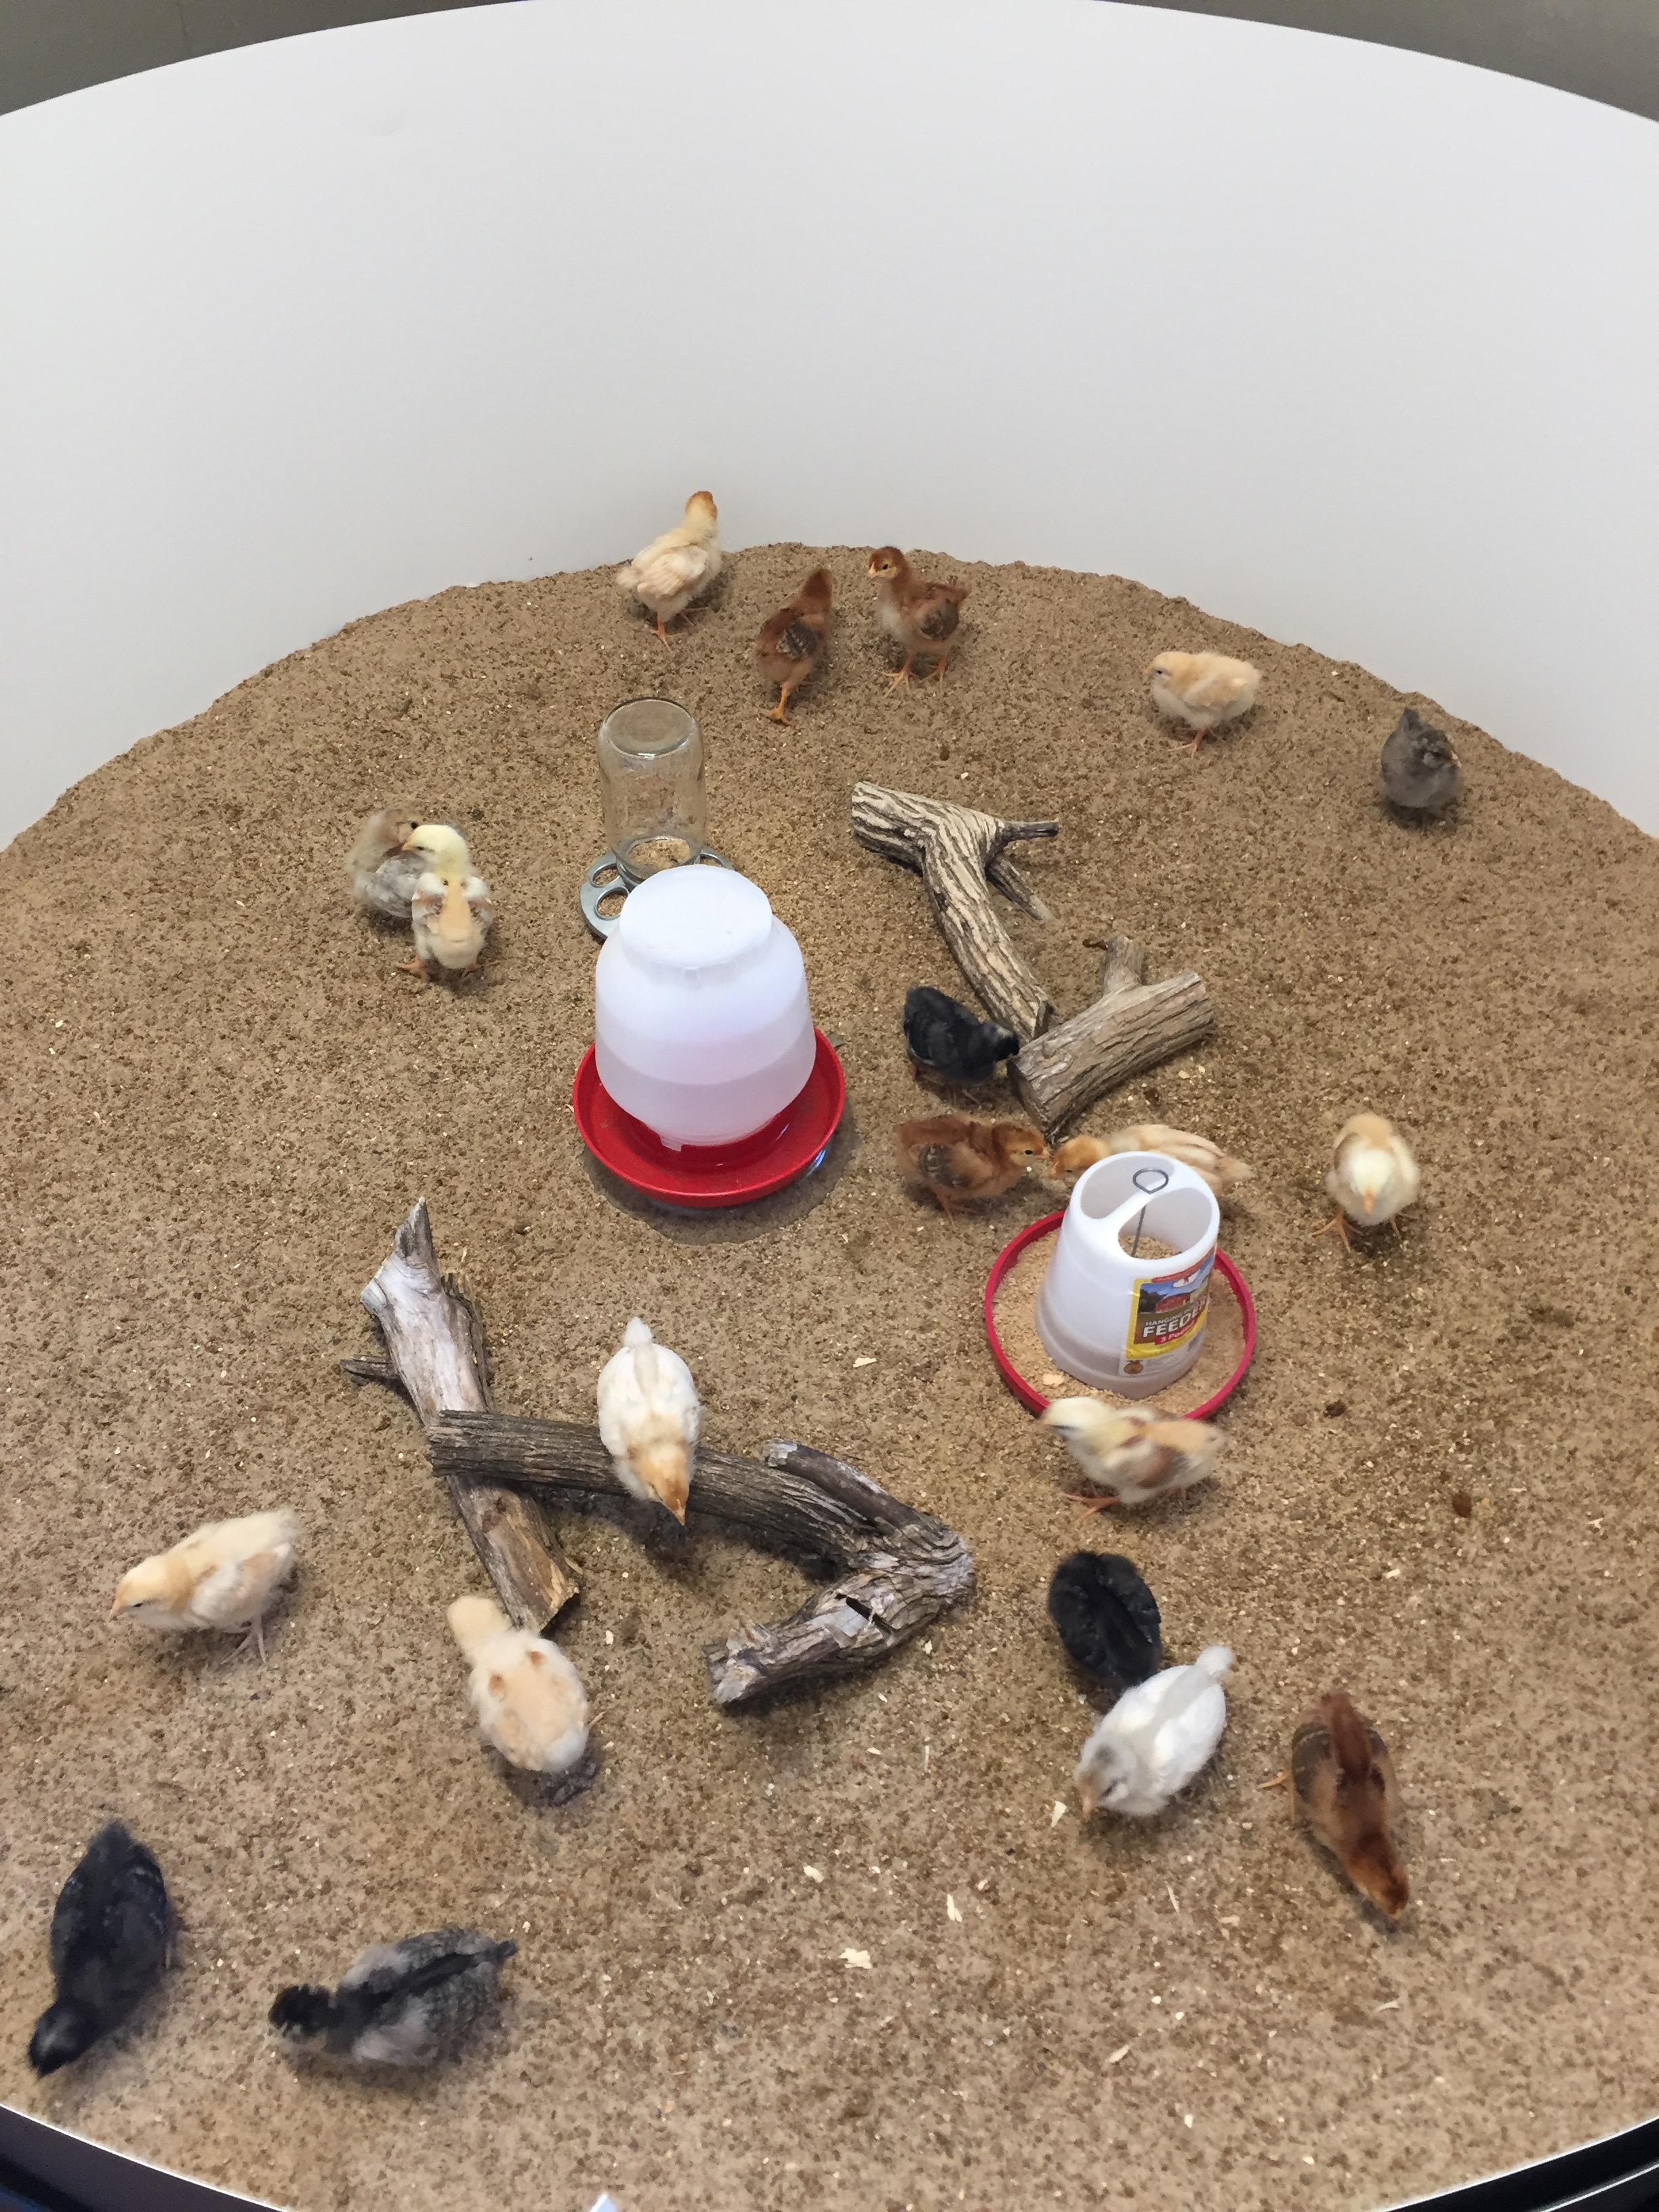


 Here they are in the crock with brine and ready for a weight on top to sit for a couple of weeks. The smell of dill is wonderful but also thrilling is the use of so many cukes!
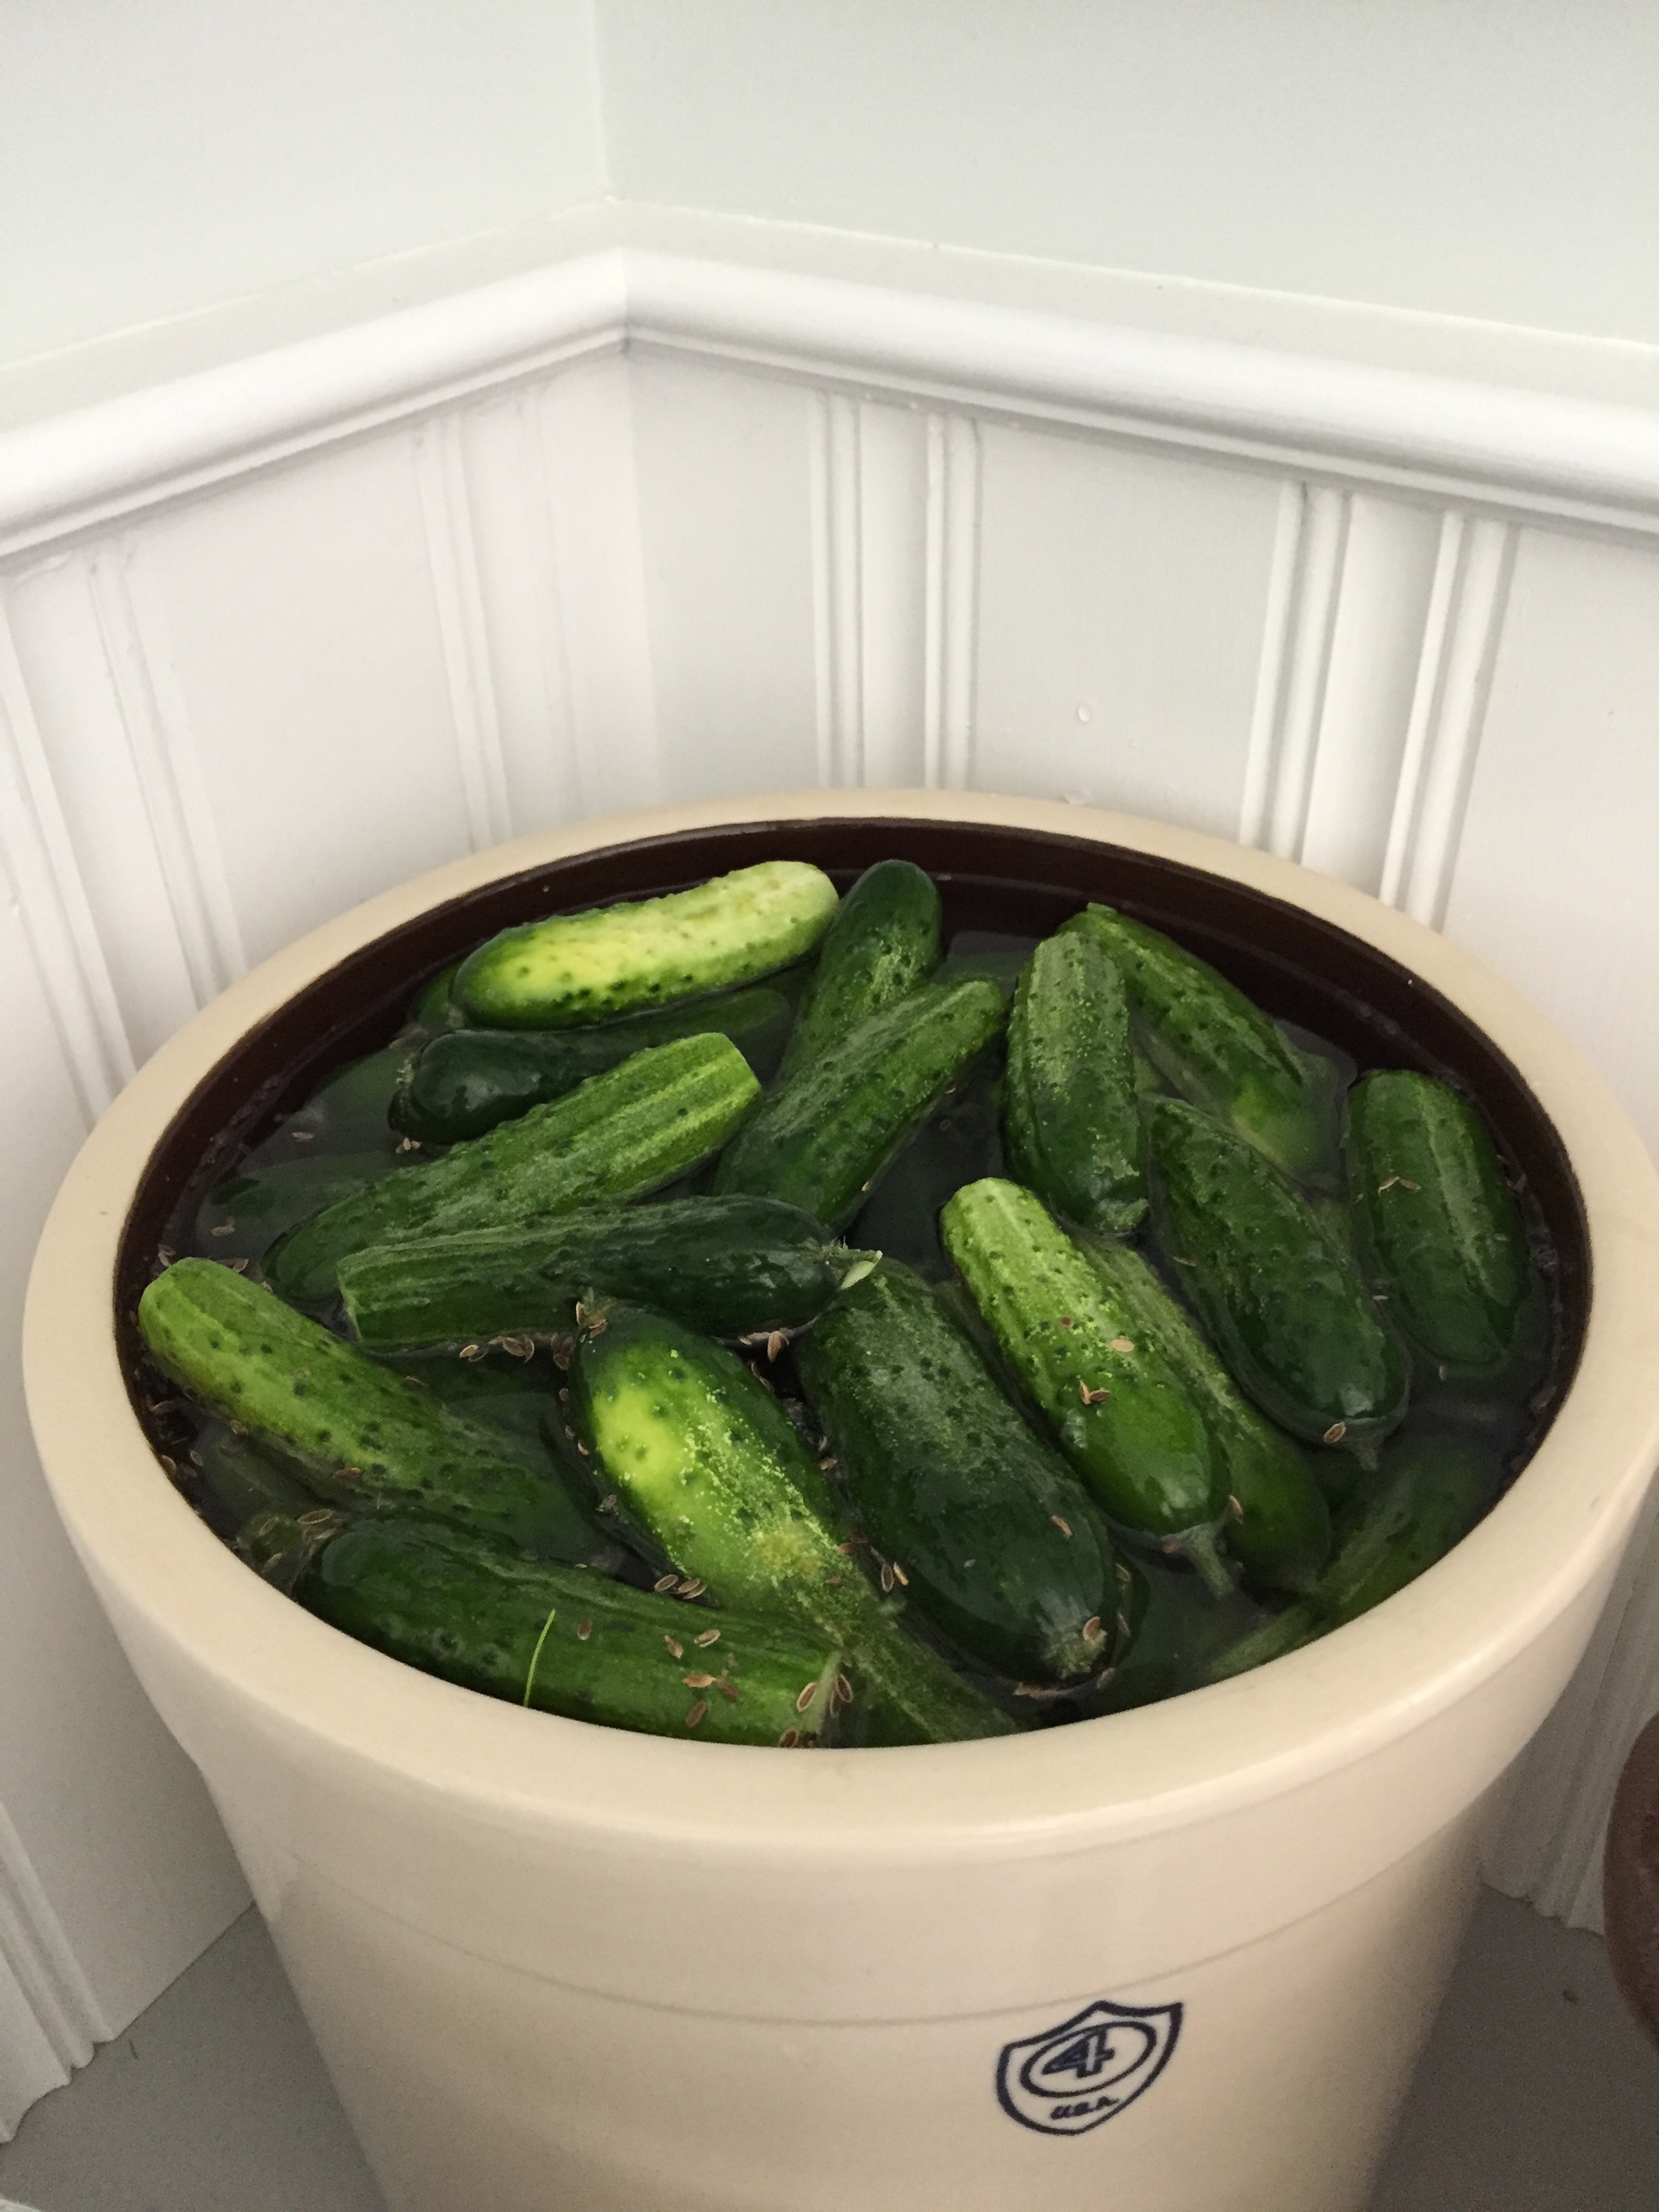
 Watch for more chick updates as well as name ideas which are becoming more obvious as they mature! So far, the four Easter Egger chicks are well named: 2 by the Moores – Petunia & Myrtle, and 2 by my nephew, Jack – Buttercup and Violet…all flower names since these are the colorful egg layers! More names in the next post!
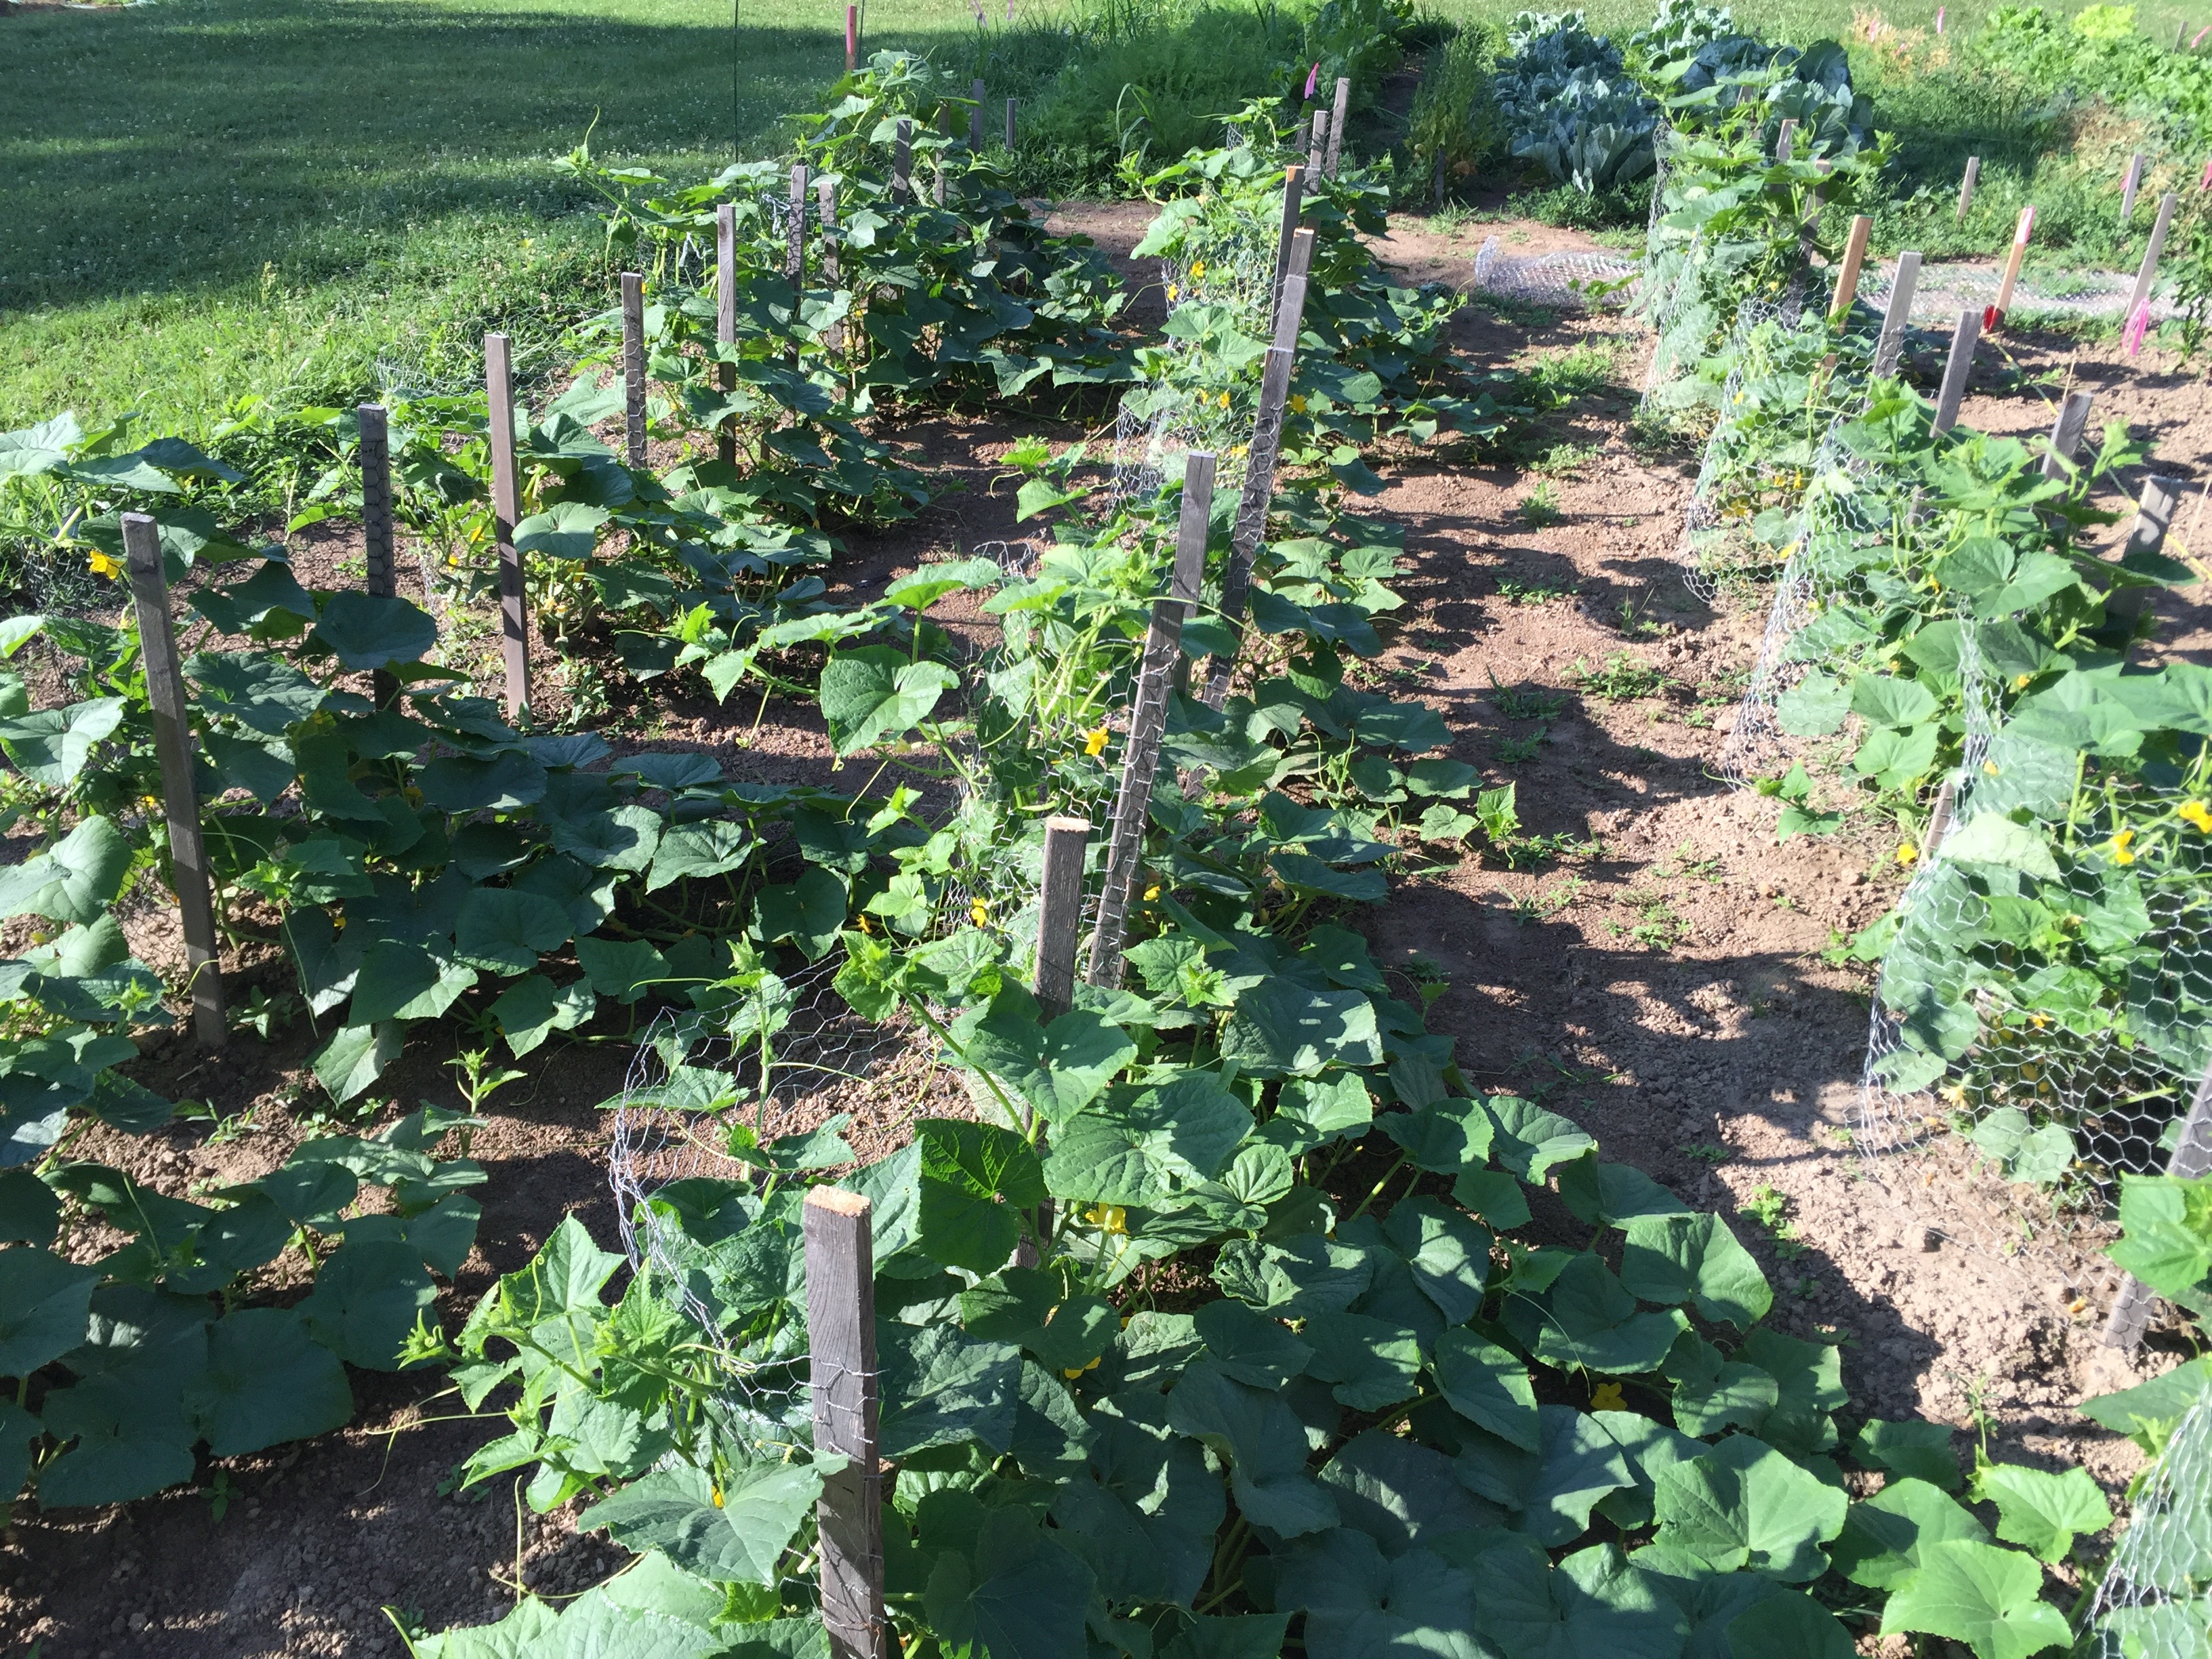 The bees love to help out with pollination!
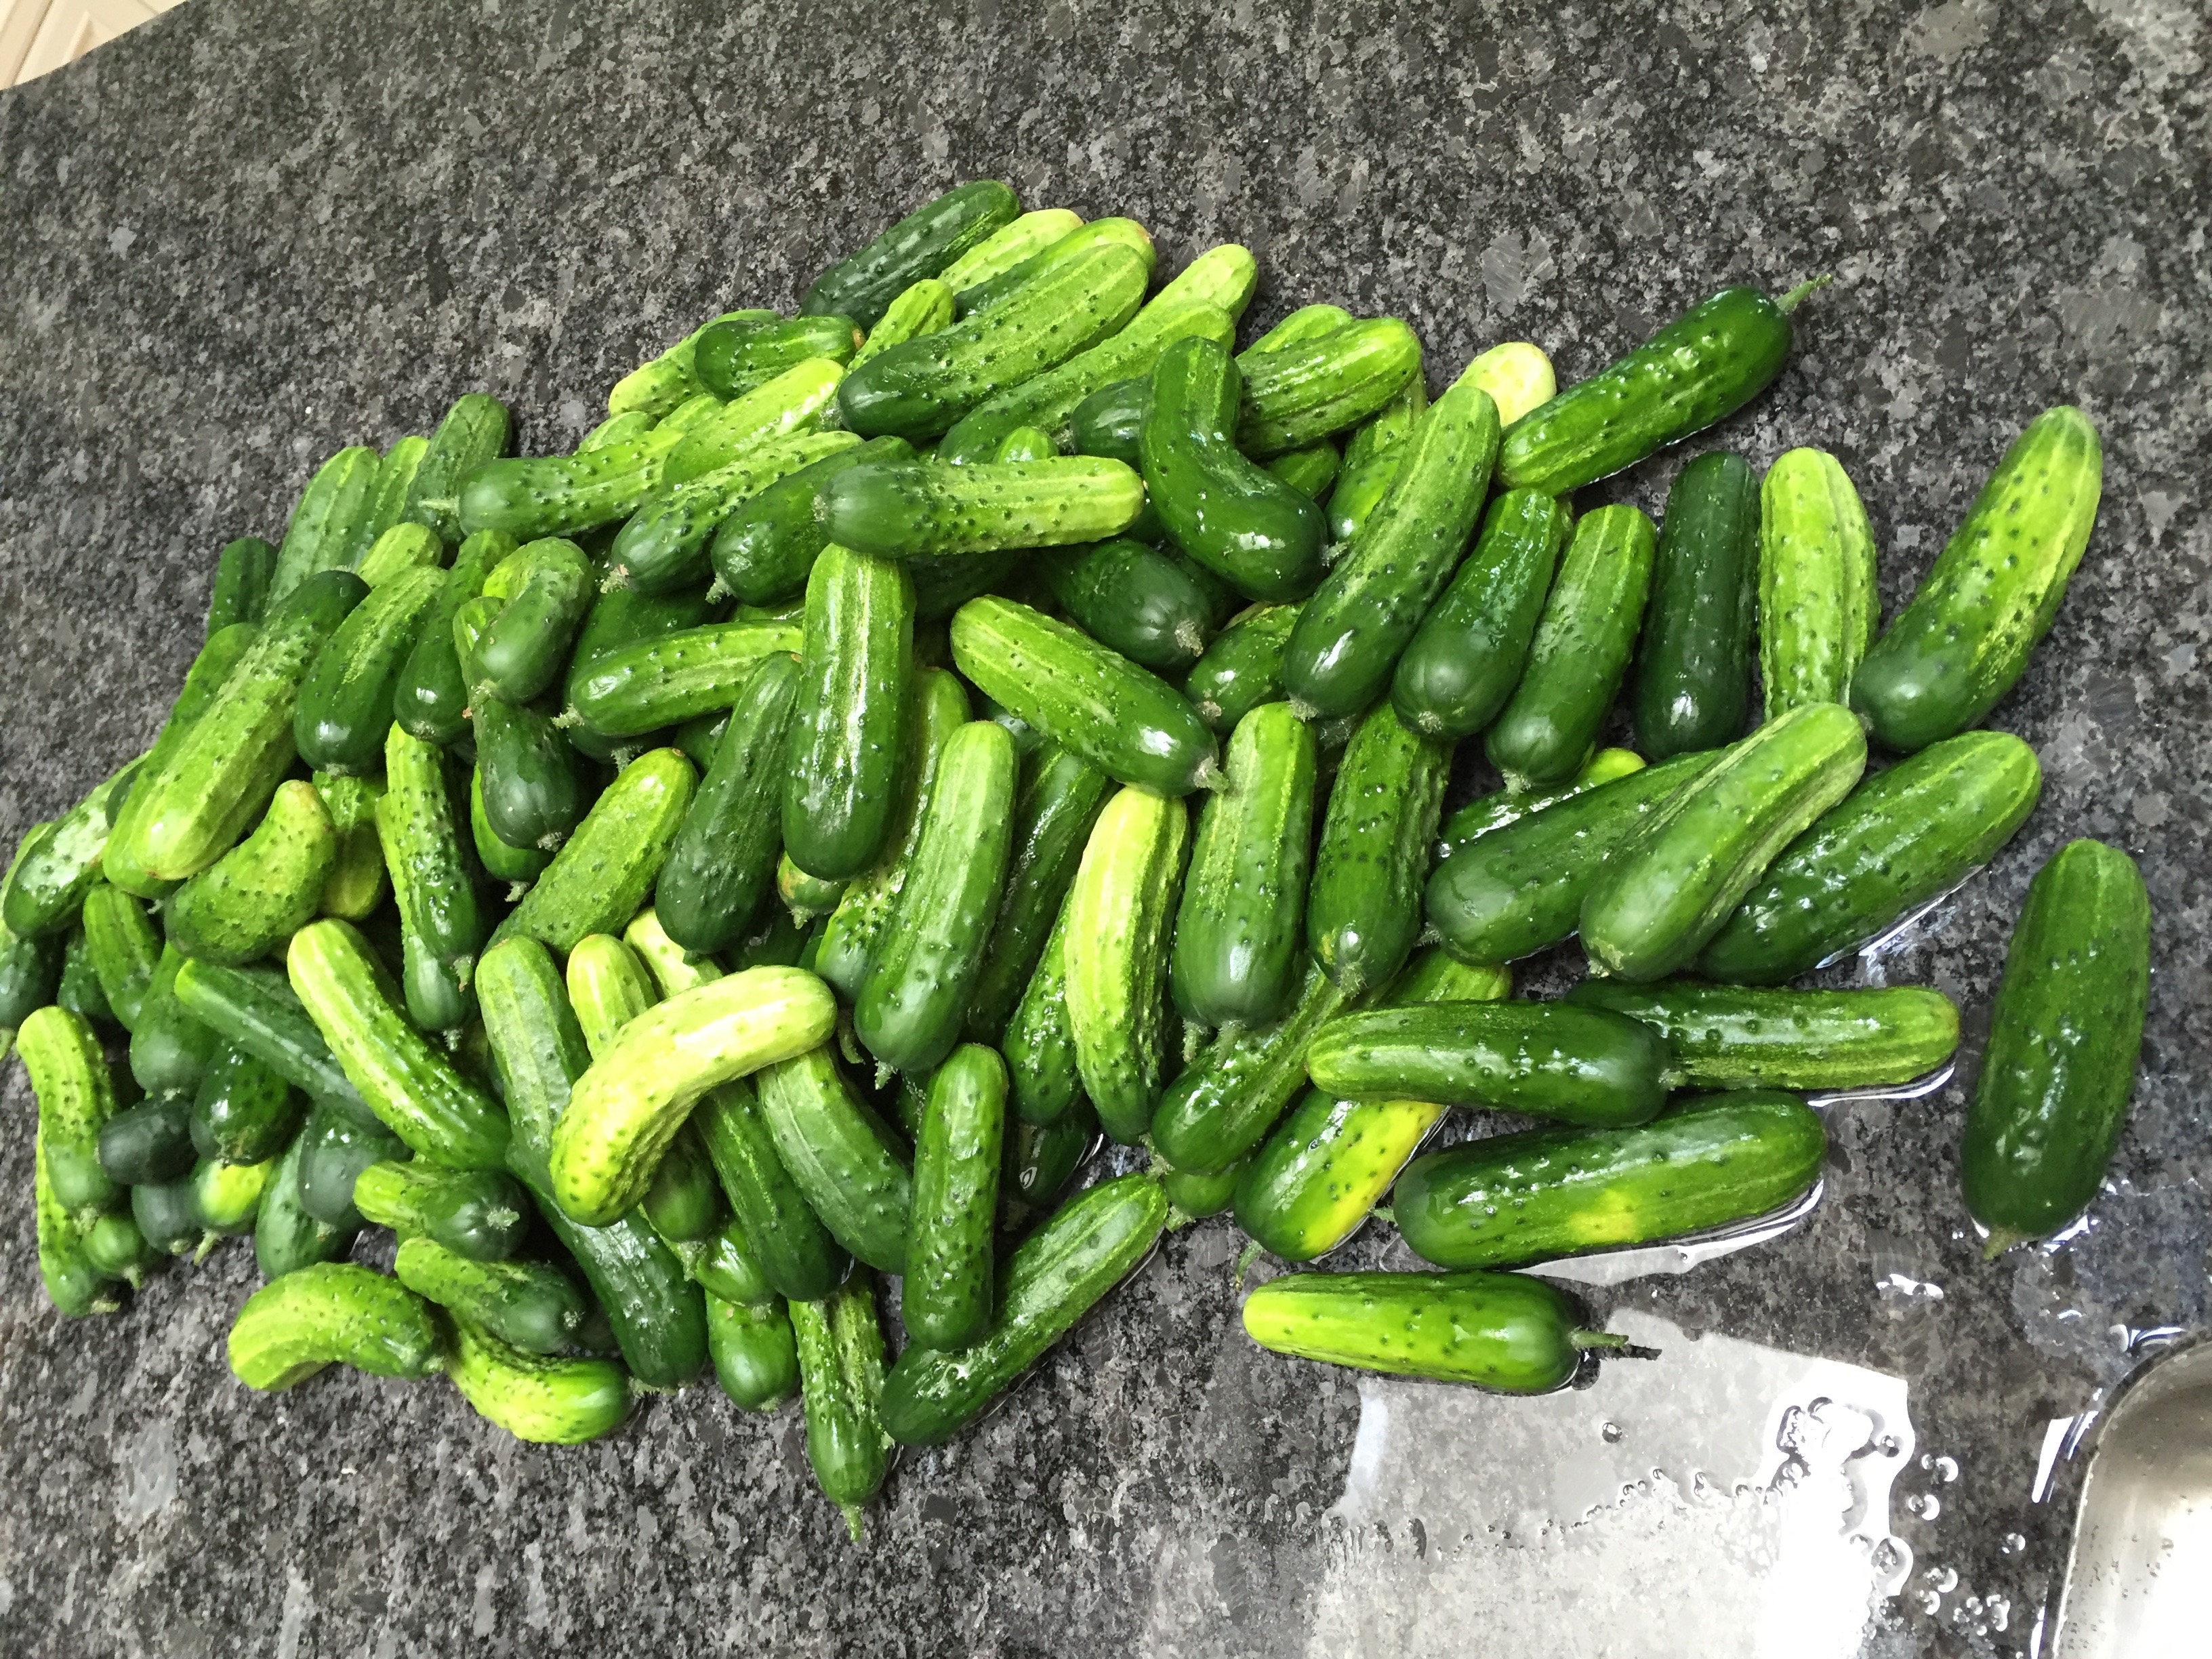
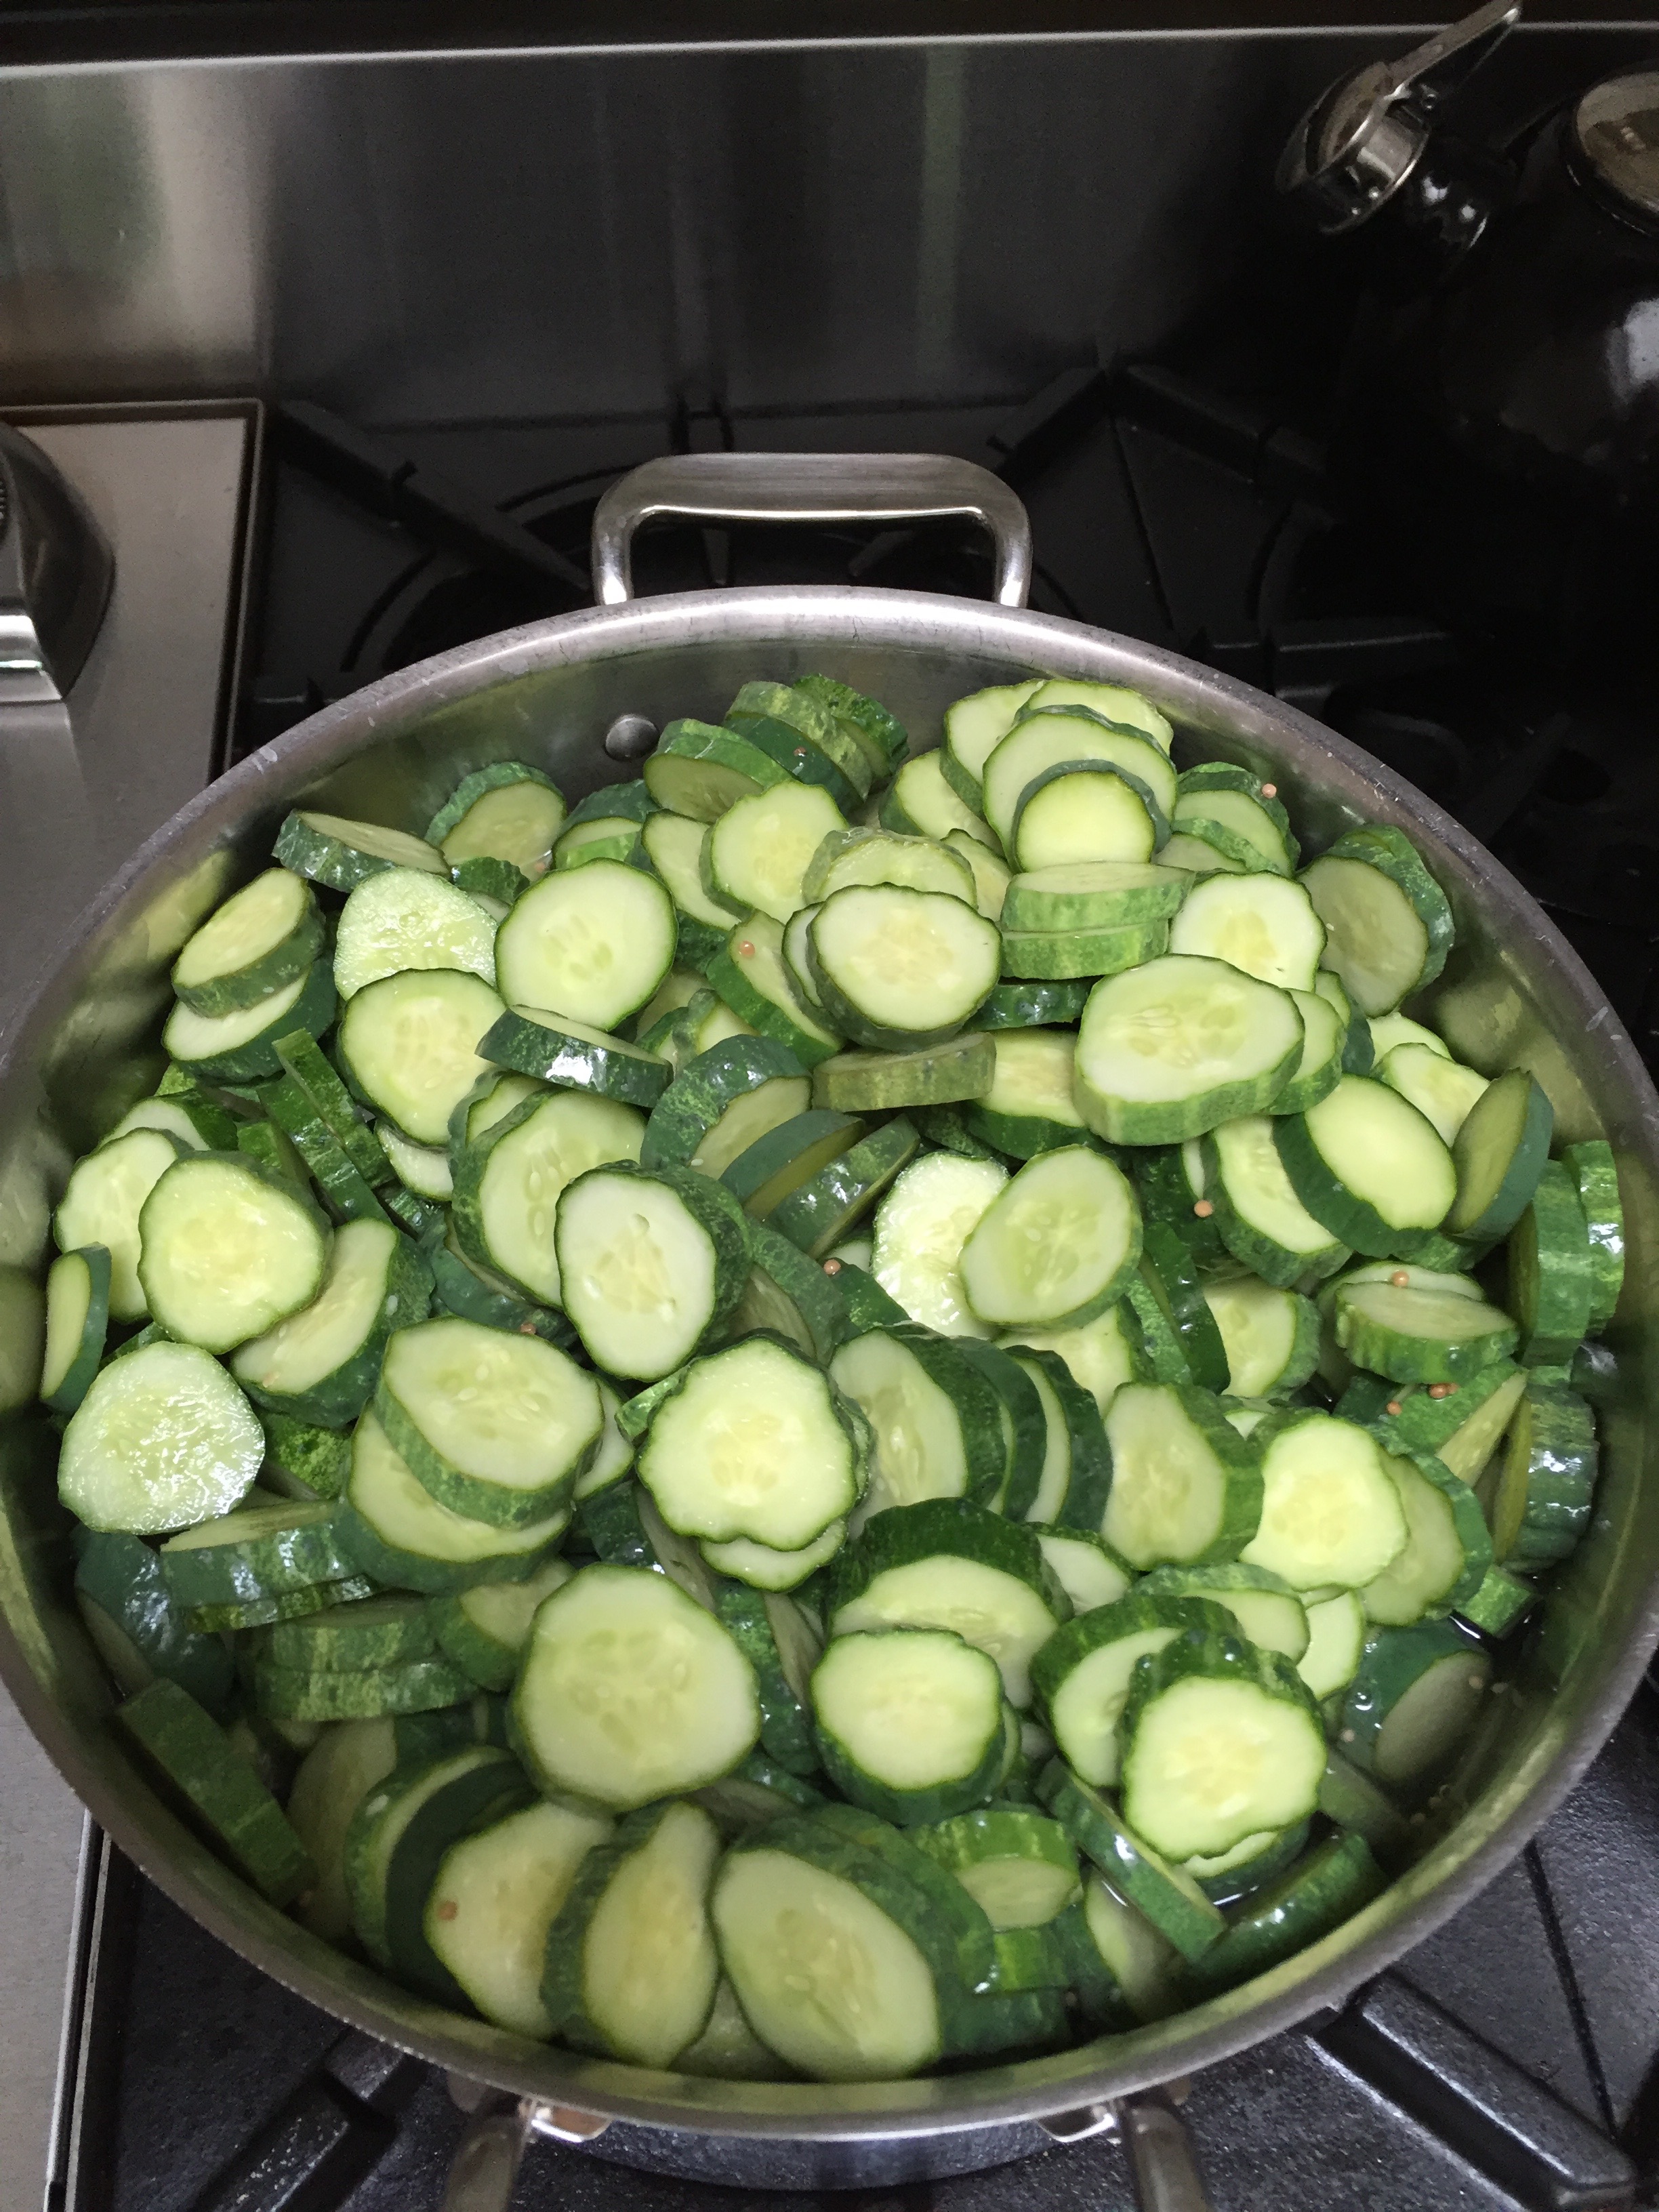
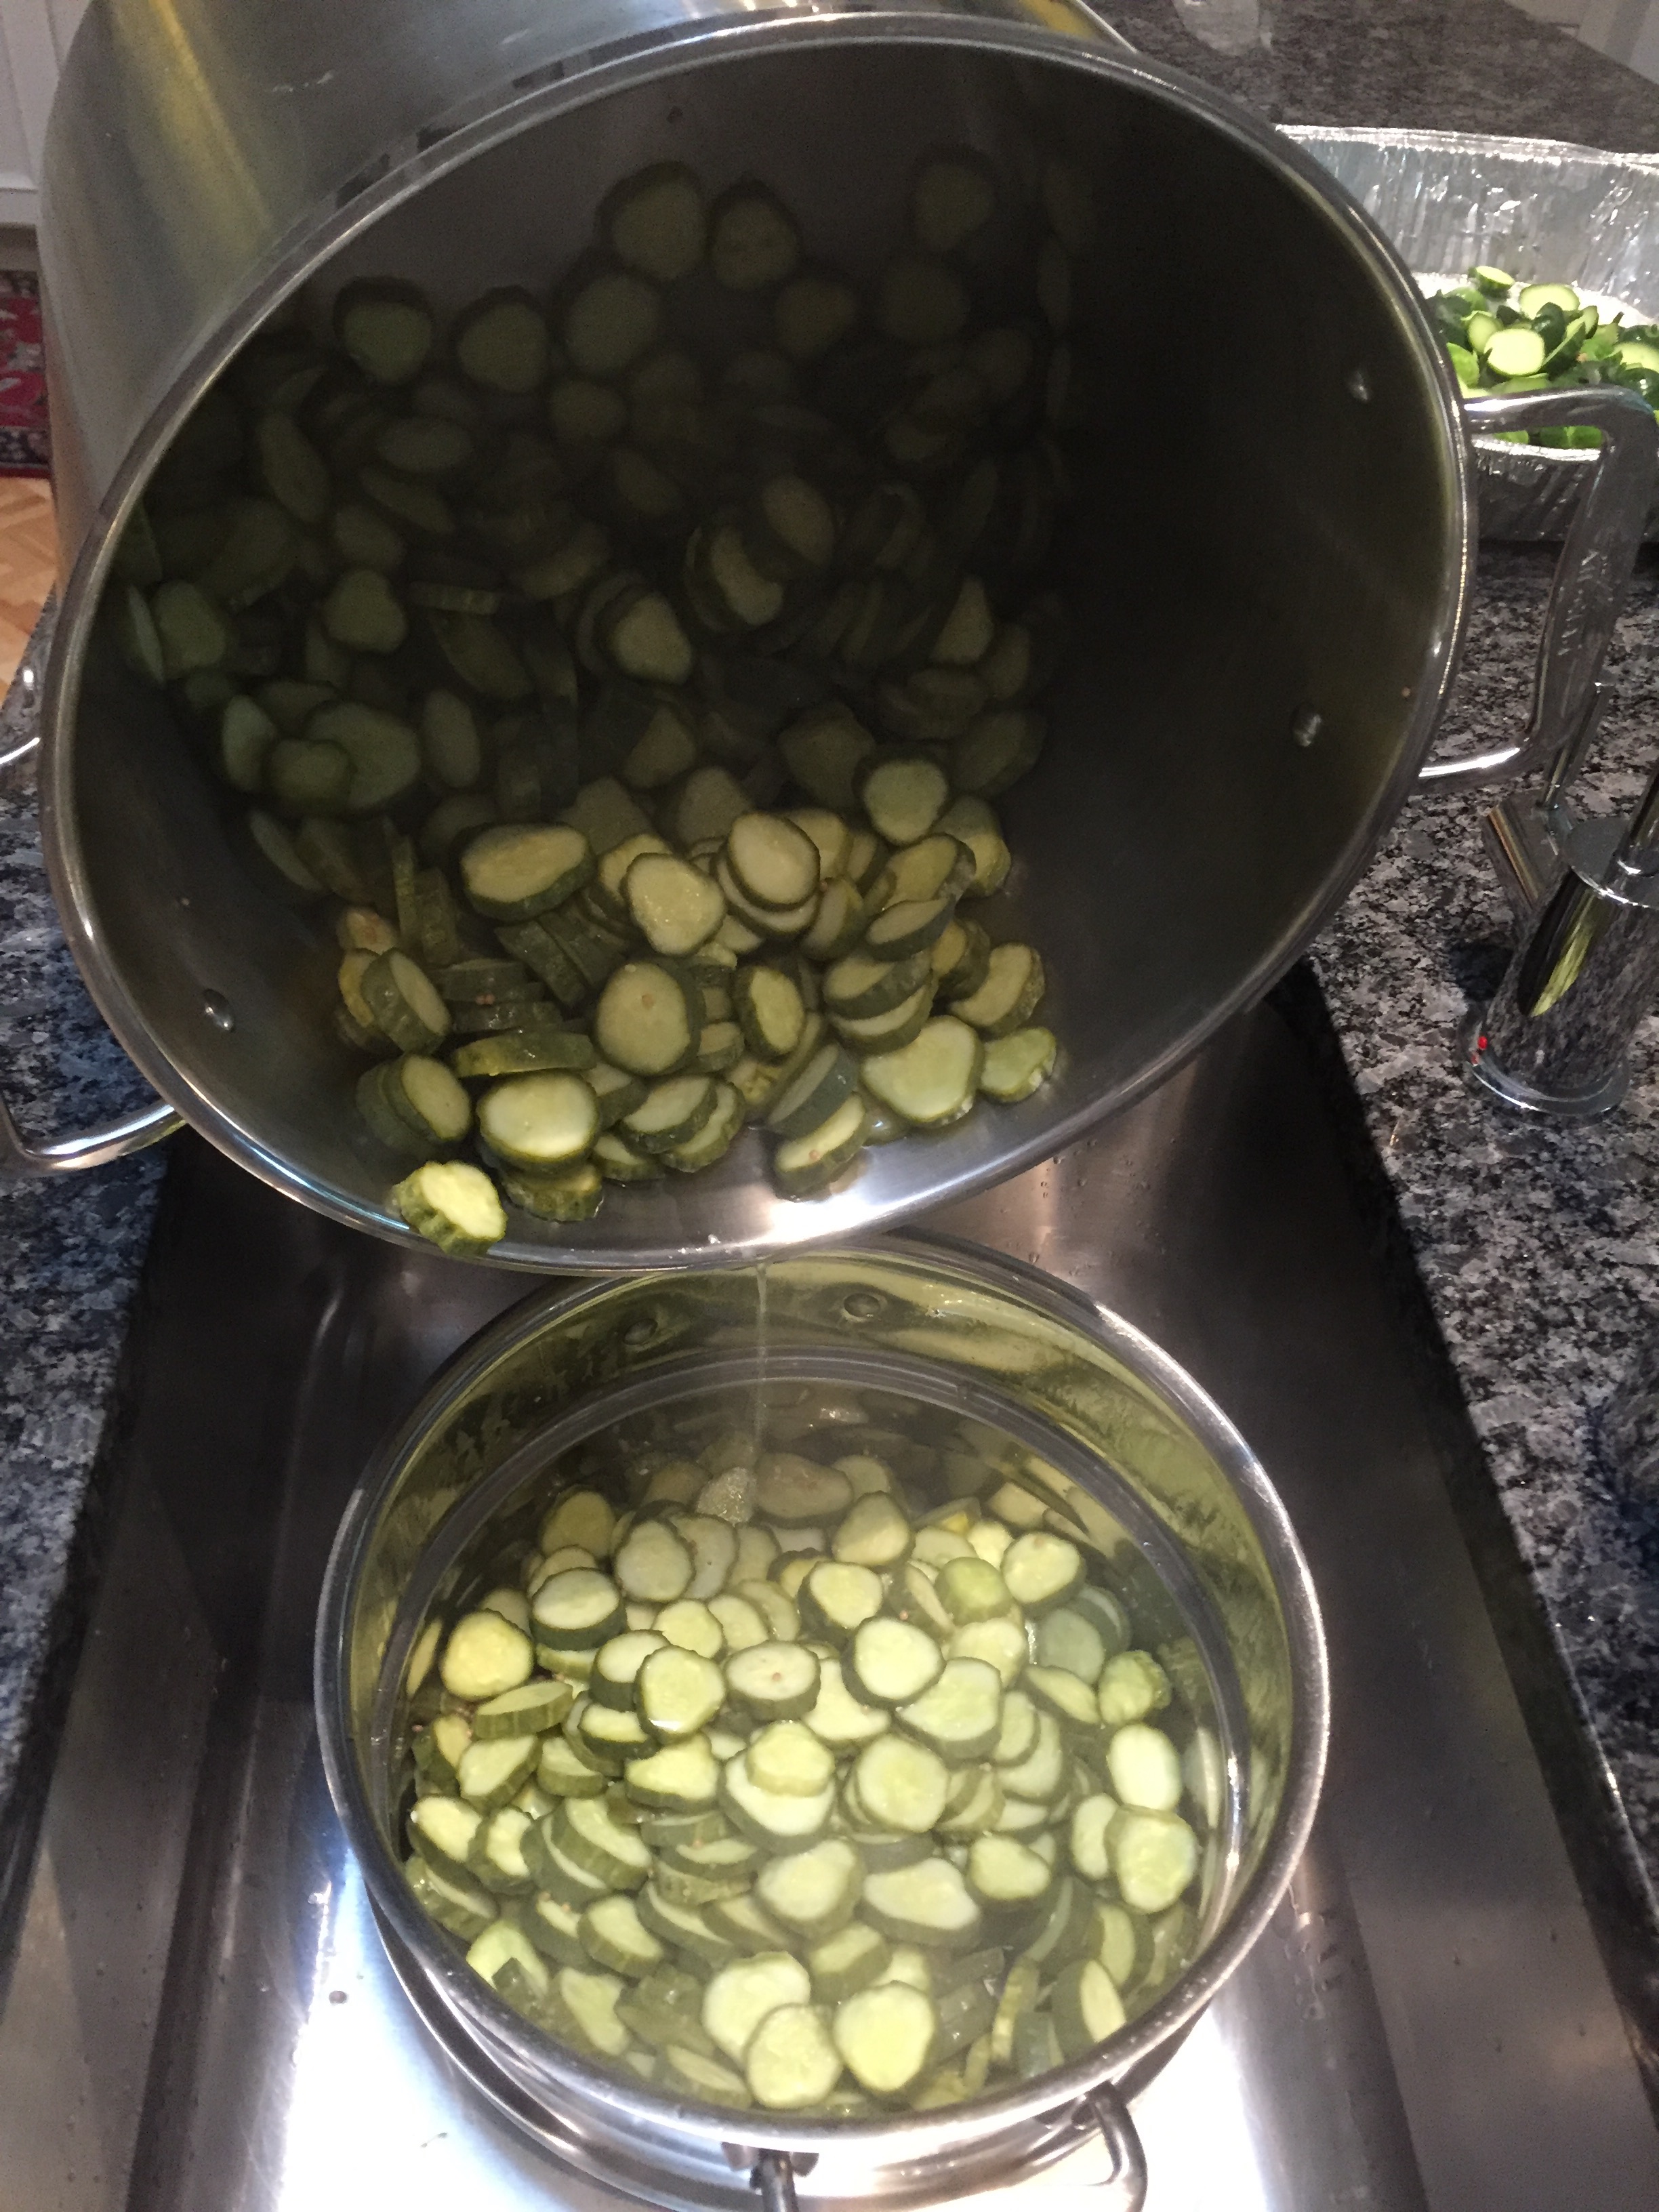
  So, much like other years, I have started with our favorite sweet pickle recipe and weighed up 9 pounds on each of the last couple of days to wash and slice up.
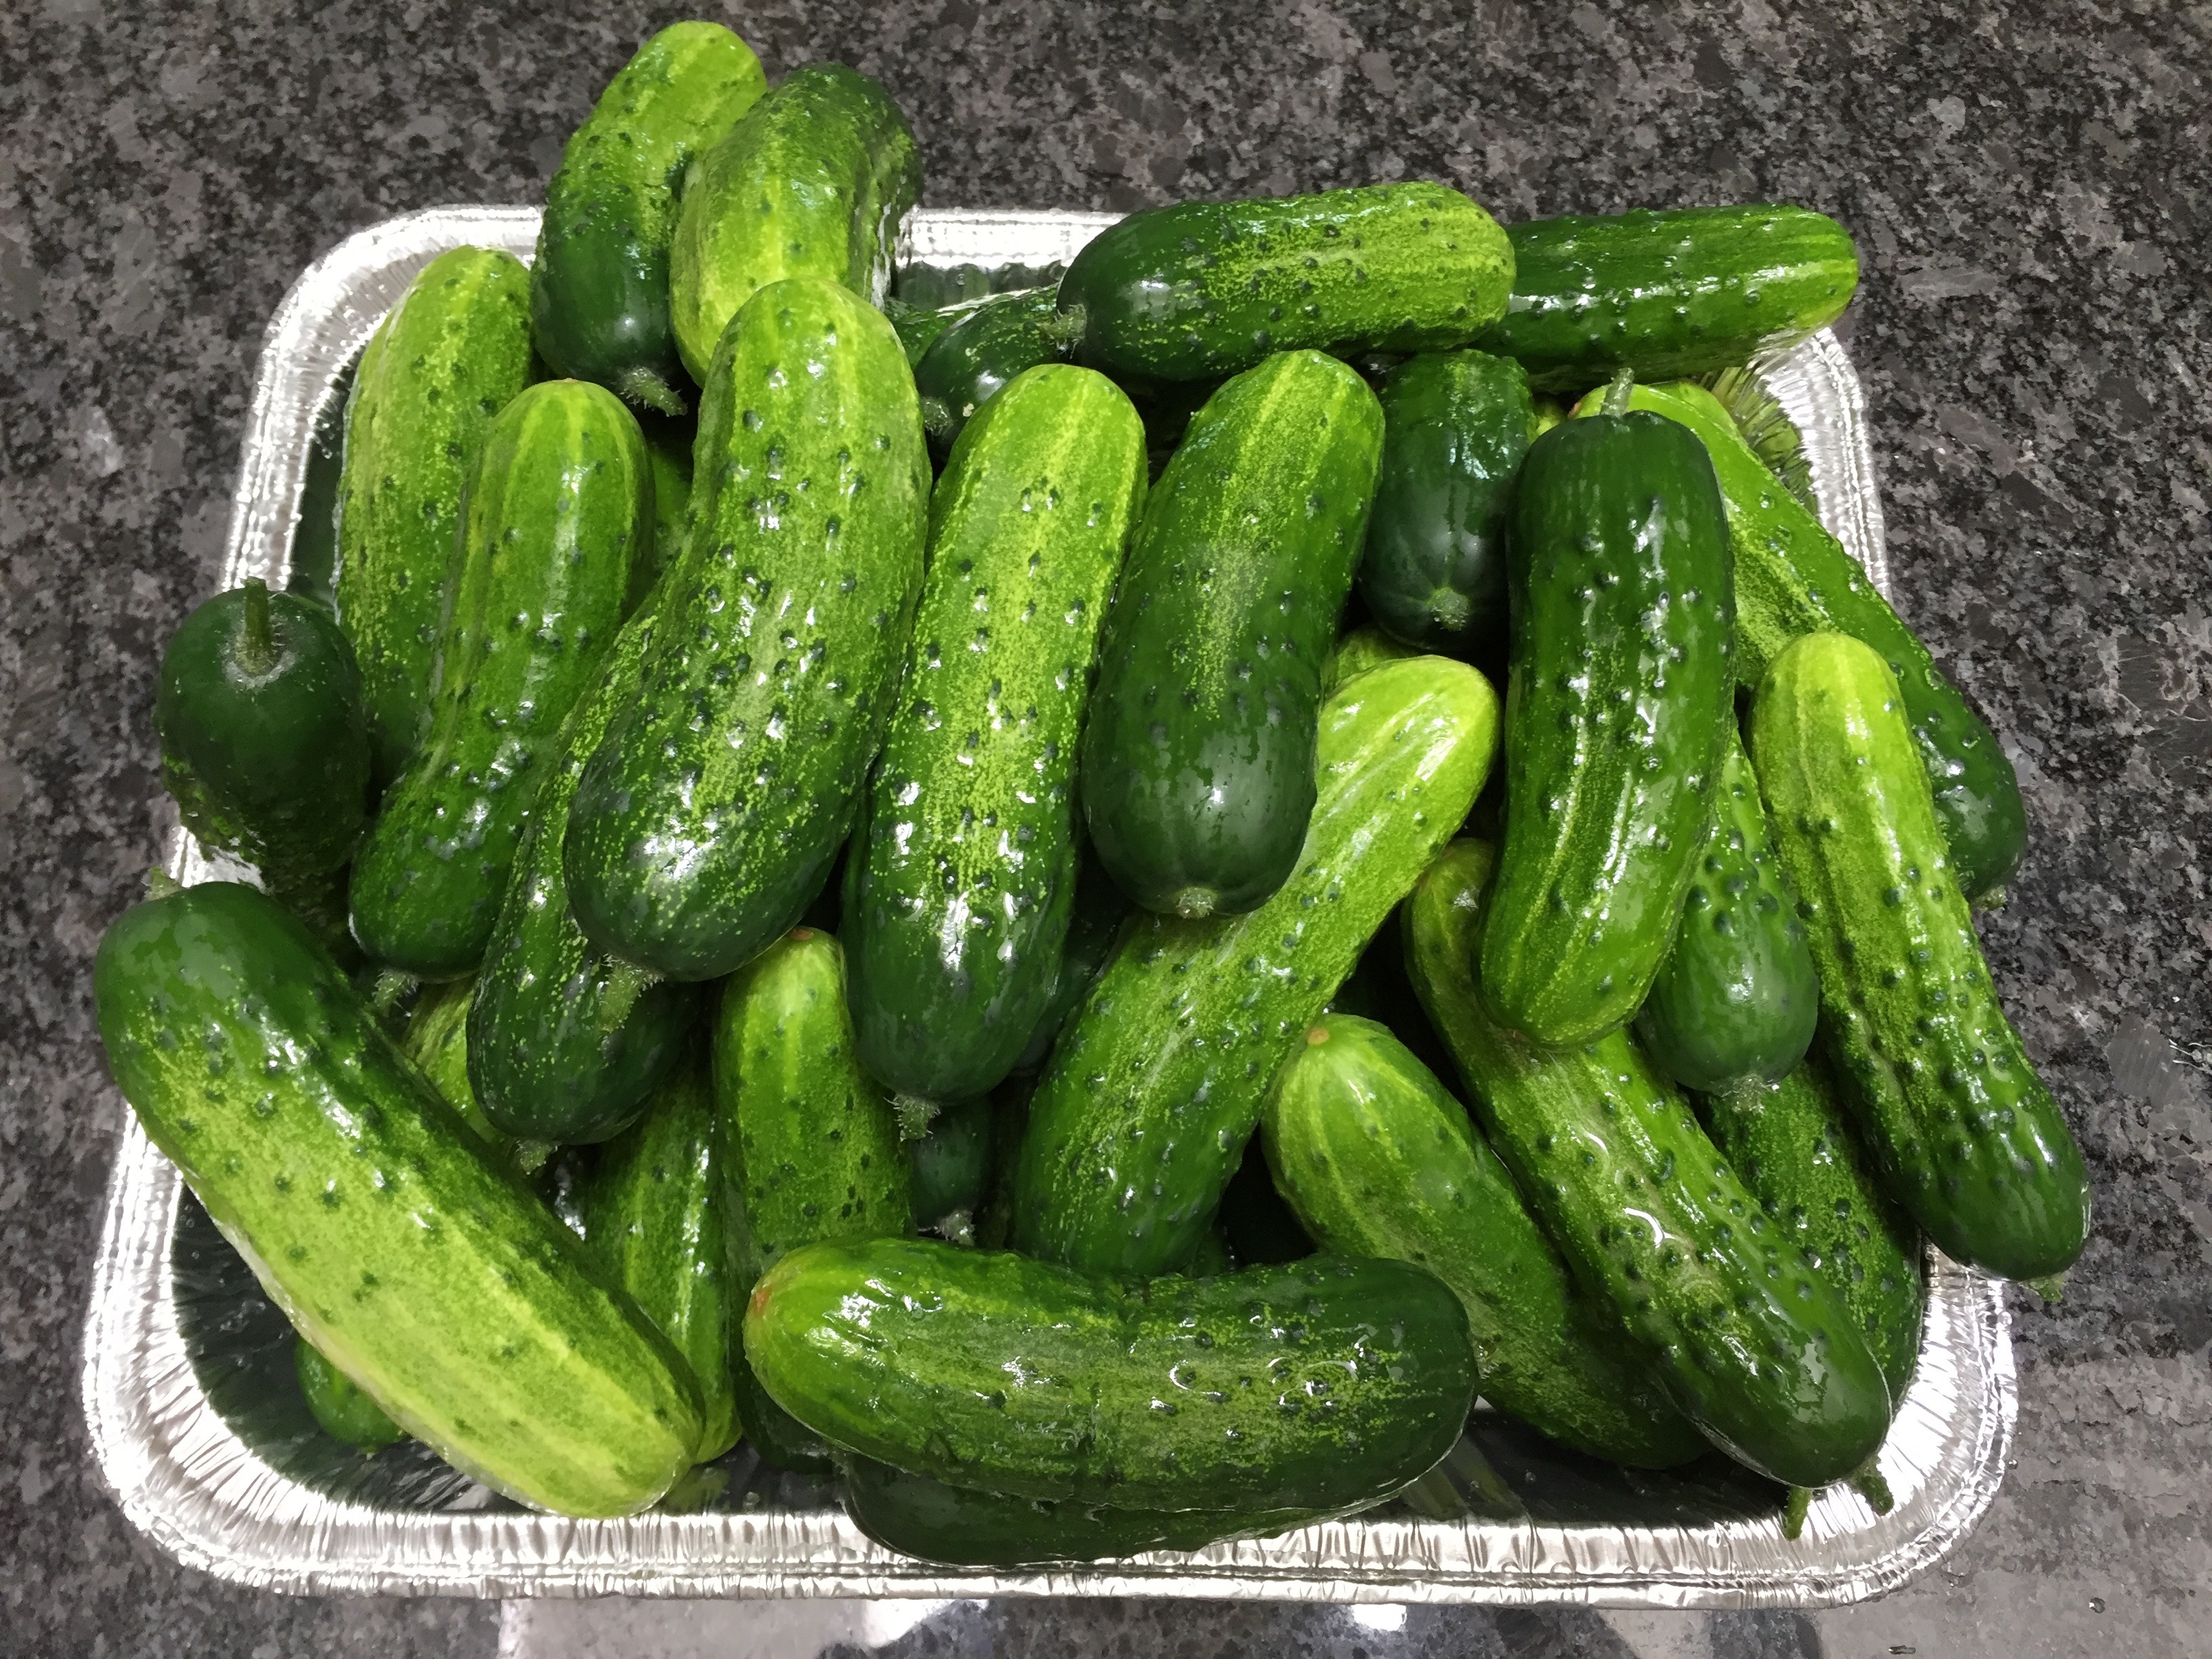
 I then pack them tightly – steaming hot – into pint jars before adding a sweetly spiced, cooked syrup that has thickened on the stove top in the background. Ouch to fingers!
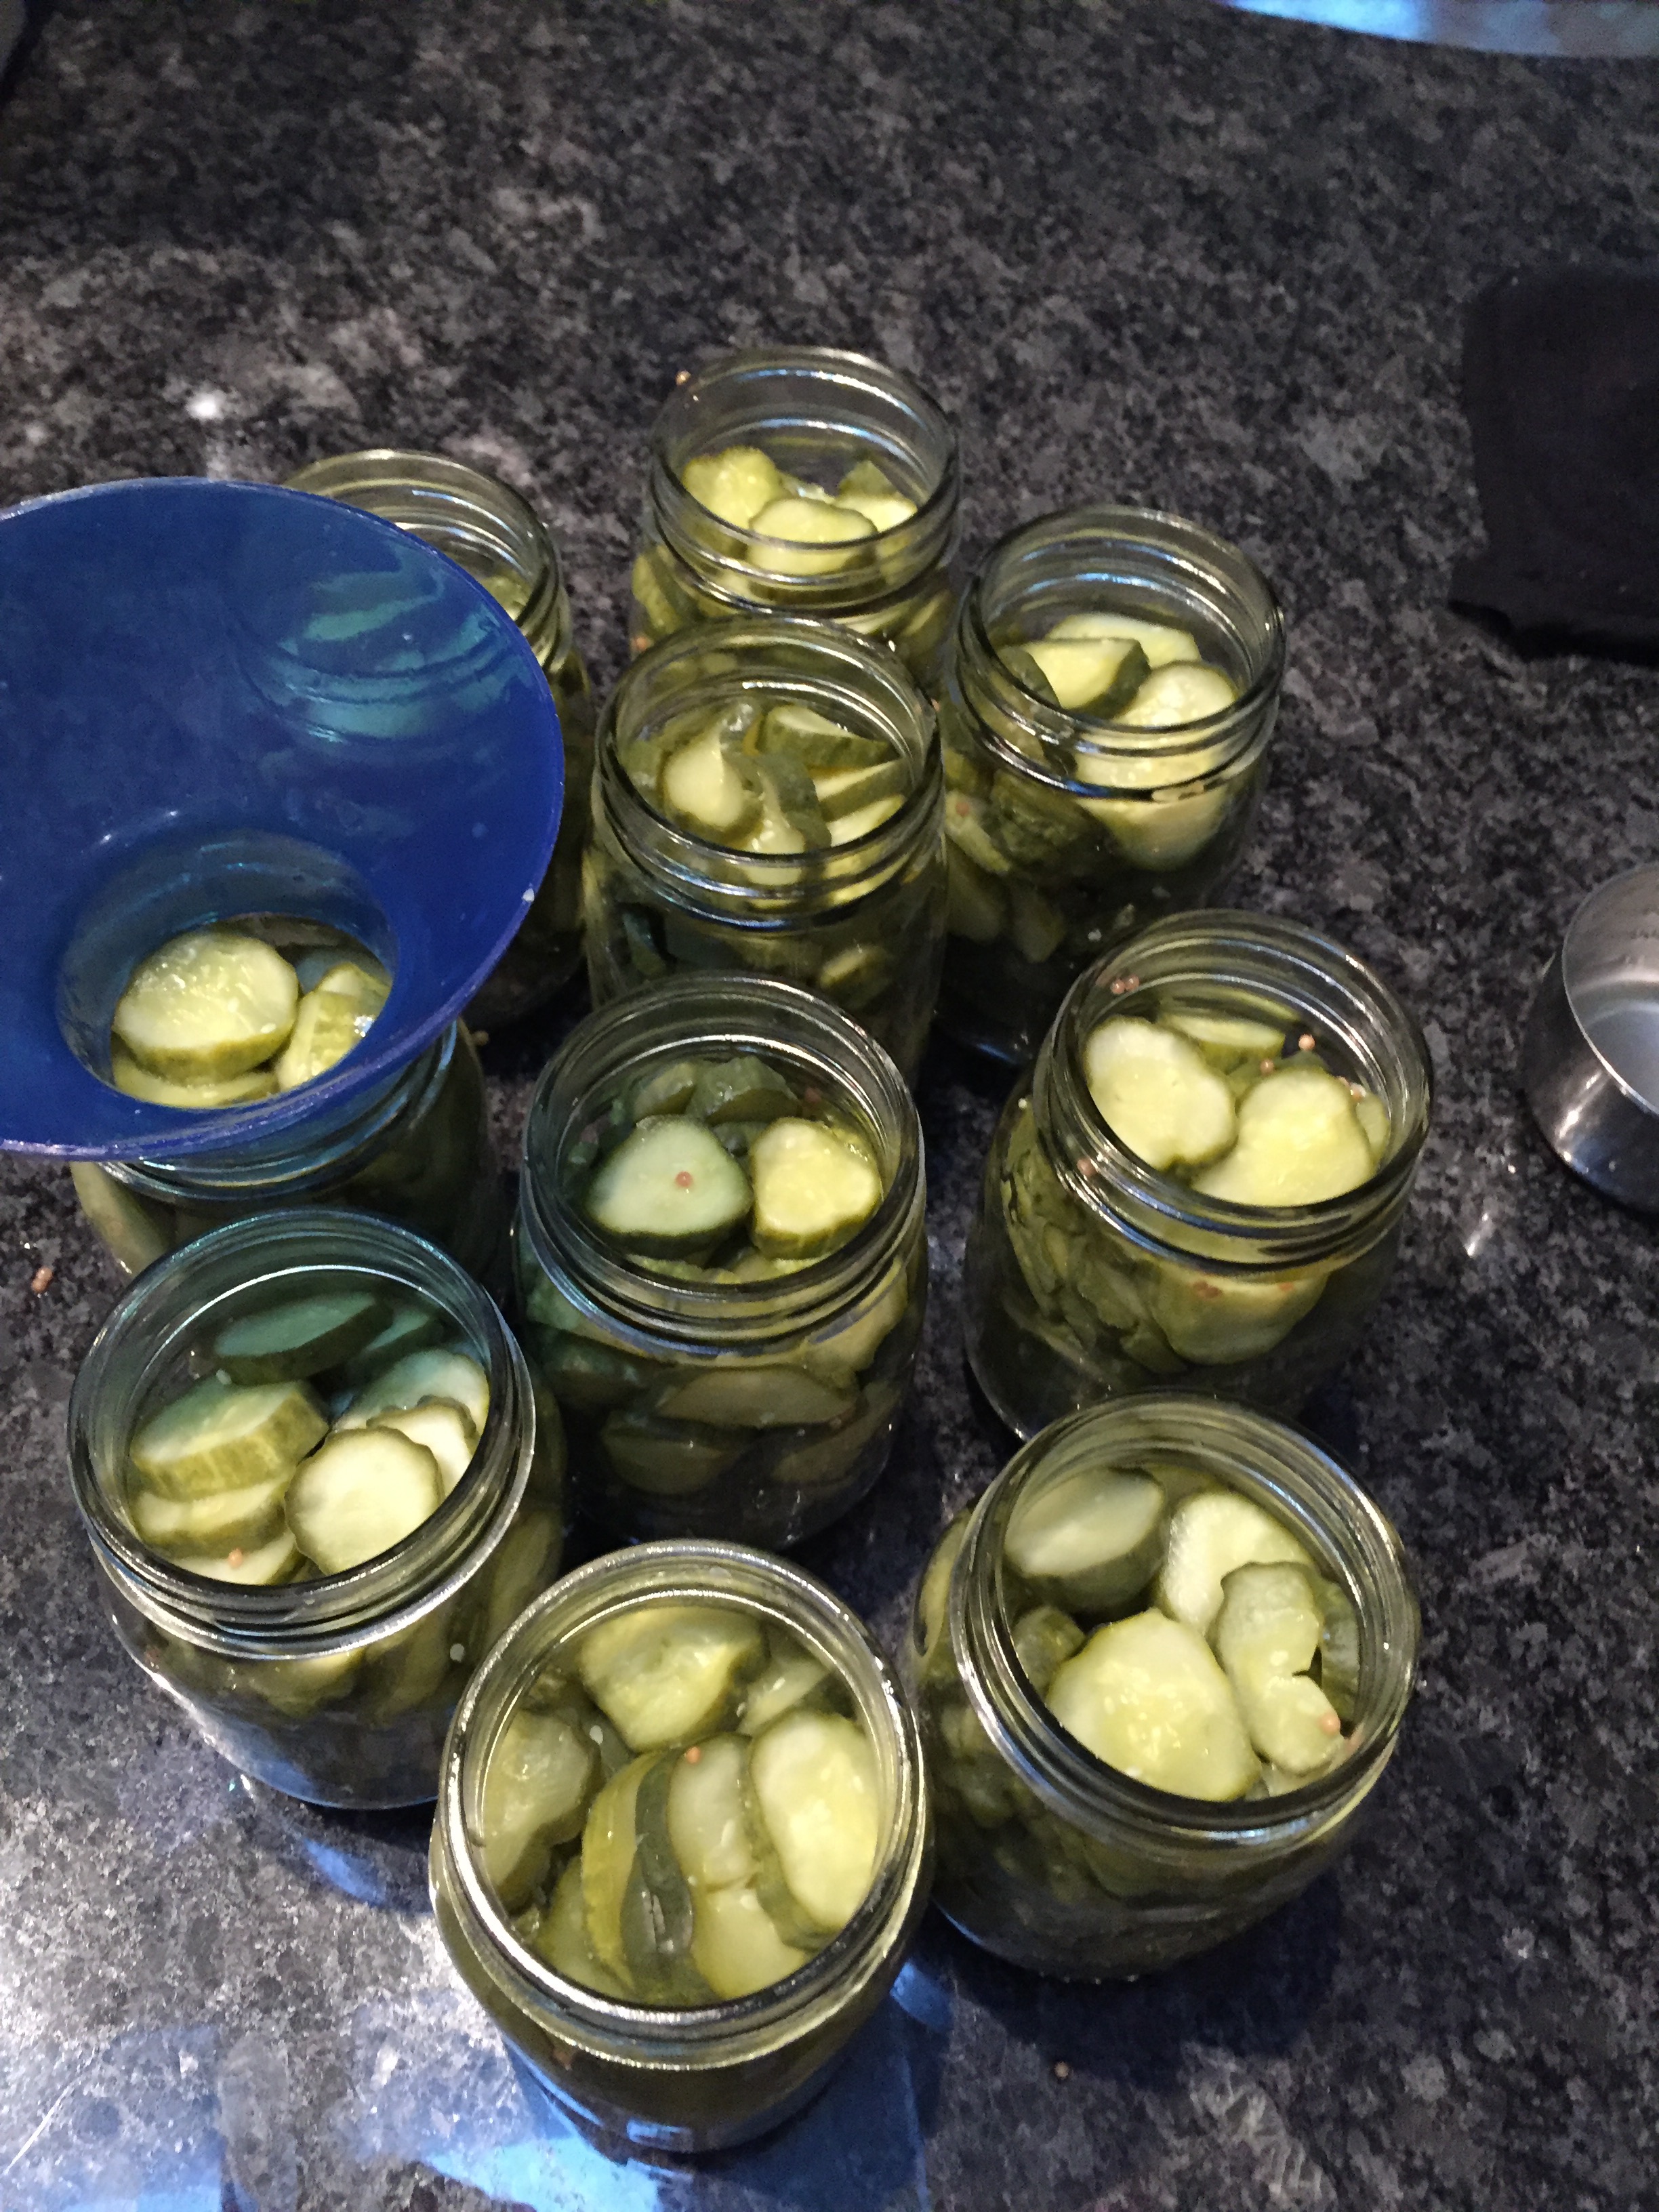 This reliable recipe makes 10 pints of crisp, sweet pickles which I’ve done twice already in the last two days. I’ve already made 31 half pints of blueberry jam in addition to freezing countless gallon bags of them. If it weren’t raining, I’d be picking berries now to add to the 90 plus pounds I have harvested this year to date. Here are some of the pickles and blueberry jam jars cooling while waiting for labels.
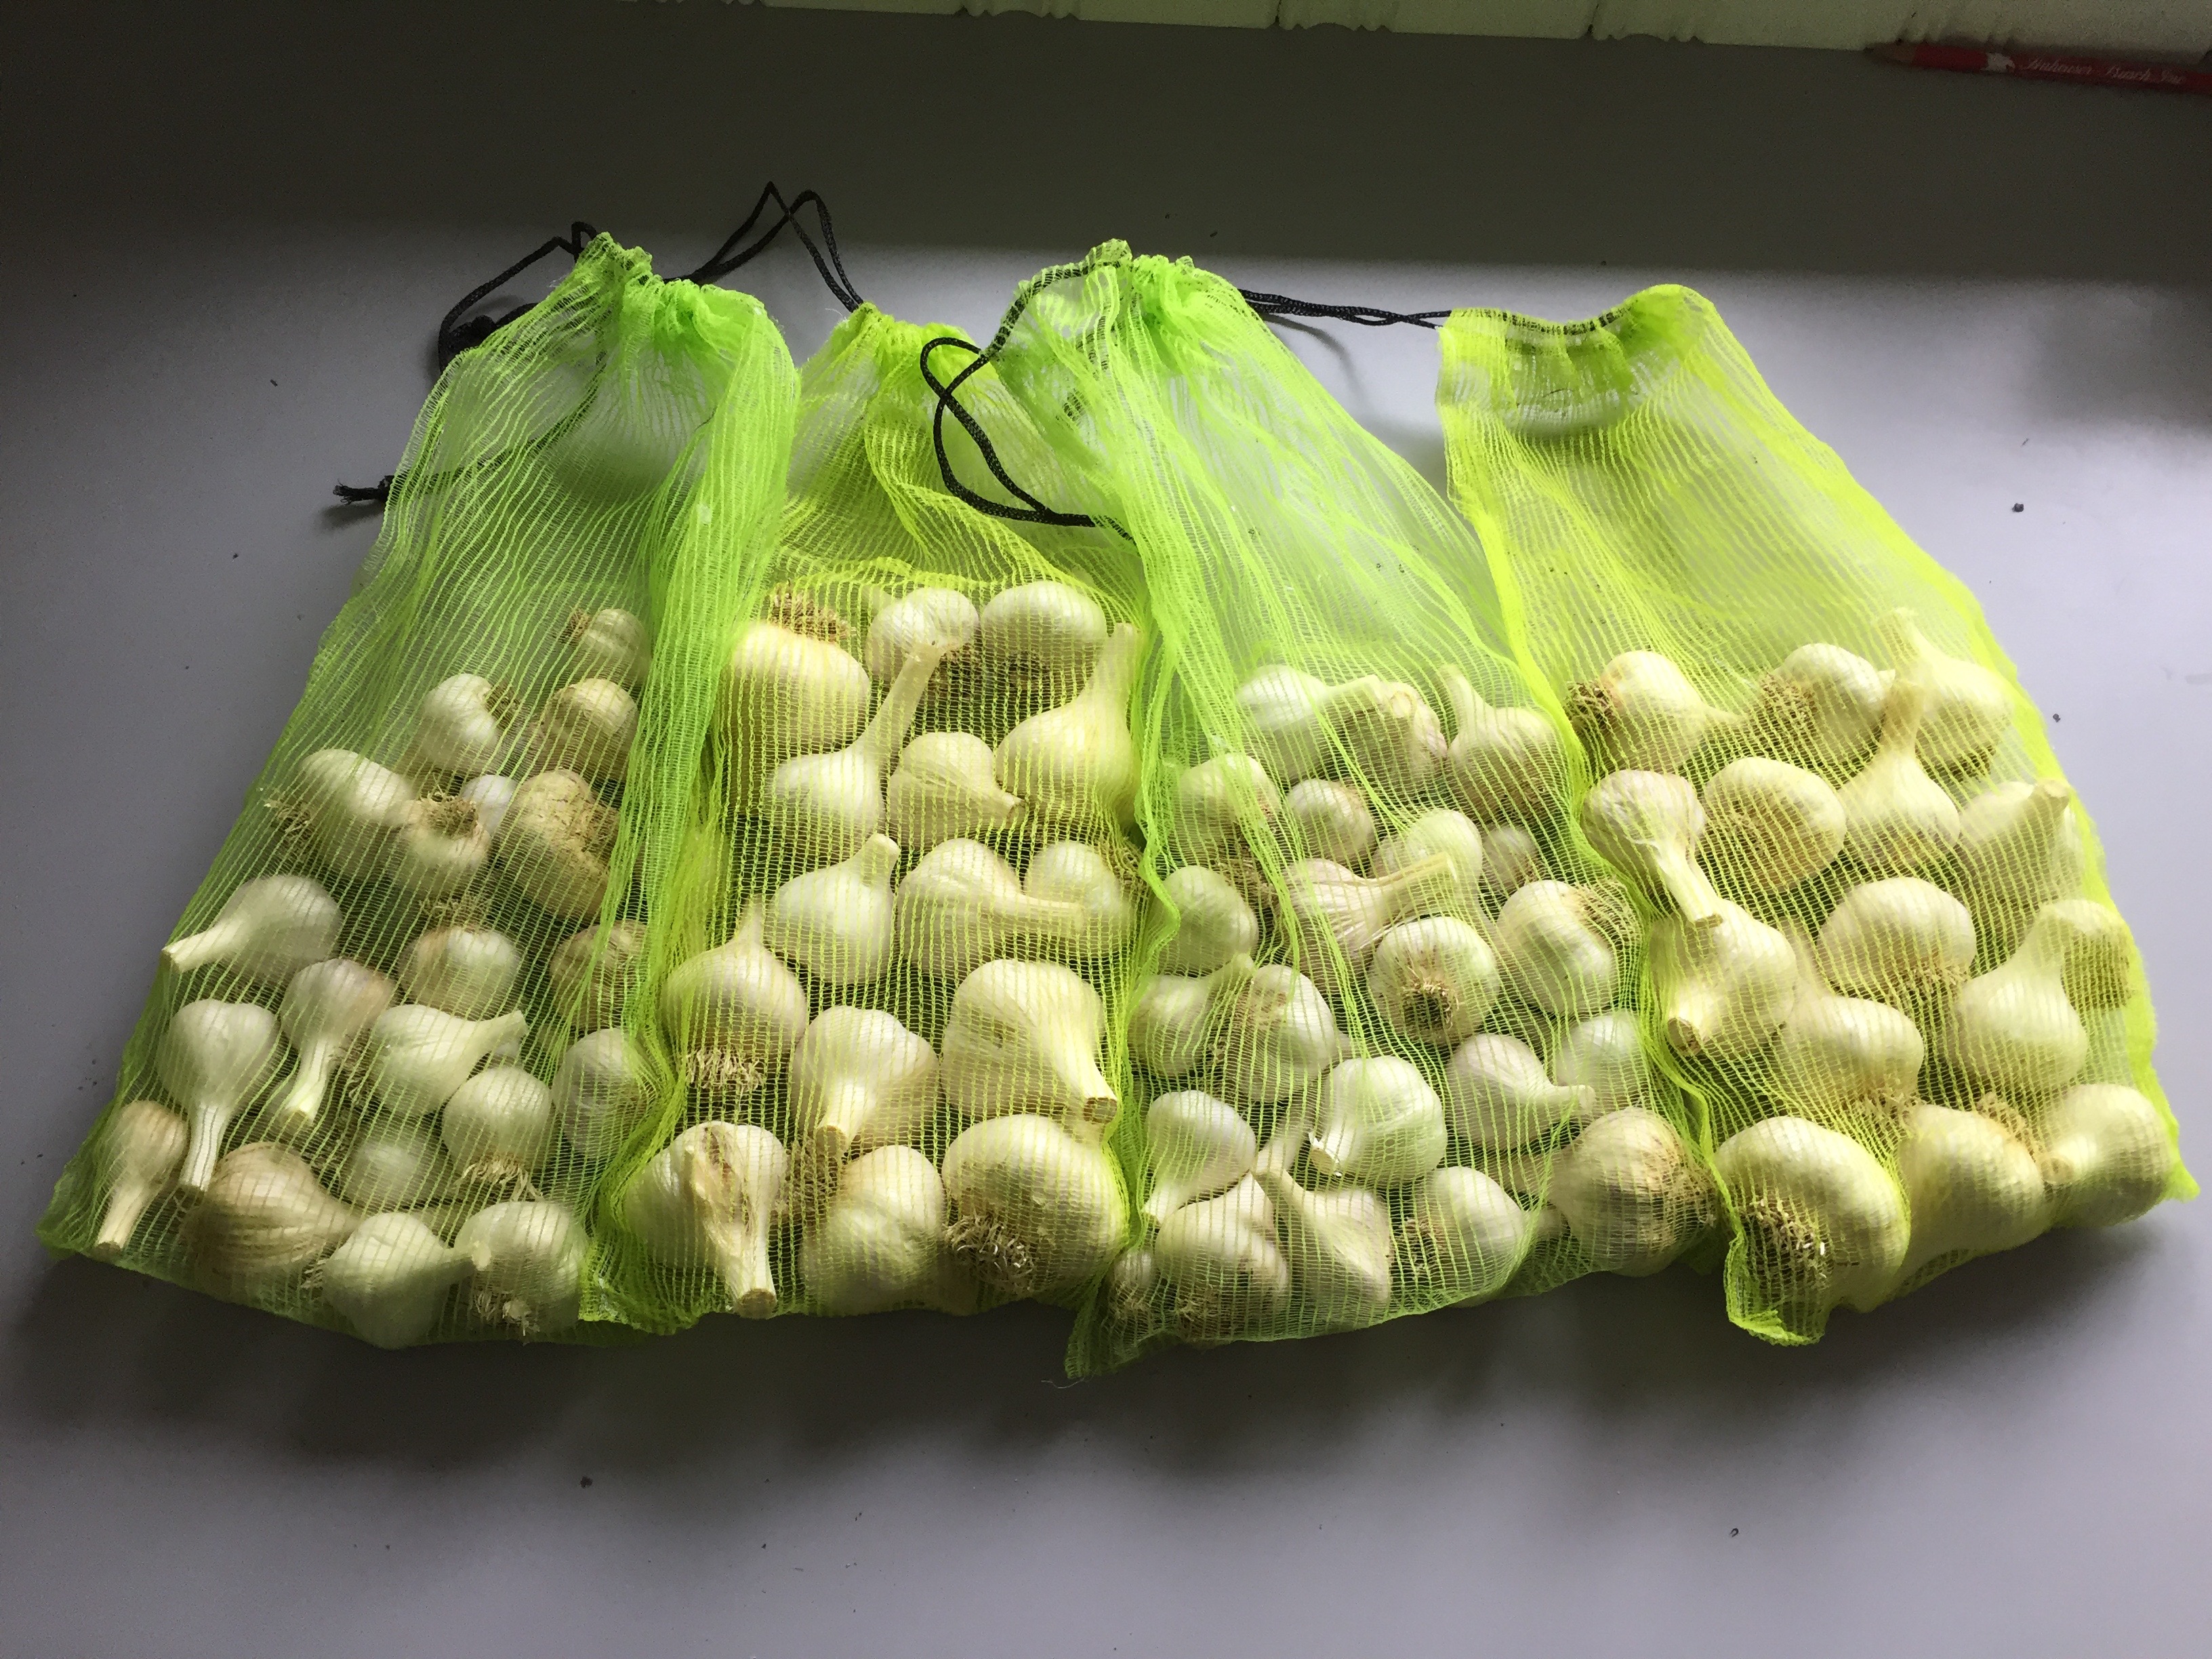
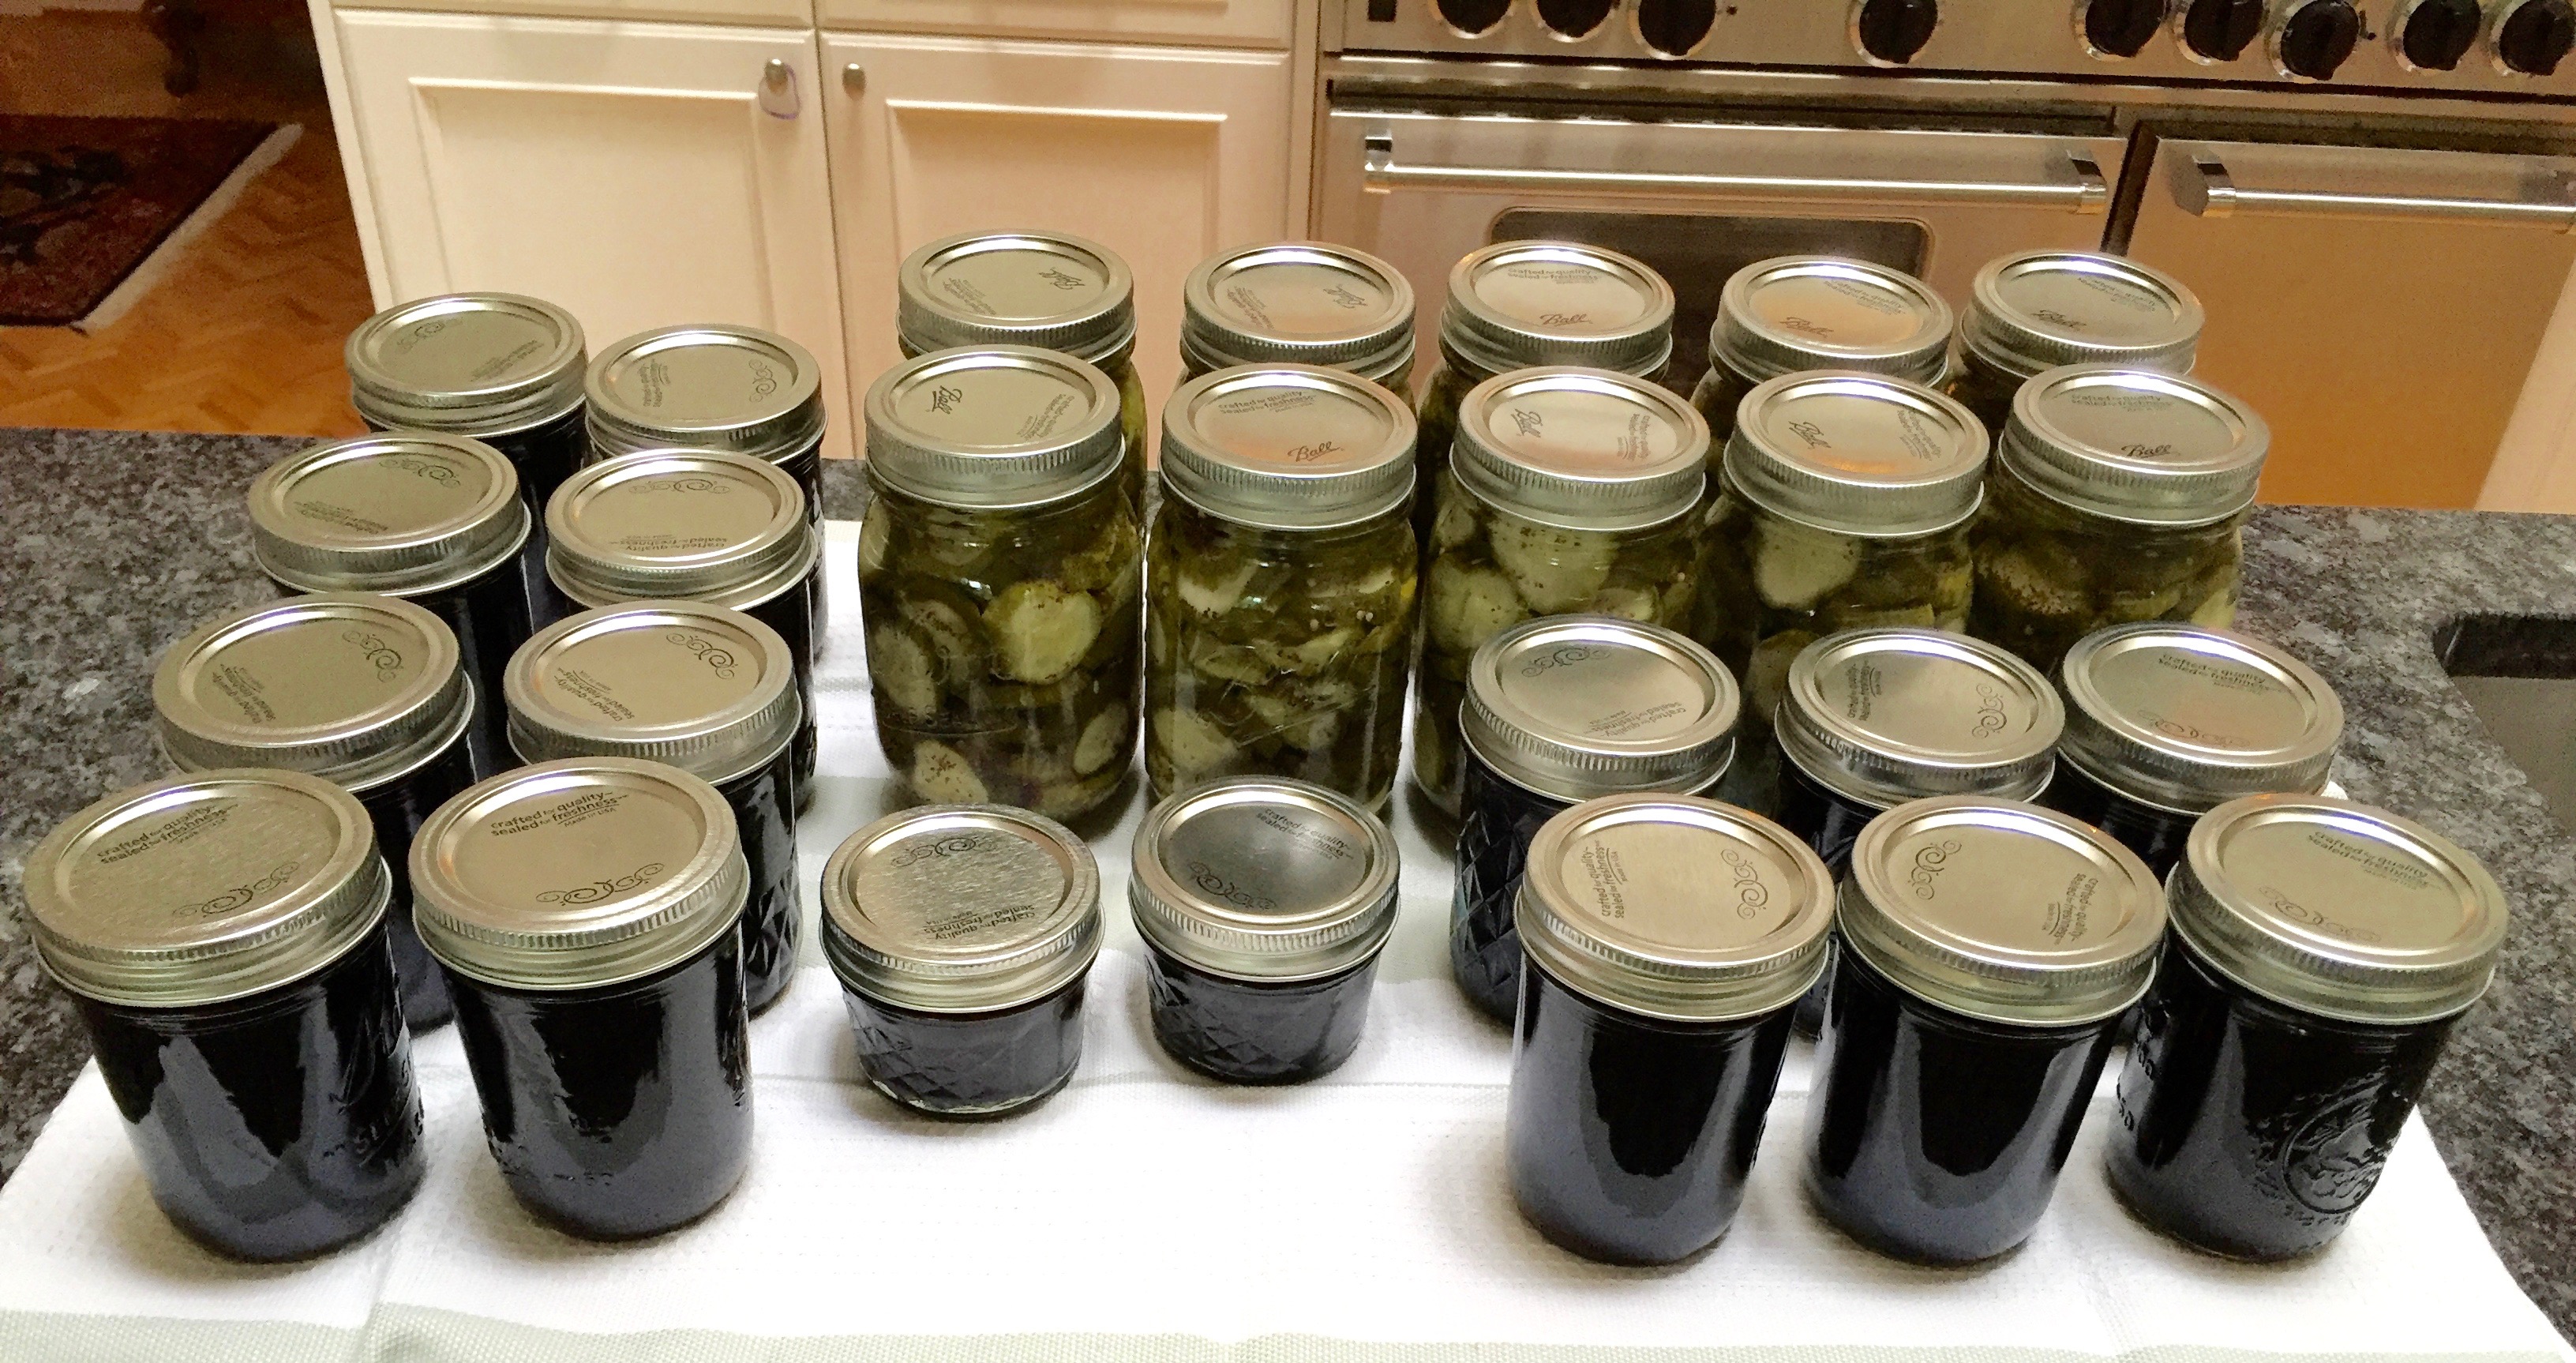 The garlic bulbs have finished drying after two weeks on their screen bed and were ready today to trim and put in the “root cellar”, aka the basement. I cut their long necks and put them into the mesh bags I had purchased for this purpose and off they went to hang in a dark, cool corner of the basement where I will send my messenger, Dave, to grab a head every now and then for cooking during the coming year.
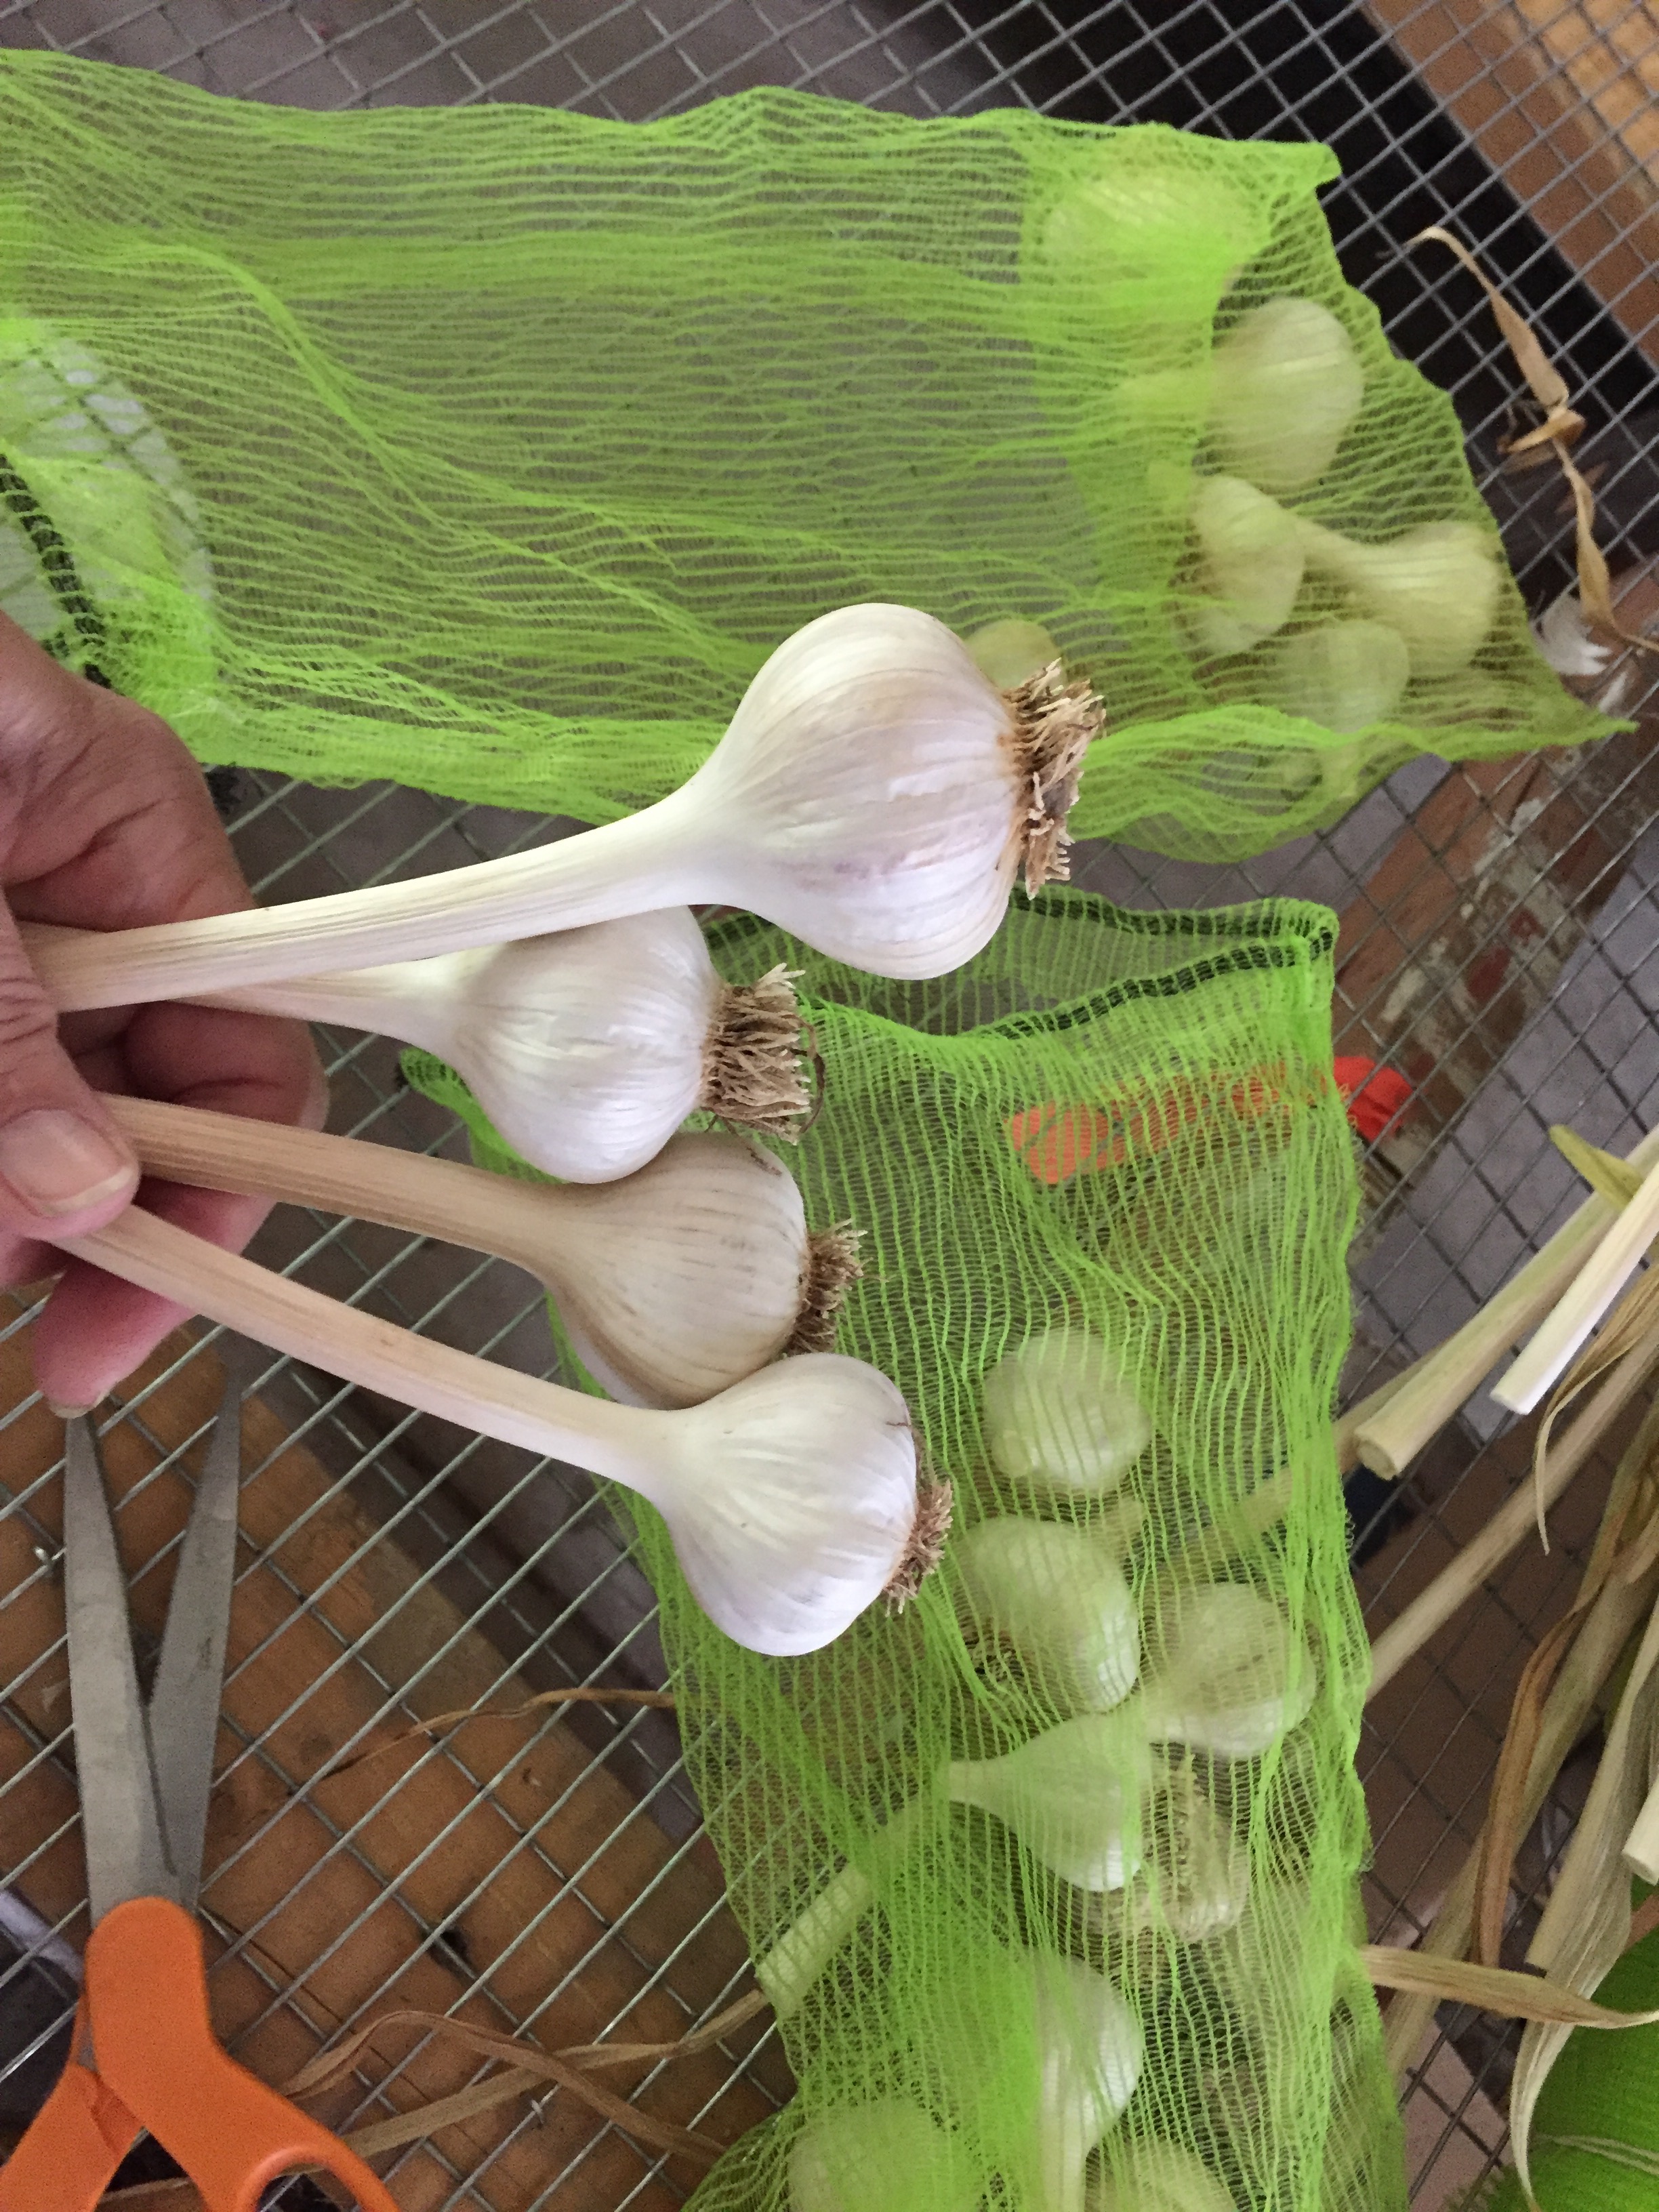
 Dave started digging the potatoes recently and got less than three of the ten rows dug so far – weighing in over 53 pounds – before the rain started in so they are also in the cool, dark basement as well! We expect quite a nice continued harvest of Pontiac Reds to compliment more of the Yukon Golds as seen below.
 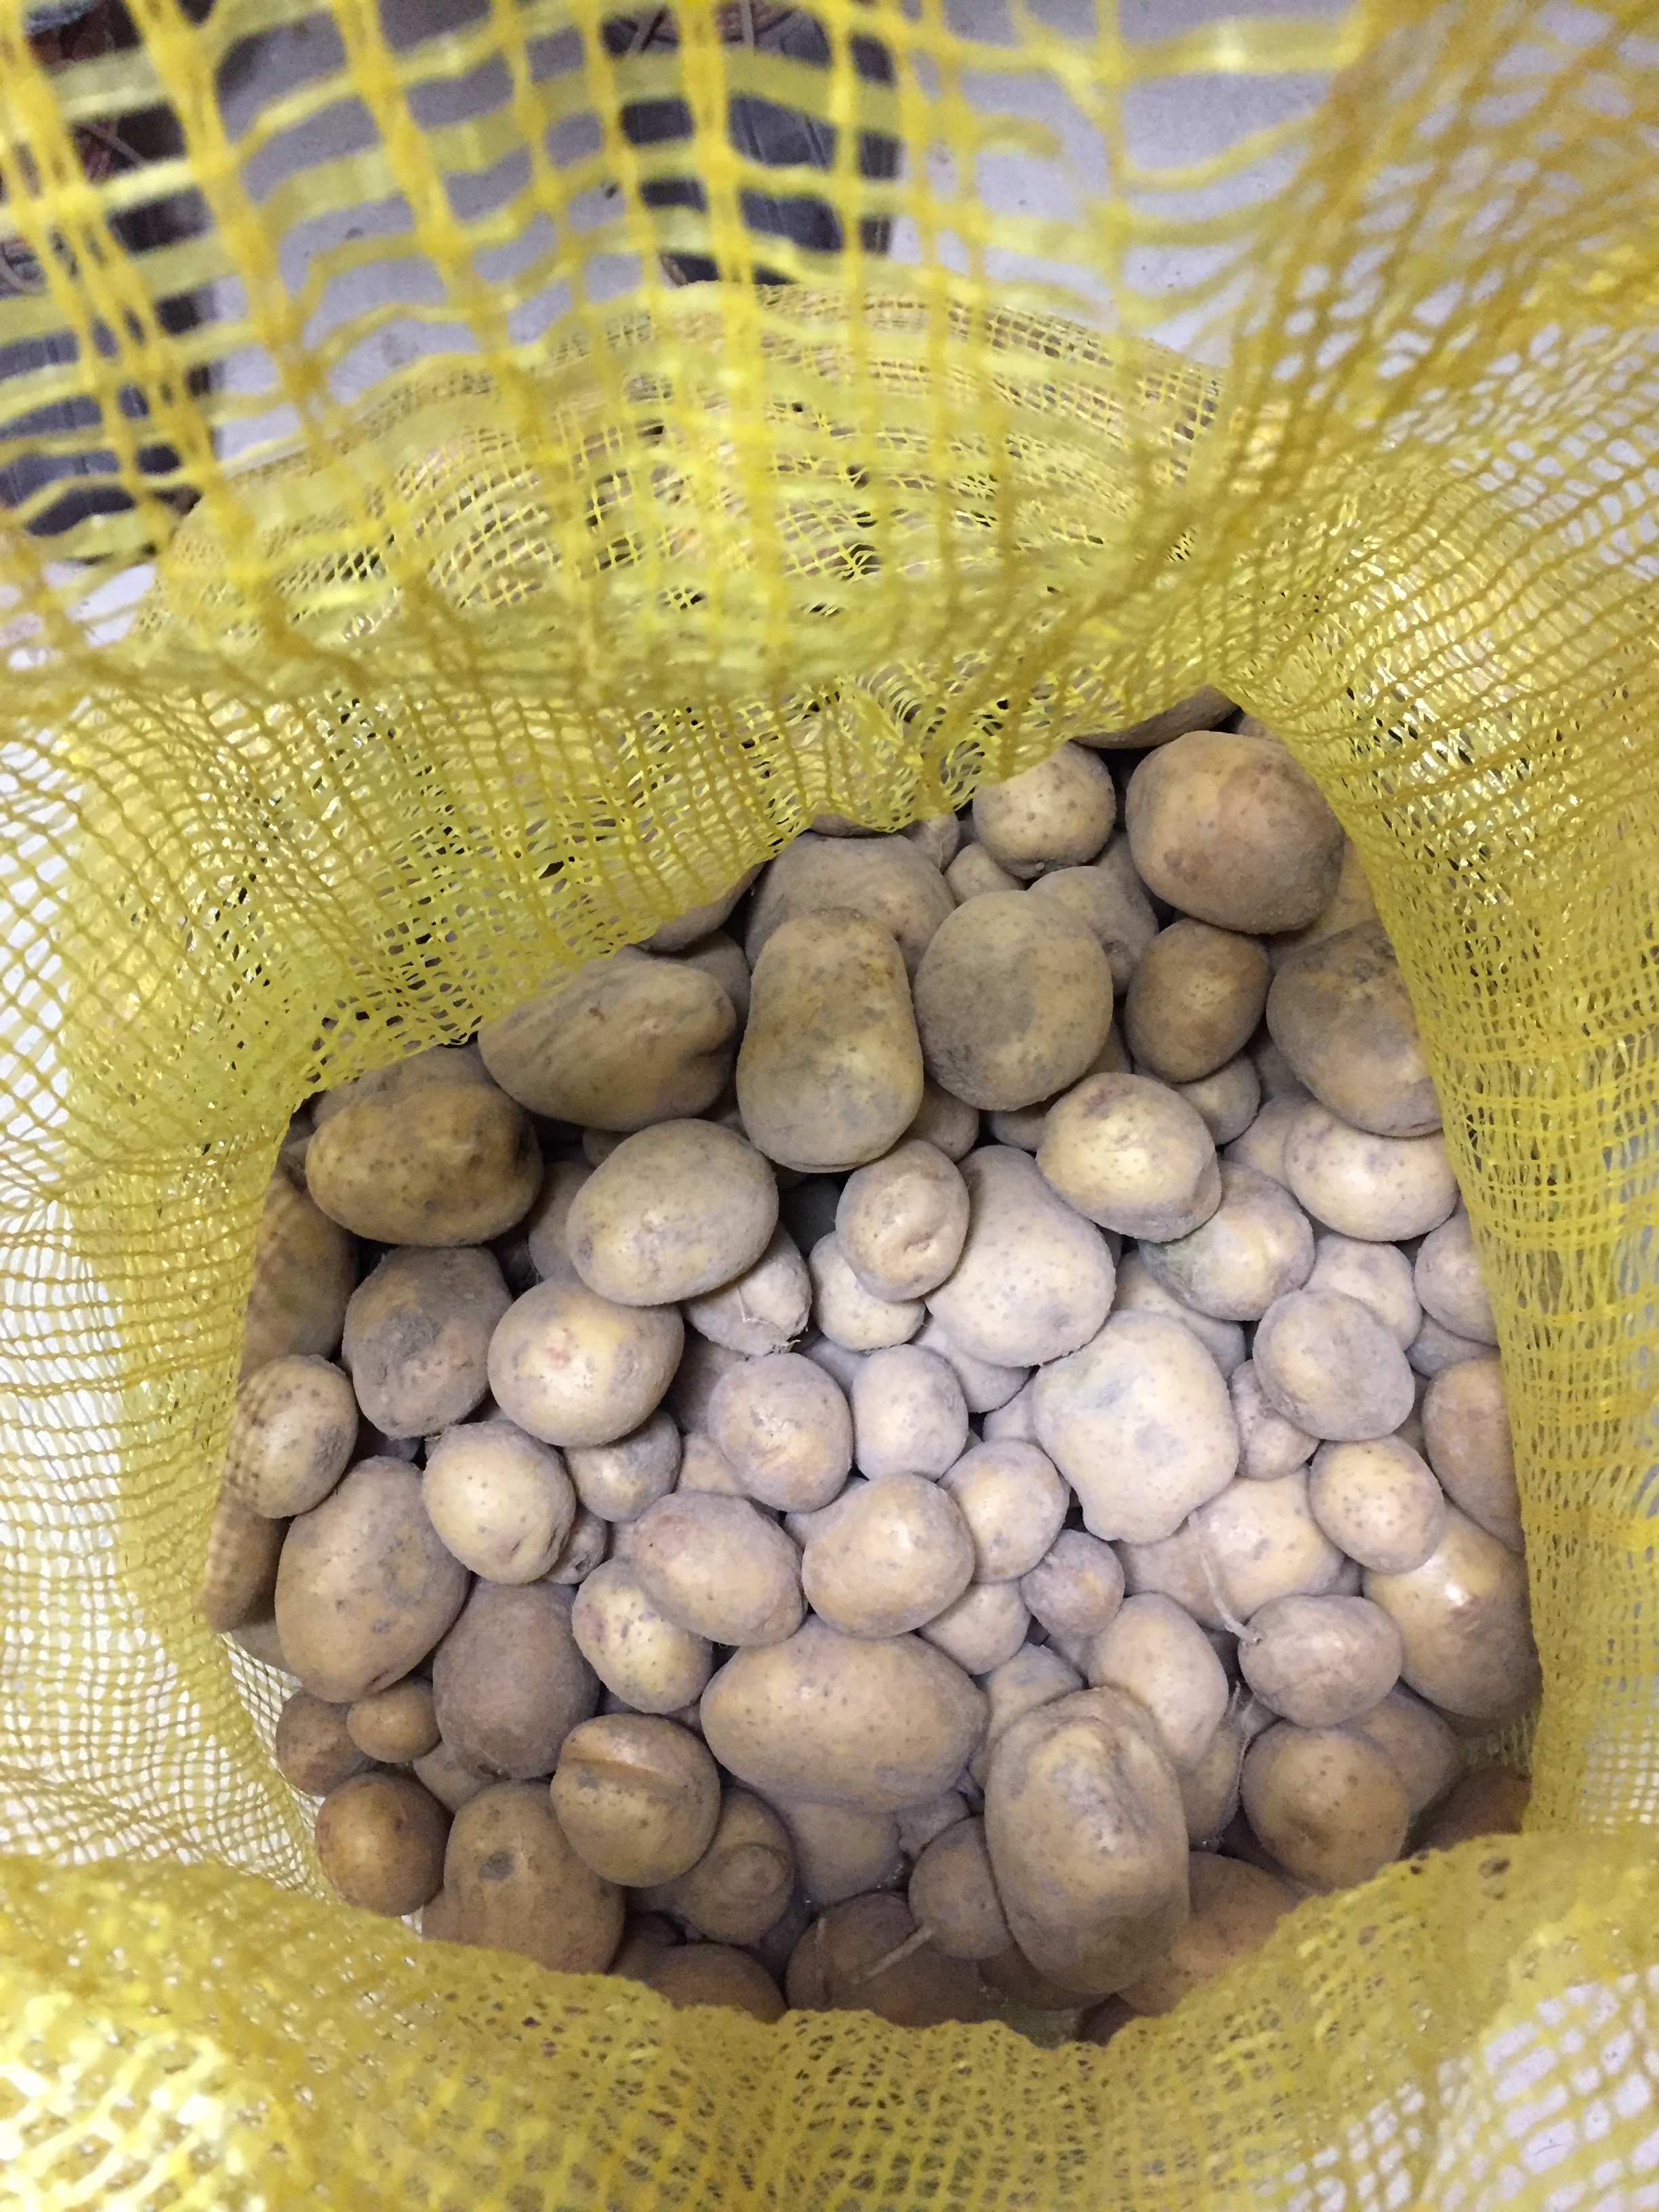 With all the processing I’ve been doing these days, I decided to wise up and get some bulk items to help keep the cost down. For instance, I found a great pectin supplier in a small, family owned company in northern California called Pacific Pectin. So instead of opening an individual package of Sure-Gel every time I make a batch of jam, I’m measuring out the equivalent amount from a 10 pound box. What a savings for a jam maker like me!
 I’ve also taken to buying my sugar in 25lb bags.
 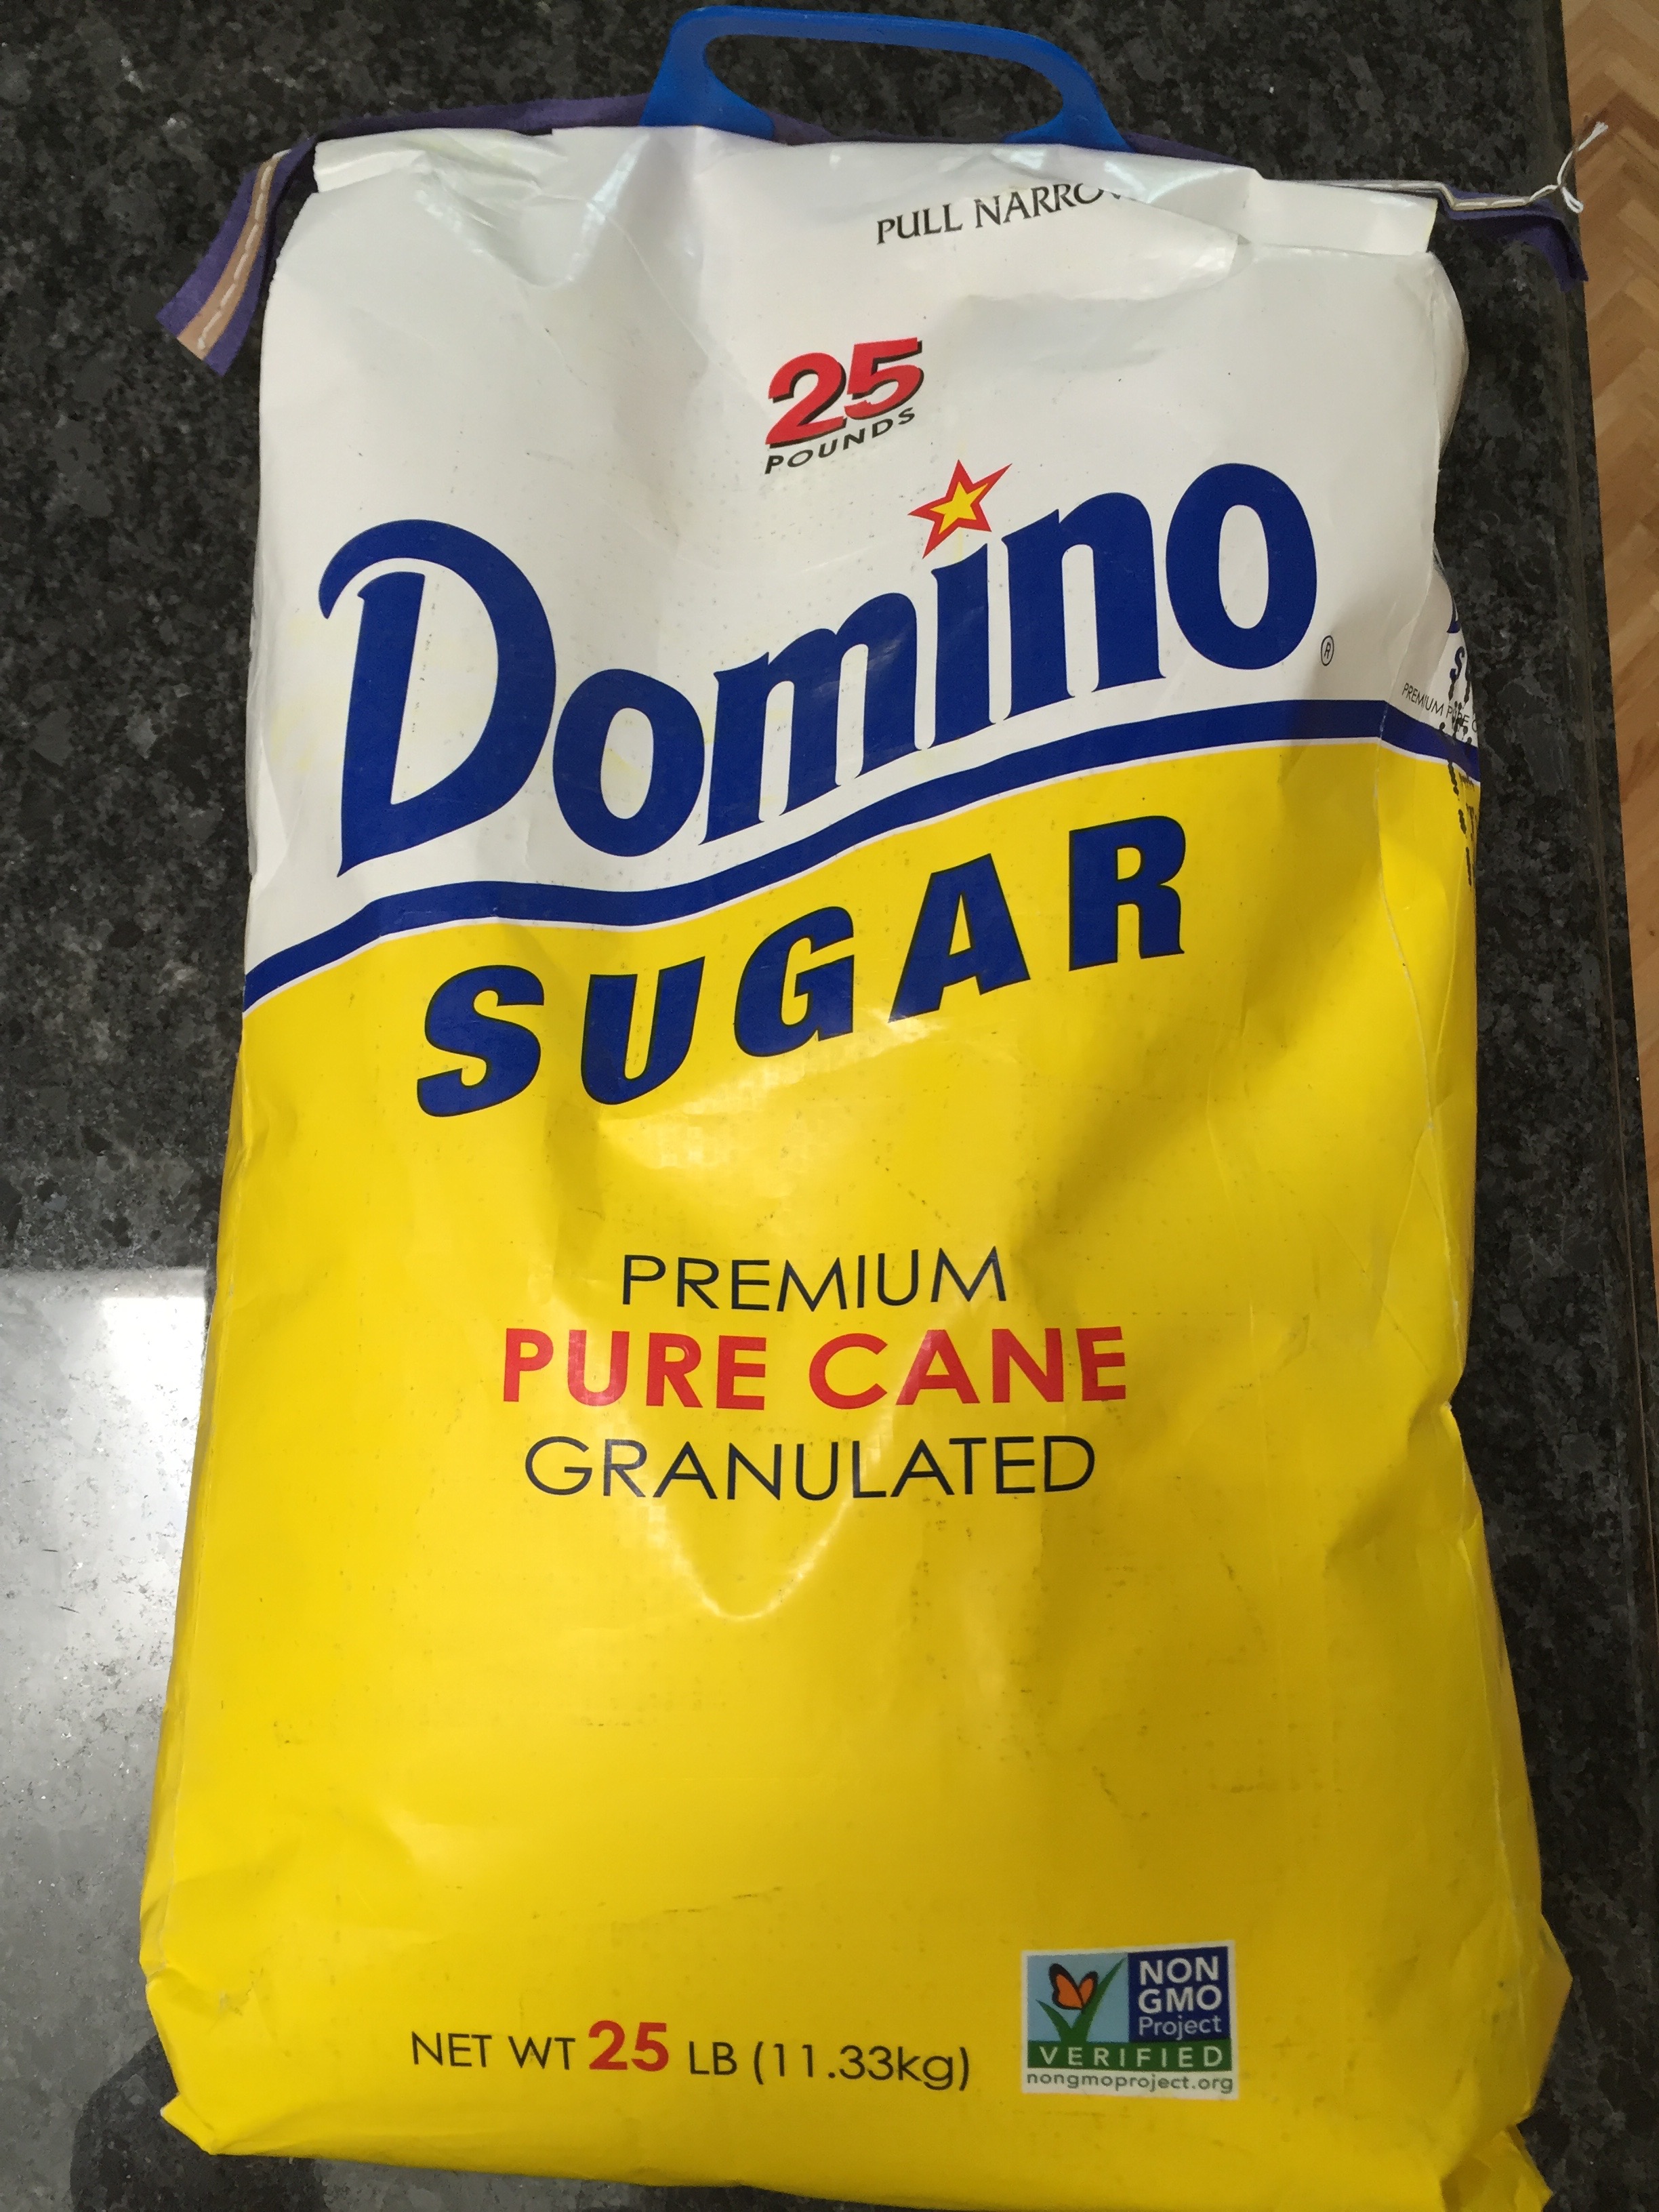 This requires some strong arms and pre-planning which I’ve been working on as well as the supplies for pickles shown here. Gallon containers of vinegar were on sale recently so I’m grabbing as many jugs and noting the amounts subtracted from each so as to keep my constant measuring sensible.
 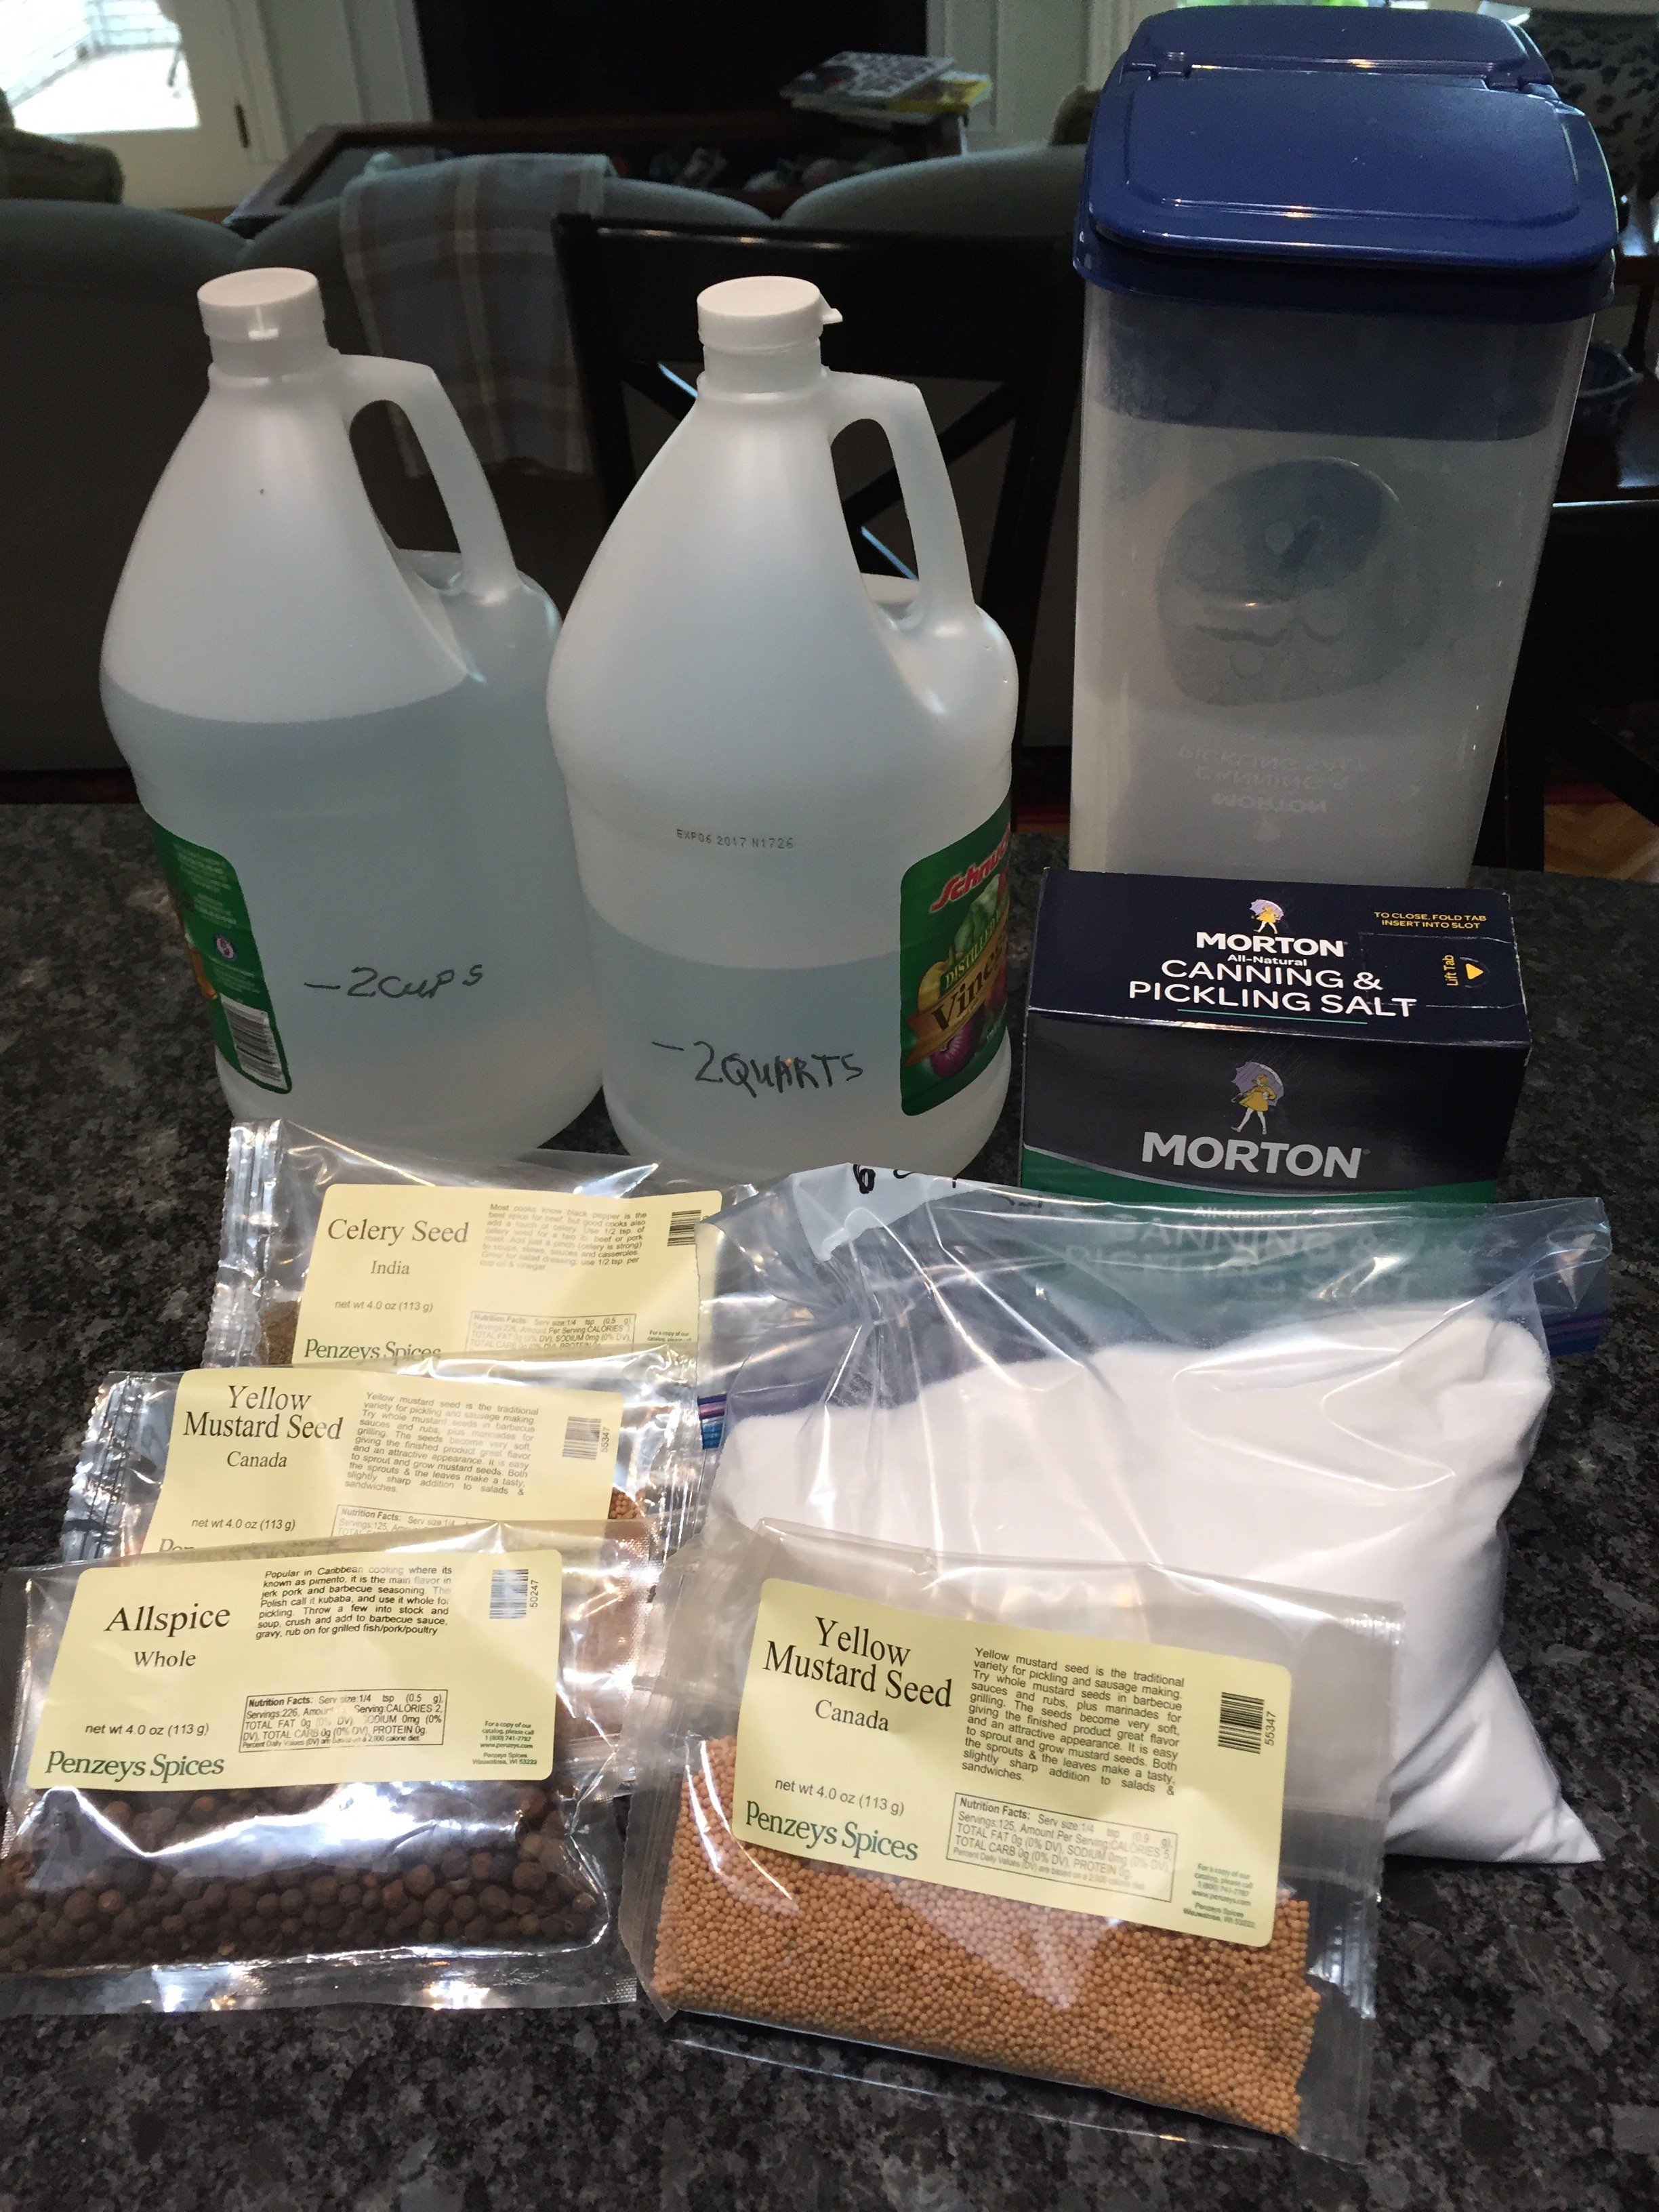 When I have time, I pre-measure bags of sugar for specific recipes so that I have a system called ‘mis en place’ – French for ‘things in place’ – so as to keep the stress of the fast paced, heated cooking the simplest. This helped out when making 85 jars of strawberry jam!
 Other crops are doing well and we are serving a large variety at mealtimes: turnips, broccoli, swiss chard, lettuces, scallions, peas and peppers and more. The tomatoes are just beginning to ripen and it looks as though we will have a good harvest. I’m investigating another method of preserving our harvest this year as I purchased a vacuum sealer recently. Everyone raves about these machines but I’ve been hesitant since I’ve been pretty successful so far with my other tools.
 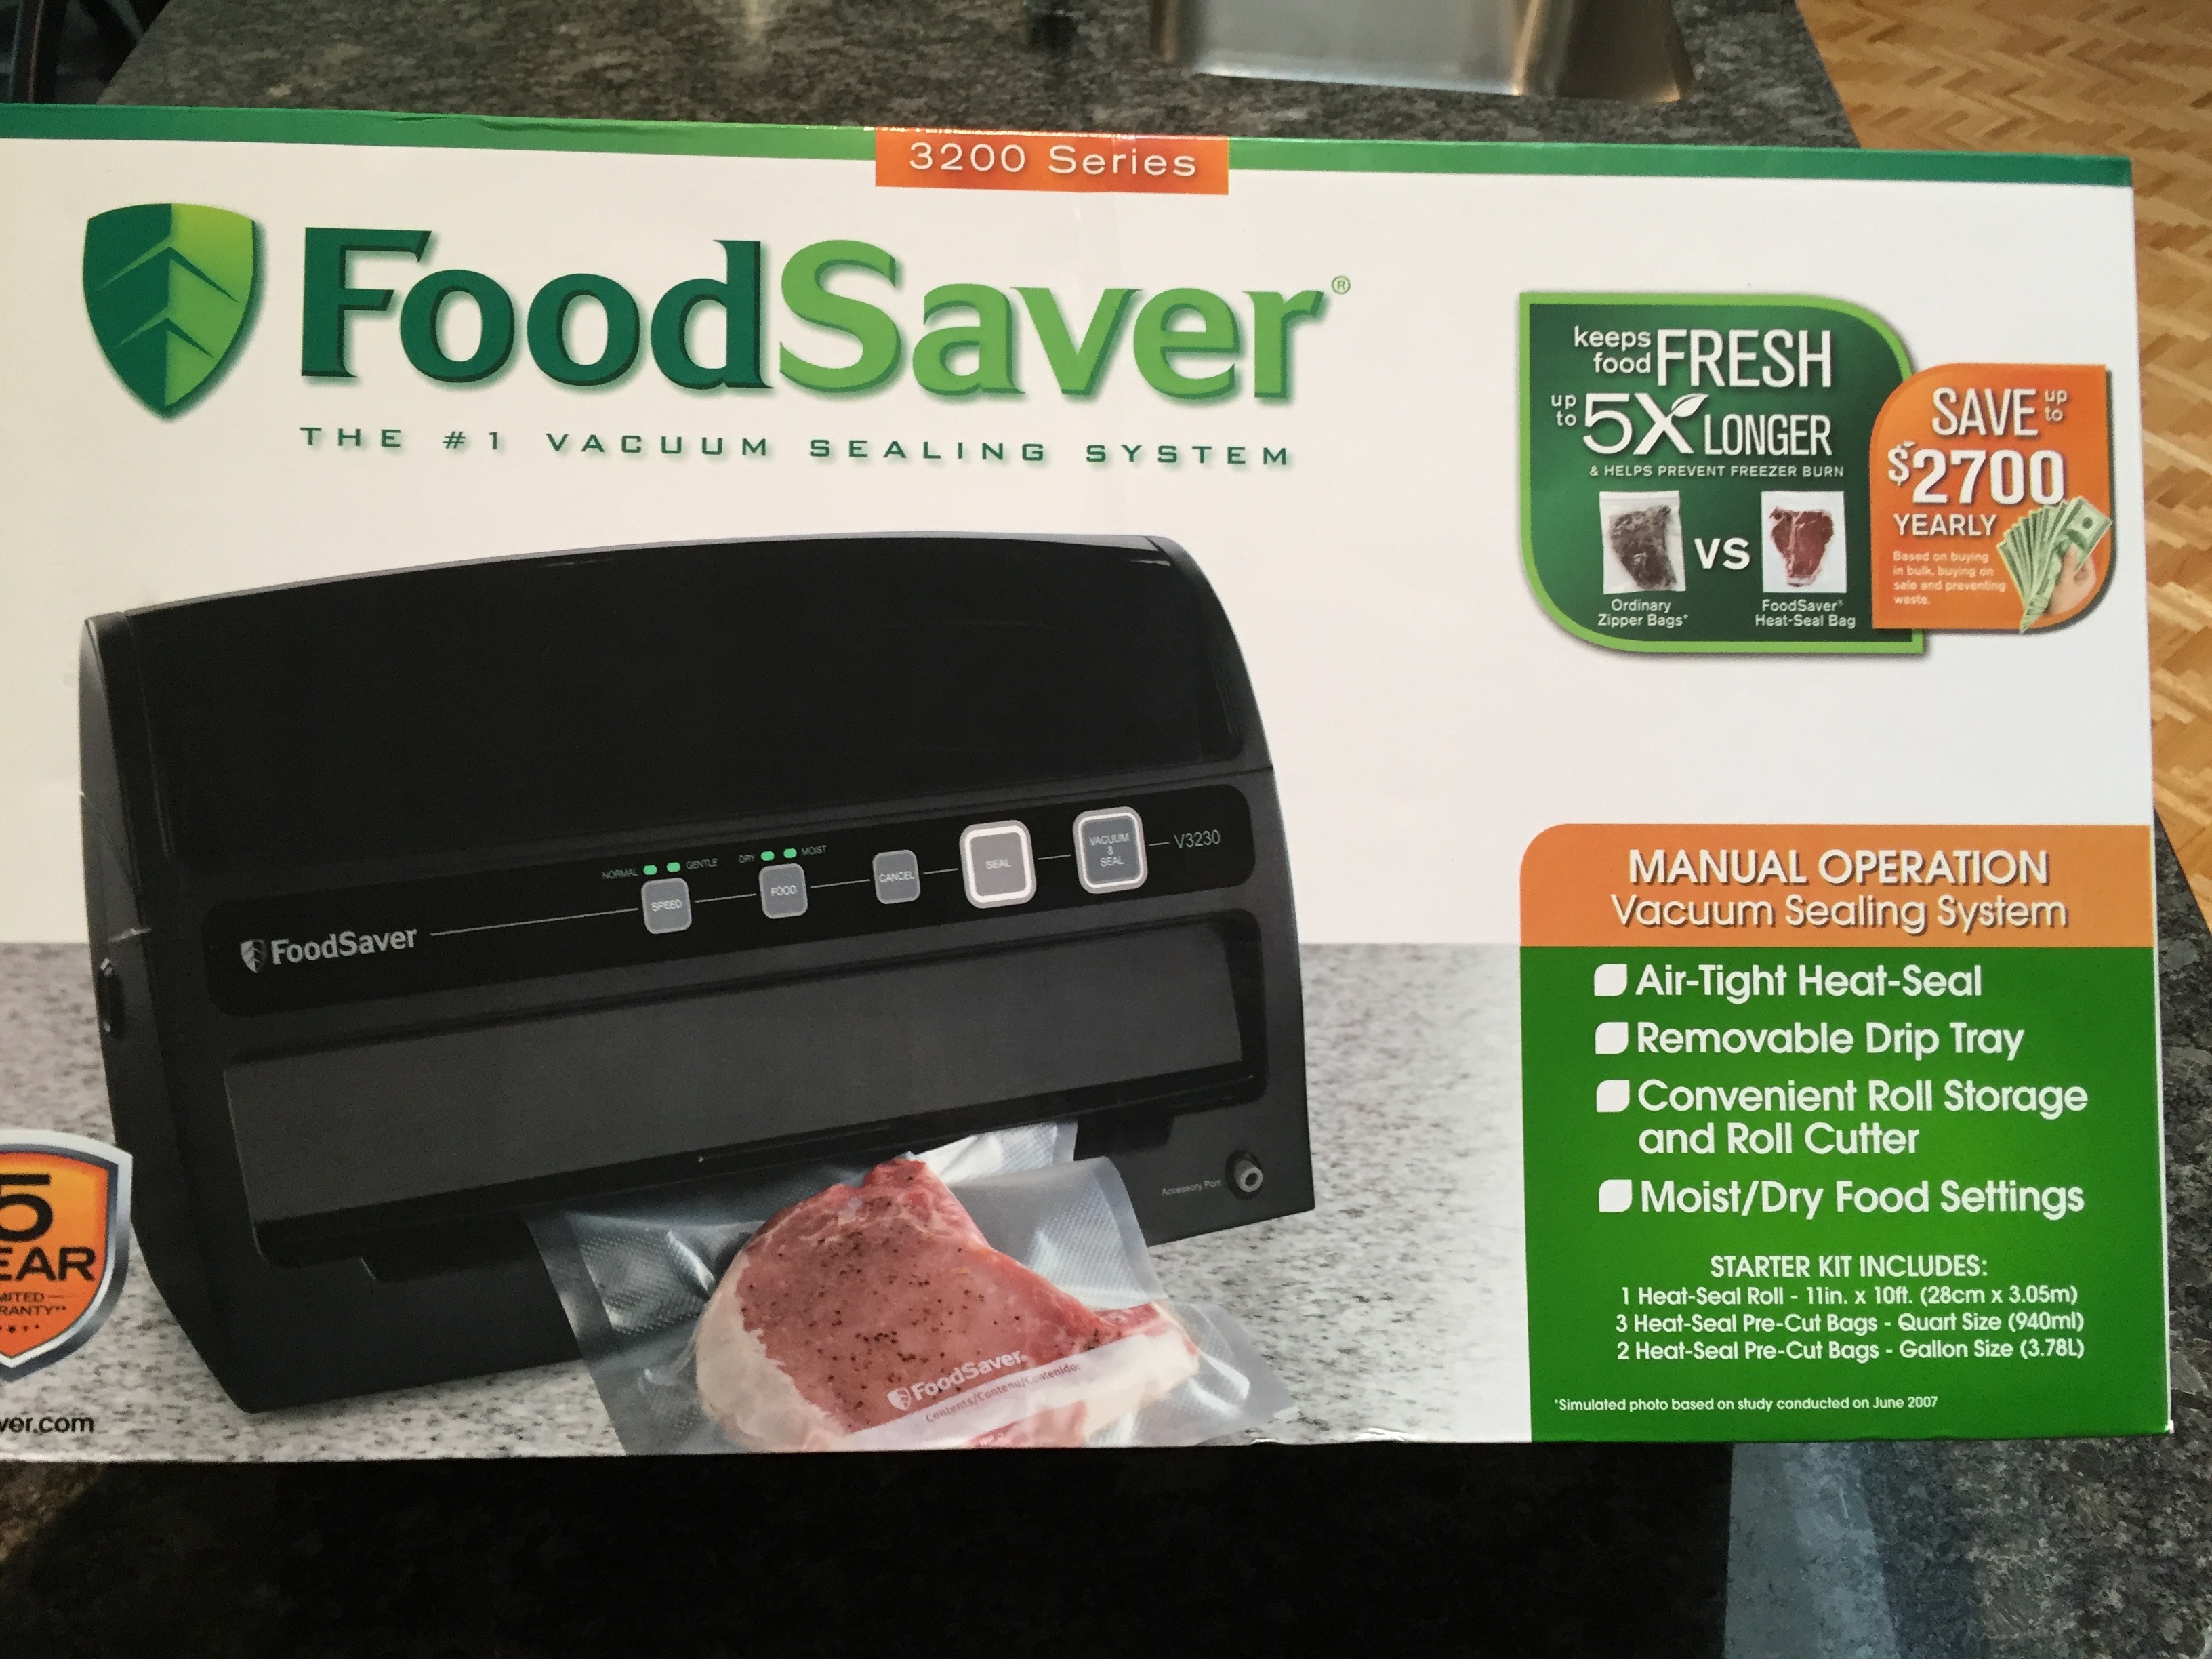 So far, so good. I worked up some Swiss chard today into nice bundles for the freezer. I consider this another tool in my war chest…I’ll keep you posted as to my opinion of usefulness.
  So, besides all I’m trying to accomplish on the farm lately, I’ve been asked to give a presentation at the
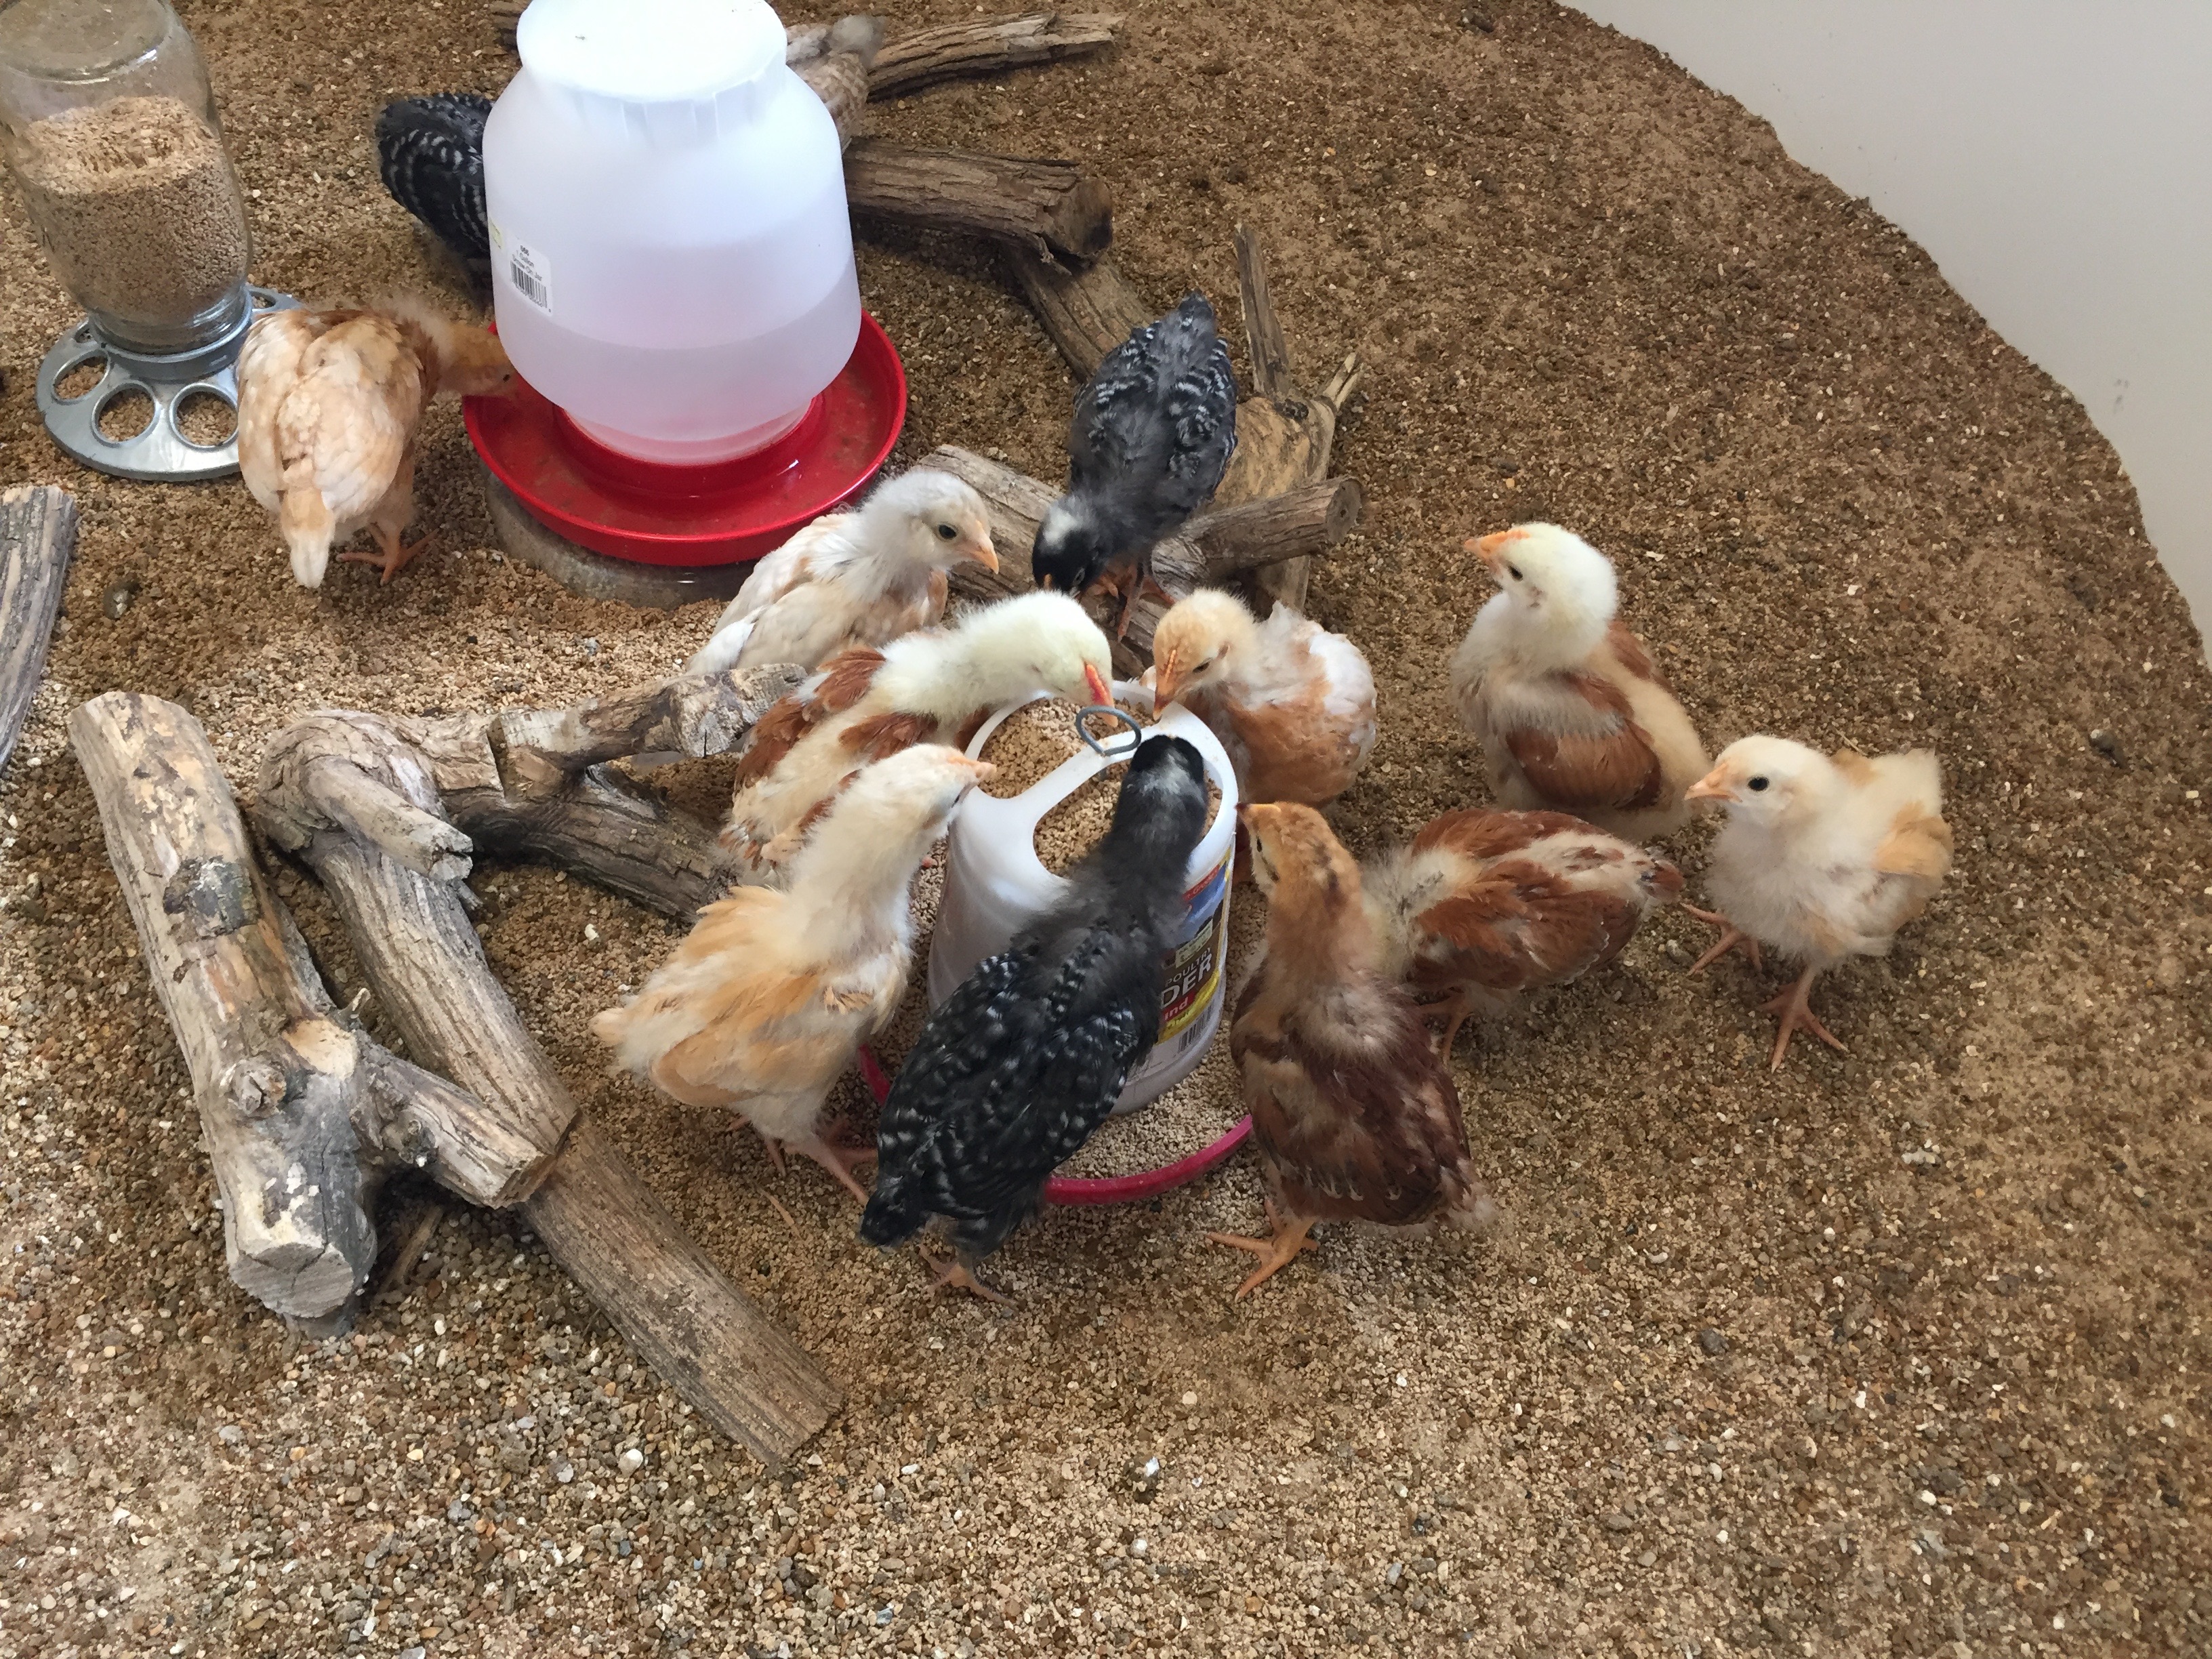
 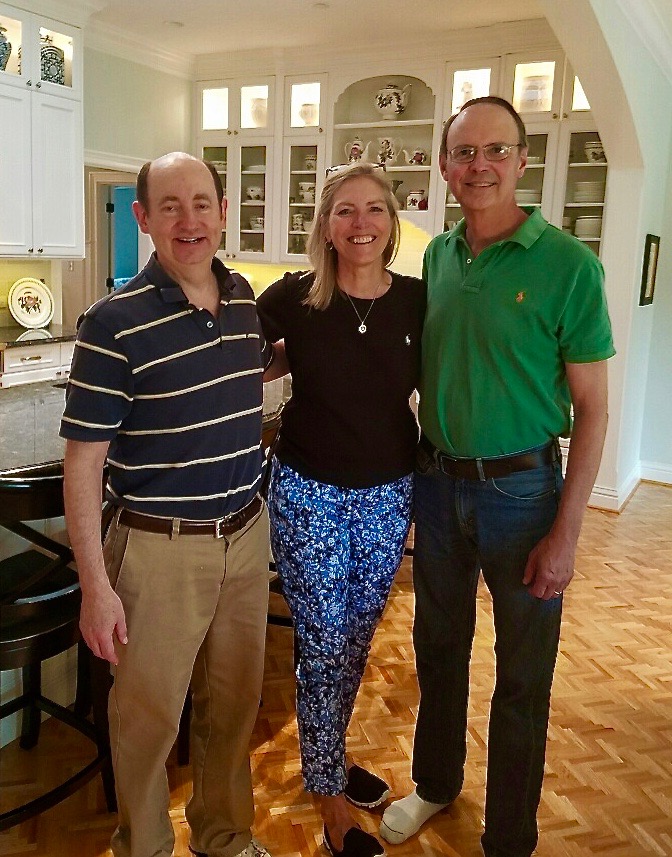 The chicks provided some of the entertainment and at one week old, are doing quite well despite eating us out of house and home as they are consuming at least 3 quarts of feed each day! Tail feathers are now apparent on some of the varieties.
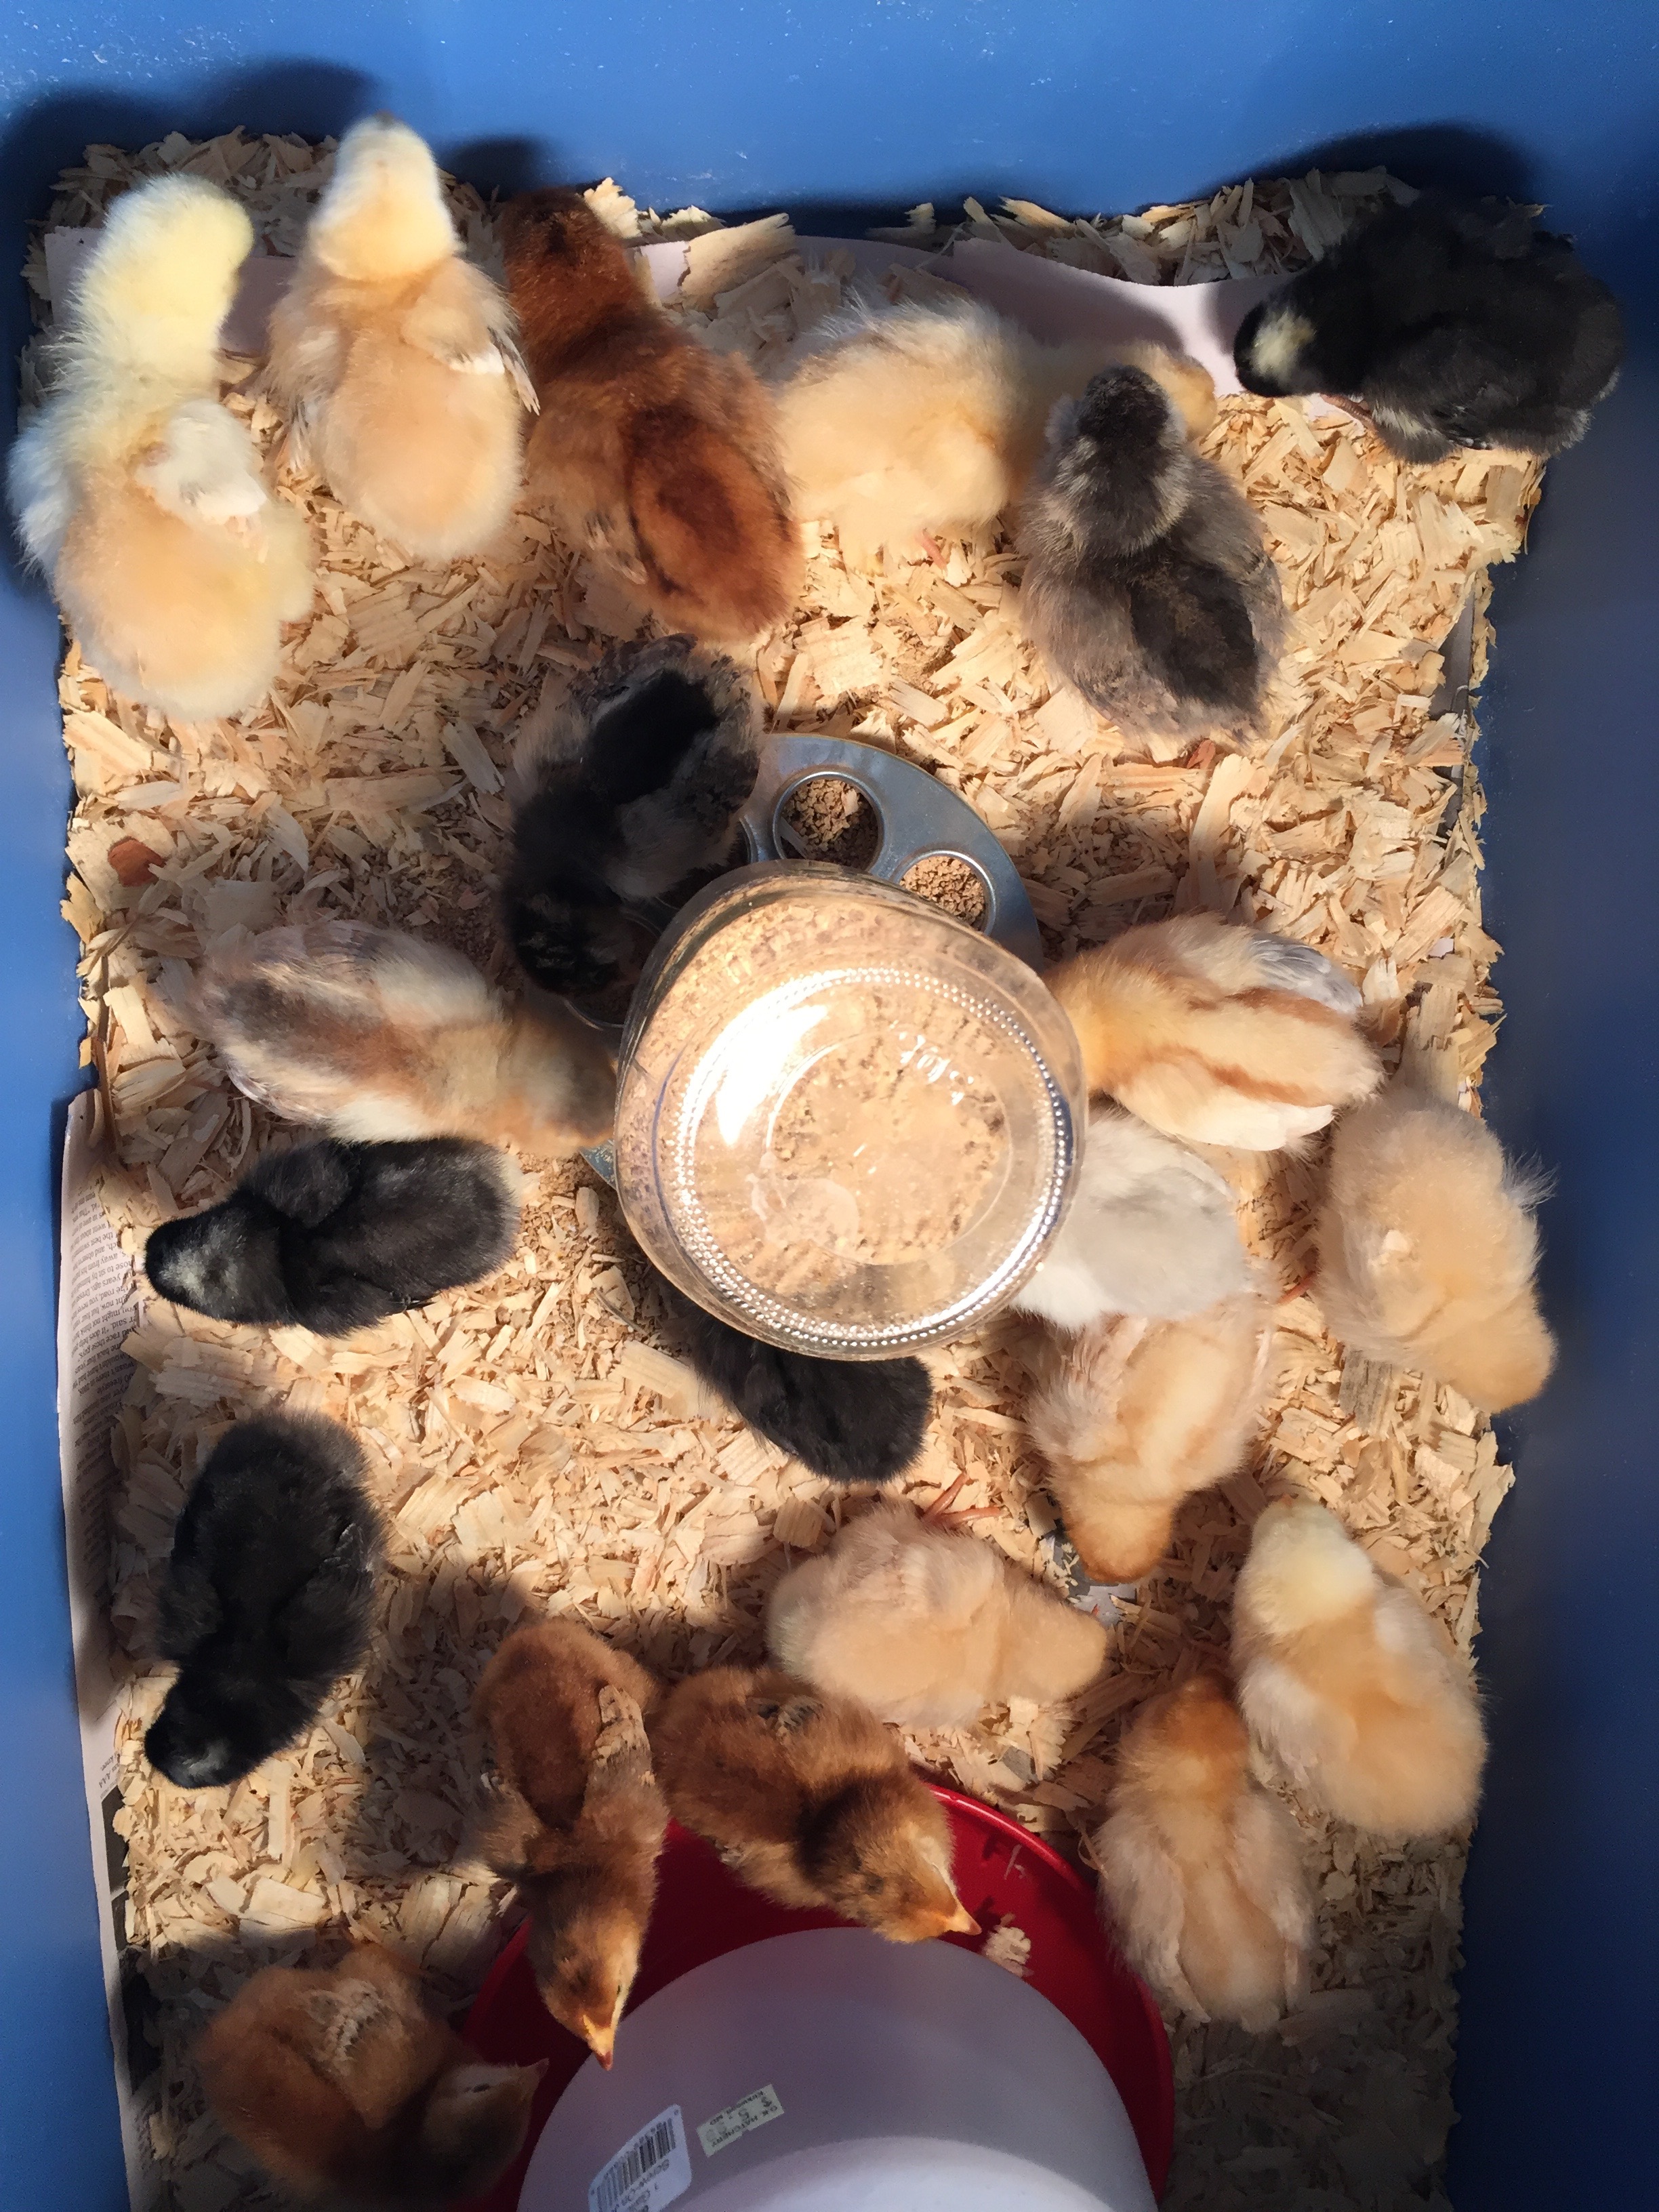
 And we joined in for a group photo that included other JBS faculty members and their families! Happy Fourth of July!
 They are starting to develop their wing feathers which you can see here on this central gal who is a Cinnamon Queen variety.
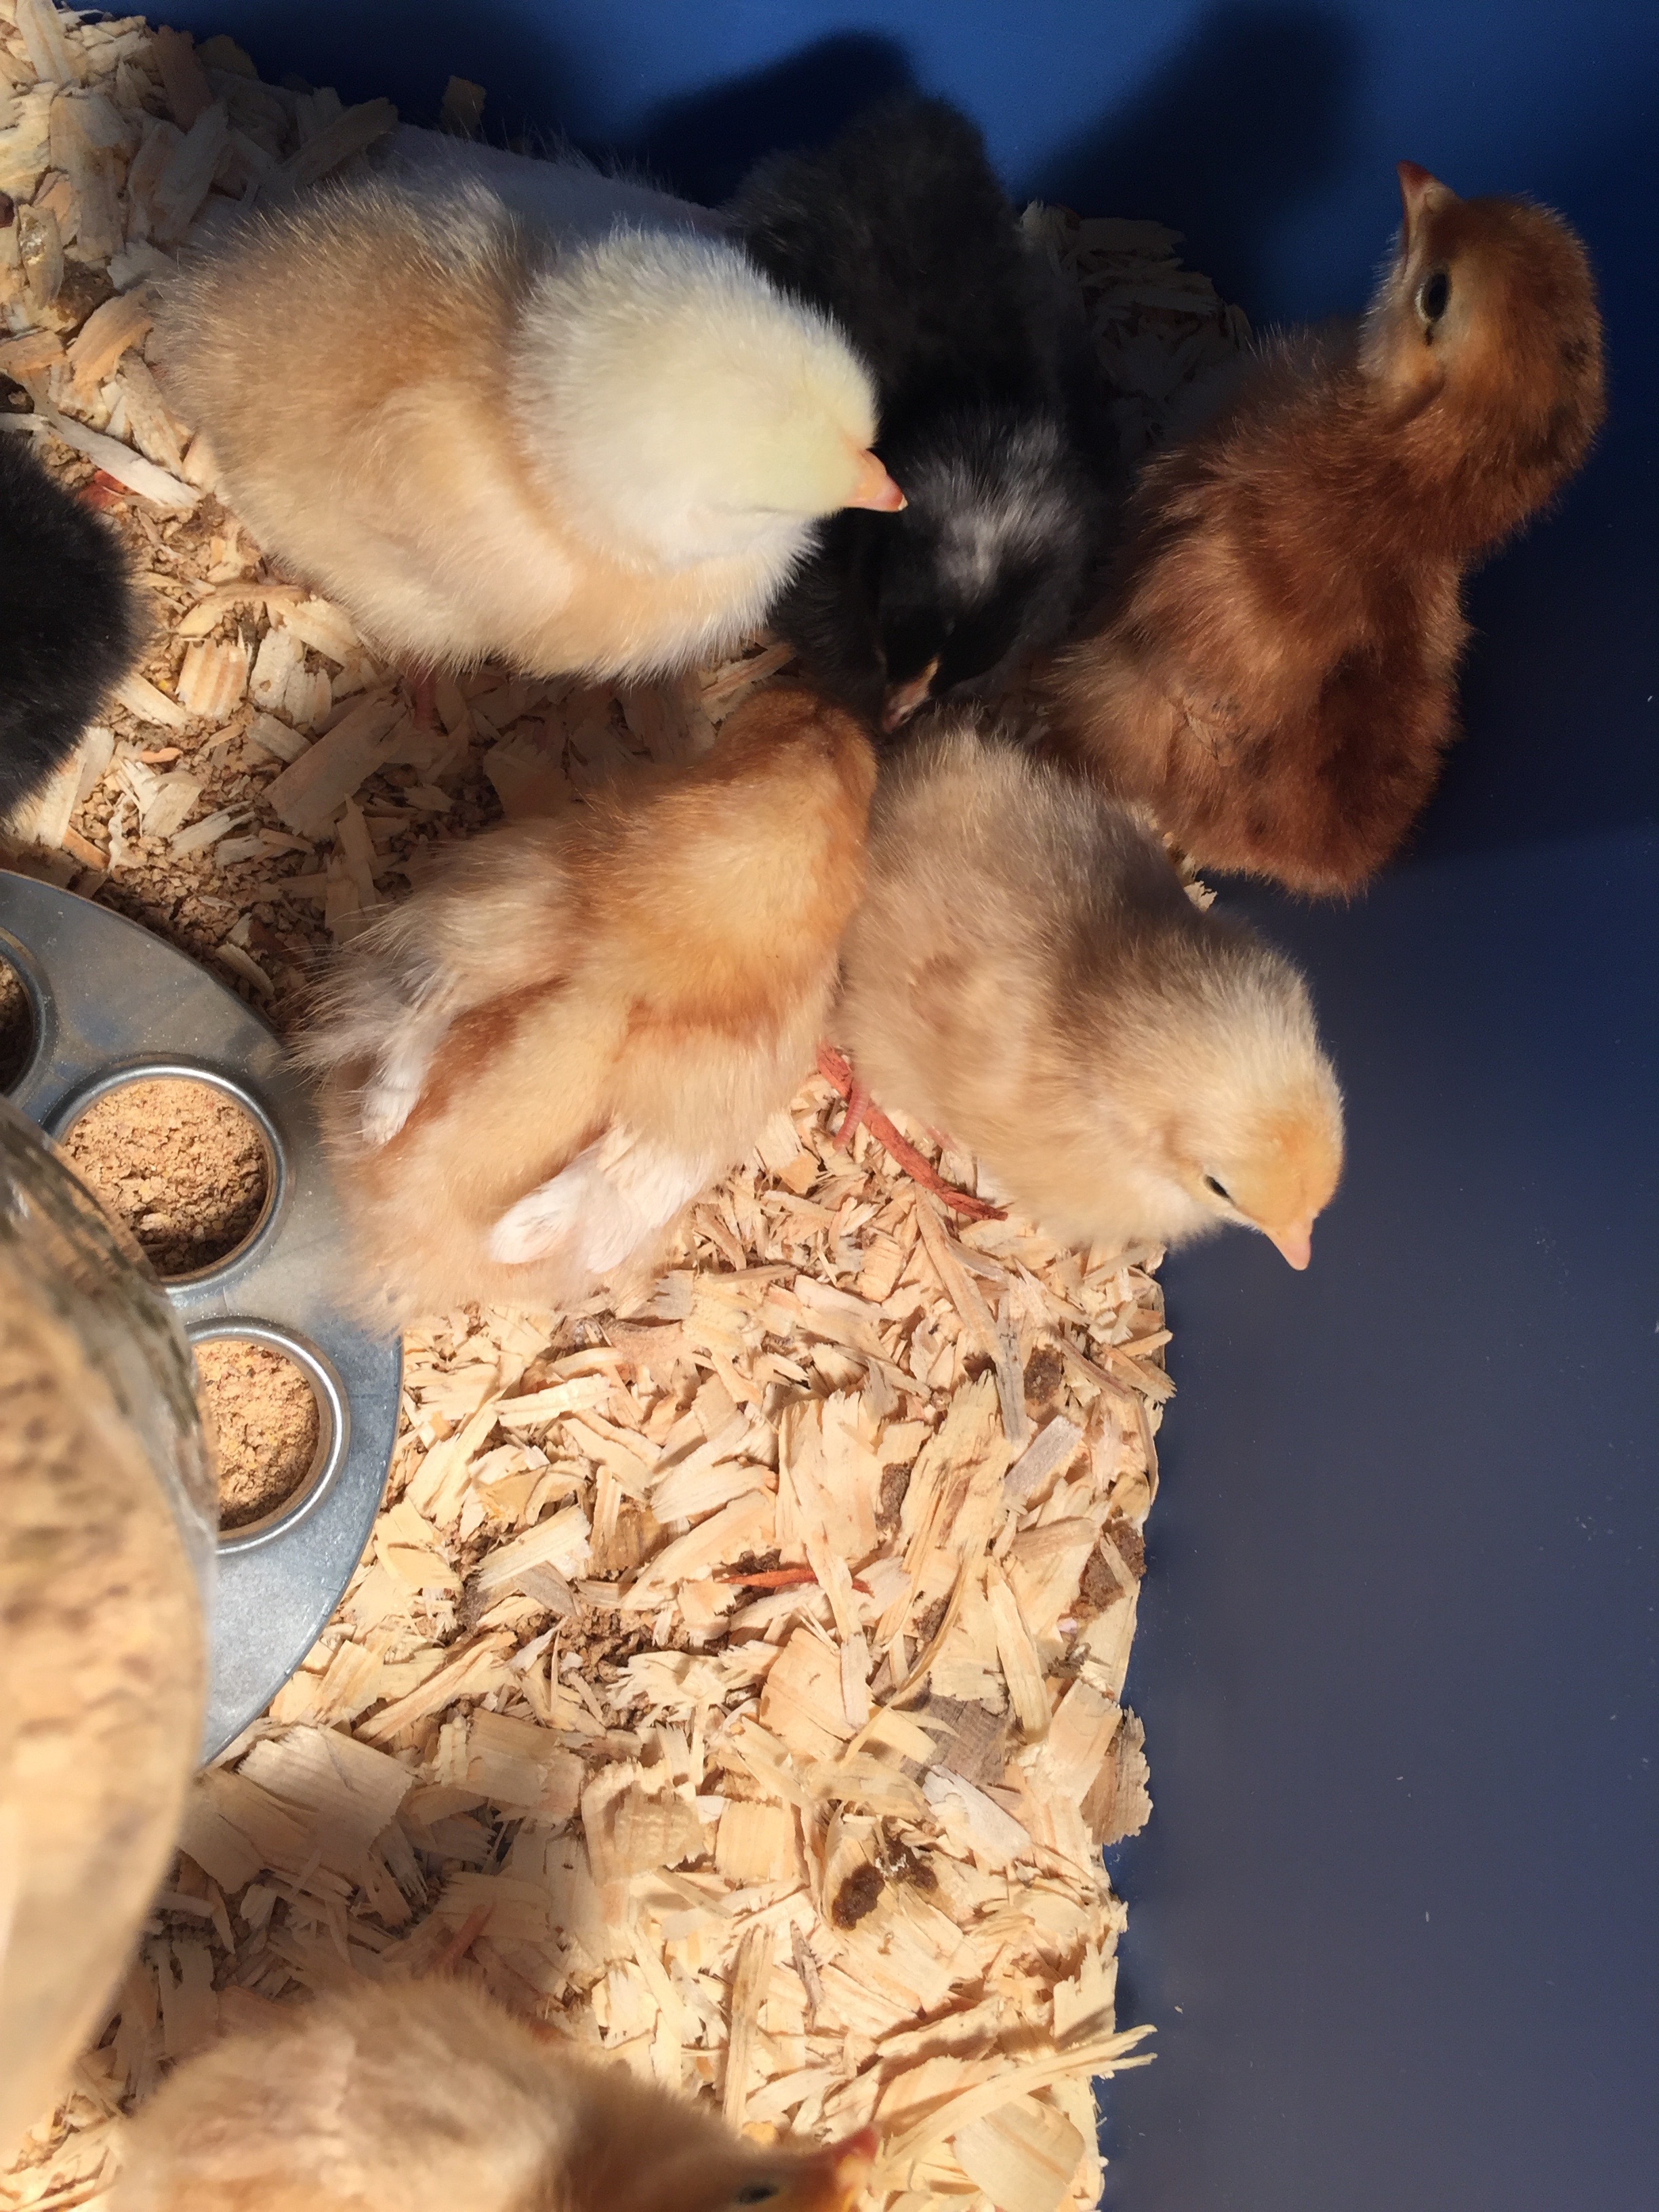 Aren’t they so cute!!! The thermometer you see on the floor of the brooder is indicating the temp but they ignore it and so do I at this point since they are very comfy.
 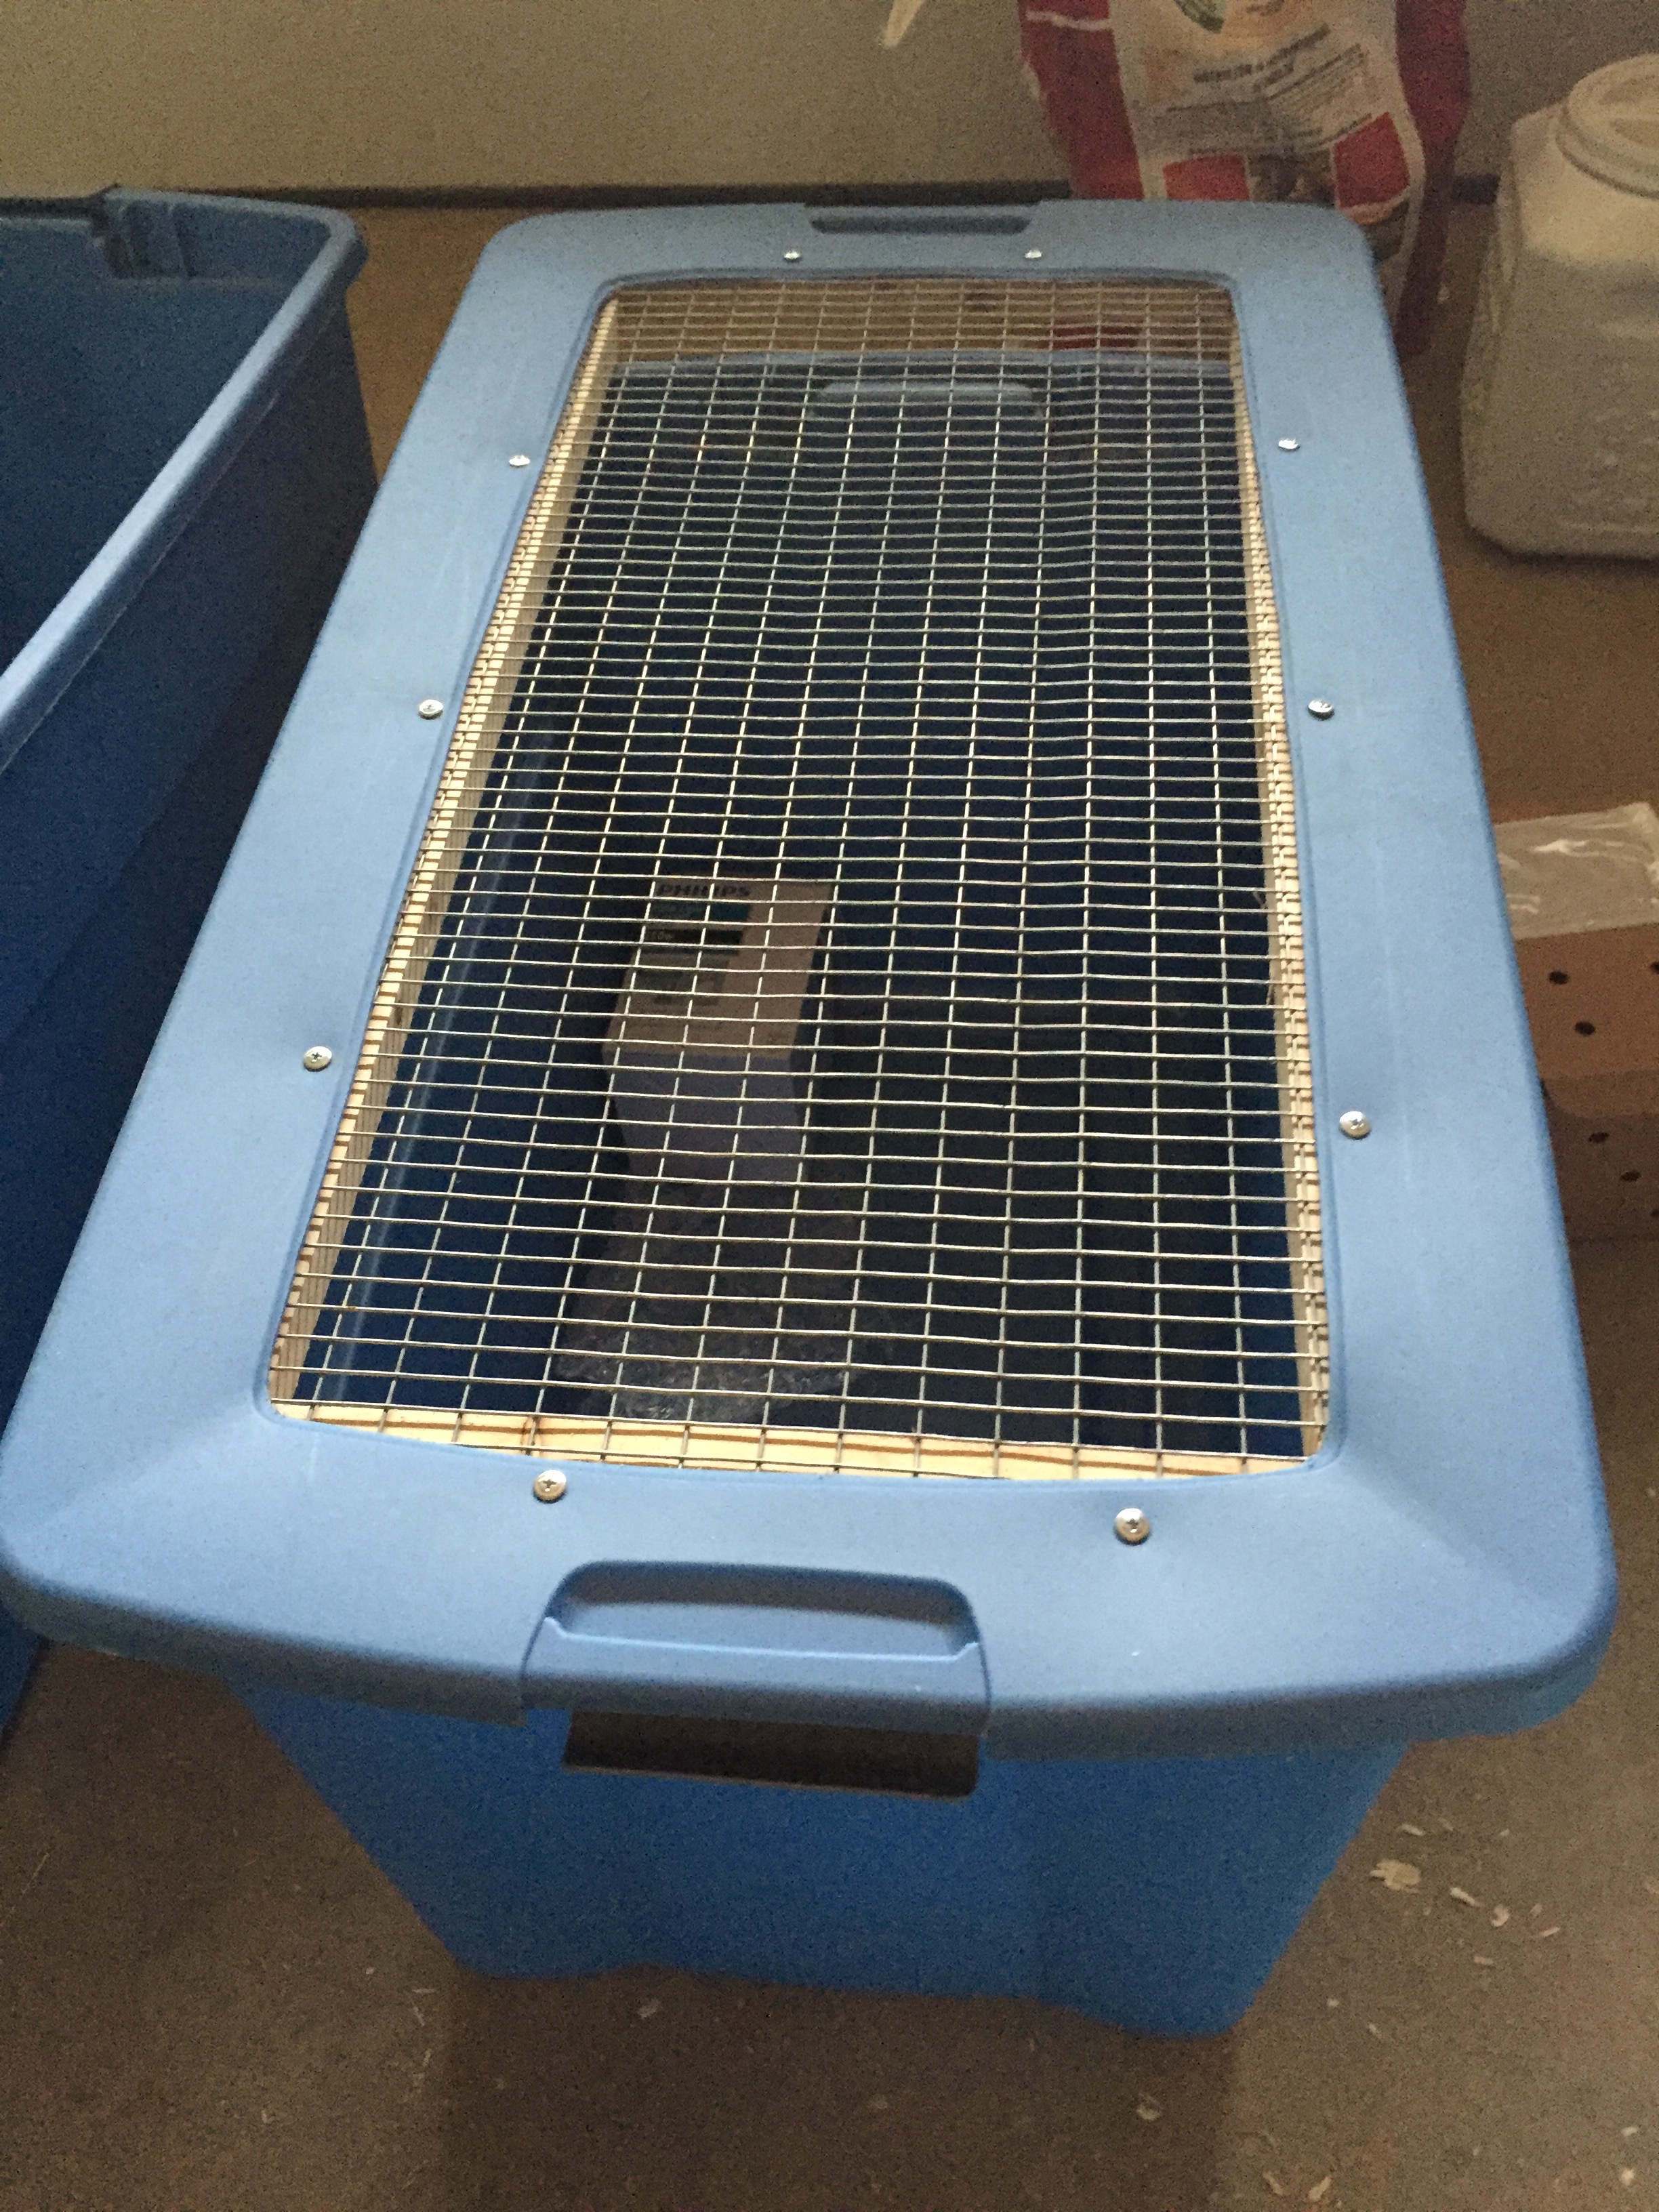 When they graduate from the brood boxes, they will go to their indoor coop for a while which is a nice interior area of the barn. Here are the finished nesting boxes in the coop that have an opening in back (on my workshop side) to allow for egg retrieval for anyone not willing to deal with laying hens! There is also a special security screening on the coop window area which lets light in but not critters!!!
 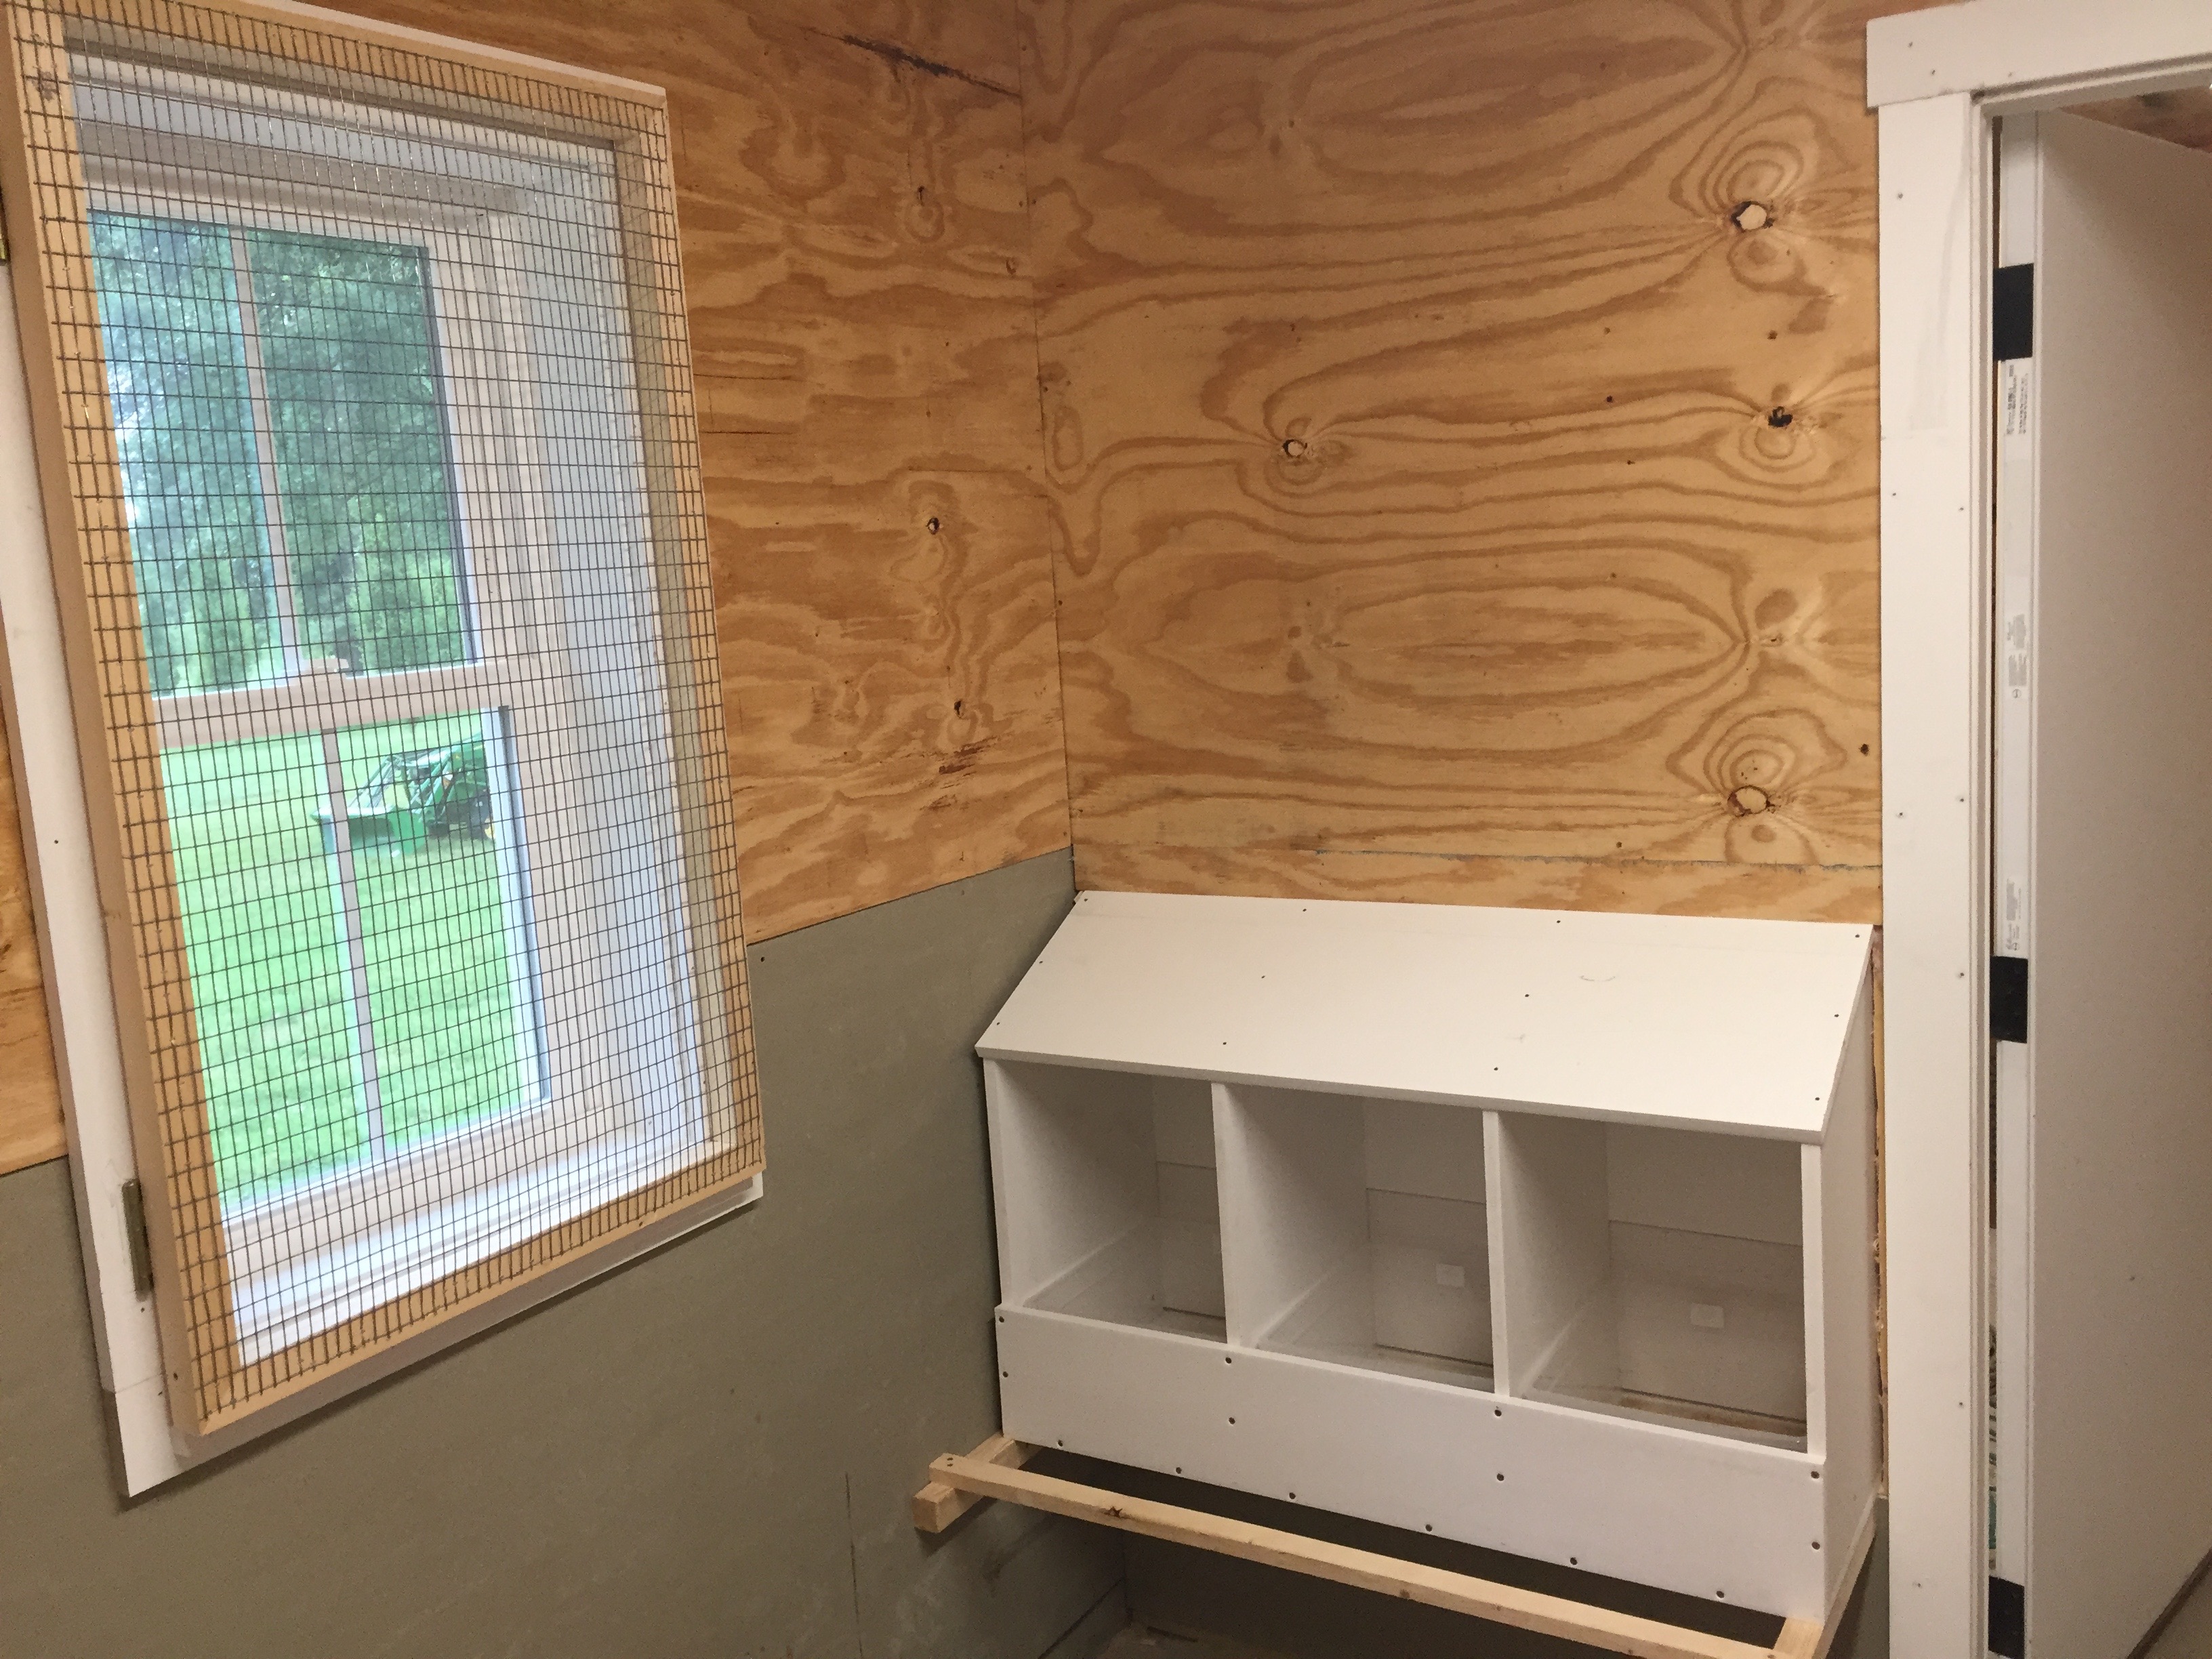 Below is their 3 tiered, adjustable, coop roosting area with a “drop board” below that will allow me to clean off their nightly ‘deposits’ very efficiently. I lined the lower area of the interior coop with ‘Hardie Board’ siding so I can spray it down and wash all of the excrement into the sewer floor drain. There is also a hose bib below the drop board area that will be the watering station providing an in line, fresh water system for their drinking pleasure!
 My work shop, which is next door to the coop, has a sink and other amenities as well…ok, there is a toilet too that is not pictured!
  I couldn’t resist hanging some of chick artwork in my workshop today!
 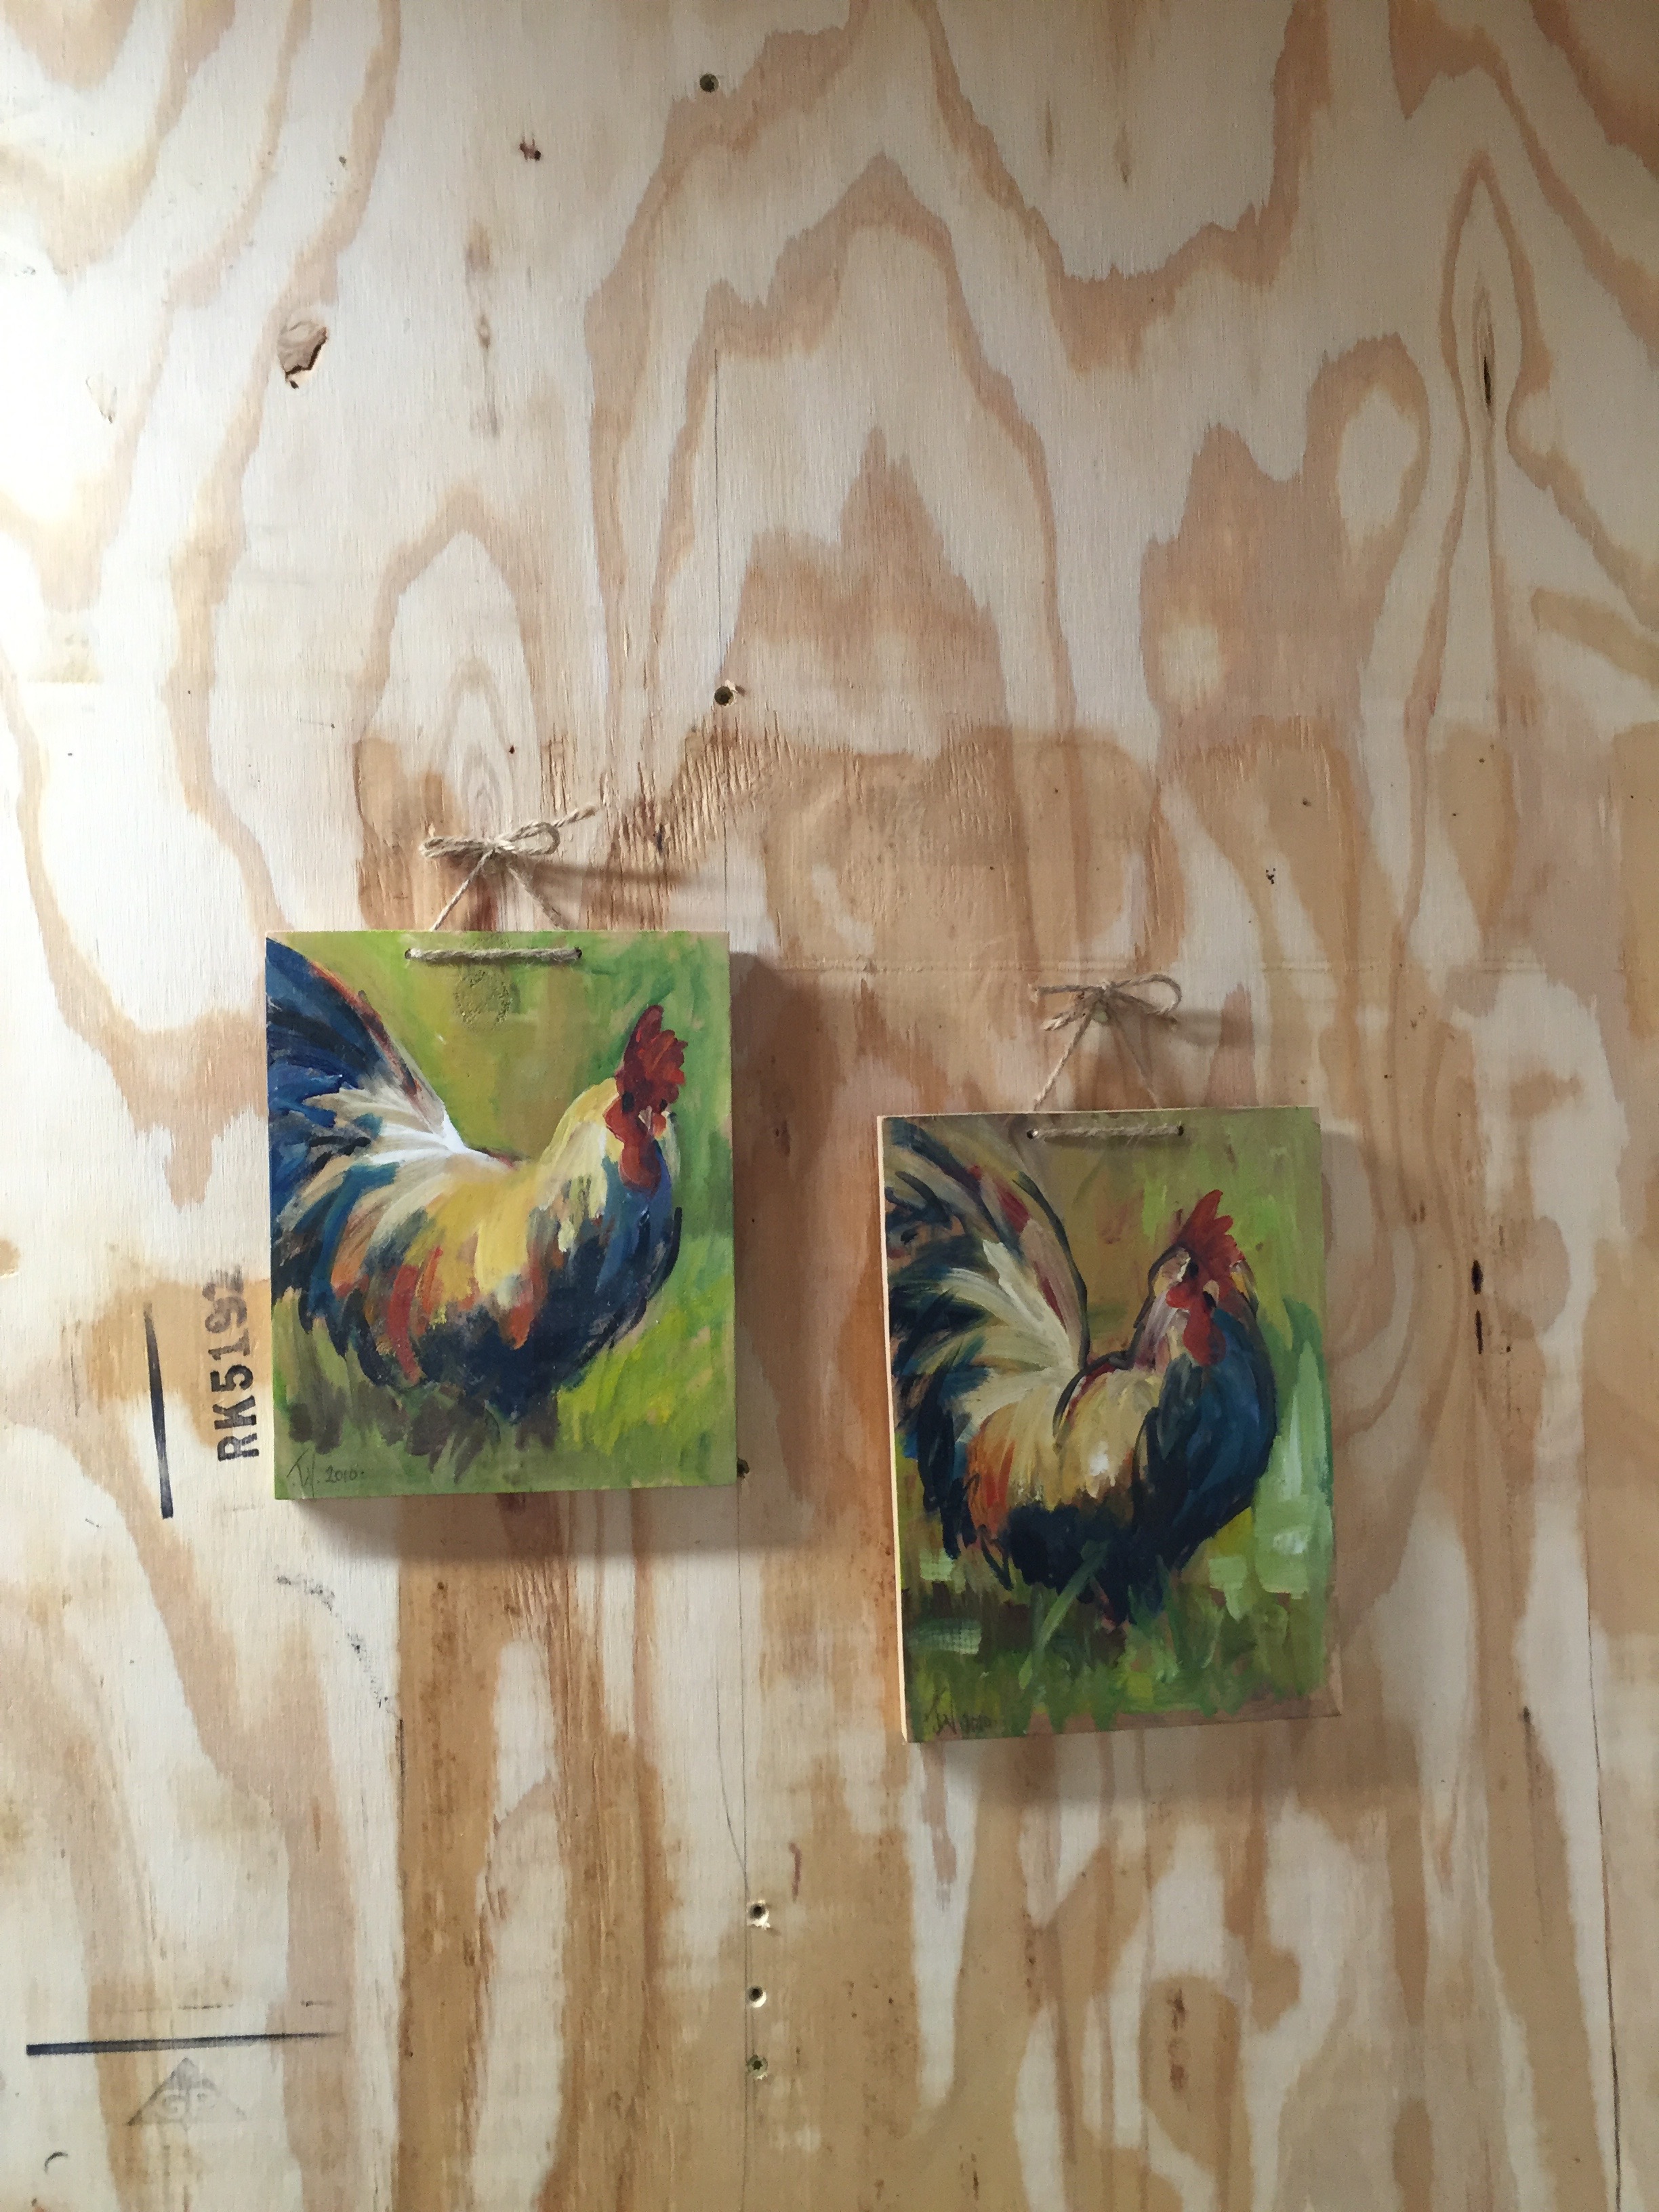 Here is their covered, fresh air run that is ultra secured with a concrete foundation surrounded by galvanized, heavy duty hardware screening. The top (ceiling) is ventilated to let the heat out but also screened off to prevent the chickens from trying to roost up top. These girls will be spoiled!
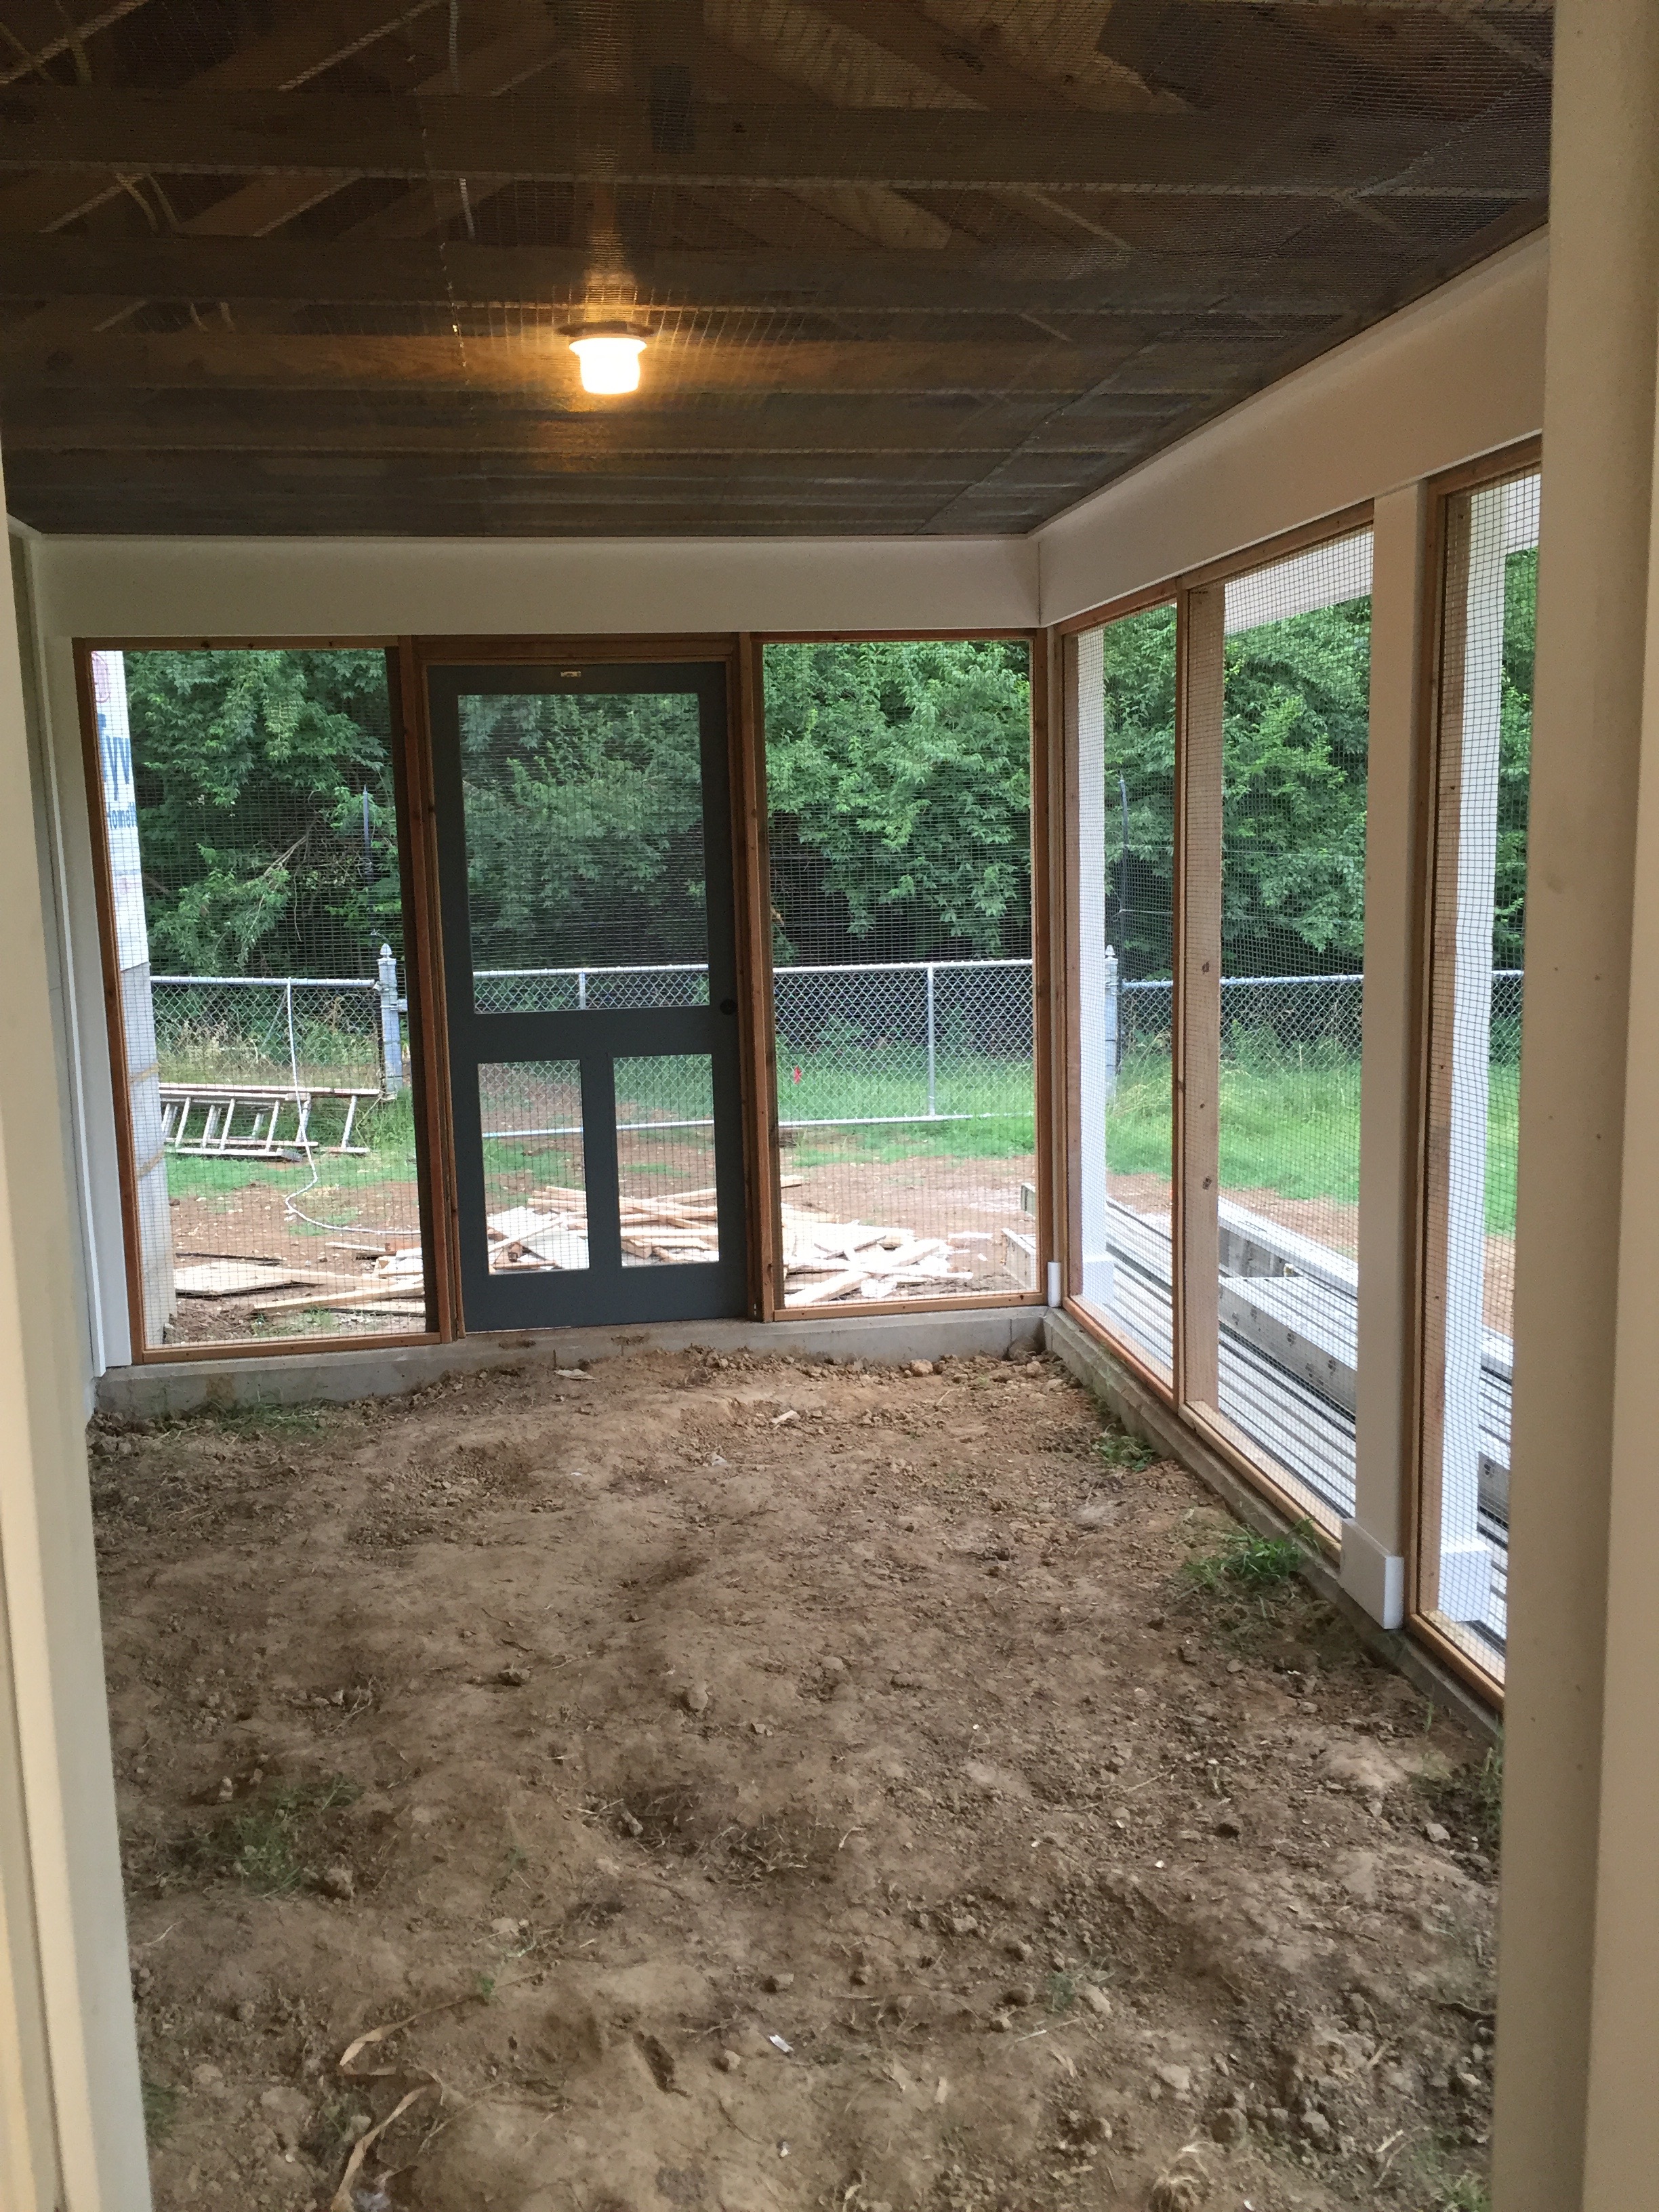 It is a good thing we are taking such precautions since I found these racoon tracks just outside of the coop area this morning! Arg!
 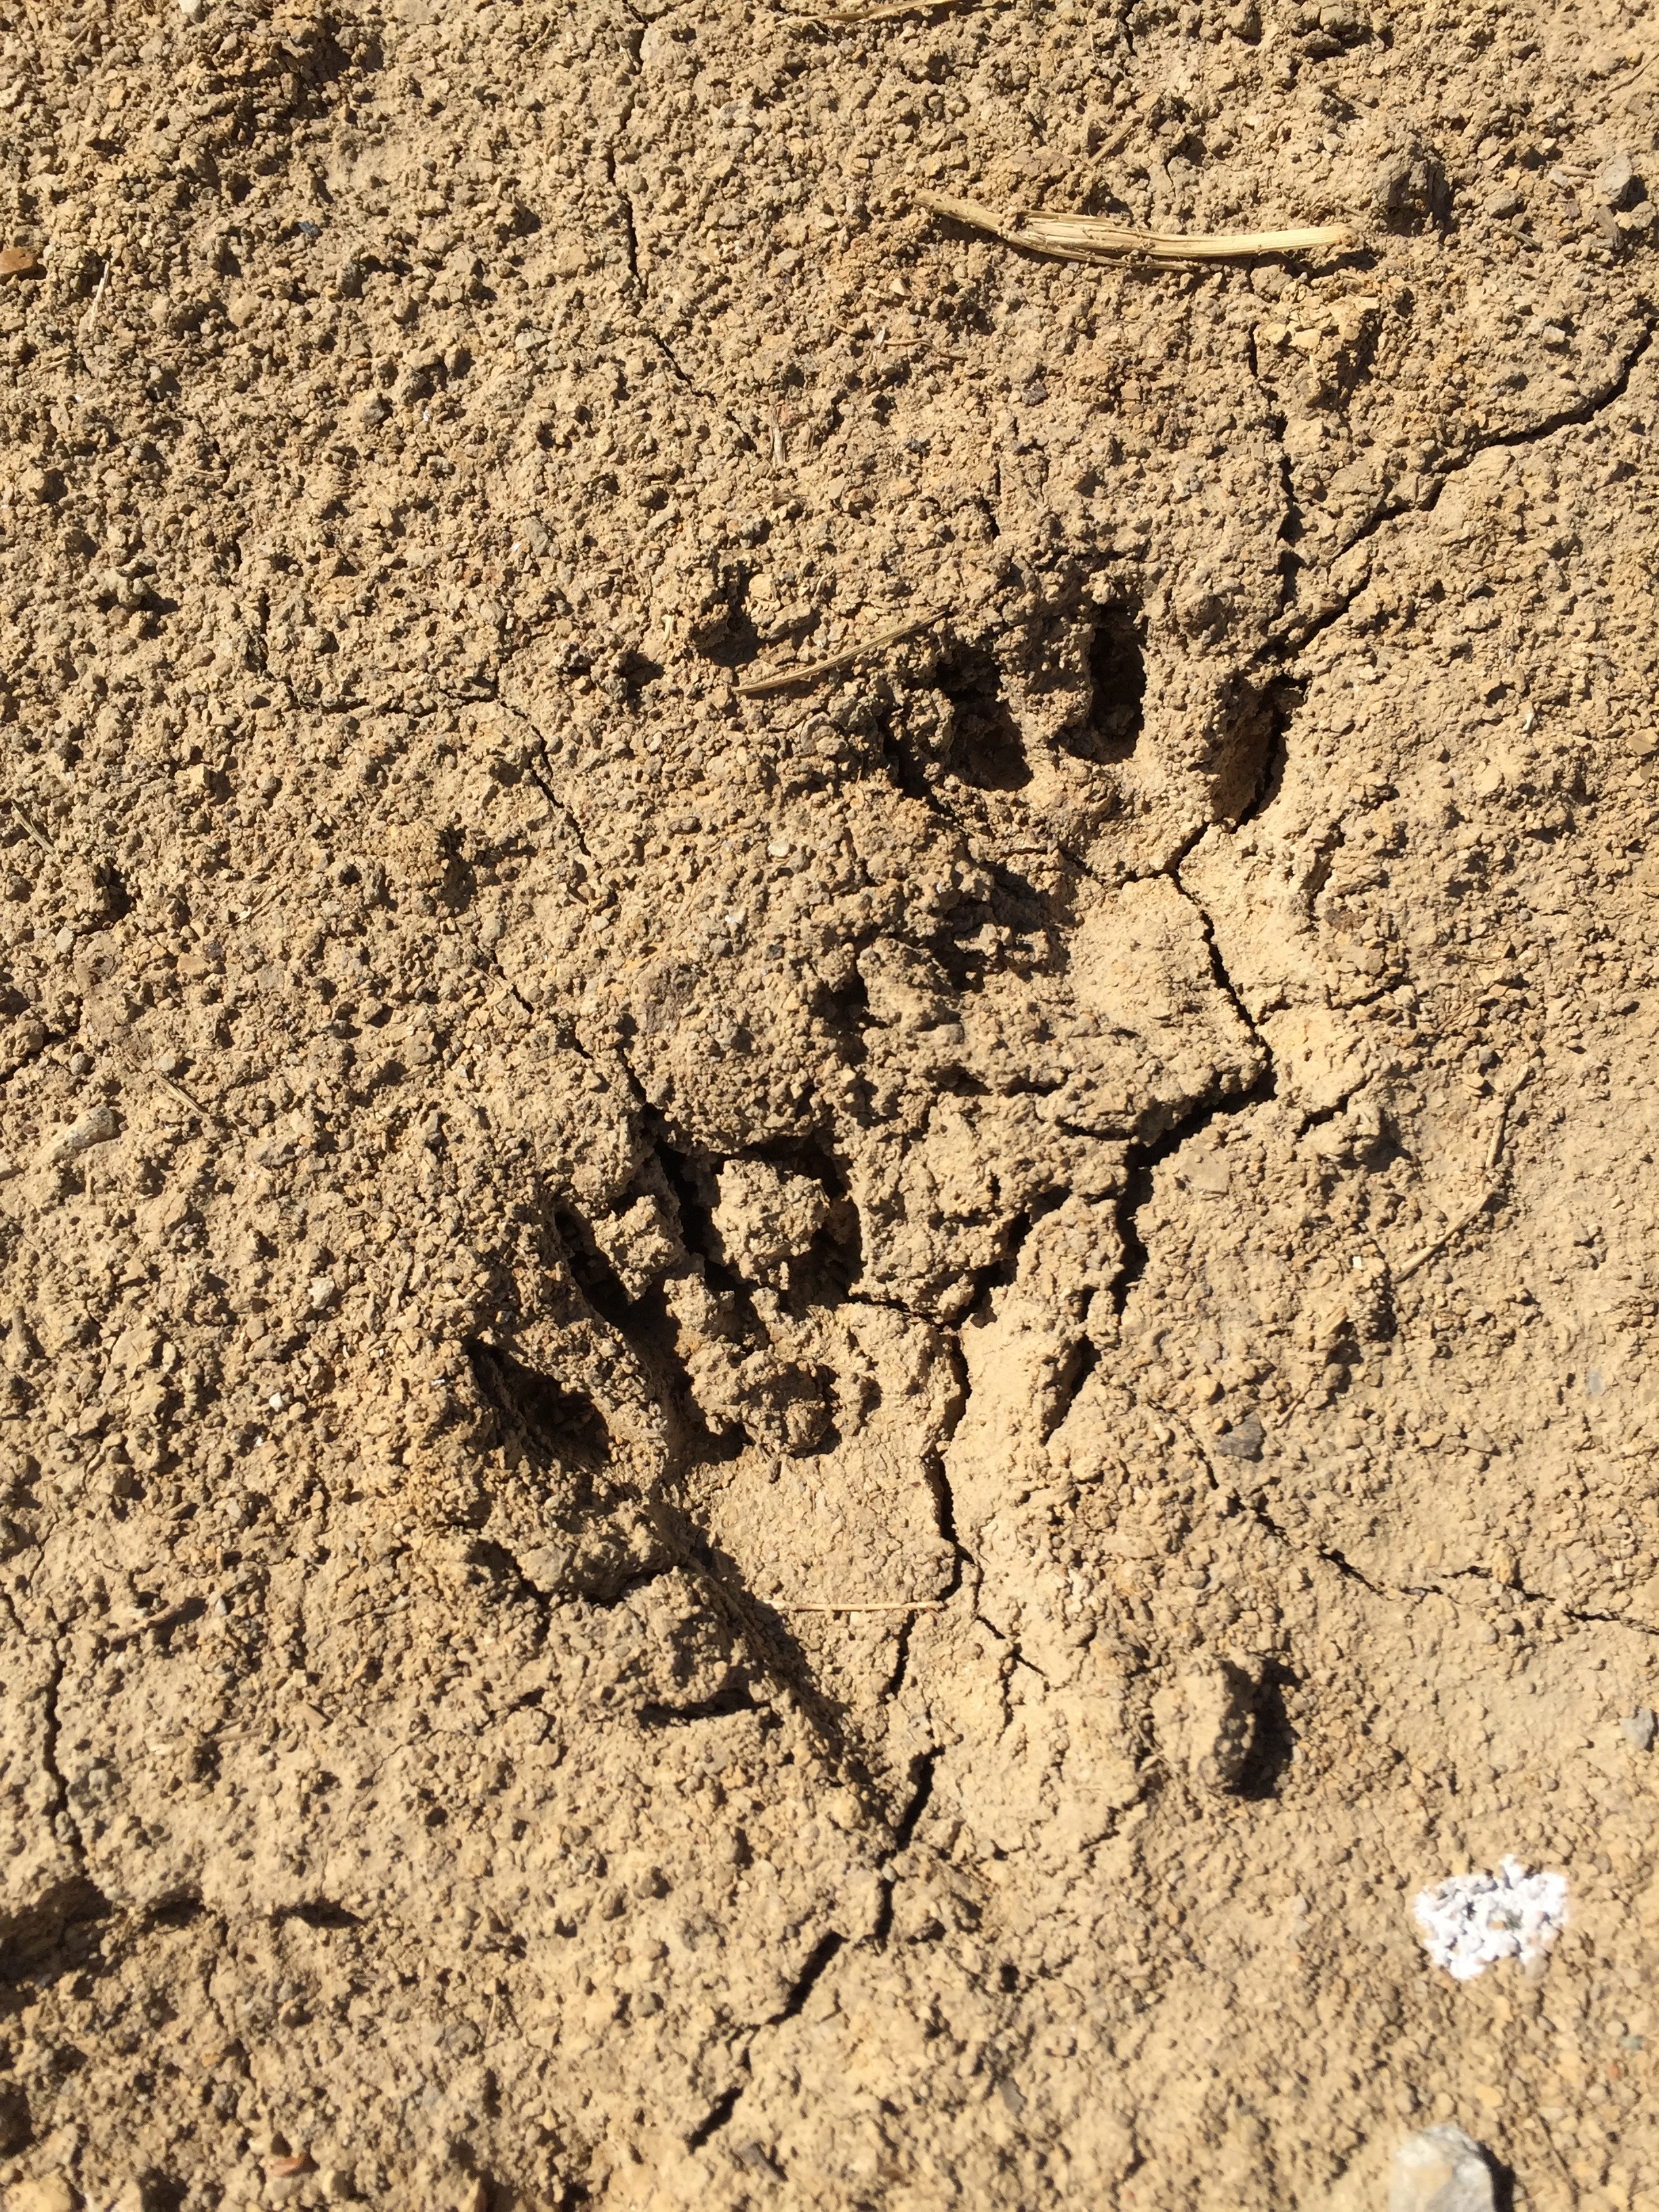 But no day is complete around here without a bit of precious time with Coulter who makes our days on the farm extra special. He finds the joy in every corner and inspires us to do the same!

 We arrived at the hatchery in good time and the counter guy went to the back to pick up my order. This fellow opened the box marked ‘Sauerhoff’ and here is what I saw. I fell in love instantly with all of them!
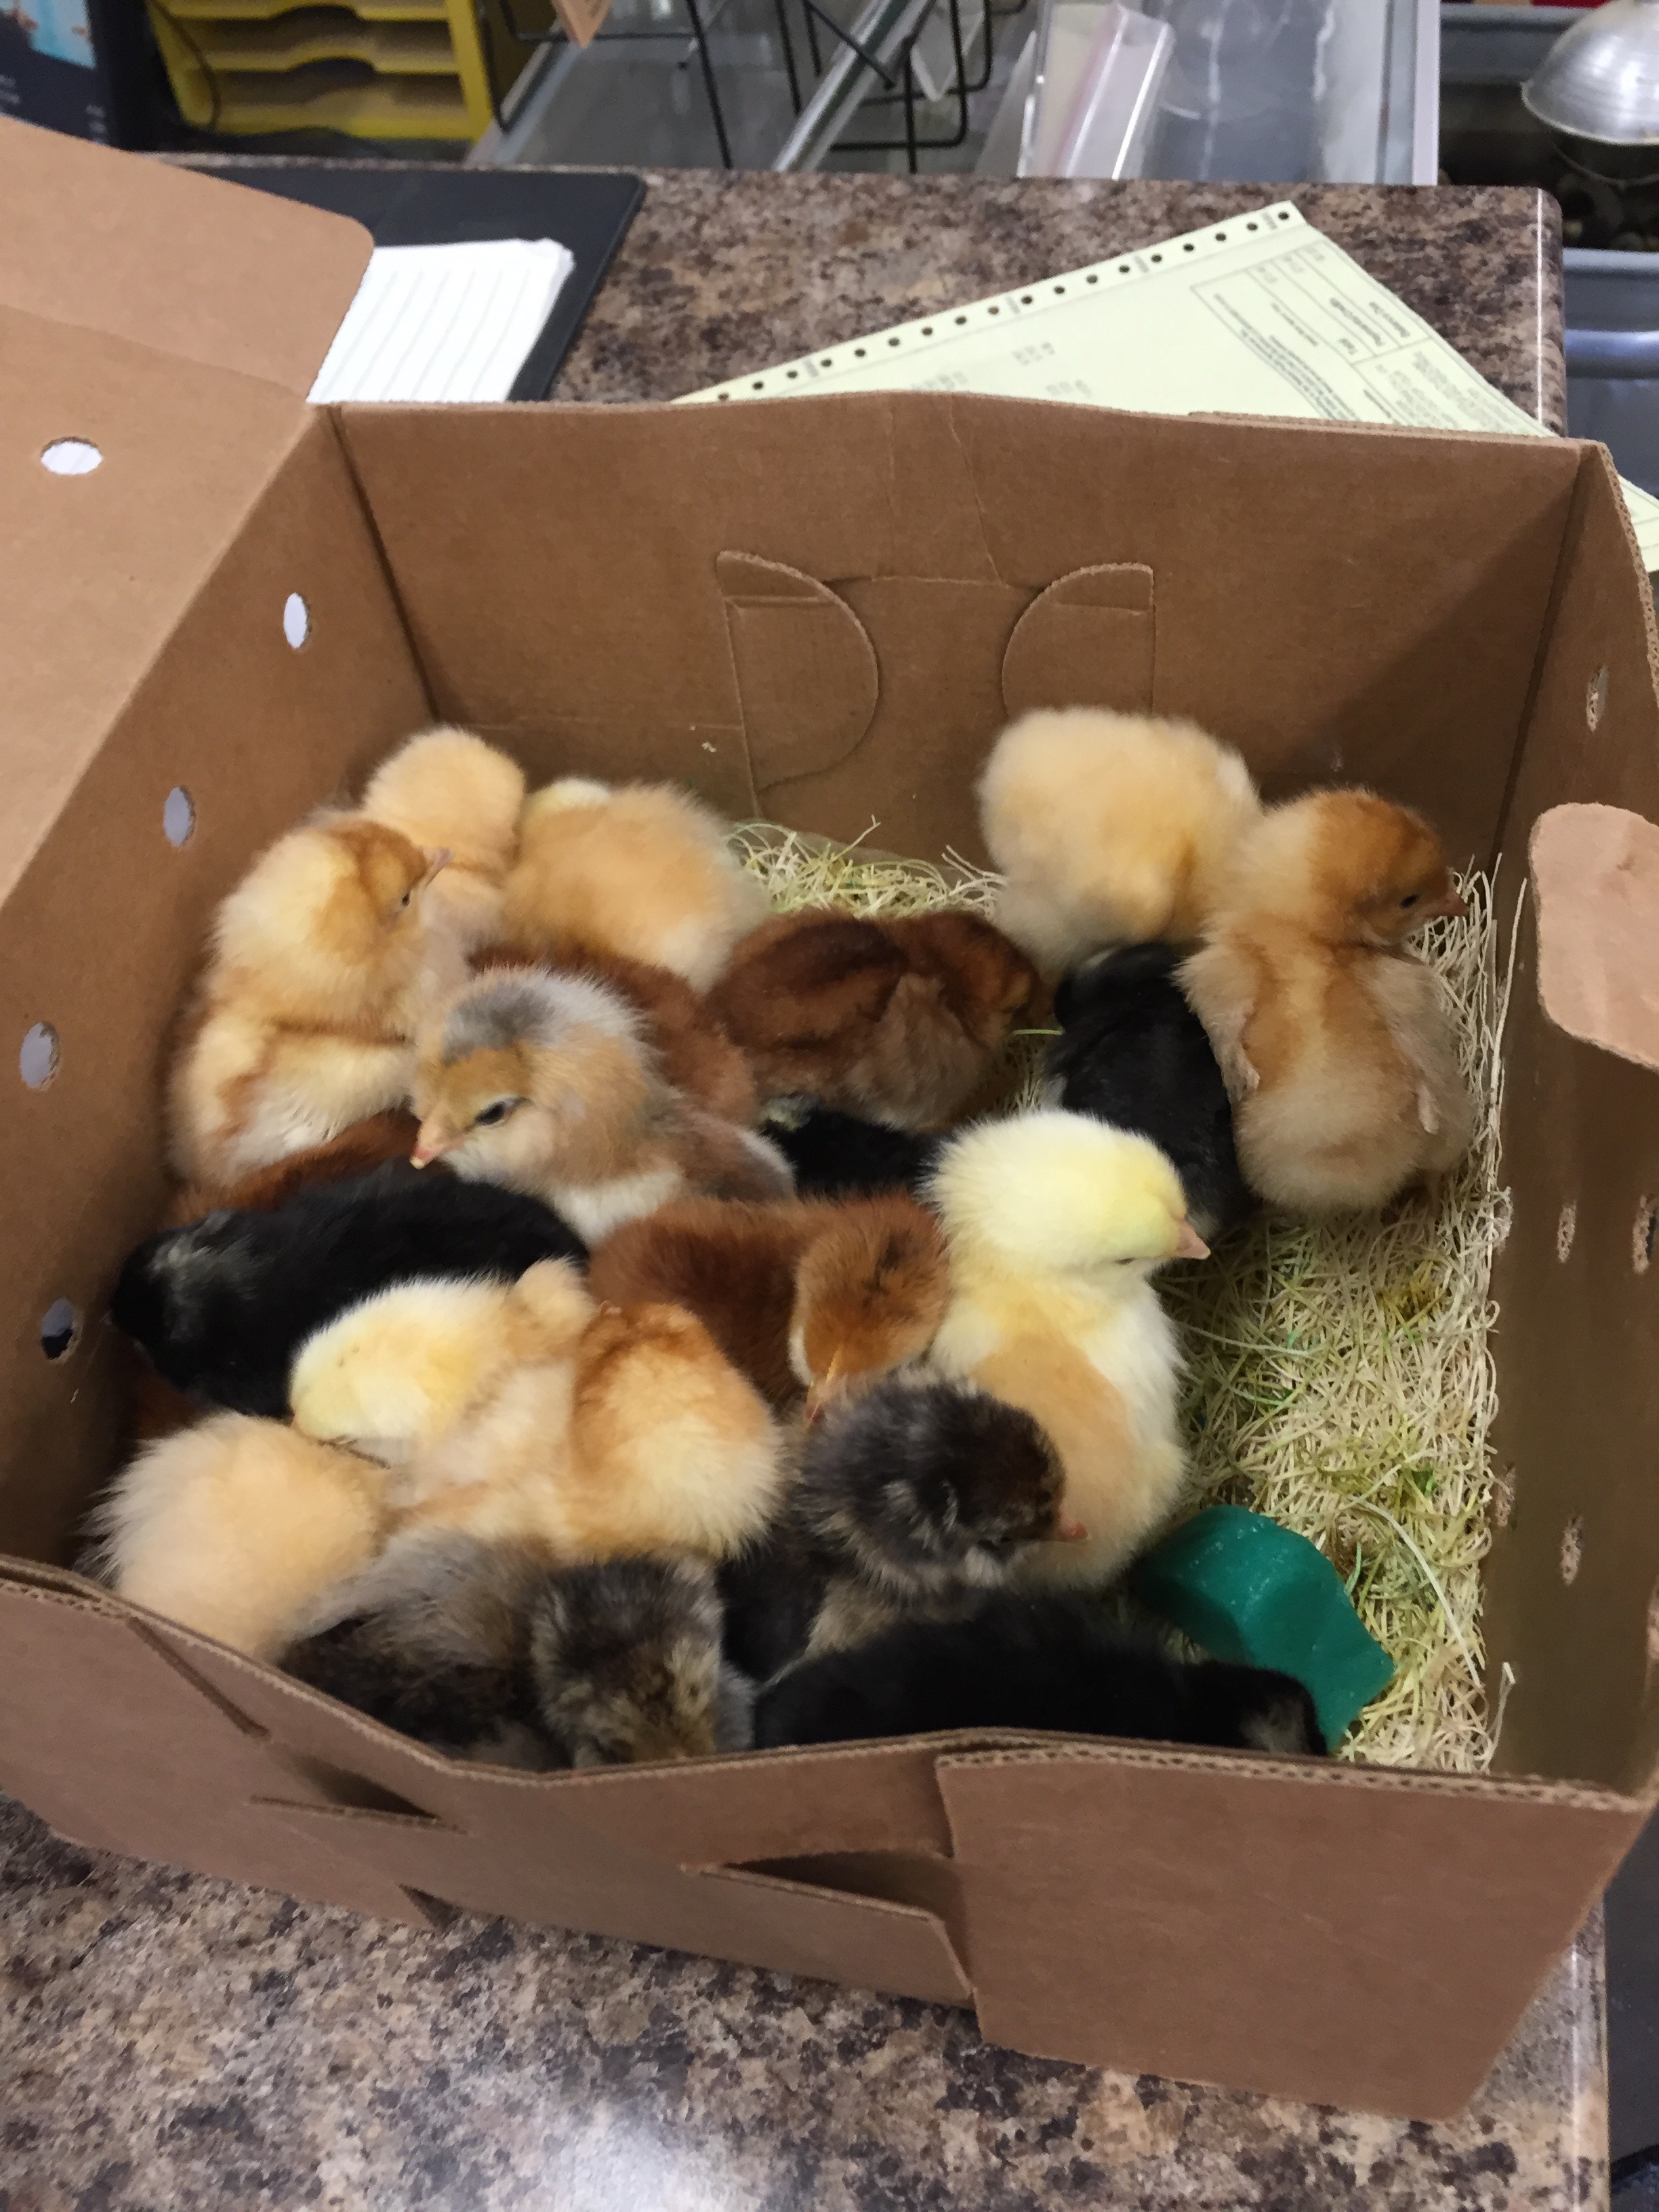 My original order was for 3 each (recommended numbers for less pecking) of 4 varieties giving me a reasonable total of 12 hens, right? The hatching dates were pre-set by the hatchery but I was missing out on at least one variety that I would have liked to have had so they told me I could call them early on the hatching morning (yesterday, June 27) to see if they had an “over hatch” which would allow me to possibly get access to a variety that was otherwise sold out on that date. I did this and found I could get 2 of the varieties I was not previously able to get, so my numbers grew! Yikes!
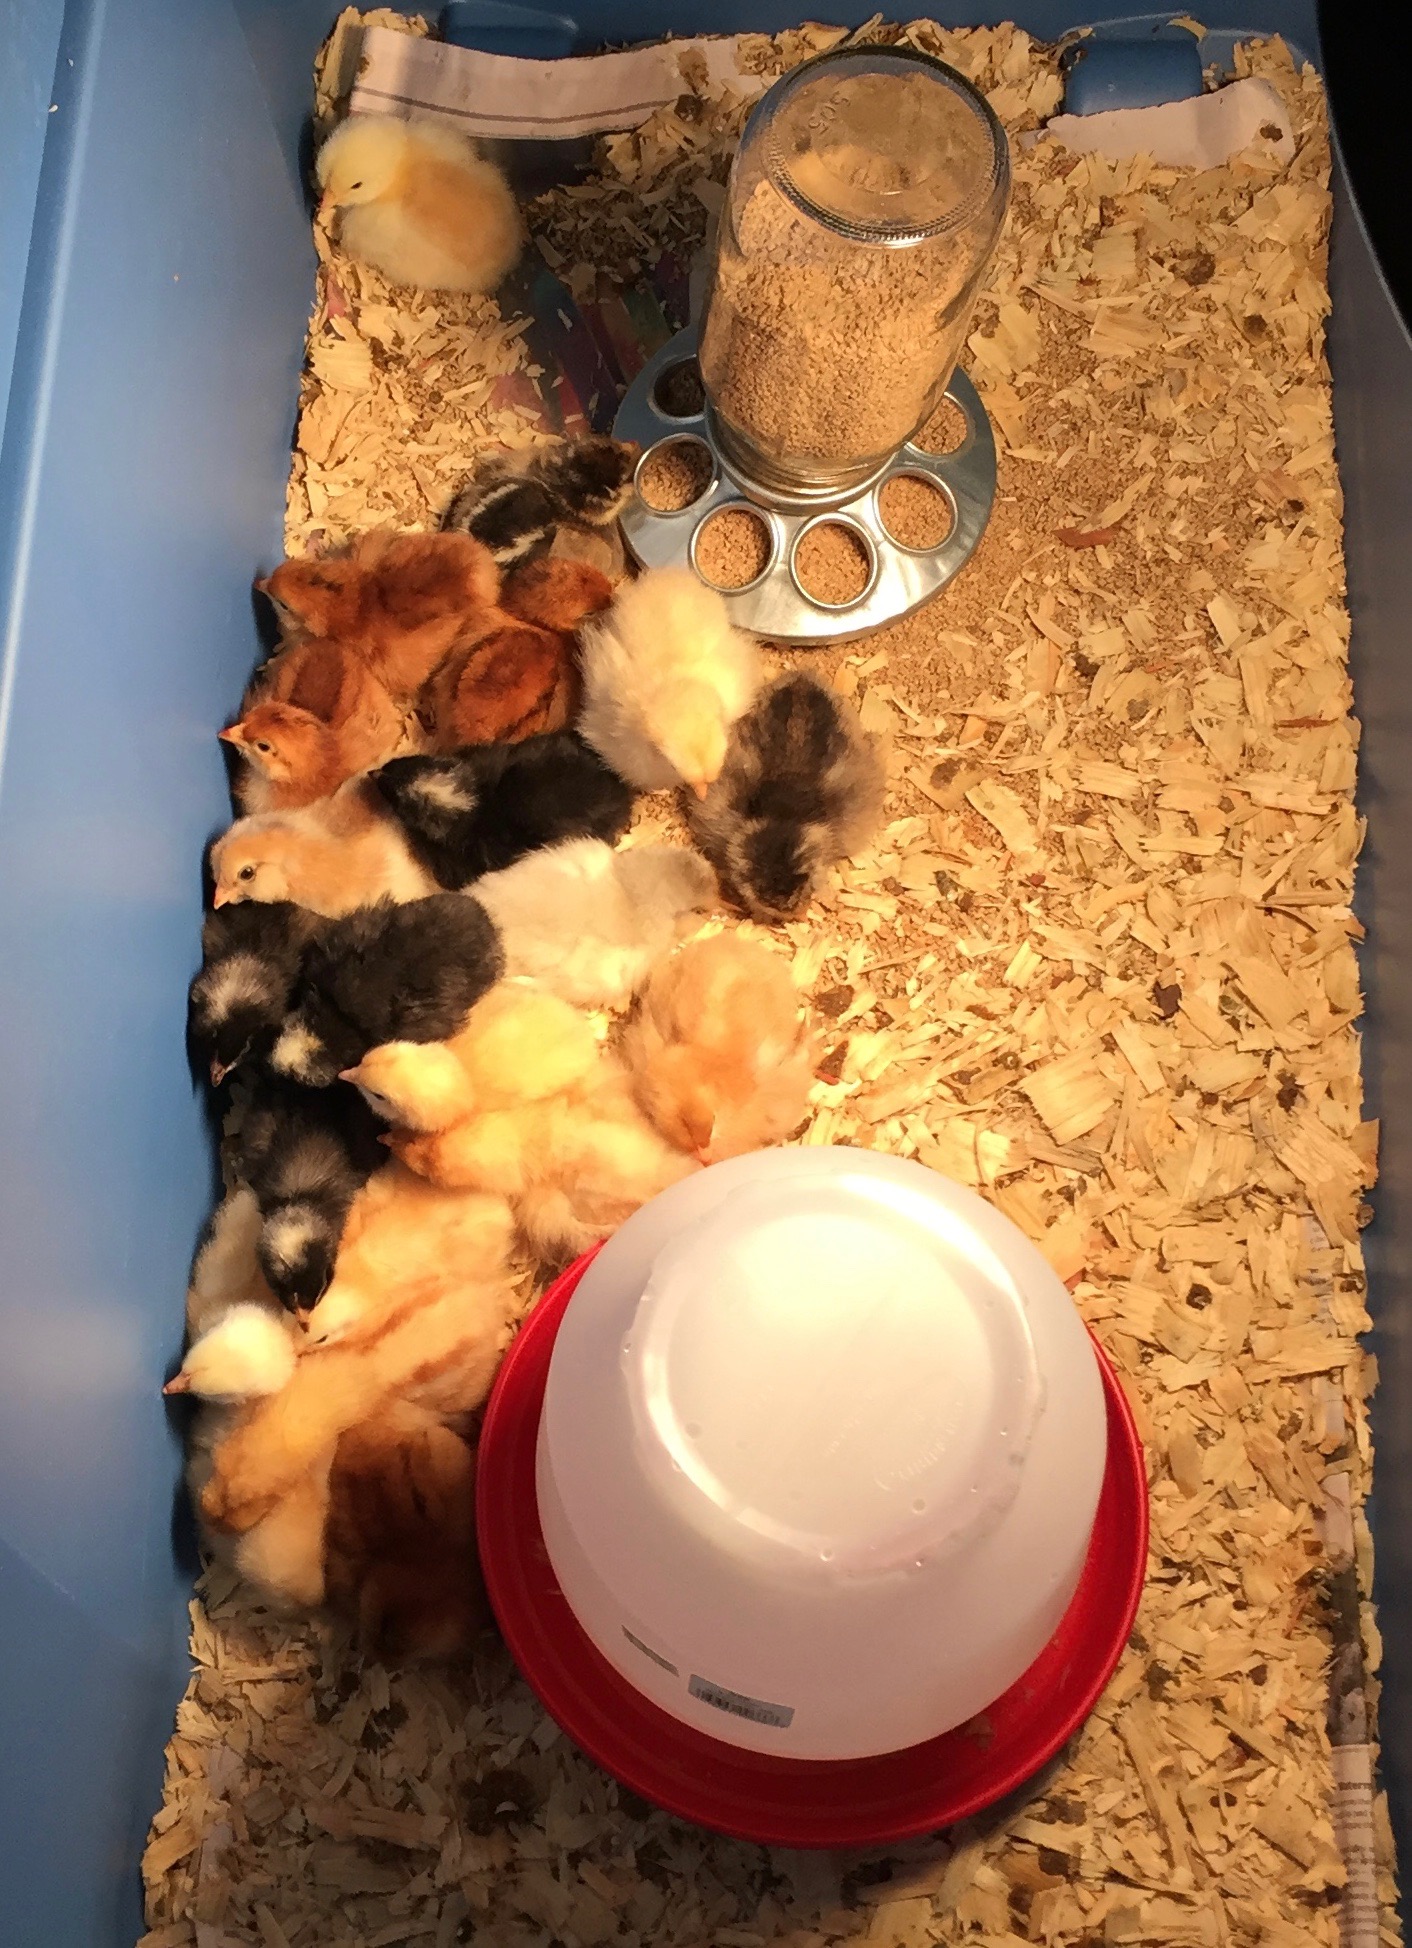
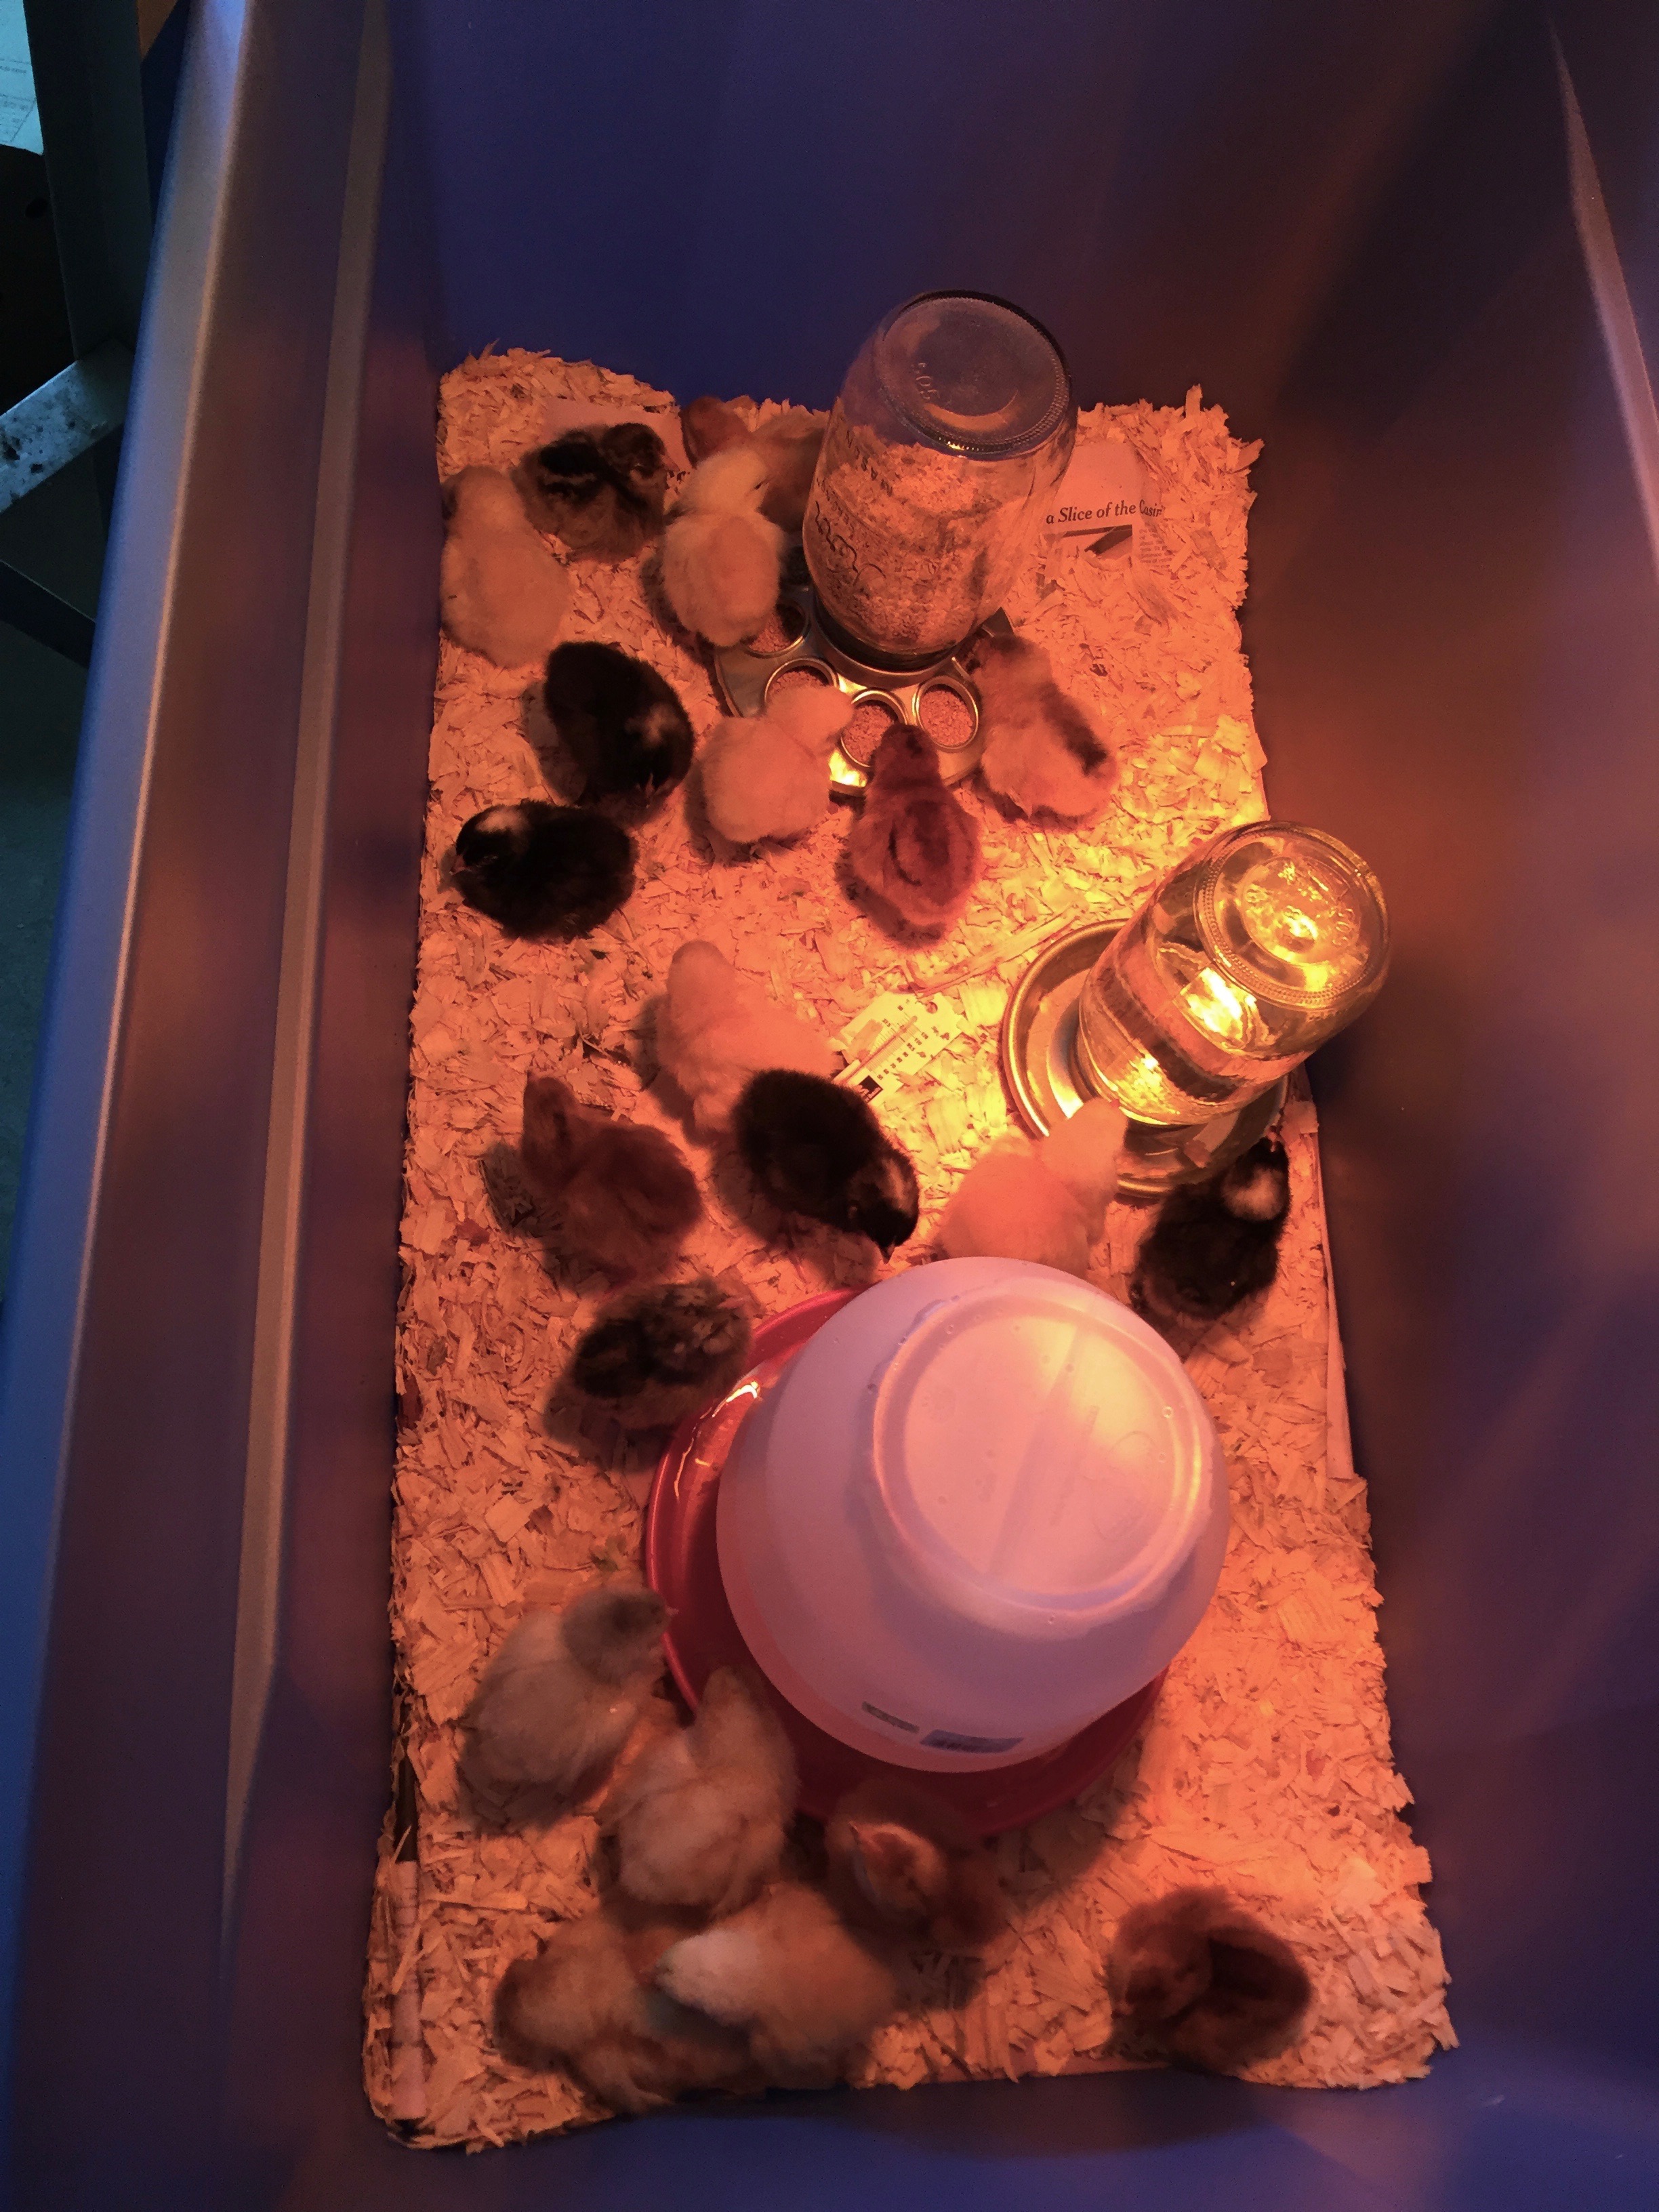 Here they are in their new homemade brooder which consists of a very large plastic bin, shaving and 2 waterers and a feeder. The varieties – all docile egg layers- are great back yard types as follows:
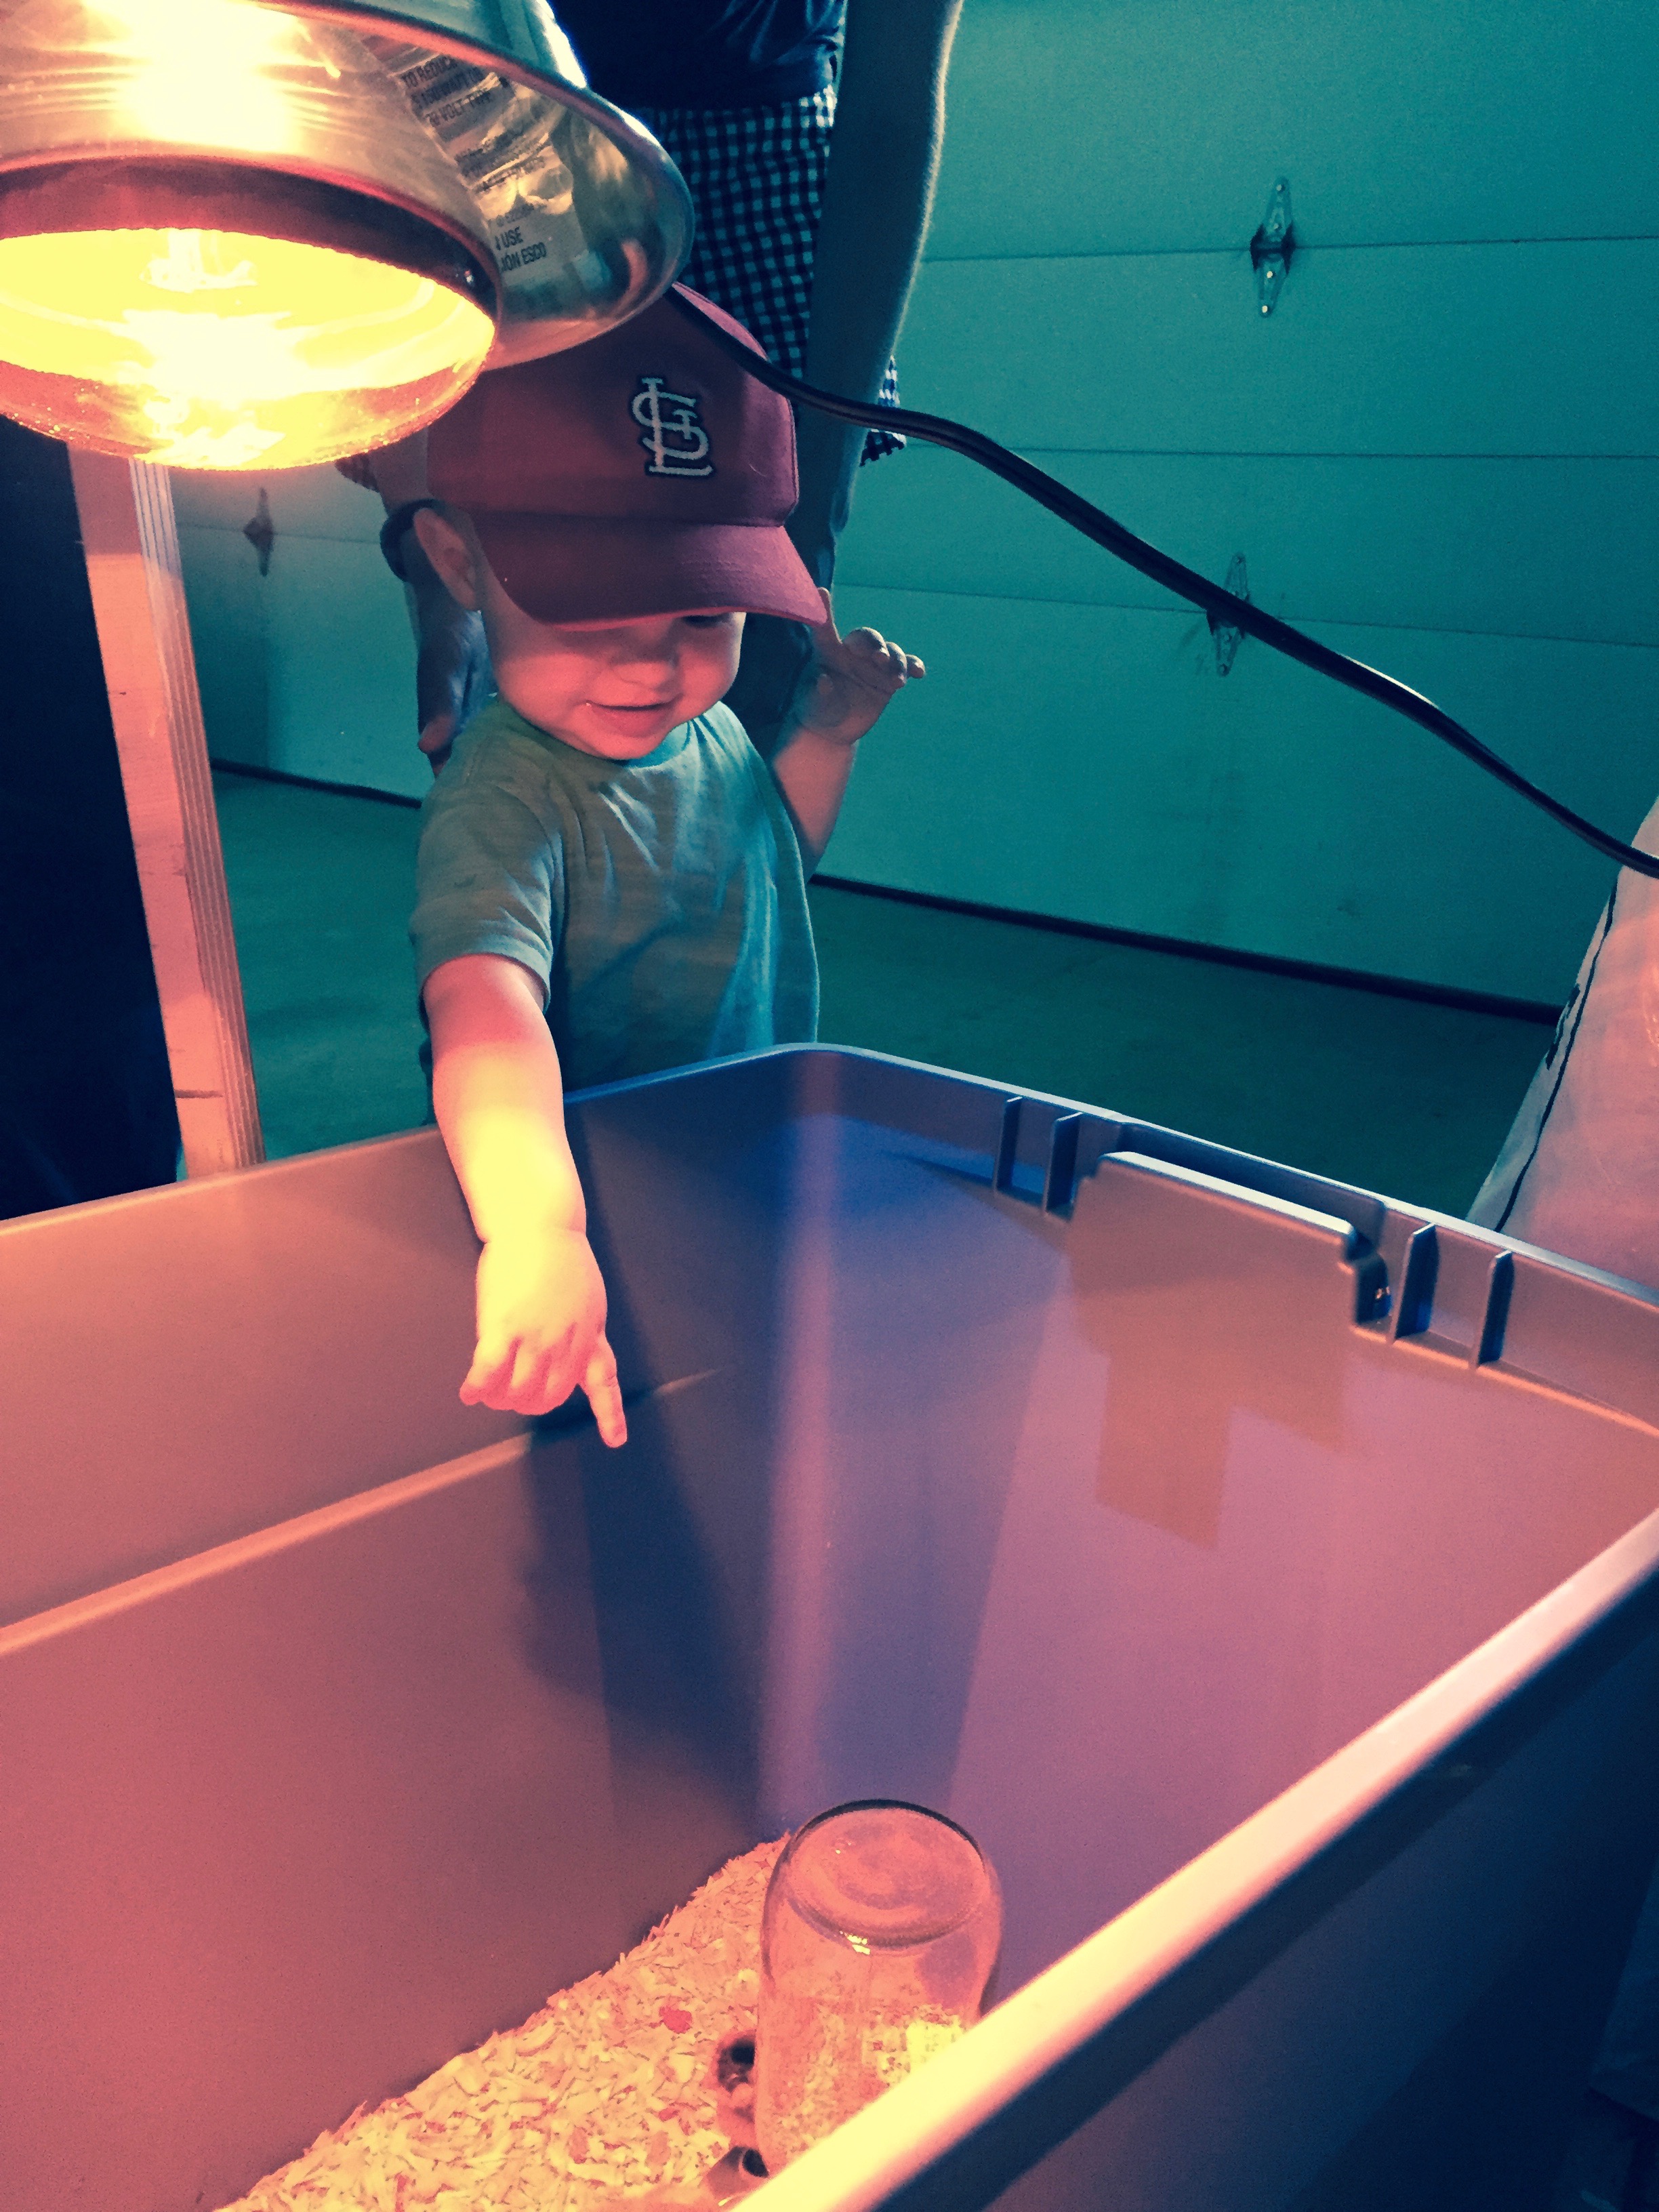 He was happy to look at the chicks for awhile and then wanted to sit on his favorite tractor! Some things never change! I’m following all of the new chick instructions to a ‘Tee’ and will be updating as things progress. For now, thanks to Joan for the wonderfully fun chick trip today!
