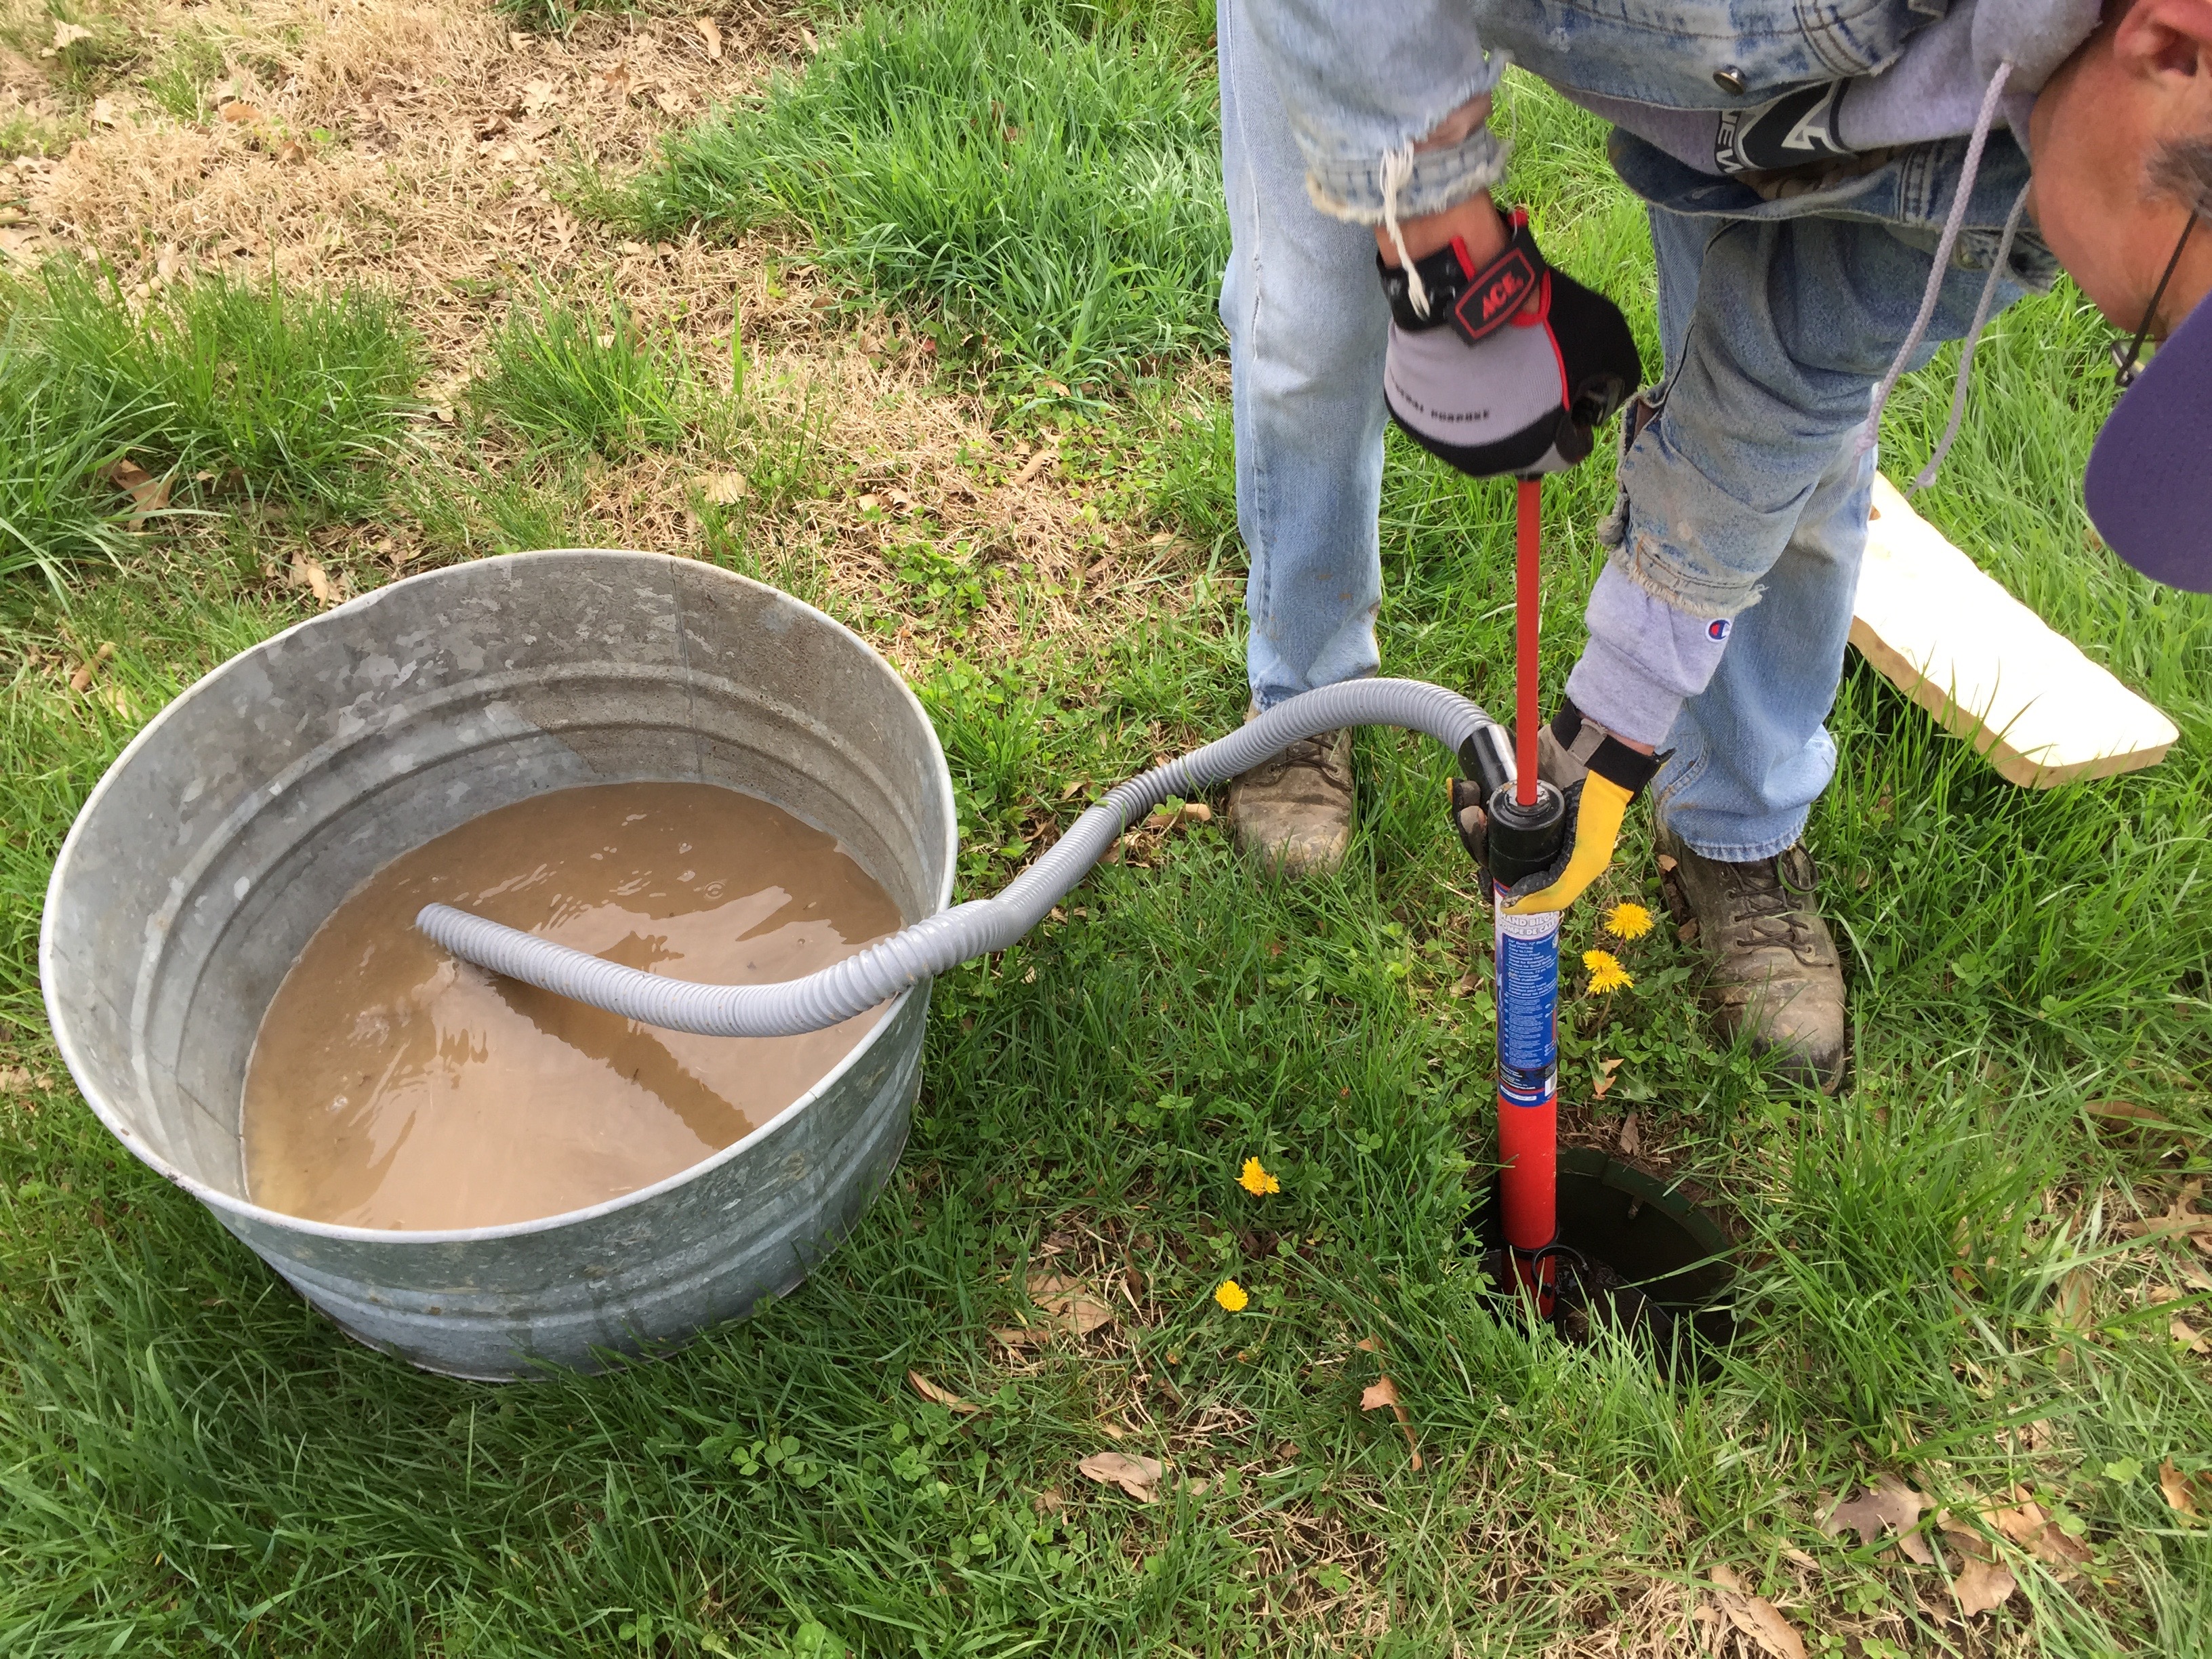
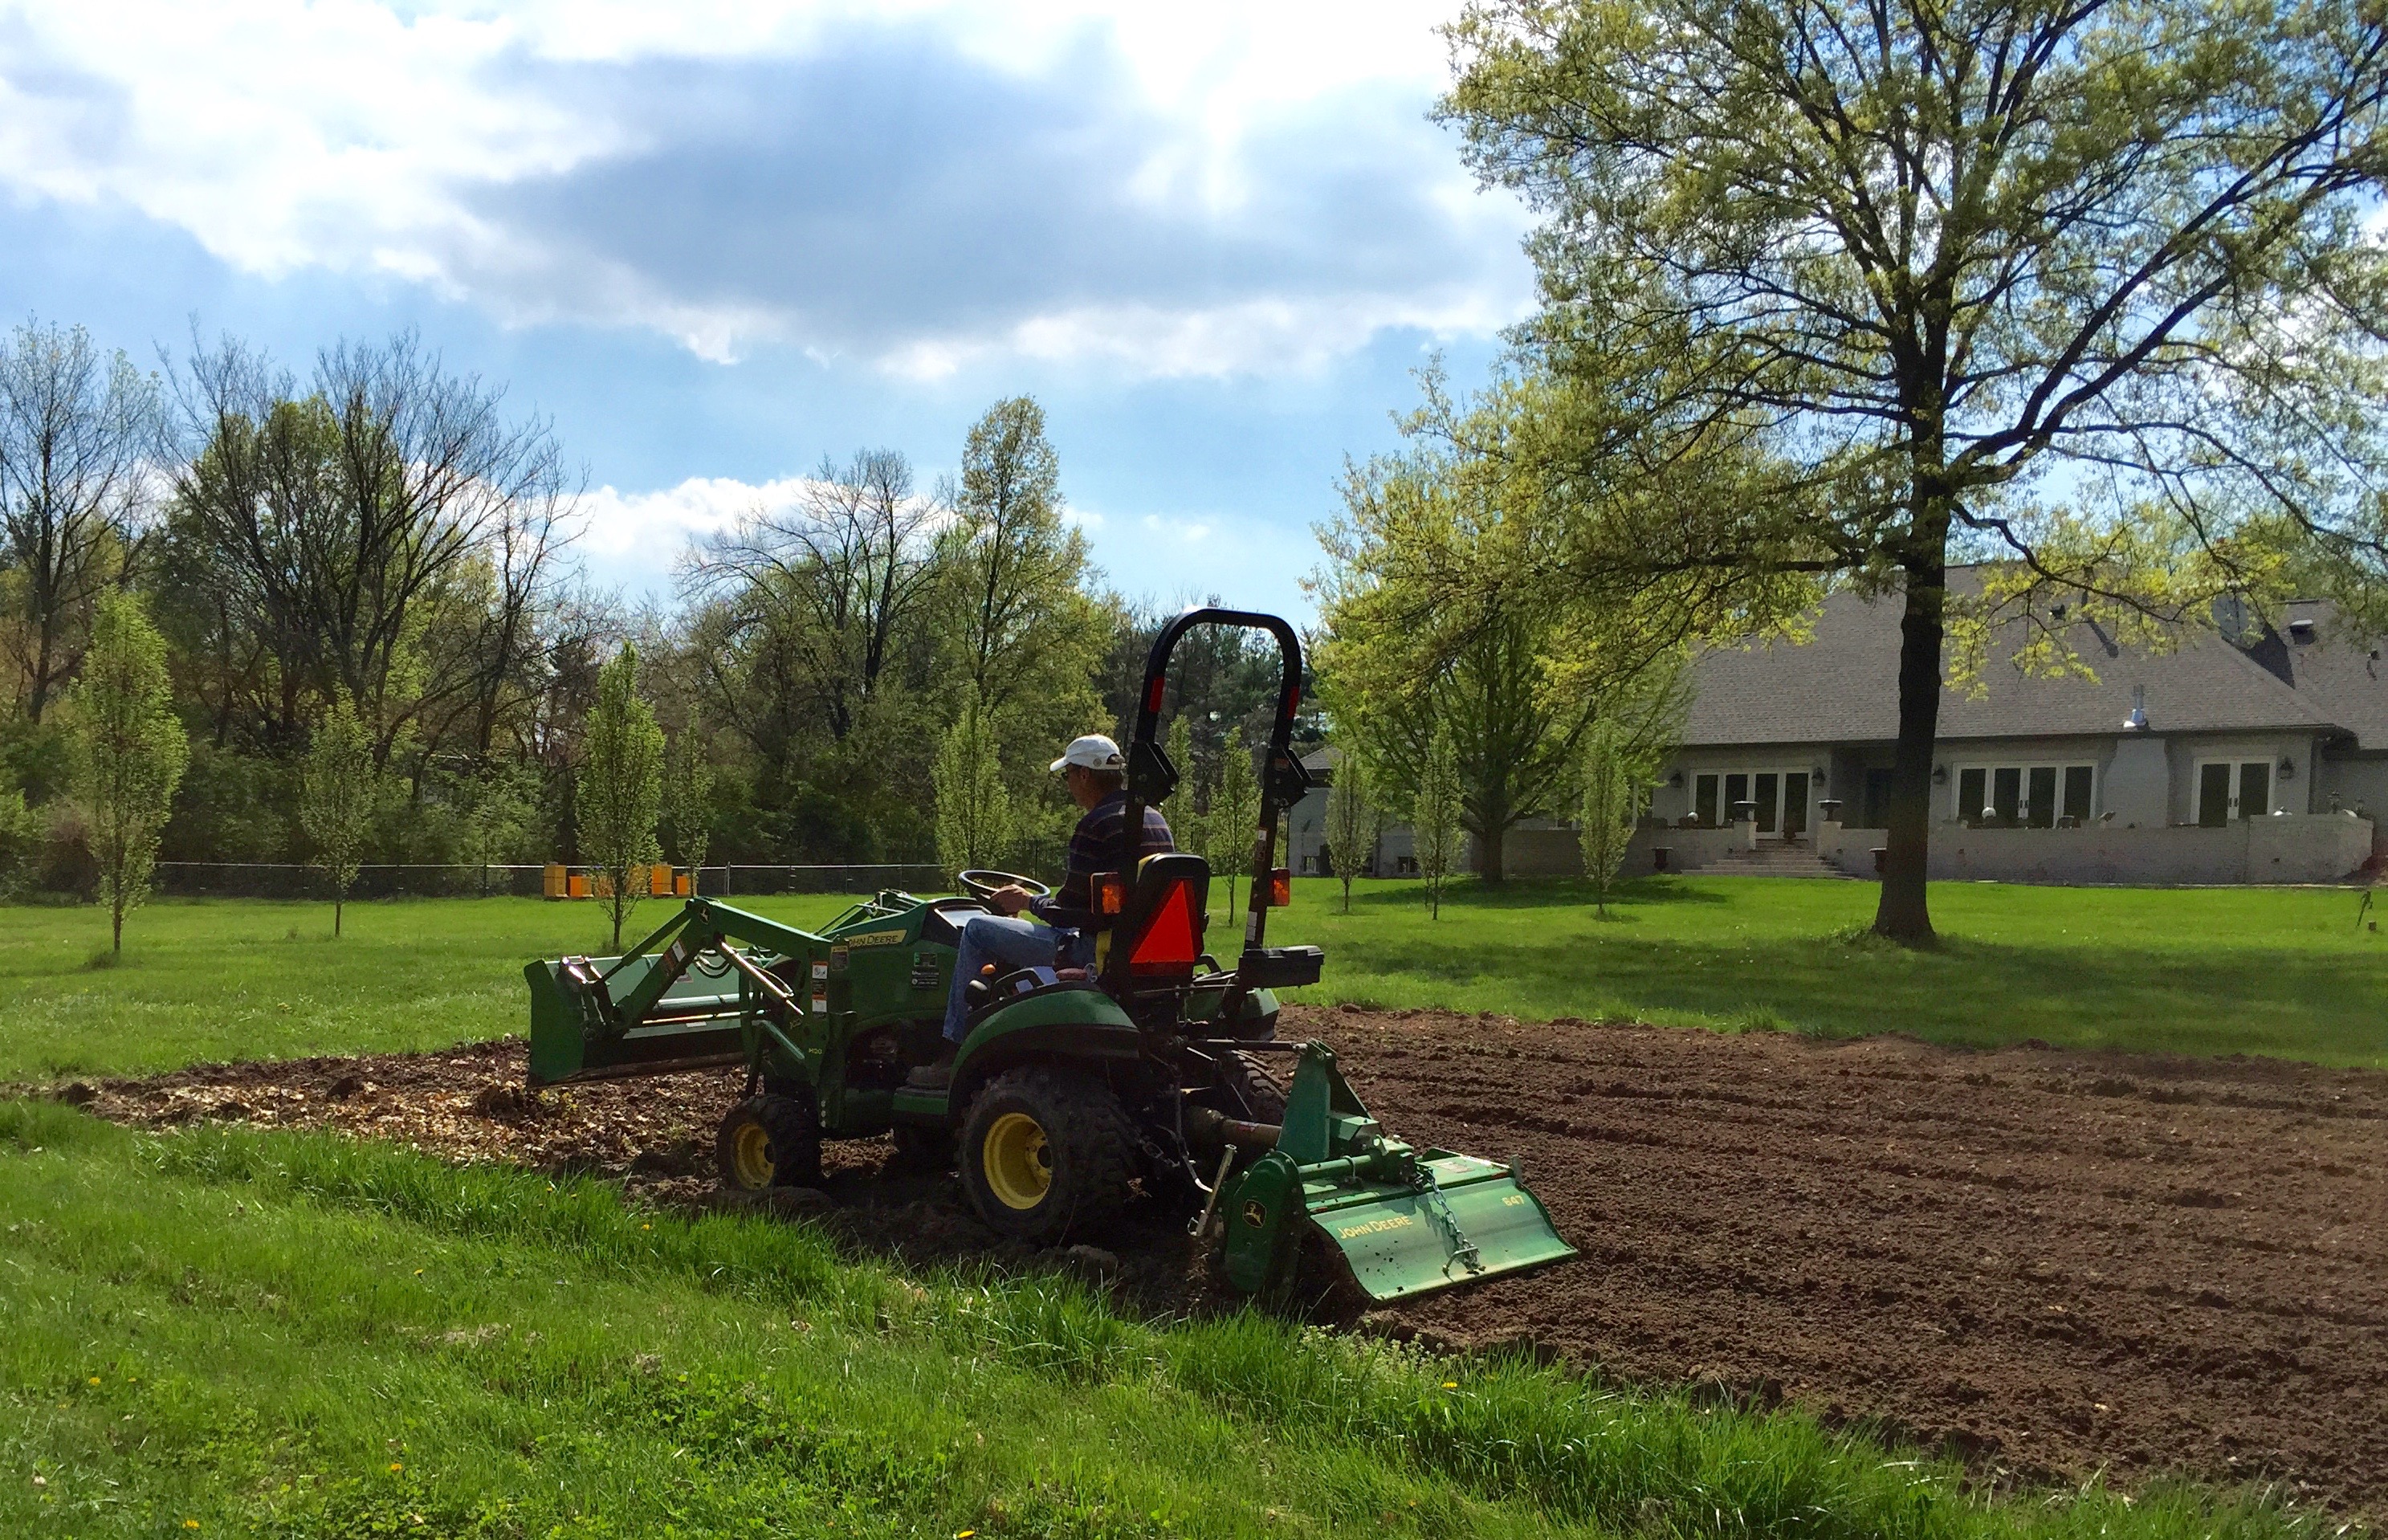
Spring is finally here at the farm but not without what has seemed like endless rain. (In fact, it is raining now which is why I’m getting a chance to compose a post!) If you recall, we had trouble stringing together enough dry days to get the tractor into the fields to plow them but it has been equally difficult to get the fields tilled for planting the early spring crops. With the ground still so wet and cold, there really isn’t any reason to have anything planted anyway since cold, wet seeds will just rot in the ground without the warmth of the drying sun! You know it is way too wet to work your soil if you can’t even weed your flower beds. Such was our predicament the last couple of weeks. An example of the high ground water is evident in the fact that our in-ground water spigots were actually too flooded to operate. Although we could simply wait for the water to subside, the plastic collars around these sub-surface spigots actually inhibits drainage so we used a hand operated bilge pump and put it to work relieving some of the excess water. Yes, it was a bit of a pain, but as you can see, we were able to drain off lots of water from each spigot site as well as from some of the flooded furrows in the fields.  We were finally able to get the fields tilled this week…again under the pressure of more rain on the way this weekend. Here is Dave doing a nice job of tilling things up, incorporating all the lovely composted leaf matter that we added over the fall and winter to each field.
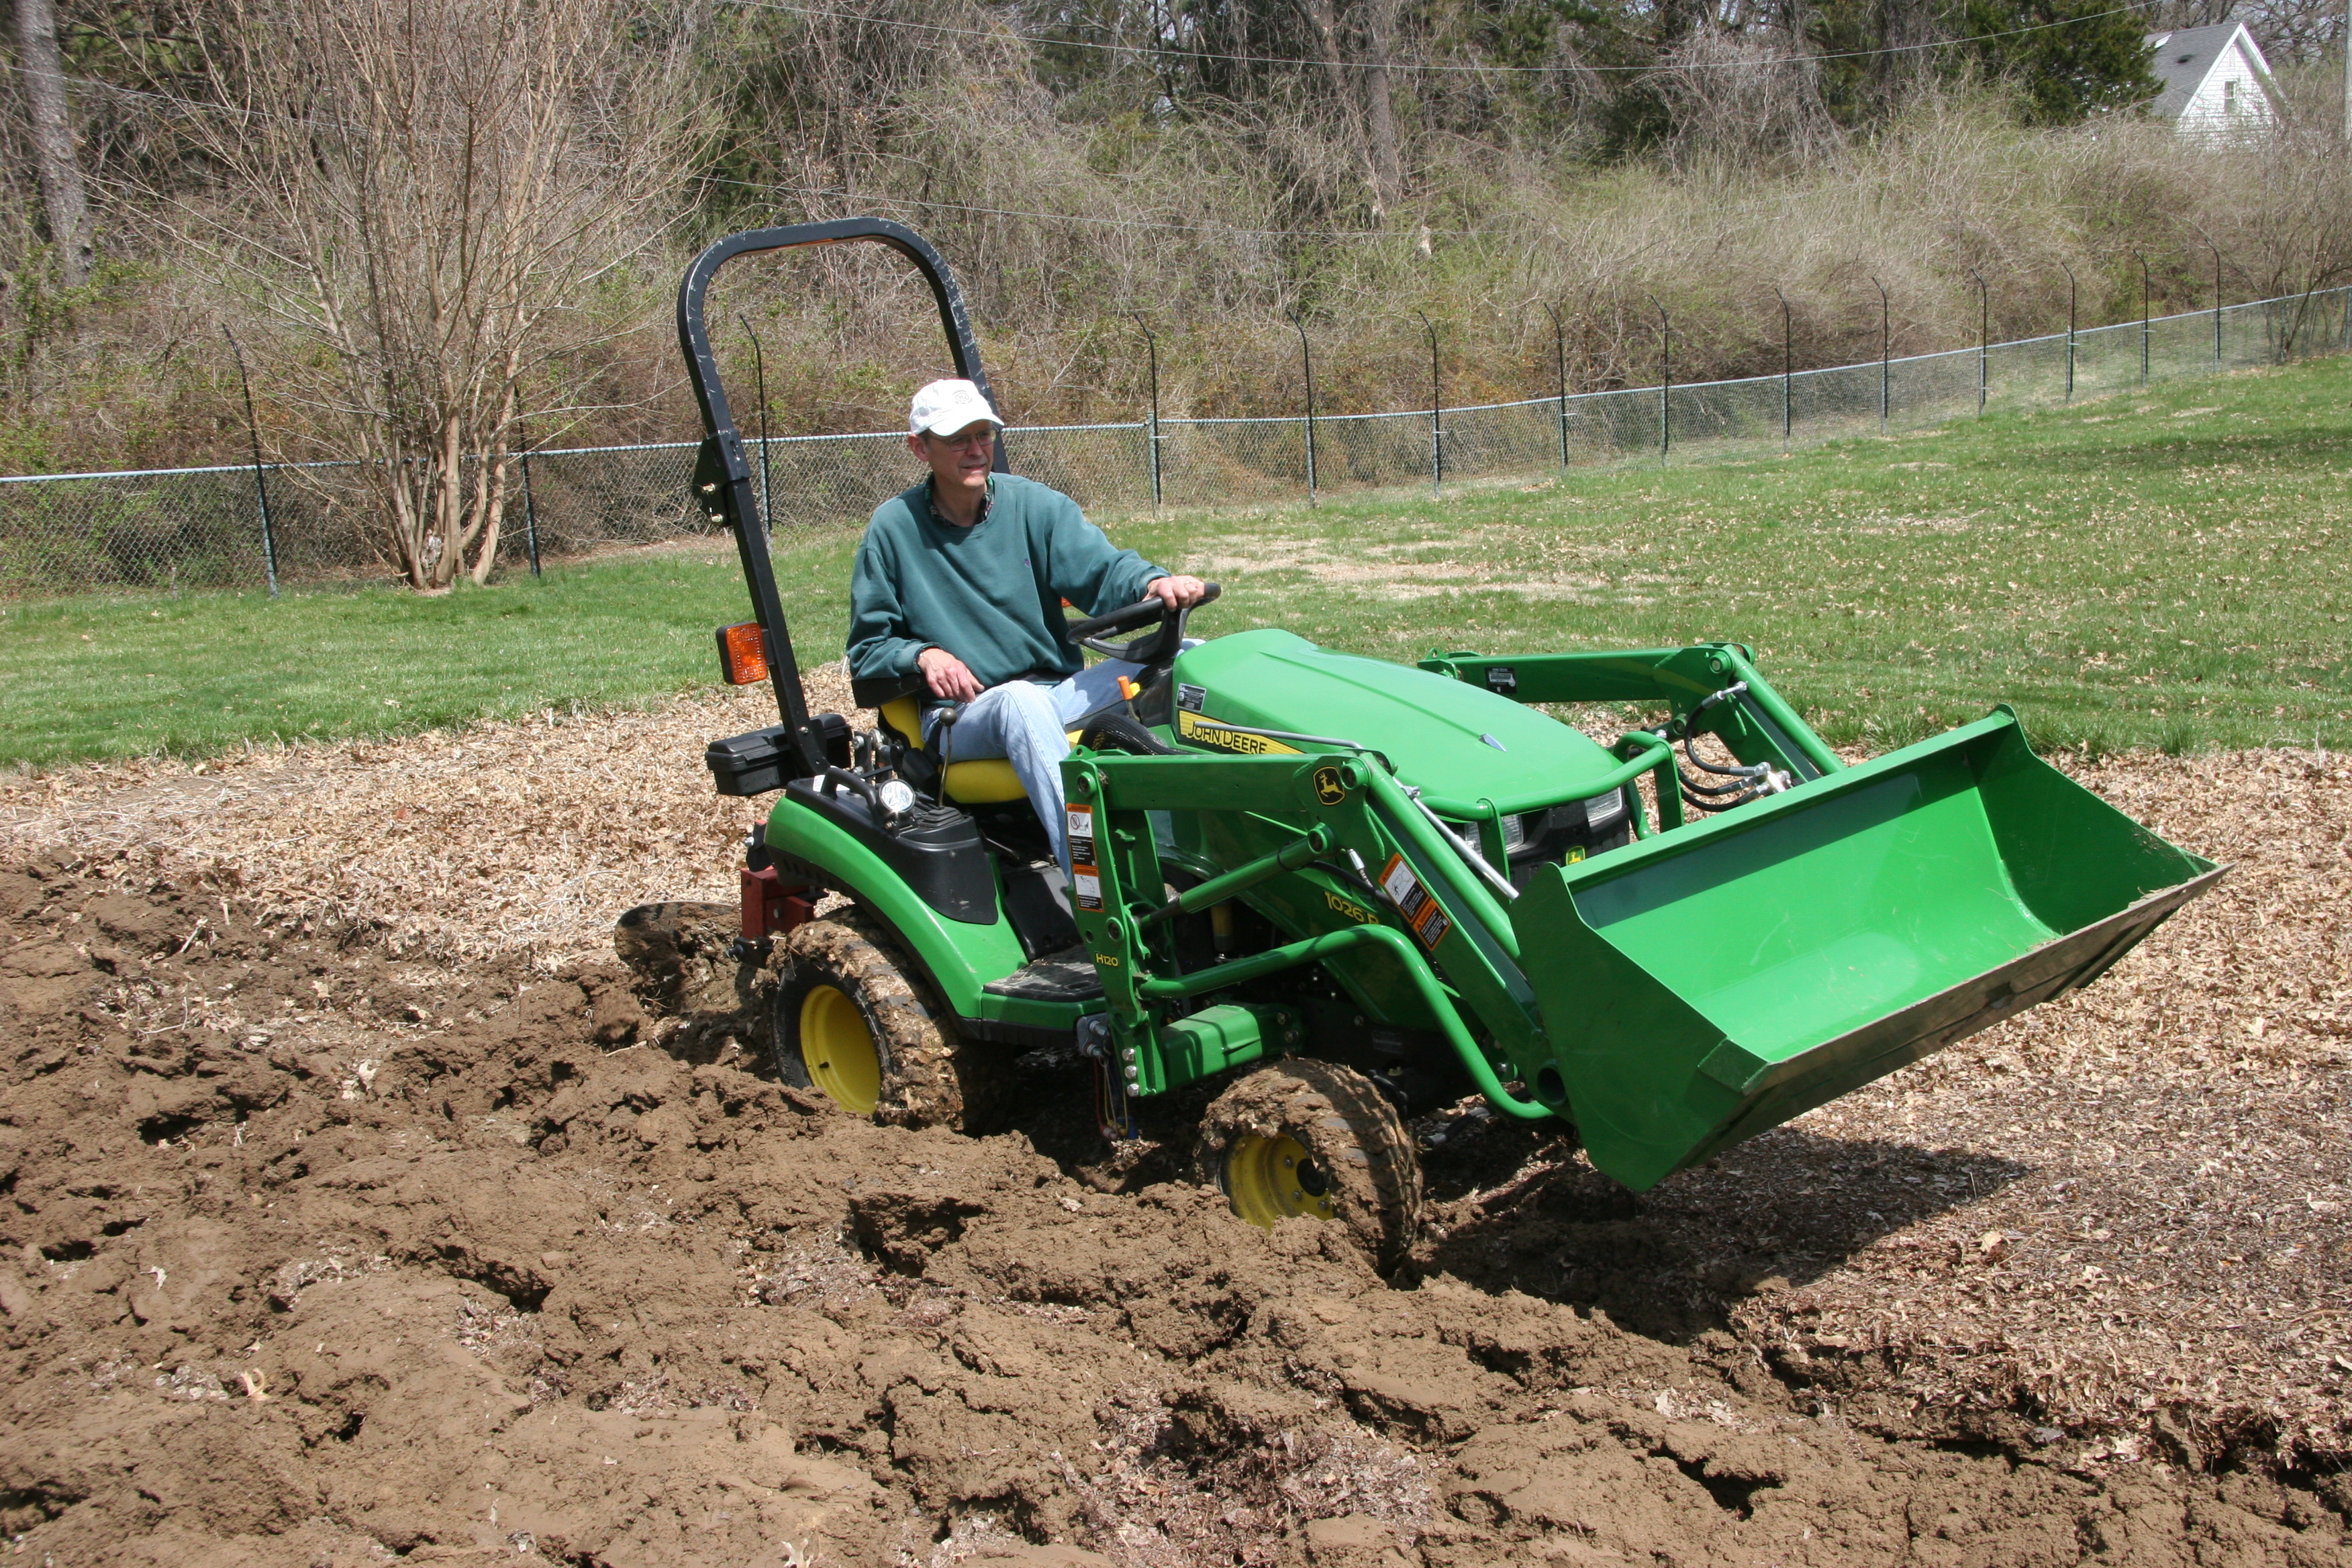
  With this task under our belts, we prepared the seed potatoes for planting. This year, in addition to the standbys of Yukon Gold and Pontiac Red varieties, we added two rows of Dakota Pearl potatoes to the mix. According to one website these potatoes “make delicious chips and are outstanding for roasting or mashing and produce high yields of smooth-skinned spuds with attractive creamy white flesh”. How could we go wrong?
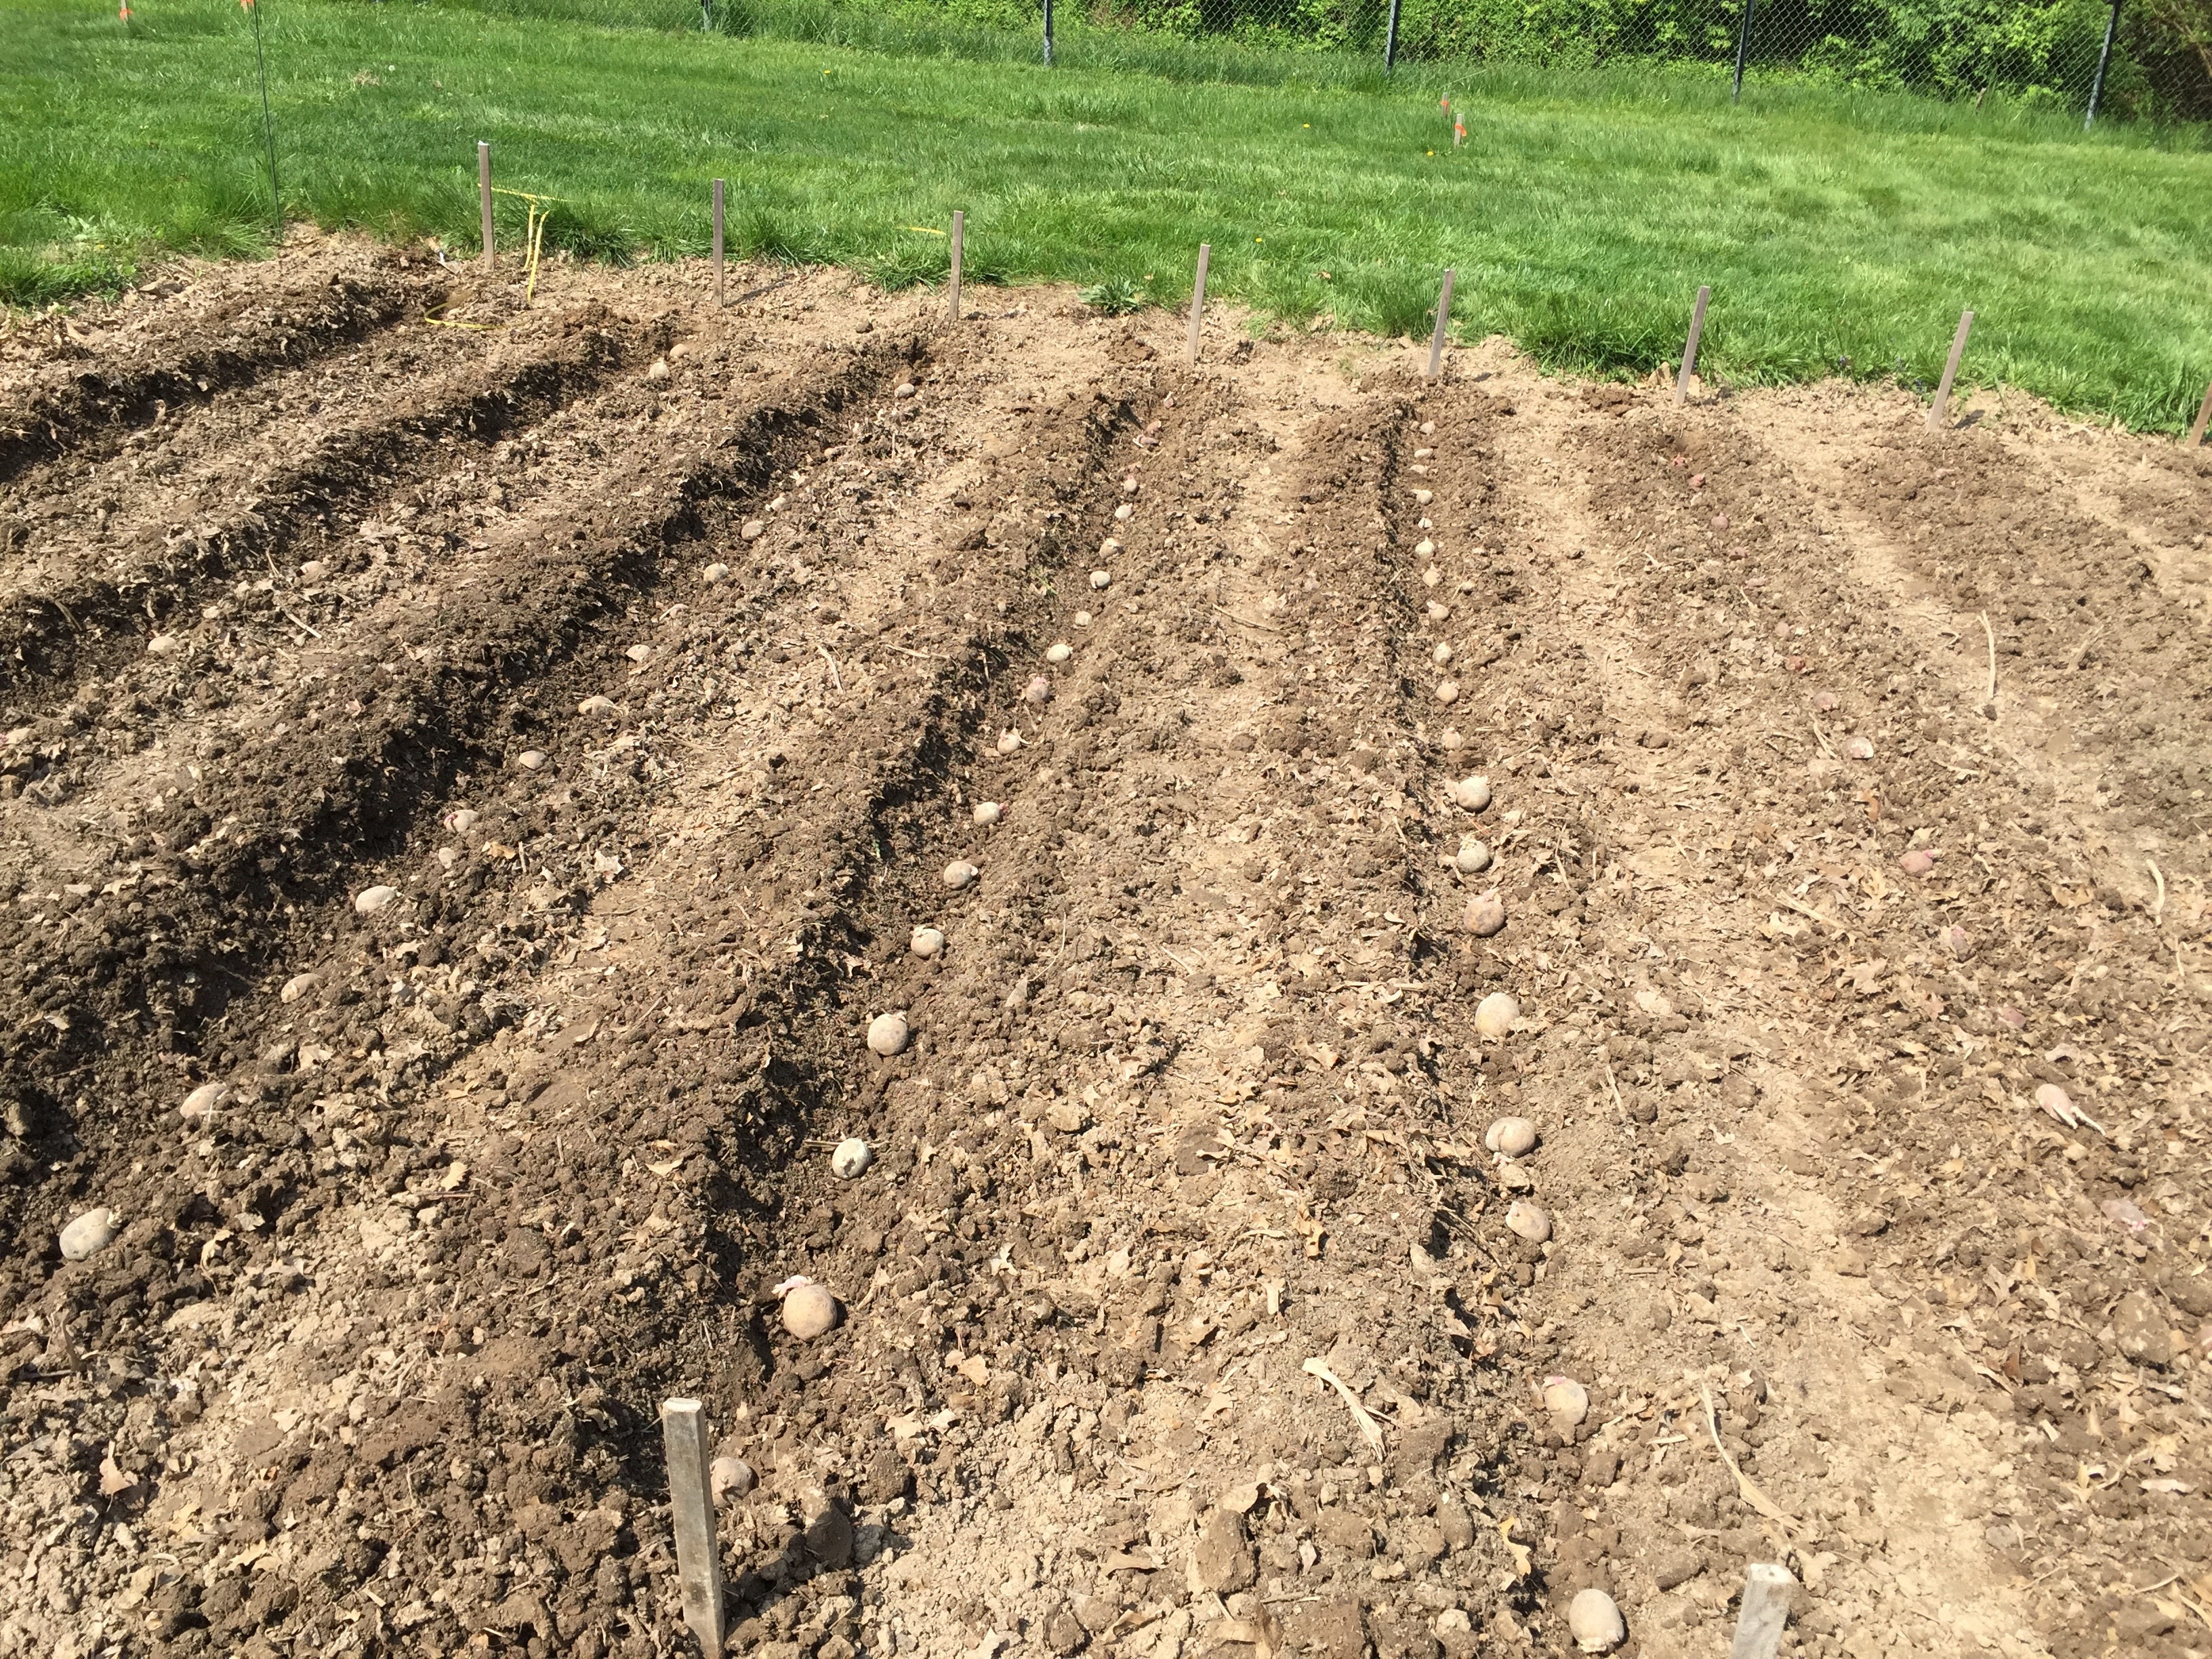
 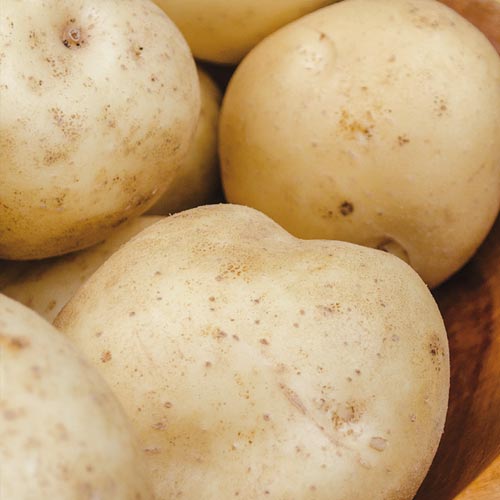 It is difficult to accurately predict how many viable plants you will get from any particular variety of potato you purchase since you cut up the seed potato in such a way as to get at least two “eyes” per piece. (If the potato is golf ball sized, you just leave it whole and don’t cut it at all.) Our intention was to purchase and prepare enough seed potatoes to fill ten, 20 foot long rows, spaced 1 foot apart. When you buy your potatoes, you don’t quite know how many “eyes” you will have so you make sure you have plenty to spare. So we cut the potatoes to divide them into “eyes” and allowed them to “heal over” for a day or two (which means the cut sides get some air to dry out a bit) and then we coated them with agricultural sulpher. This helps to keep the flesh from rotting in the field after planting and discourages nibbling ground insects from going after the flesh. Once the field was ready for planting, we prepared the rows by making 4″ deep trenches with our hoe. We placed the “seeds” cut side down with their eyes upwards, one foot apart and then covered the trench with the waiting, mounded soil from digging. This is a lot of work, but here are some of the rows of seed potatoes ready to cover up.
  After getting all the rows planted, we had 10 to 12 each of two varieties left over. I hated to waste these and started to think of anyone we knew who might appreciate our excess of prepared seed potatoes. I sent a text to my gardening friend, Brenda Zanola, asking if she had any interest in these and she immediately responded “YES!” and popped over on her way home from work to gather up the spoils. She is a long time Missouri Botanical Garden employee who knows her way around a garden so I know these will find a good home. She reminded me that her Irish ancestors were potato farmers in Ireland oh so many years ago so this felt like a special gift indeed. Typically, potatoes are supposed to be planted on St. Patty’s Day…March 17…but alas, here we were, planting them on April 17th this year. “Erin Go Bragh!” http://en.wikipedia.org/wiki/Erin_go_bragh
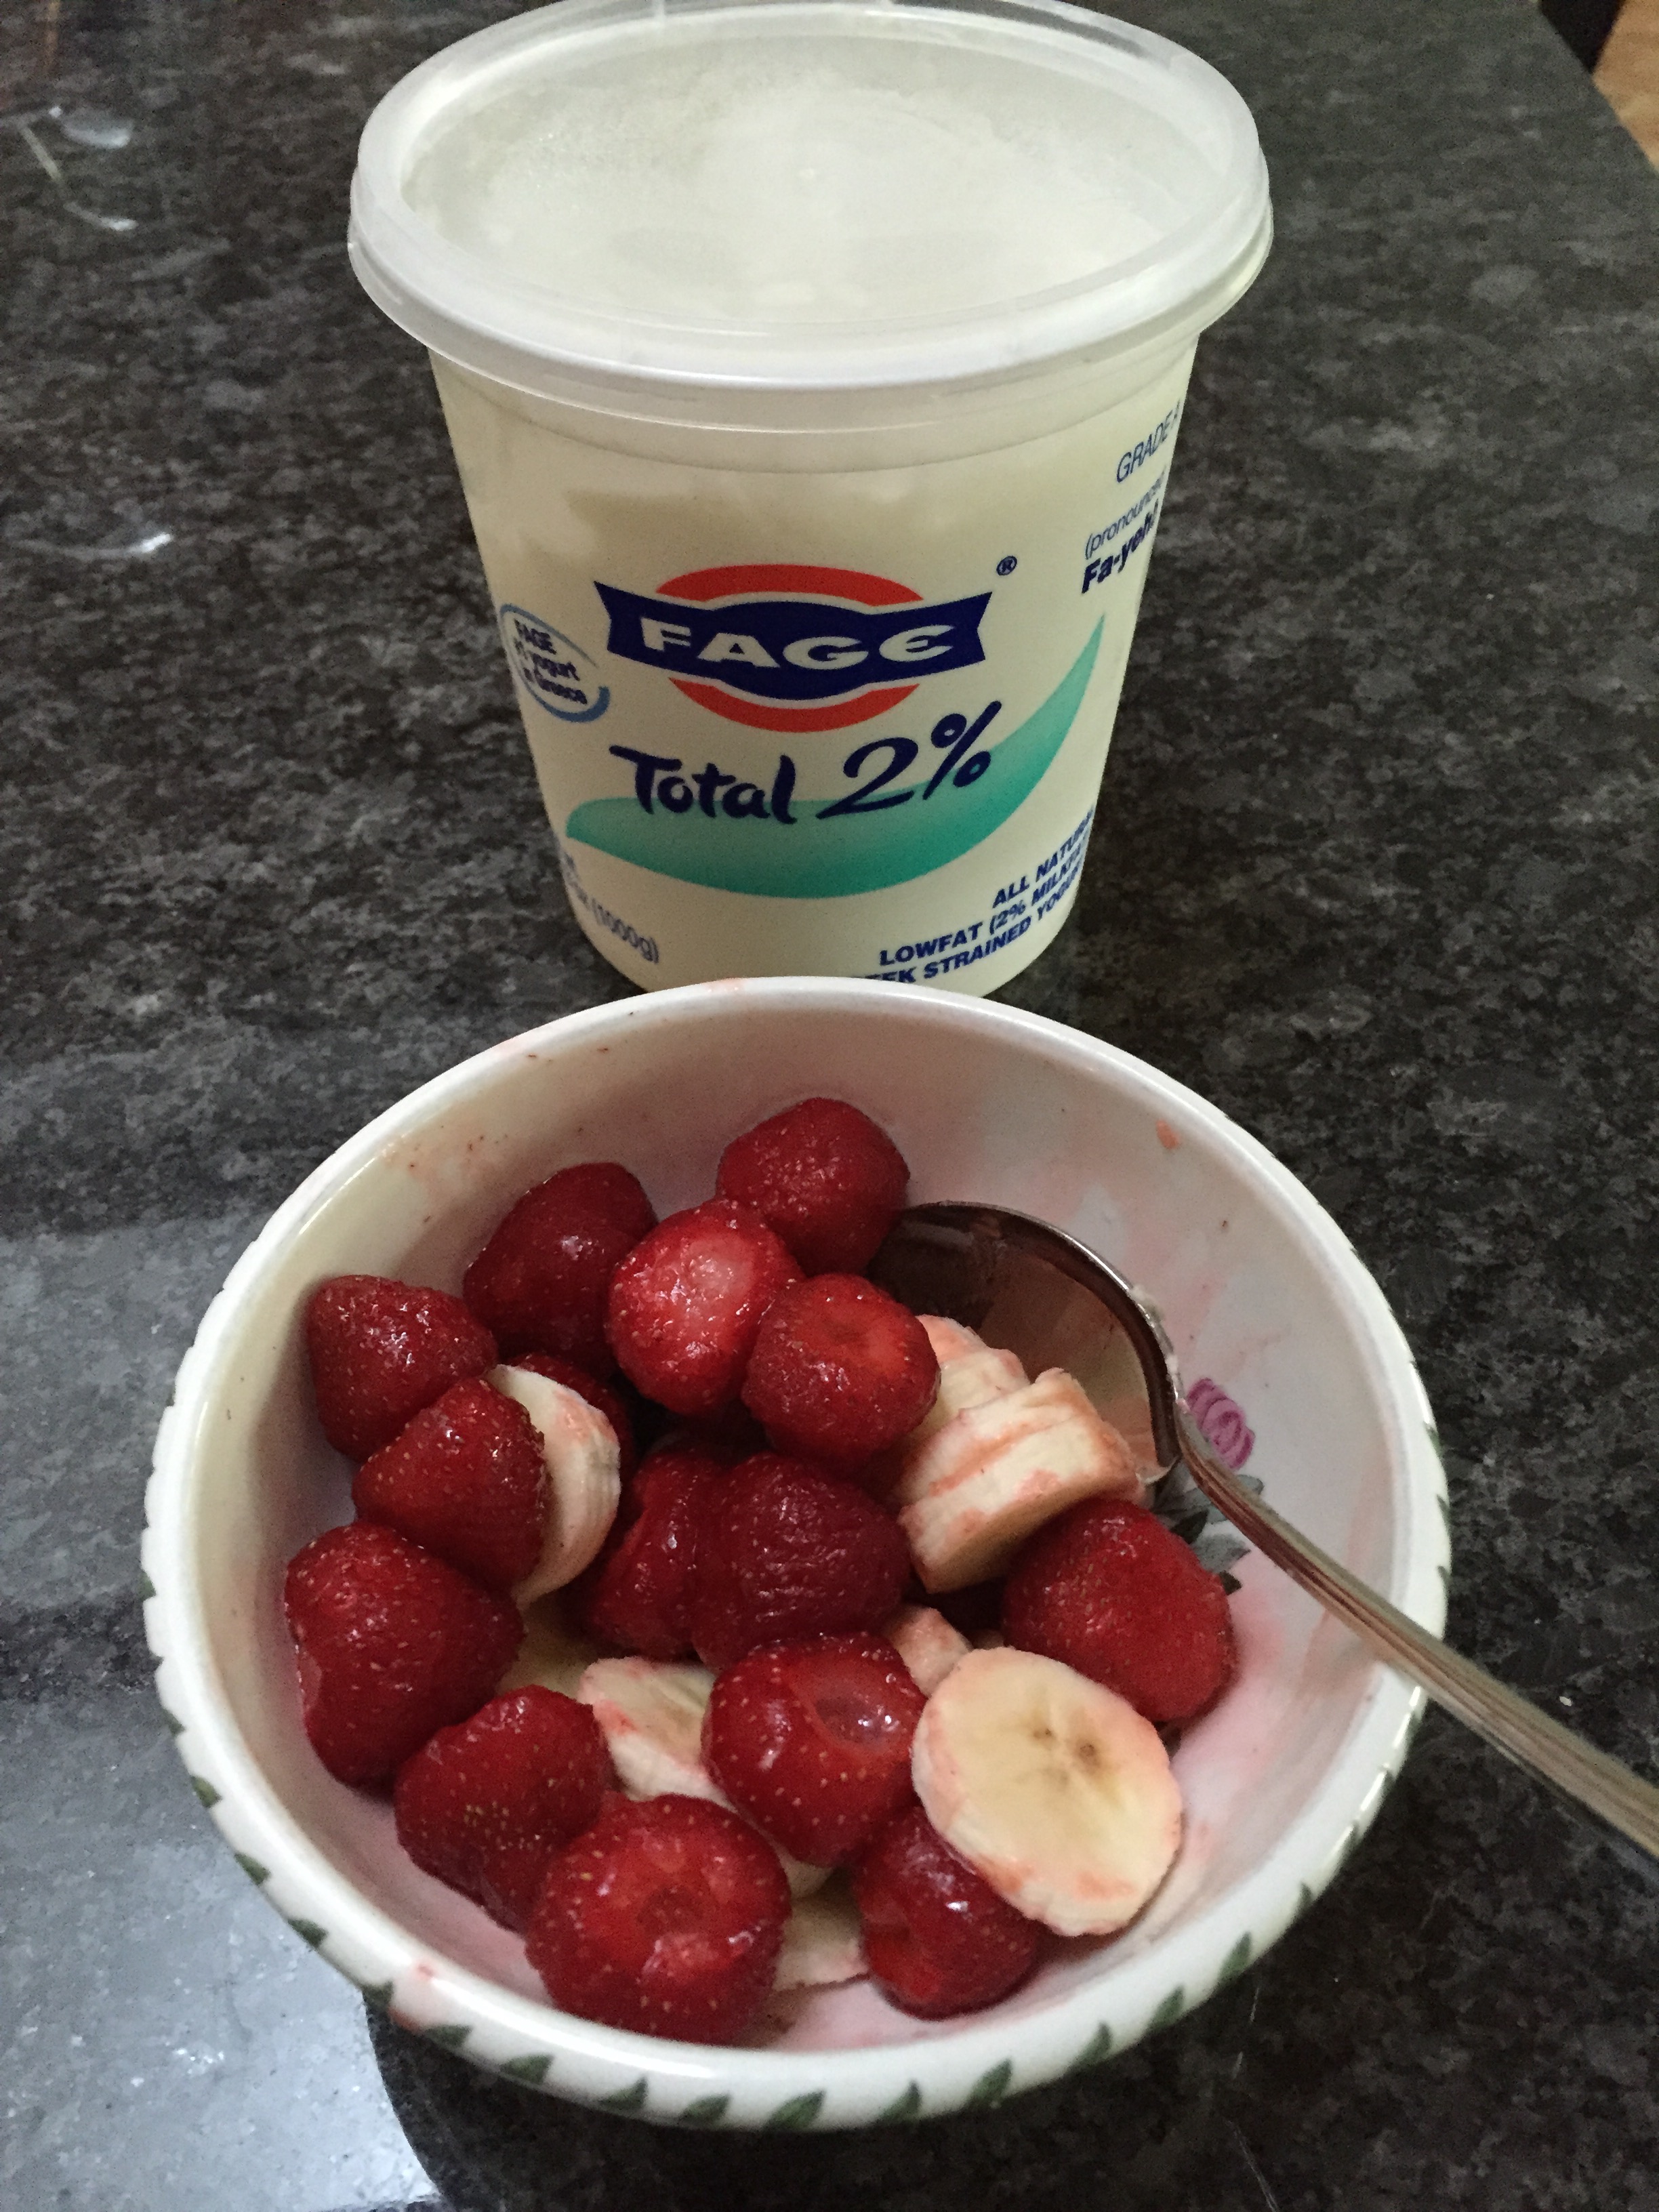
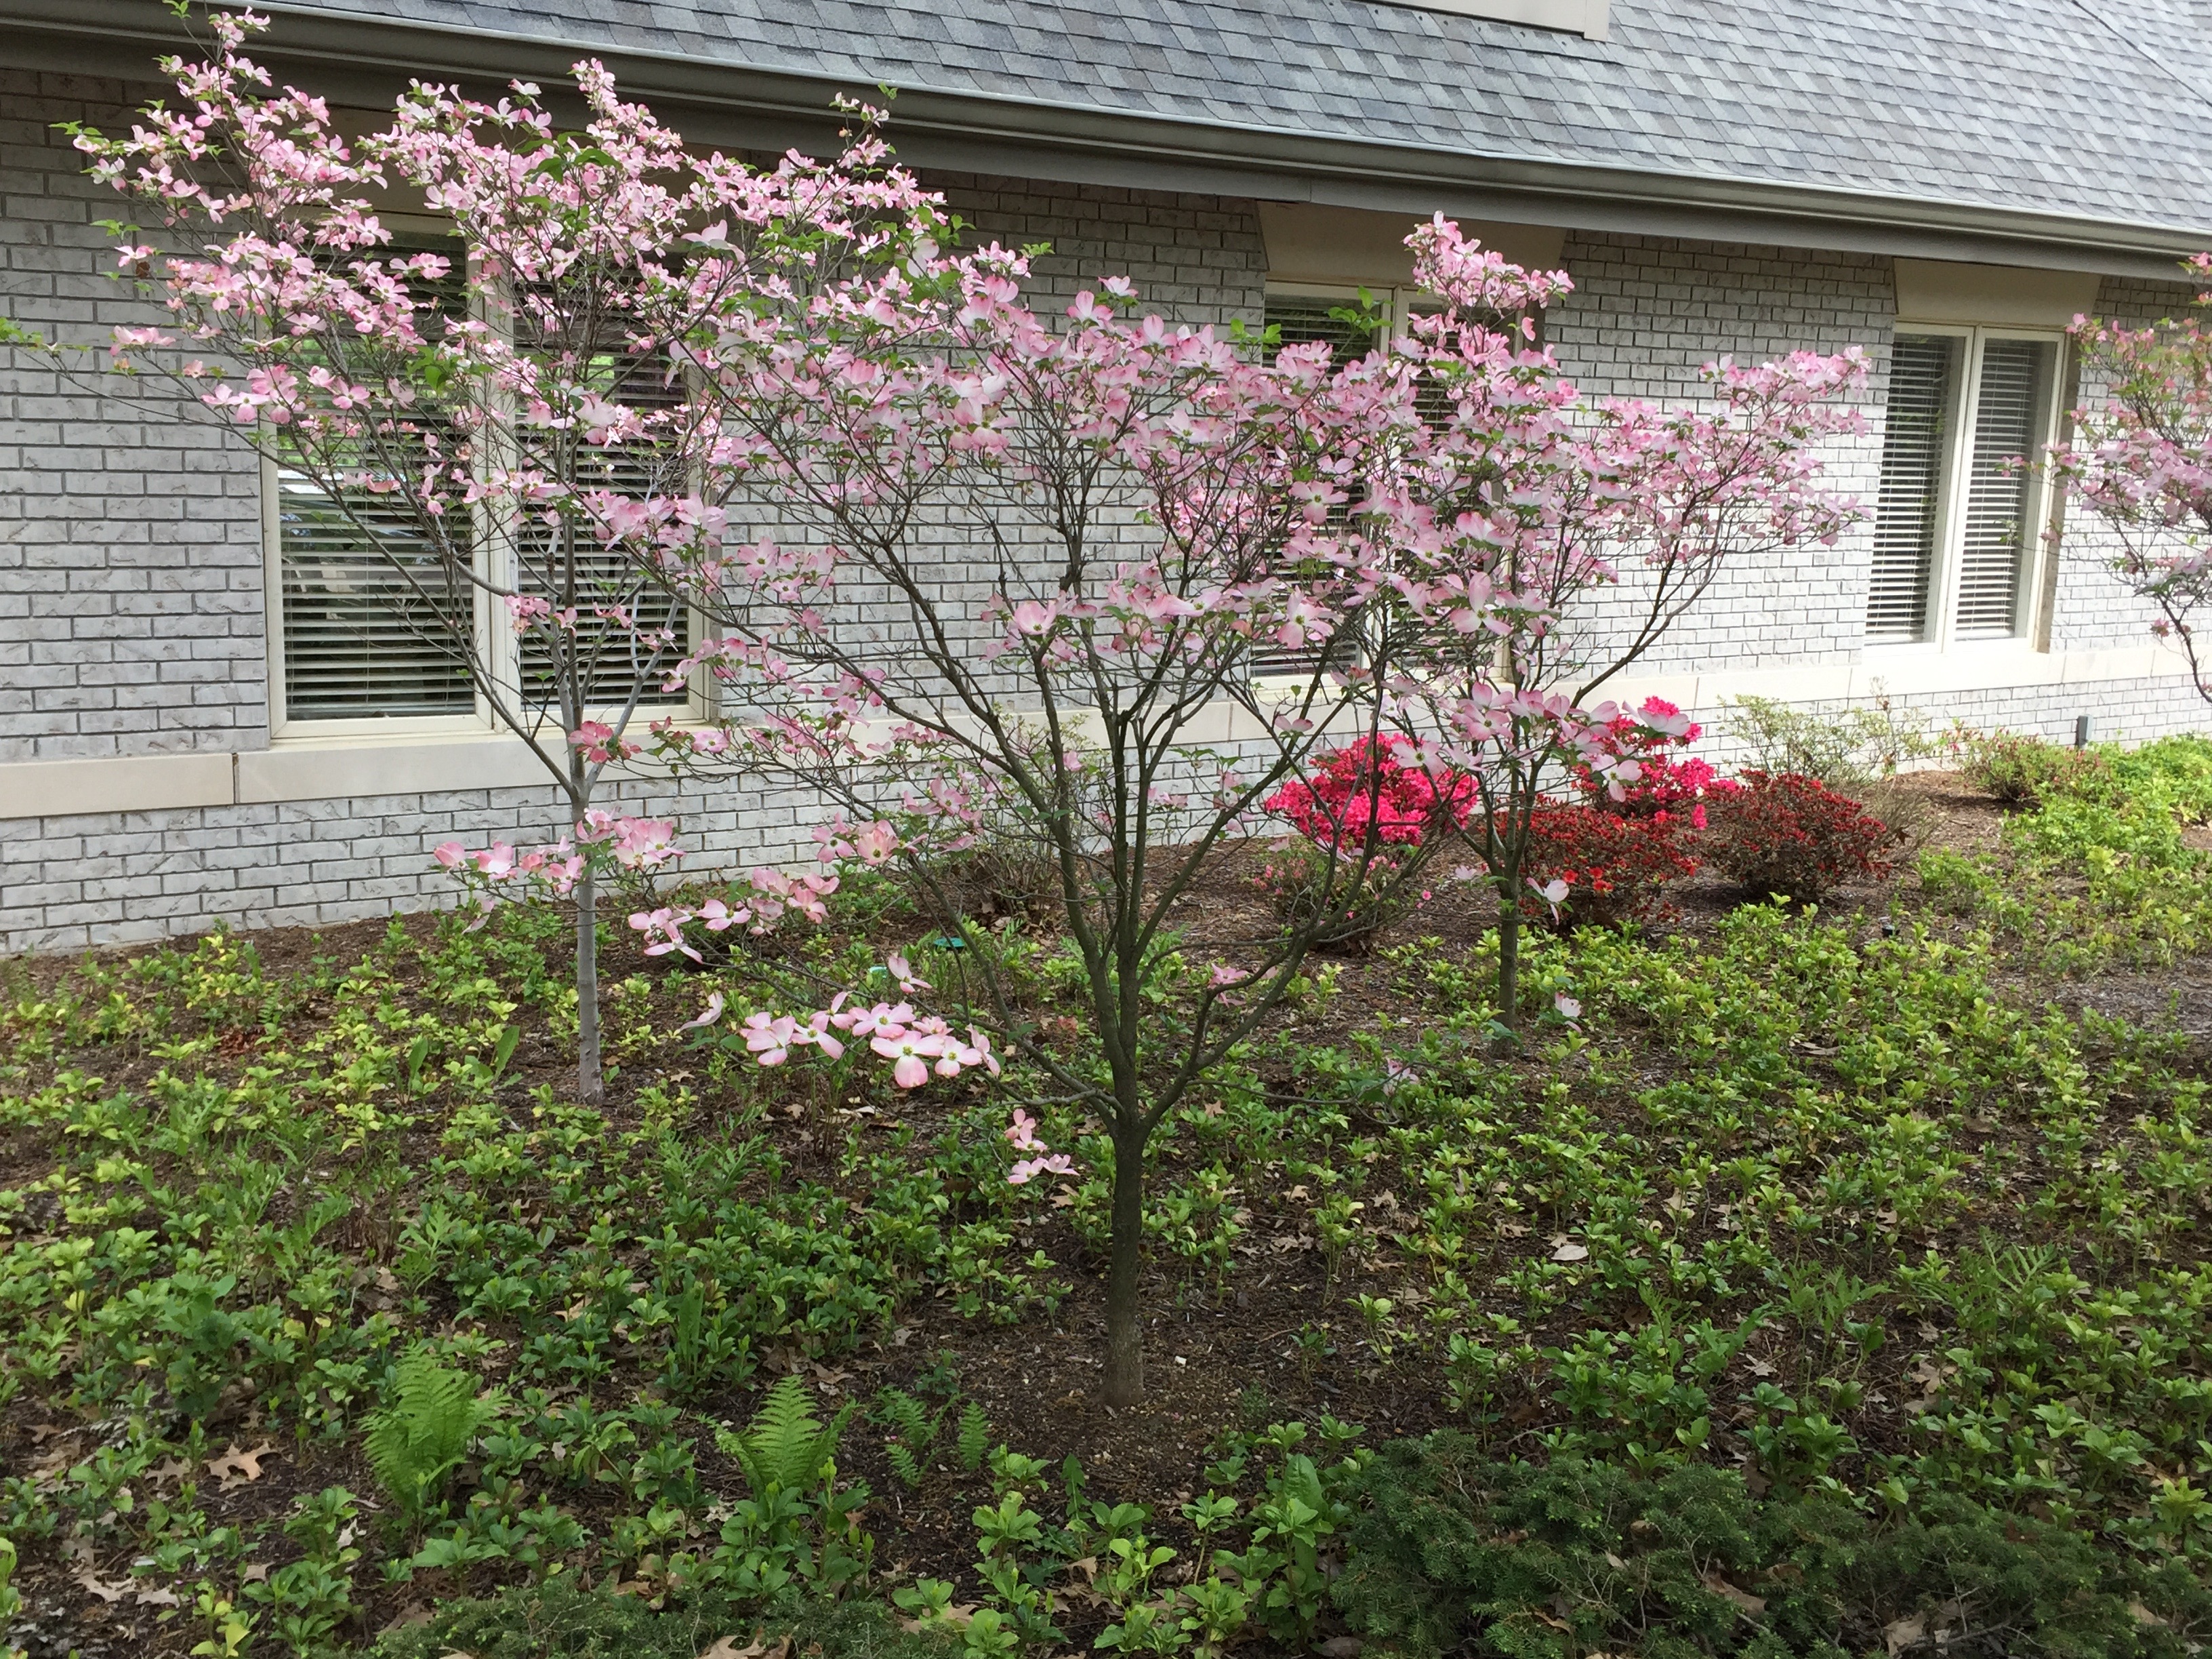
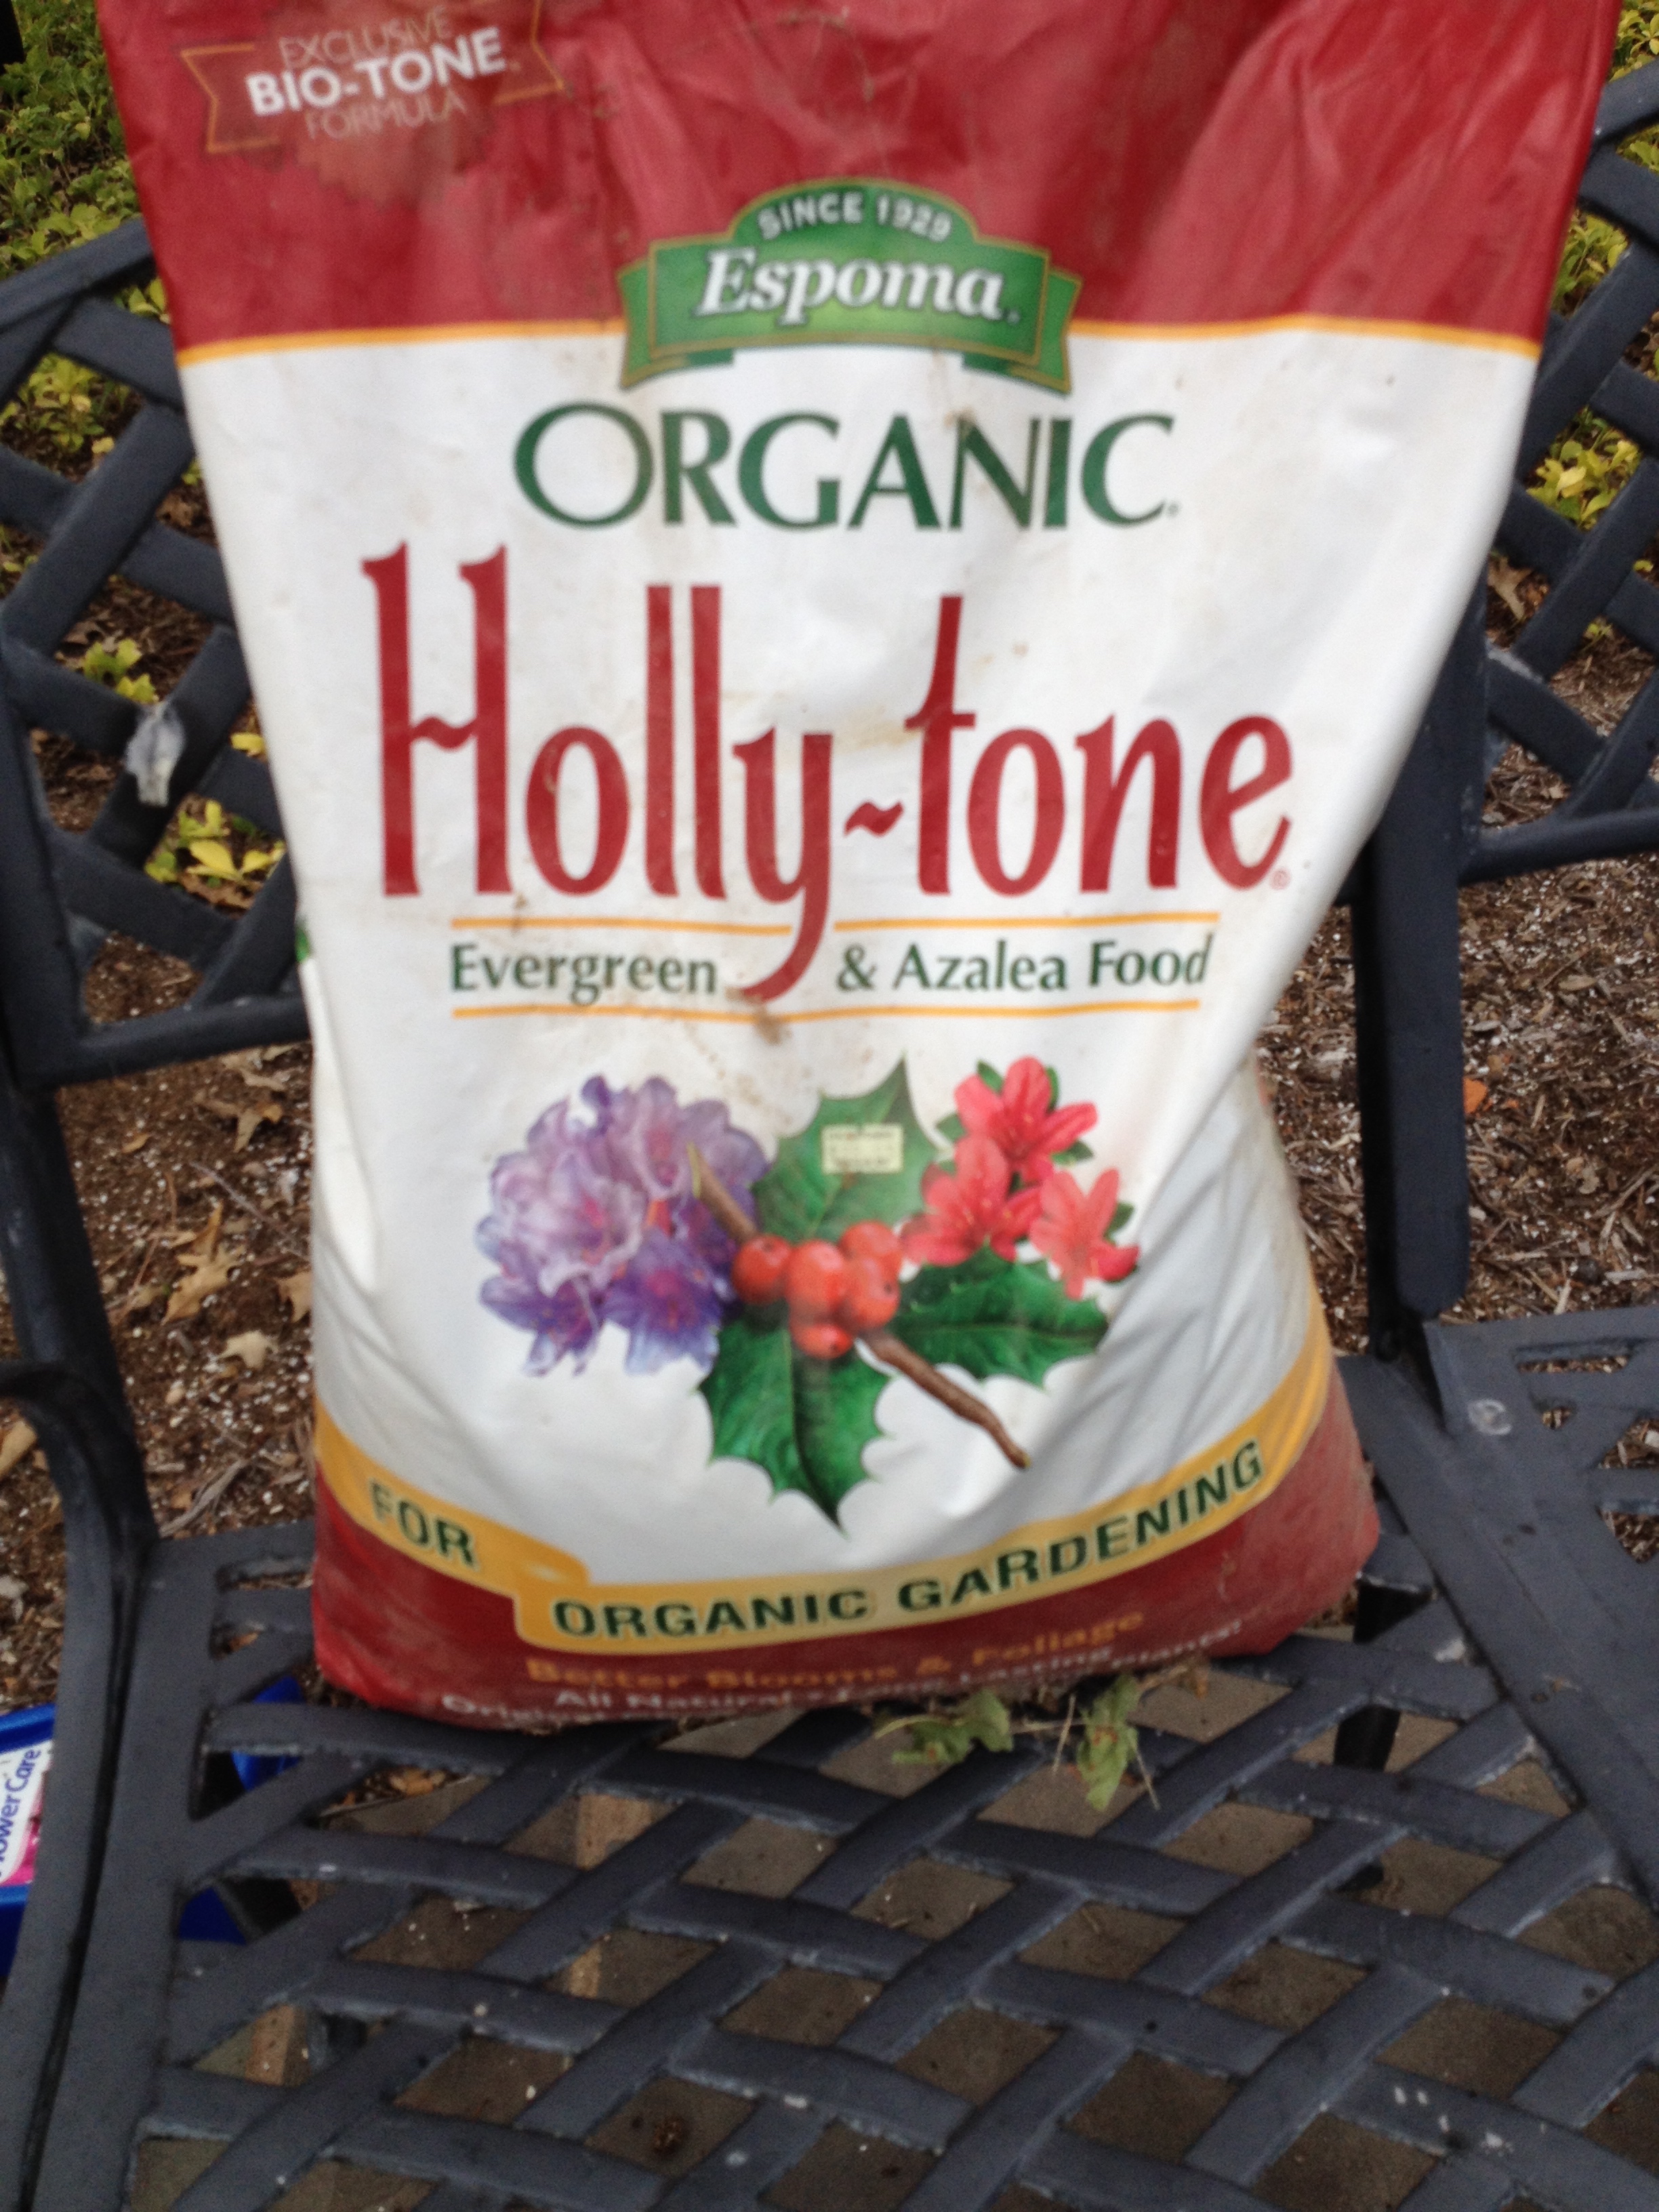
So with the fields finally plowed and tilled and 200 potato plants in the ground, we should finally get the rest of the garden planted as time allows. In the meantime, the apples, pears, blueberries and strawberries are in full bloom and the bees are delighted.  After a good spring clean up the landscape beds are full of spring promise as well. The Portuguese laurels look as if they benefited from last winter’s burlap protection and promising new leaves are evident as well as flower buds. The blooming dogwoods and nearby azaleas are accented by tender, young ferns popping up in the undergrowth. All 45 of the Double Knockout roses are leafing out nicely after their first feeding and promise to provide color all summer long. We have added some organic material to the flower beds and ornamental trees in the front landscaping. The pachysandra ground cover is particularly hungry for this supplement.
  This time of year is a very busy time for working with the bees. We had three very healthy hives here at the farm when we checked in on a warm day in last January but one hive apparently ‘went south’ (no, it did not swarm to more southern climates, but rather died out!) when we checked on it two weeks later, we found it was not viable. Although I was really disappointed to discover this, I reassured myself that this was statistically expected…most beekeepers can expect a 30% loss during the ‘over-wintering’ period. Interesting to note that one of our hives is actually extraordinarily strong while the one right next to it failed under the identical weather conditions. So go figure. As I learn more about beekeeping I am finding there are so many contributing factors that impact the hive conditions and they are not always due to human error. Jurgen’s other beeyards experienced similar issues over the winter but he knows how to rebound from the situation.
So we have spent our time assessing and manipulating the hives that survived in order to go forward. Case in point, we had one hive at another bee yard that looked very active. The bees were pulling in pollen, putting nectar into cells and were very active and busy but there were no eggs or brood in the hive despite the presence of a queen. Apparently, this queen was just lazy or otherwise ineffective since she was not laying eggs. Unlike the hive that had died out, this hive had a healthy population of active bees but an ineffective queen. If the queen doesn’t lay eggs, the hive has no future. Soooo, Jurgen decided to remove the queen and will replace her with another one. If he had not replaced her, the hive would have gone thru this transformation on its own by creating a new queen cell and “growing” a new queen that would supersede the ineffective one. Not willing to wait for this to happen, we captured the queen and hurried the process along by getting rid of her ourselves. Here is Jurgen examining her, using this opportunity to experiment with ways to mark our future queens. Some beekeepers grasp the queen by their thorax and paint this area to mark them. We typically mark a queen in a little tube that doesn’t require such a hands on experience, but it is good to be familiar with all methods for handling these insects.
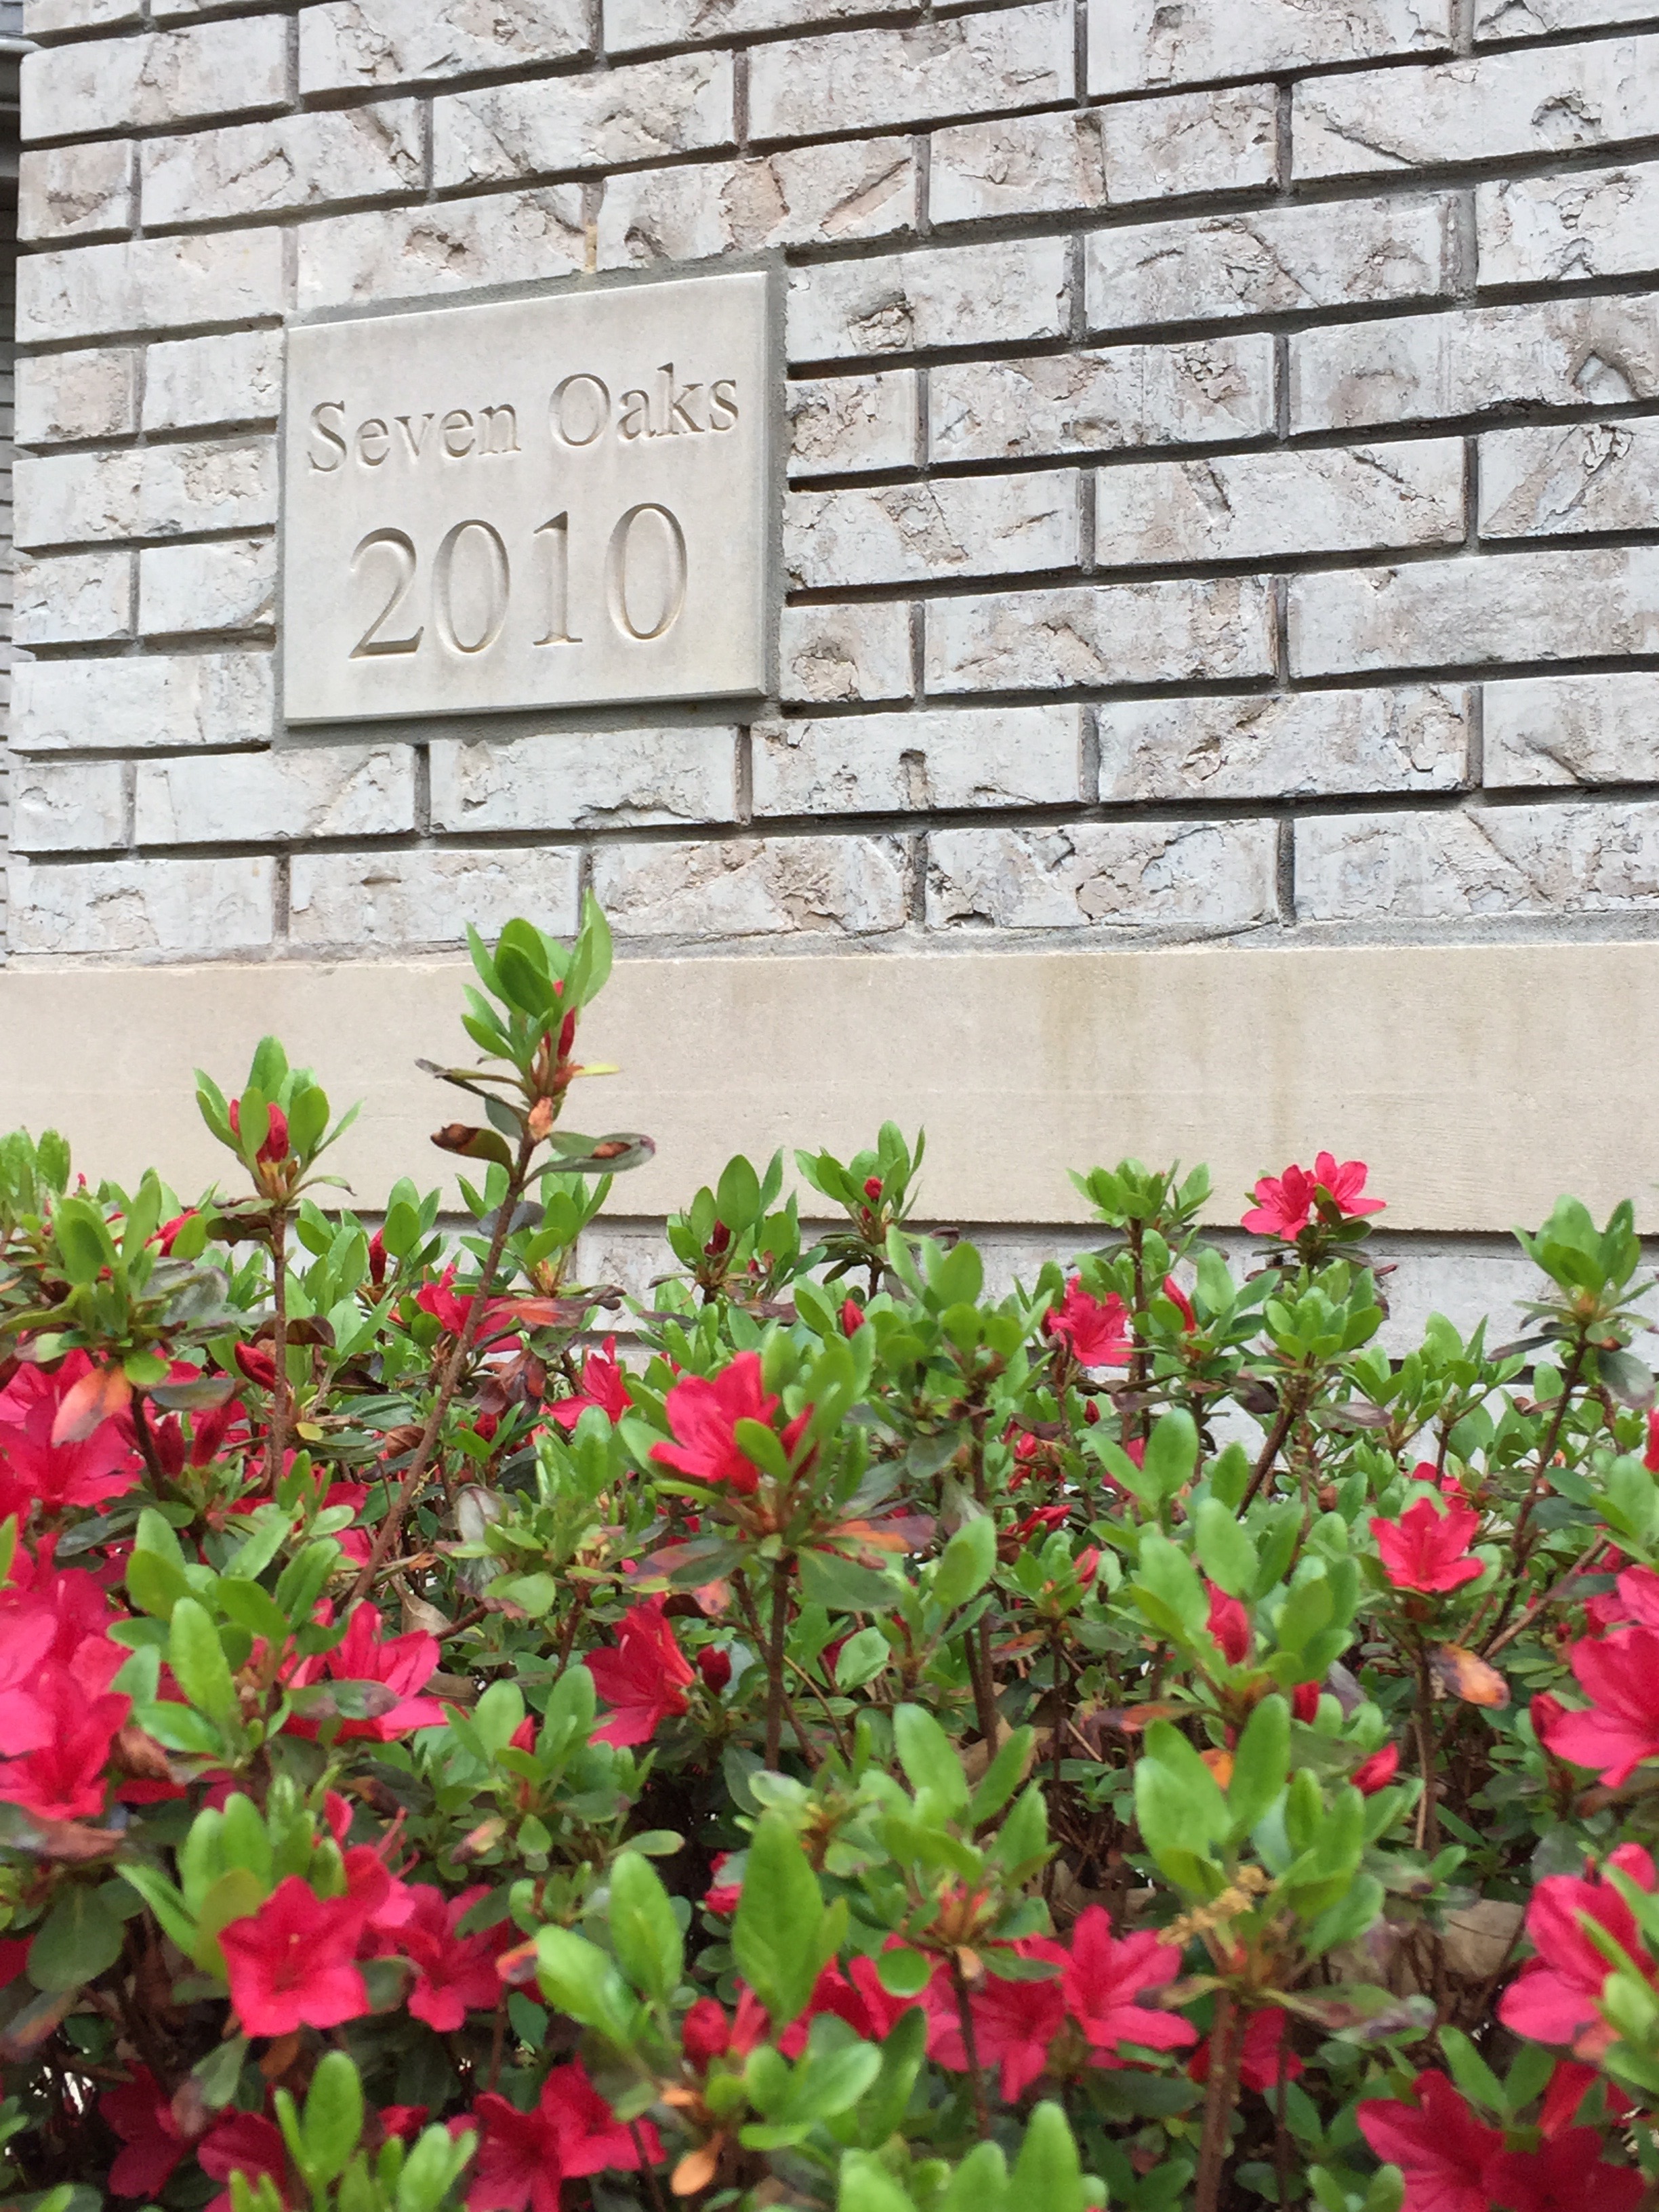
Expecting this type of seasonal scenario, Jurgen acquired 4 new queens to install wherever we needed them in various bee yards this spring. Purchased, new queens are already mated and come in little cages along with their ‘attendants’. Here is what this looks like.  On the right side of the cage is a cork plug with a sugar block just next to it. After we place the queen cage in the hive, we wait a couple of days for the hive bees to get used to her and then I will remove the tiny cork which will allow the bees to eat thru the sugar and expose the queen in a gradual way to the hive. The anticipation of a new queen is huge to the hive! Here is Jurgen installing a queen cage in one of the hives at Seven Oaks.
Since then we have continued to foster the newer colonies by feeding them sugar syrup to ensure that they have a food source until the nectar flow increases in the blooming season. Yesterday we visited all five bee yards and added honey supers on top of all of the deep brood boxes. These honey supers are boxes which contain 10 frames each that the bees will draw out with comb and then fill with honey and cap with wax. Many of Jurgen’s frames are already drawn out which is a great advantage! In order to encourage the bees to get to work on this process, we sprayed each frame with sugar water. It was a good day of beekeeping since the weather was nice enough that we weren’t sweating to death in our heavy suits and carrying around empty honey supers is much lighter work than it will be in a couple of months from now when we hope to be lifting these same supers off to harvest around 4o lbs of honey from each box. Here are the hives at Seven Oaks. There are 5 active colonies with a spare hive for expanding later in the season. Hives 3 and 7 are the newer ones, and still have entrance reducers in the front opening since these colonies are not strong enough yet to protect their entrance from possible intruders. 
At the end of a good day of beekeeping, Helen treated me to some of Jurgen’s freshly baked sour dough bread (cranberry walnut) with his favorite brand of German butter. What a special treat!  We continue to be on WARD WATCH, as Kate calls it, since everyone is still drumming fingers in anticipation of Baby Ward’s arrival. He is a full week late at this juncture but one way or another, the clock is ticking down since the doctor is giving him a short reprieve before they start nudging things along. In the meantime, the Ward family has purchased a house not far from the farm (actually, a short walk away) so we are thoroughly enjoying the thought of having all three of them in close proximity by the end of May! We are delighted by the prospect of sharing the farm activities as well as fresh produce with them!

 We are over the moon with his sweet, sweet arrival! Here he is in profile…I just want to gobble him up!We can’t wait to welcome him to the farm and get him eating all the farm goodies we will have to offer!
 I will leave on Saturday to help out as the Ward family spends their final month in California before transitioning to nearby Kirkwood, Missouri at the end of May. Did I mention that we are over the moon??? Nothing compares to welcoming a little baby! Congrats to the proud parents! Well done!
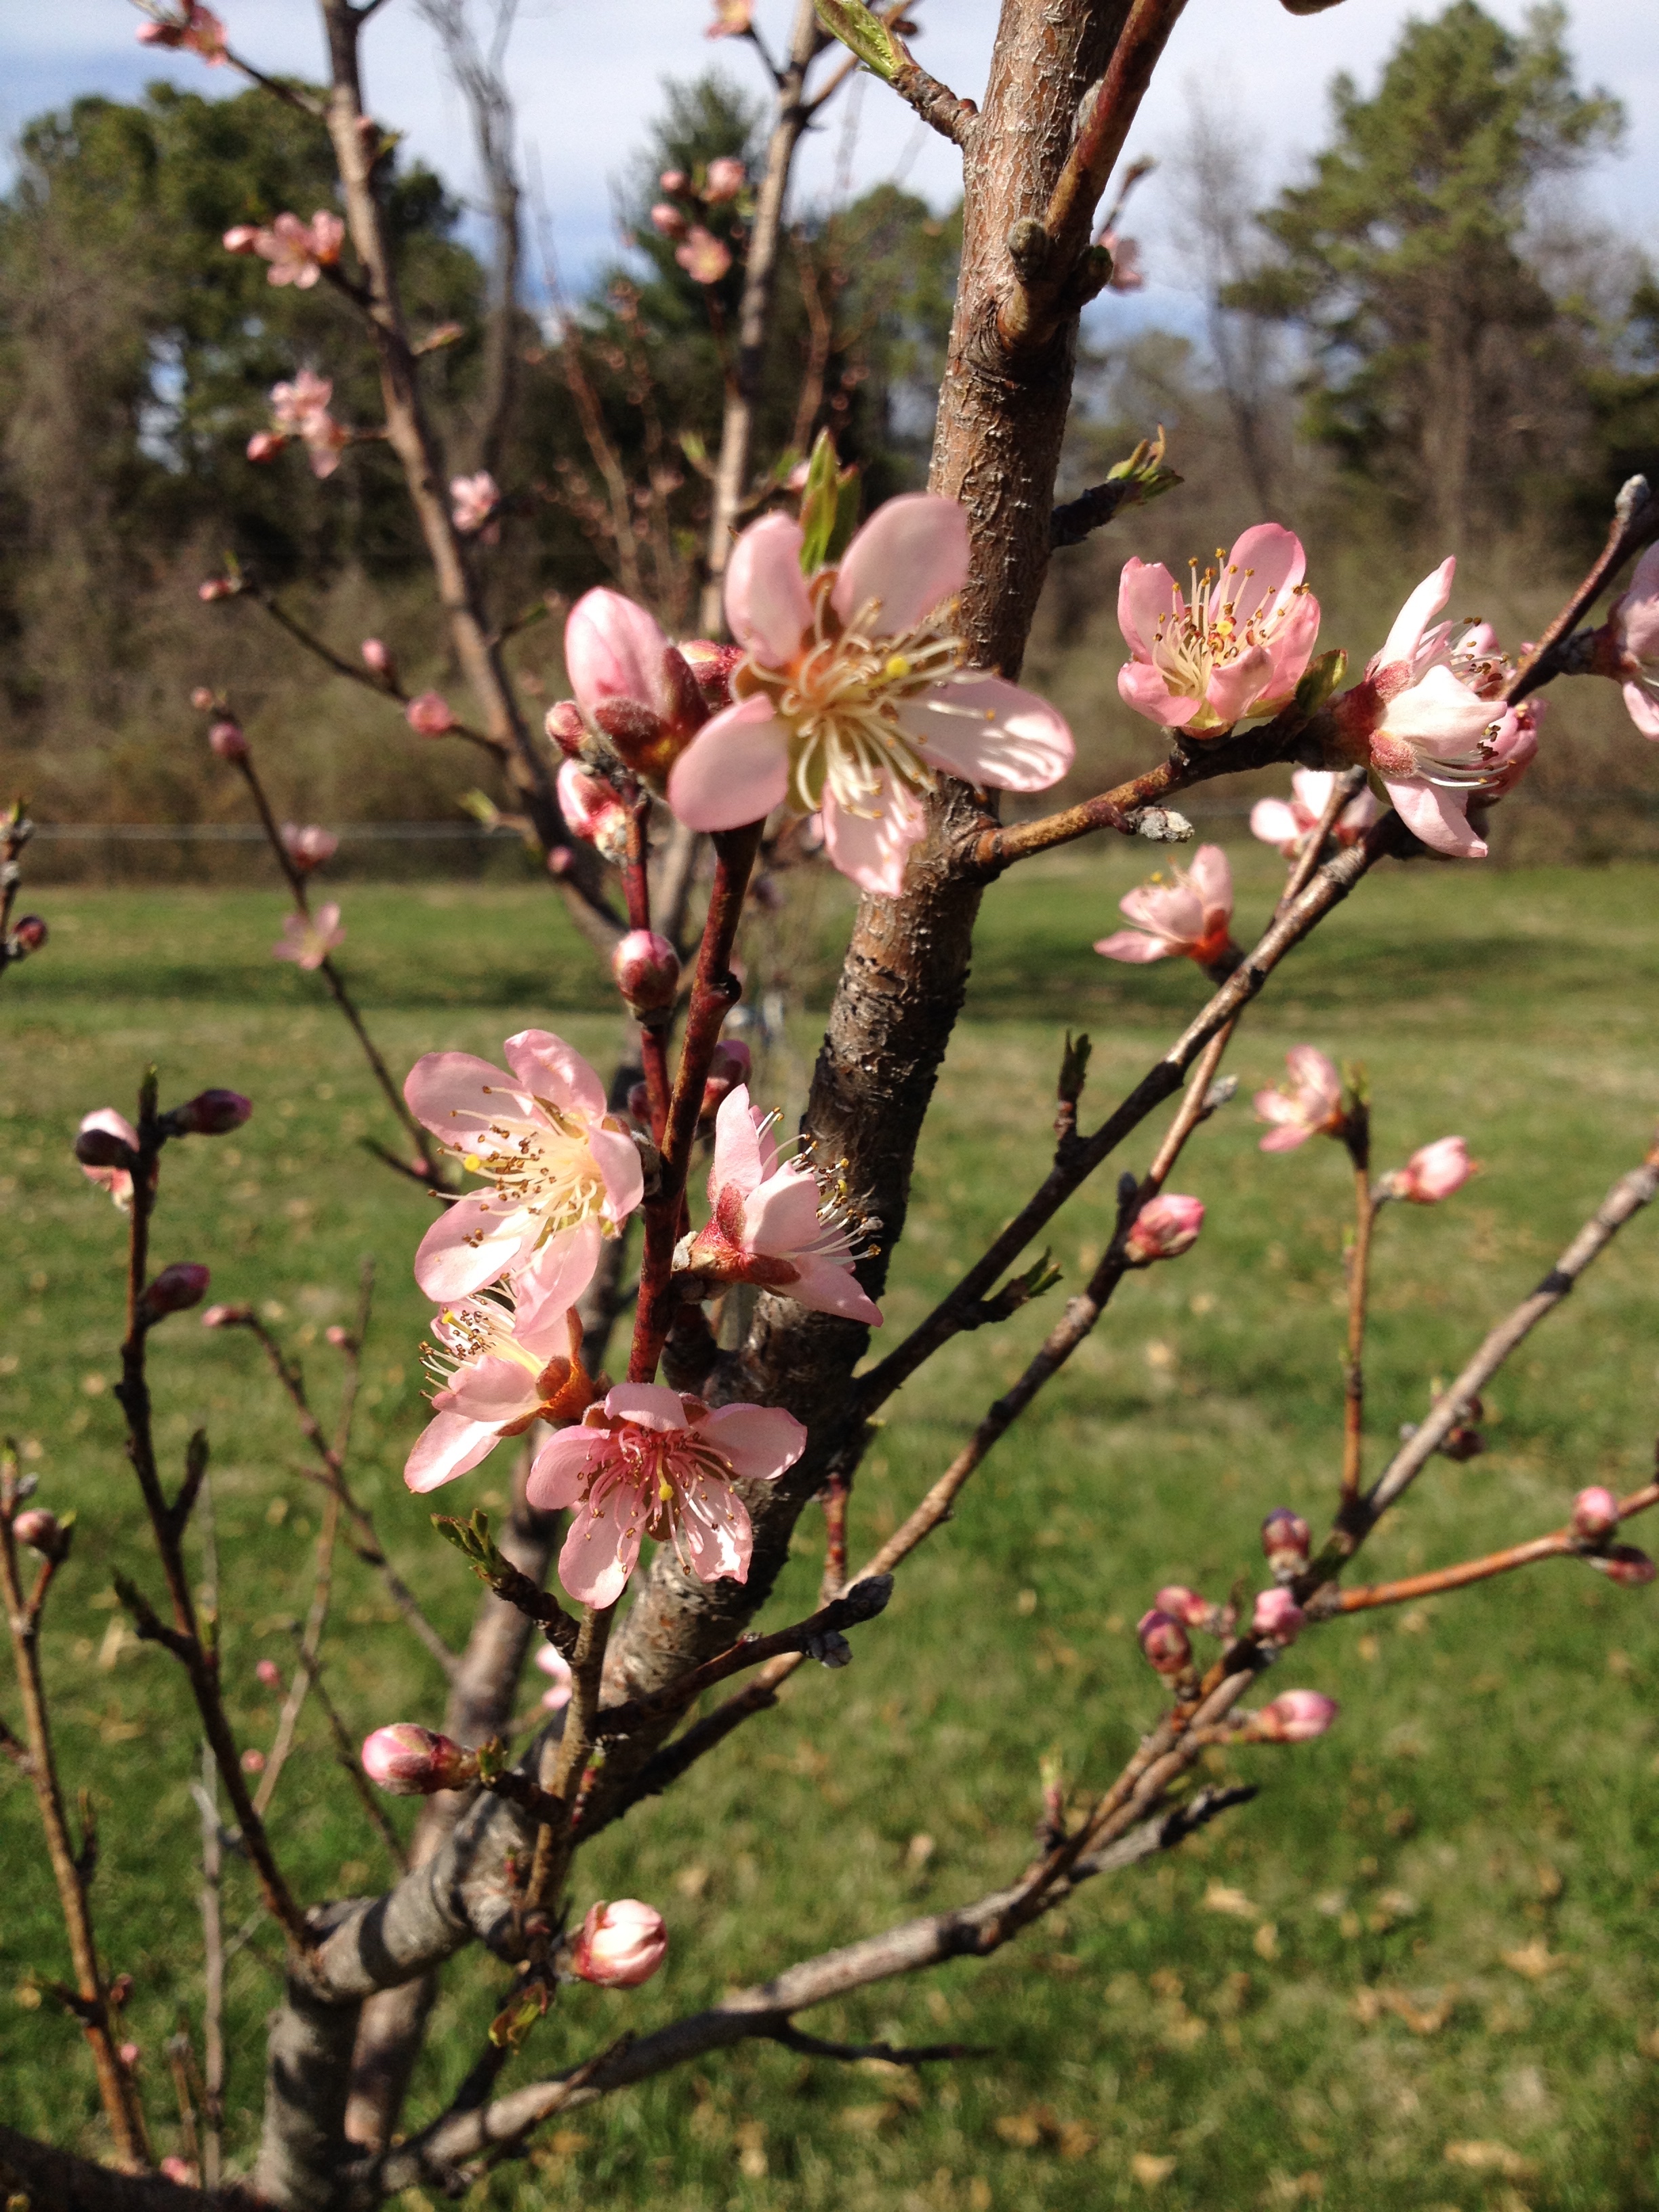
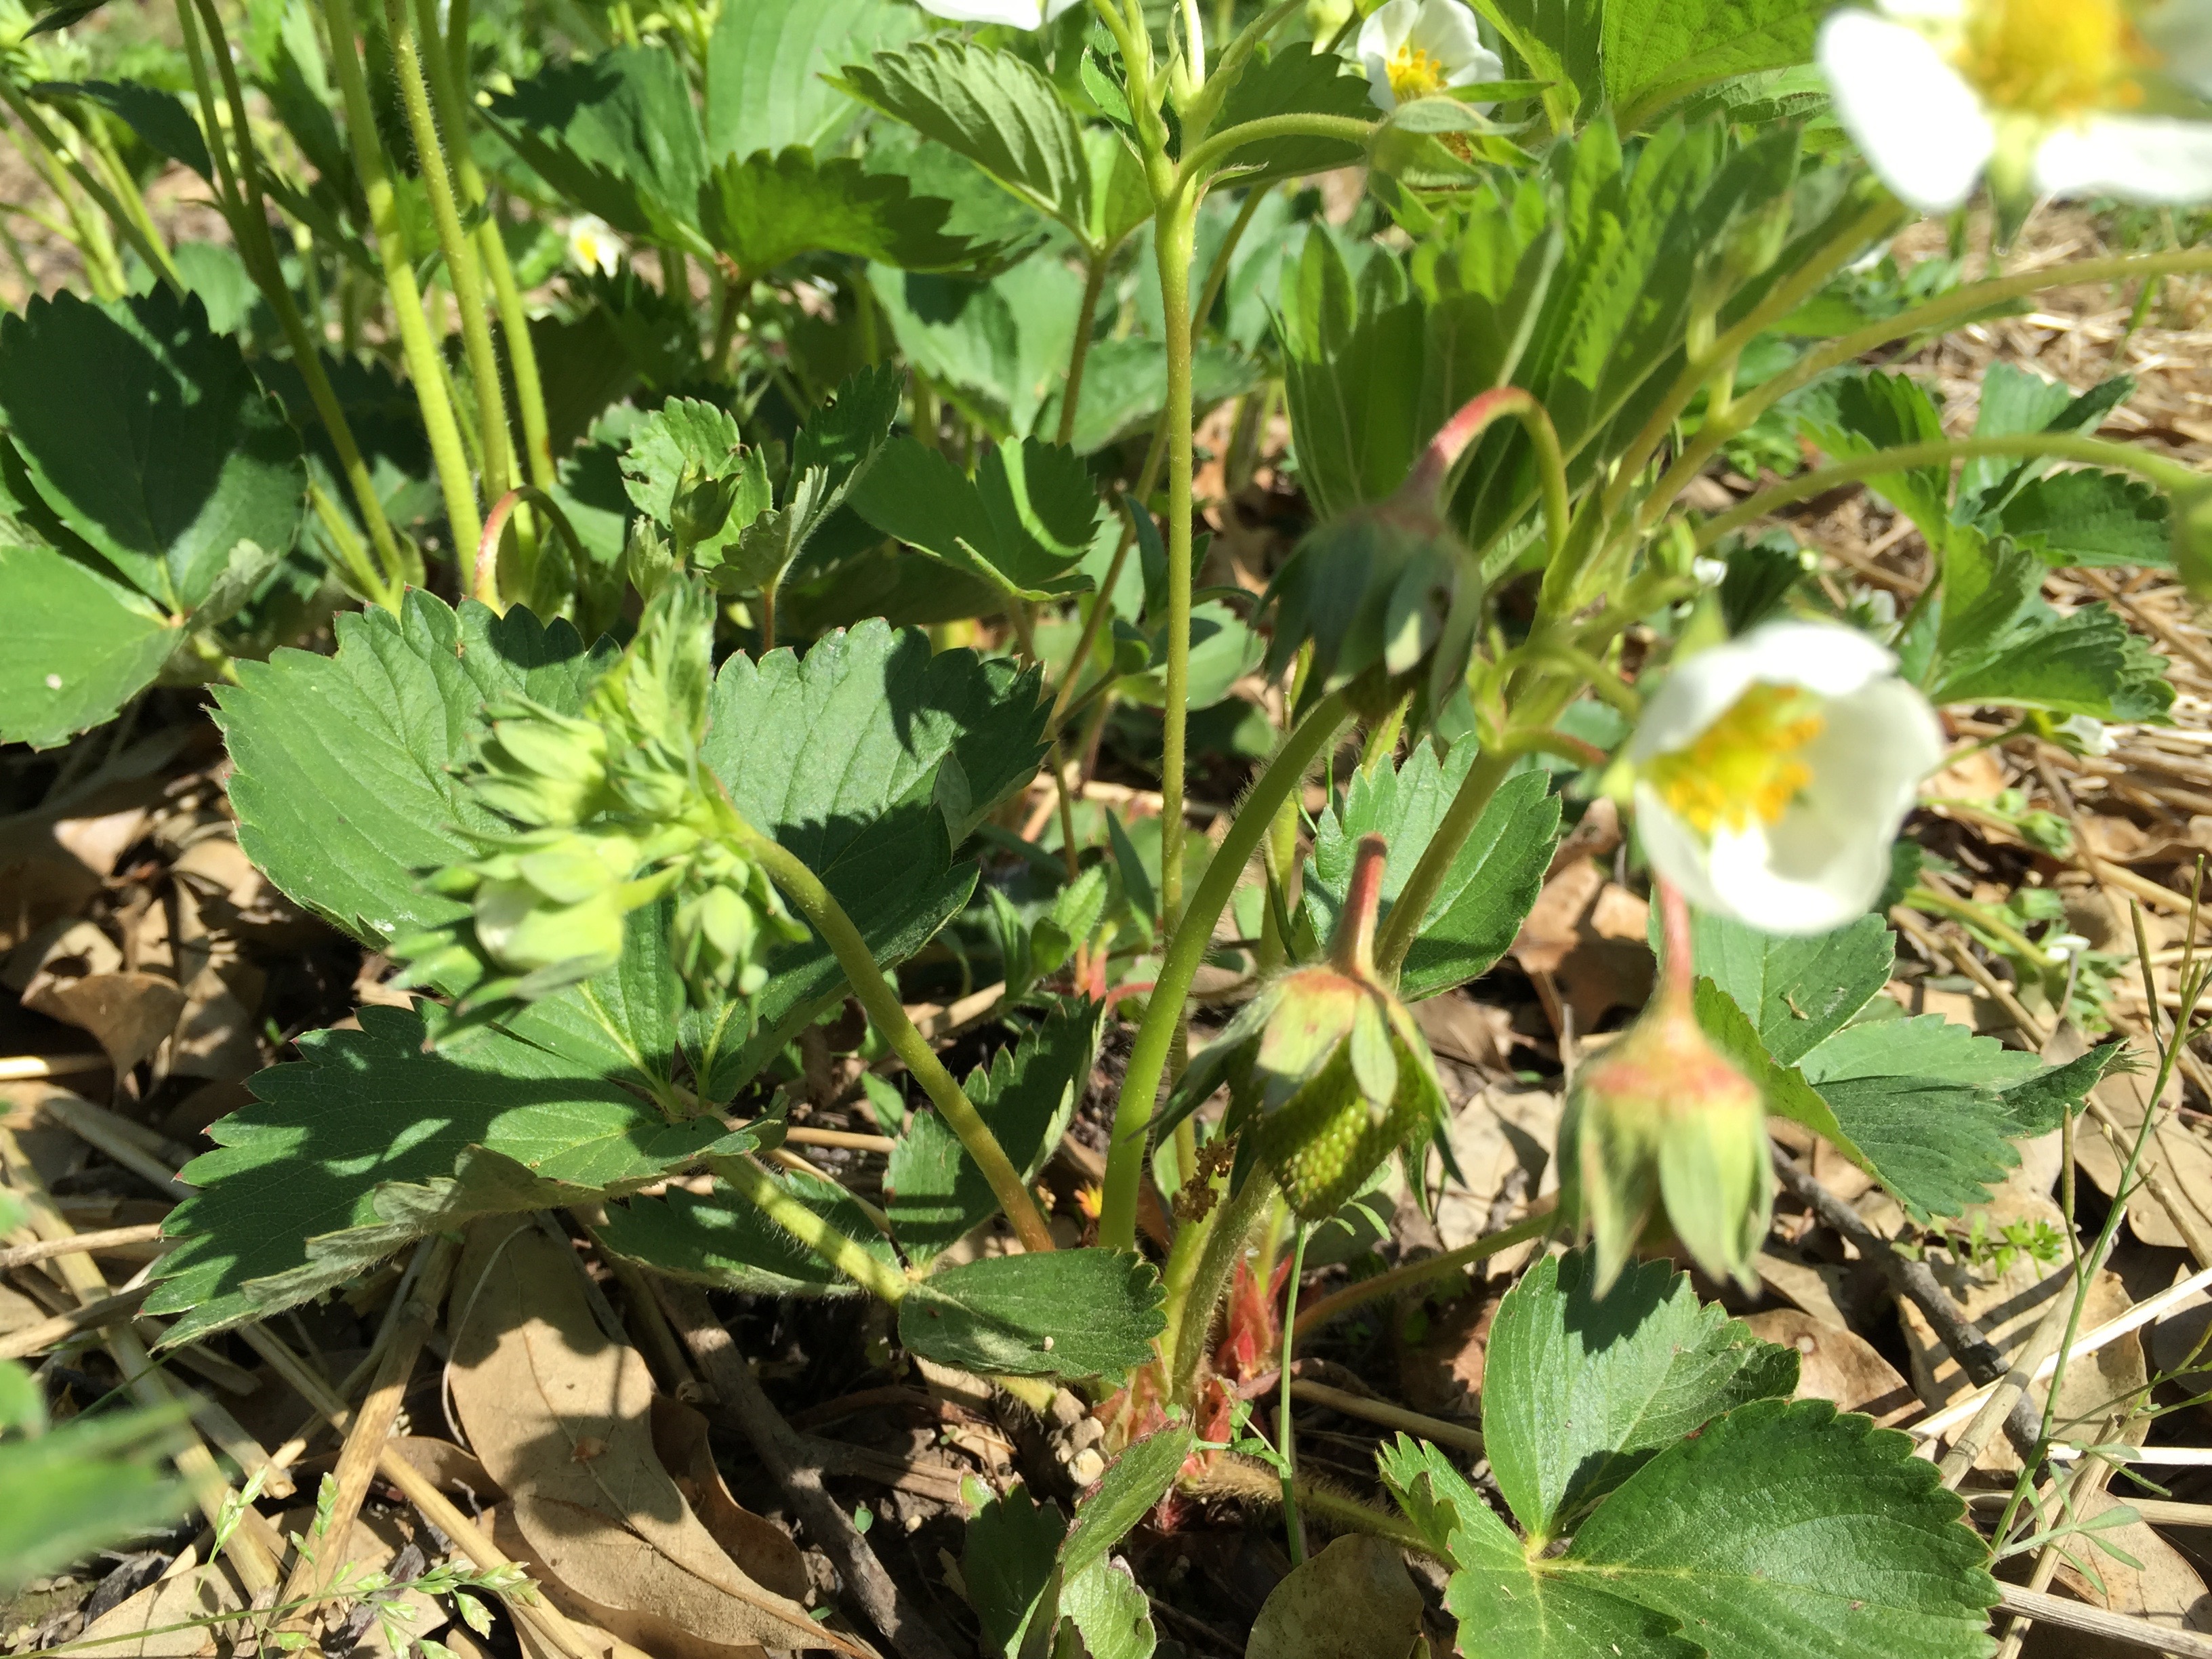 Talk about setting on…the orchard is crazy with fruit right now! The peaches and nectarines are absolutely loaded with tiny fruits! It may be hard to see, but the white round/oblong part of this pic is the fuzzy fruit of a peach. The blossom end is still attached but that will fall off soon. We may still have to cull some young fruits off these smaller trees but we are hoping for a stellar season of stone fruits!
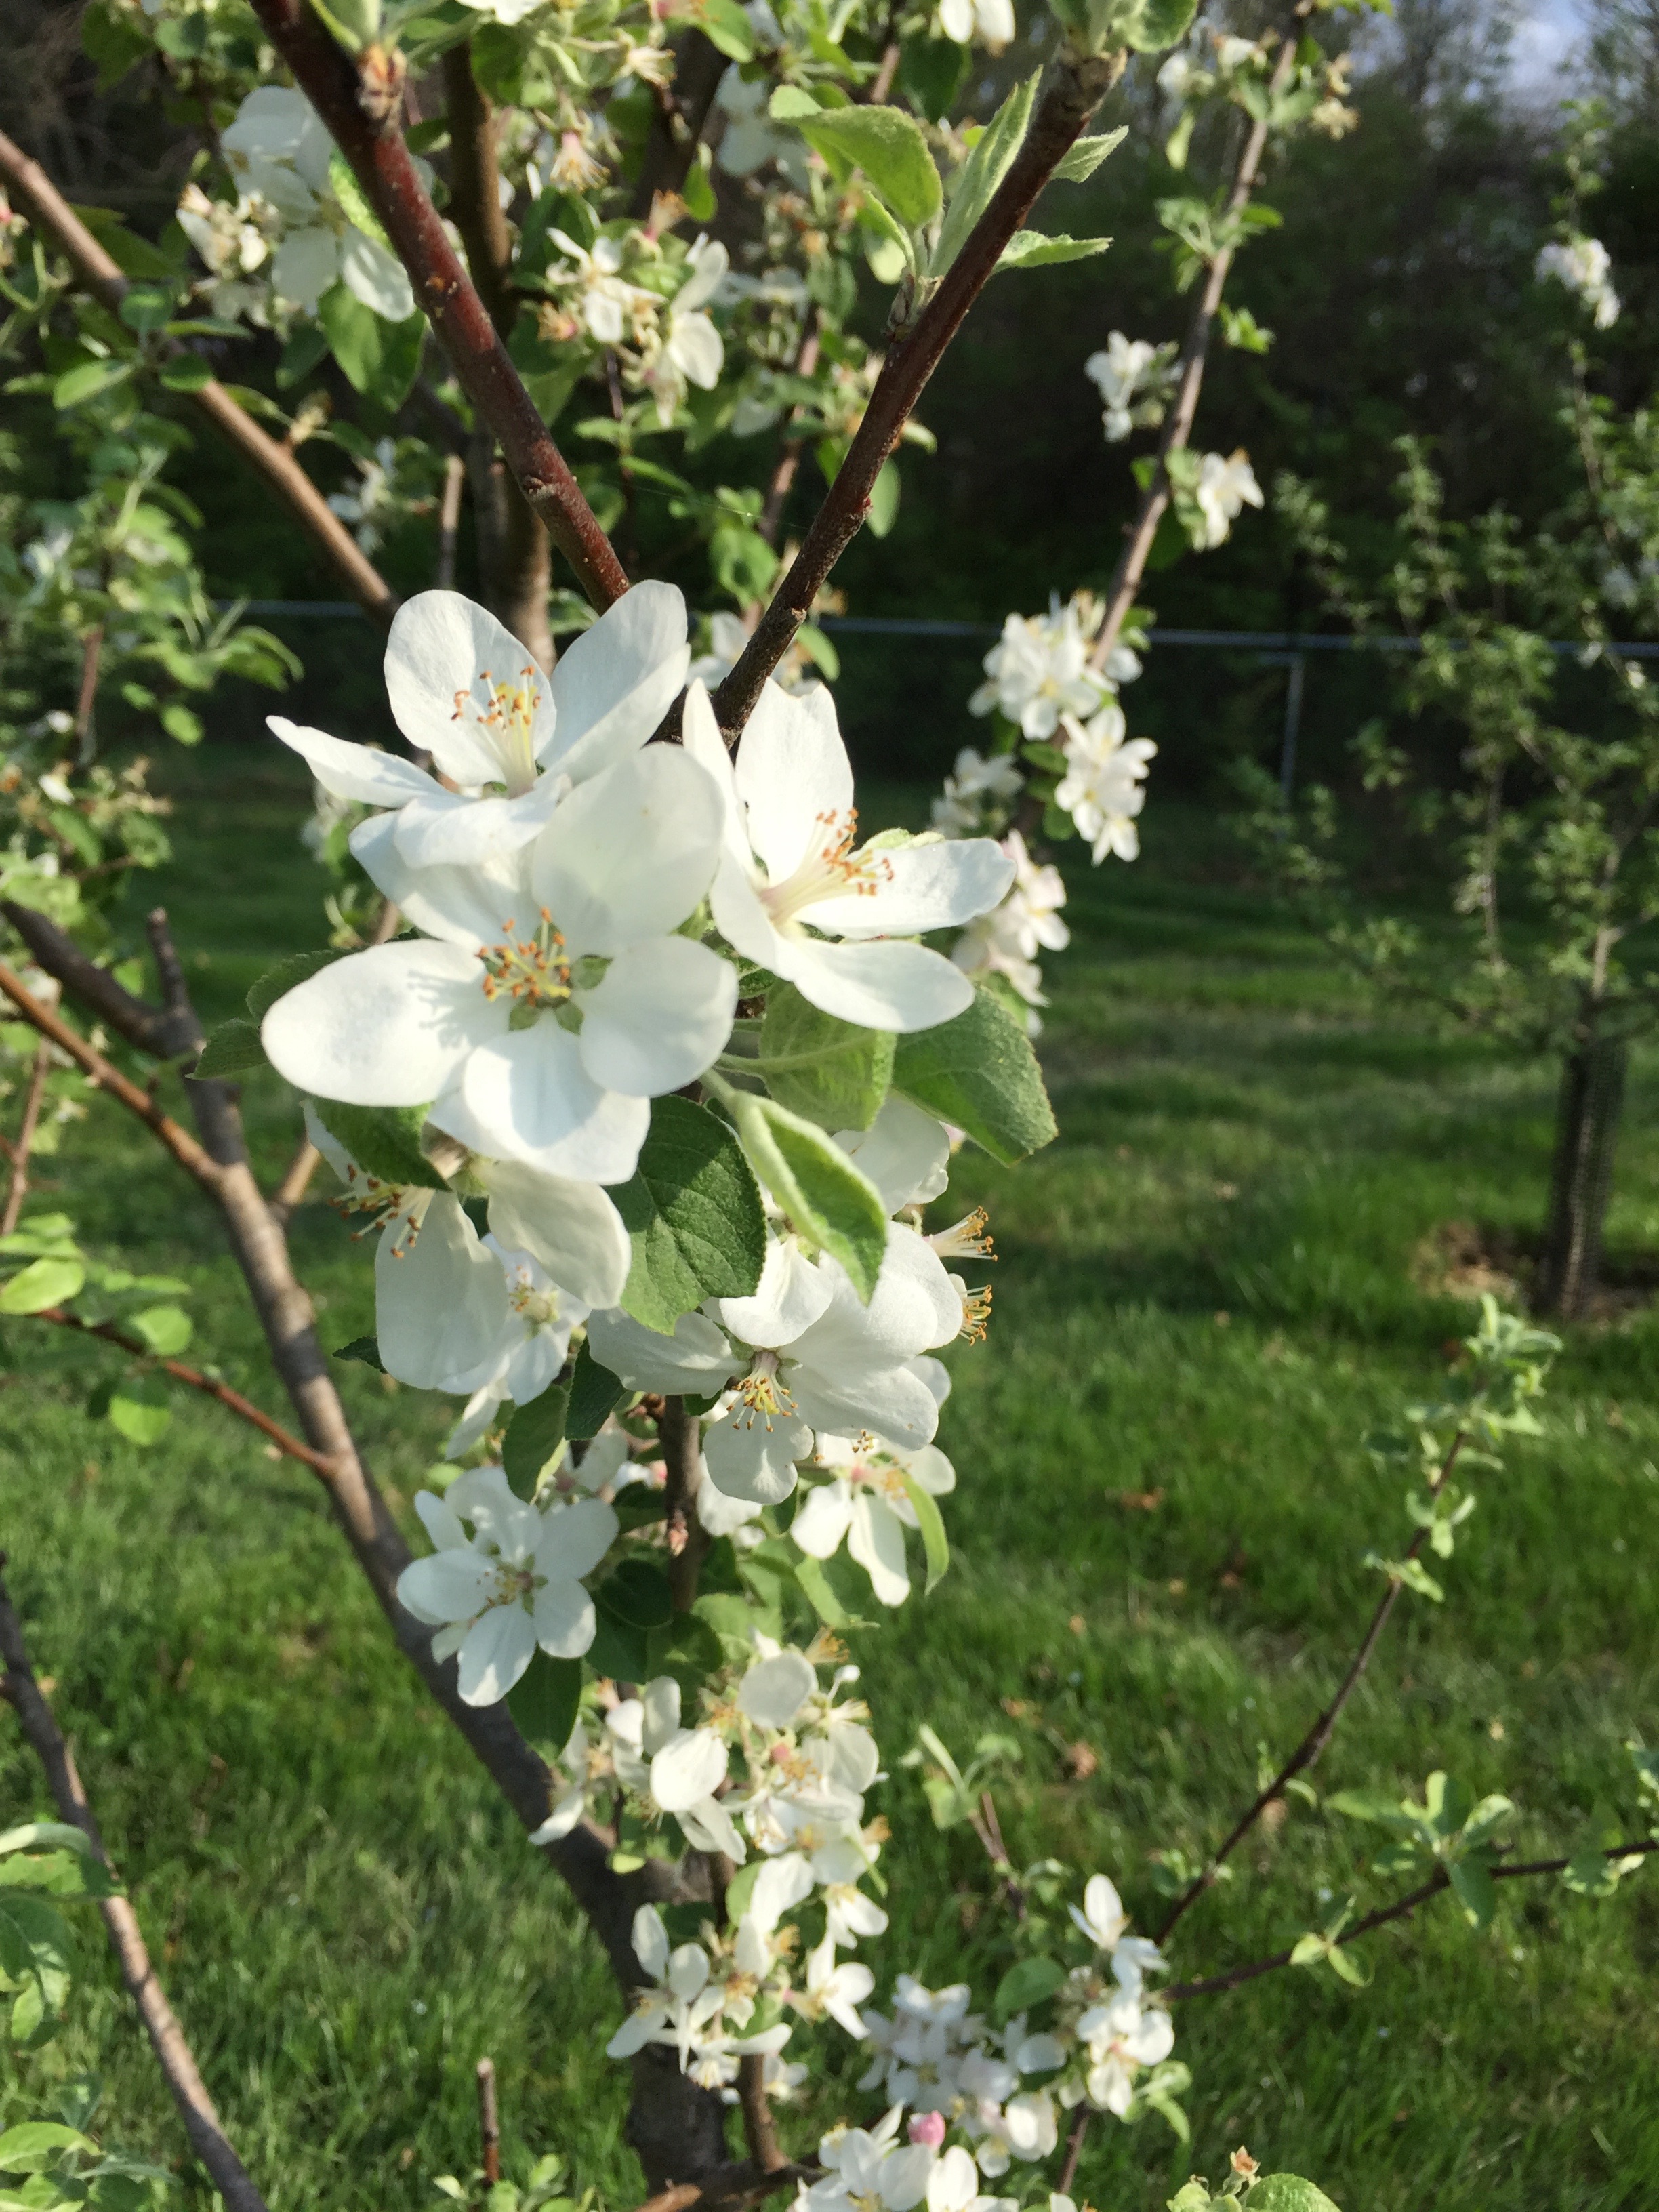
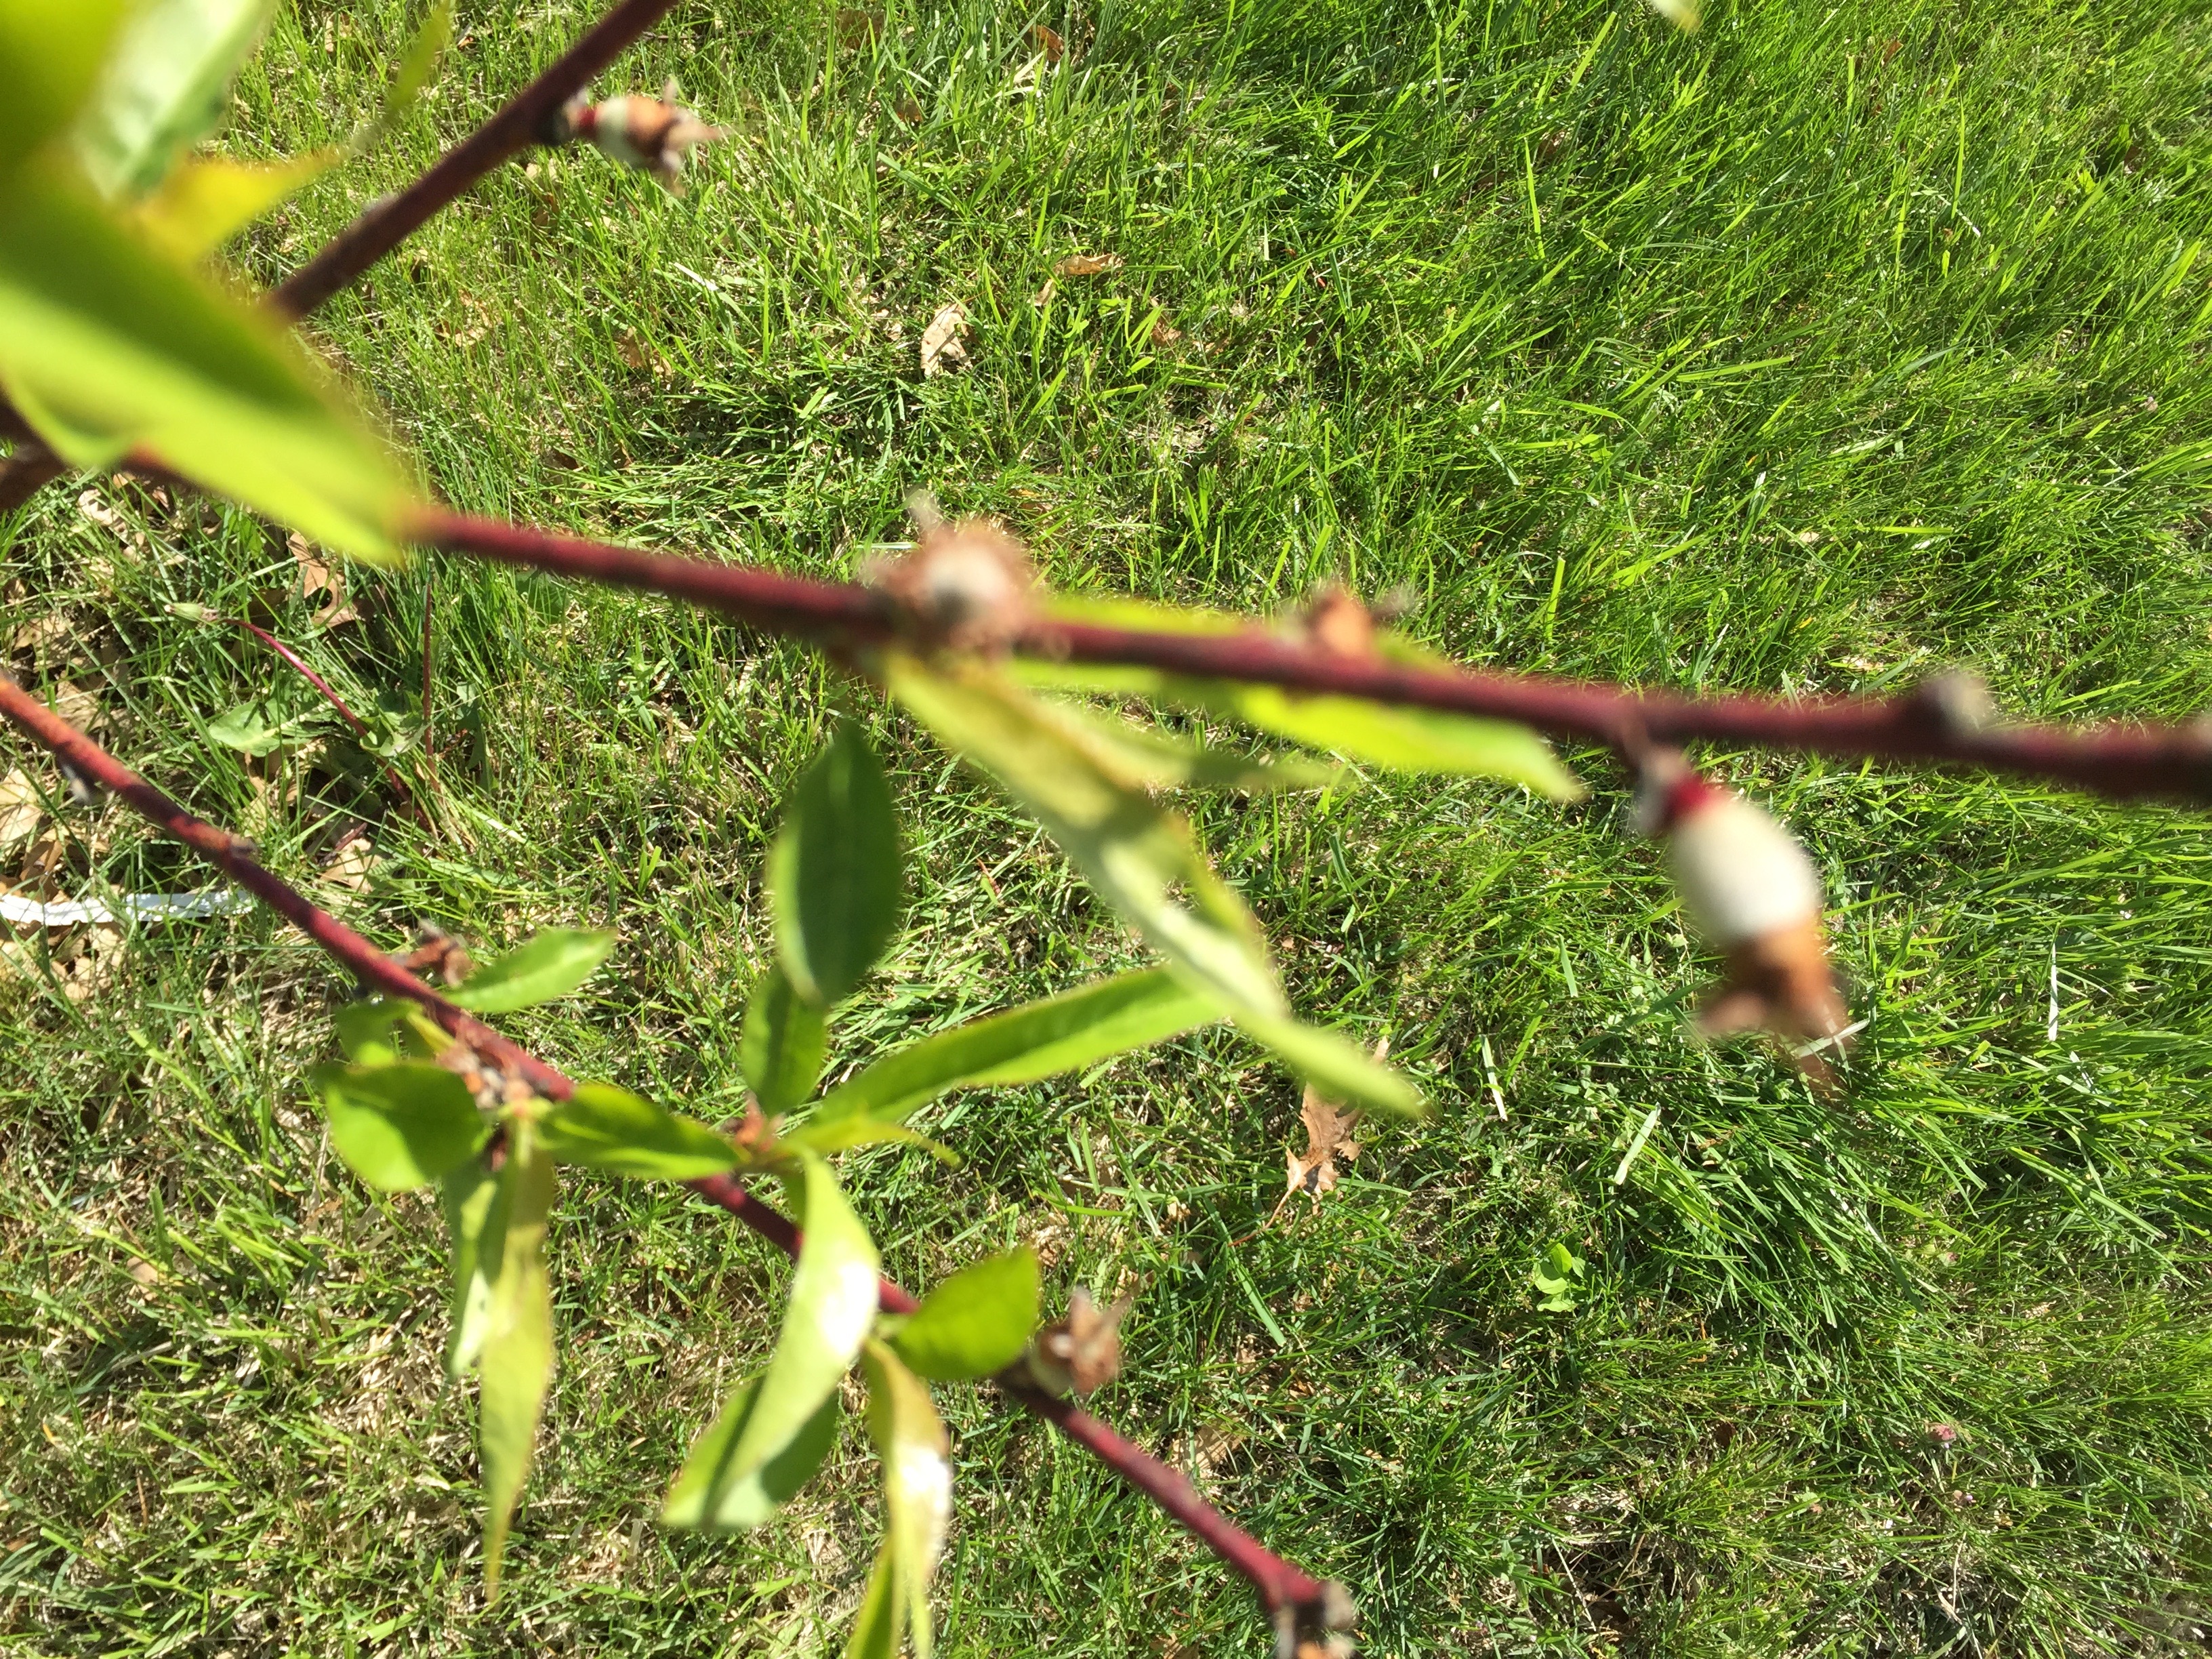 The apple/pear side of the orchard is in a similar situation! The evidence of small, future fruits from the blossoms are just profoundly evident! Future apples (little swells) are just under the crown of the stamens!
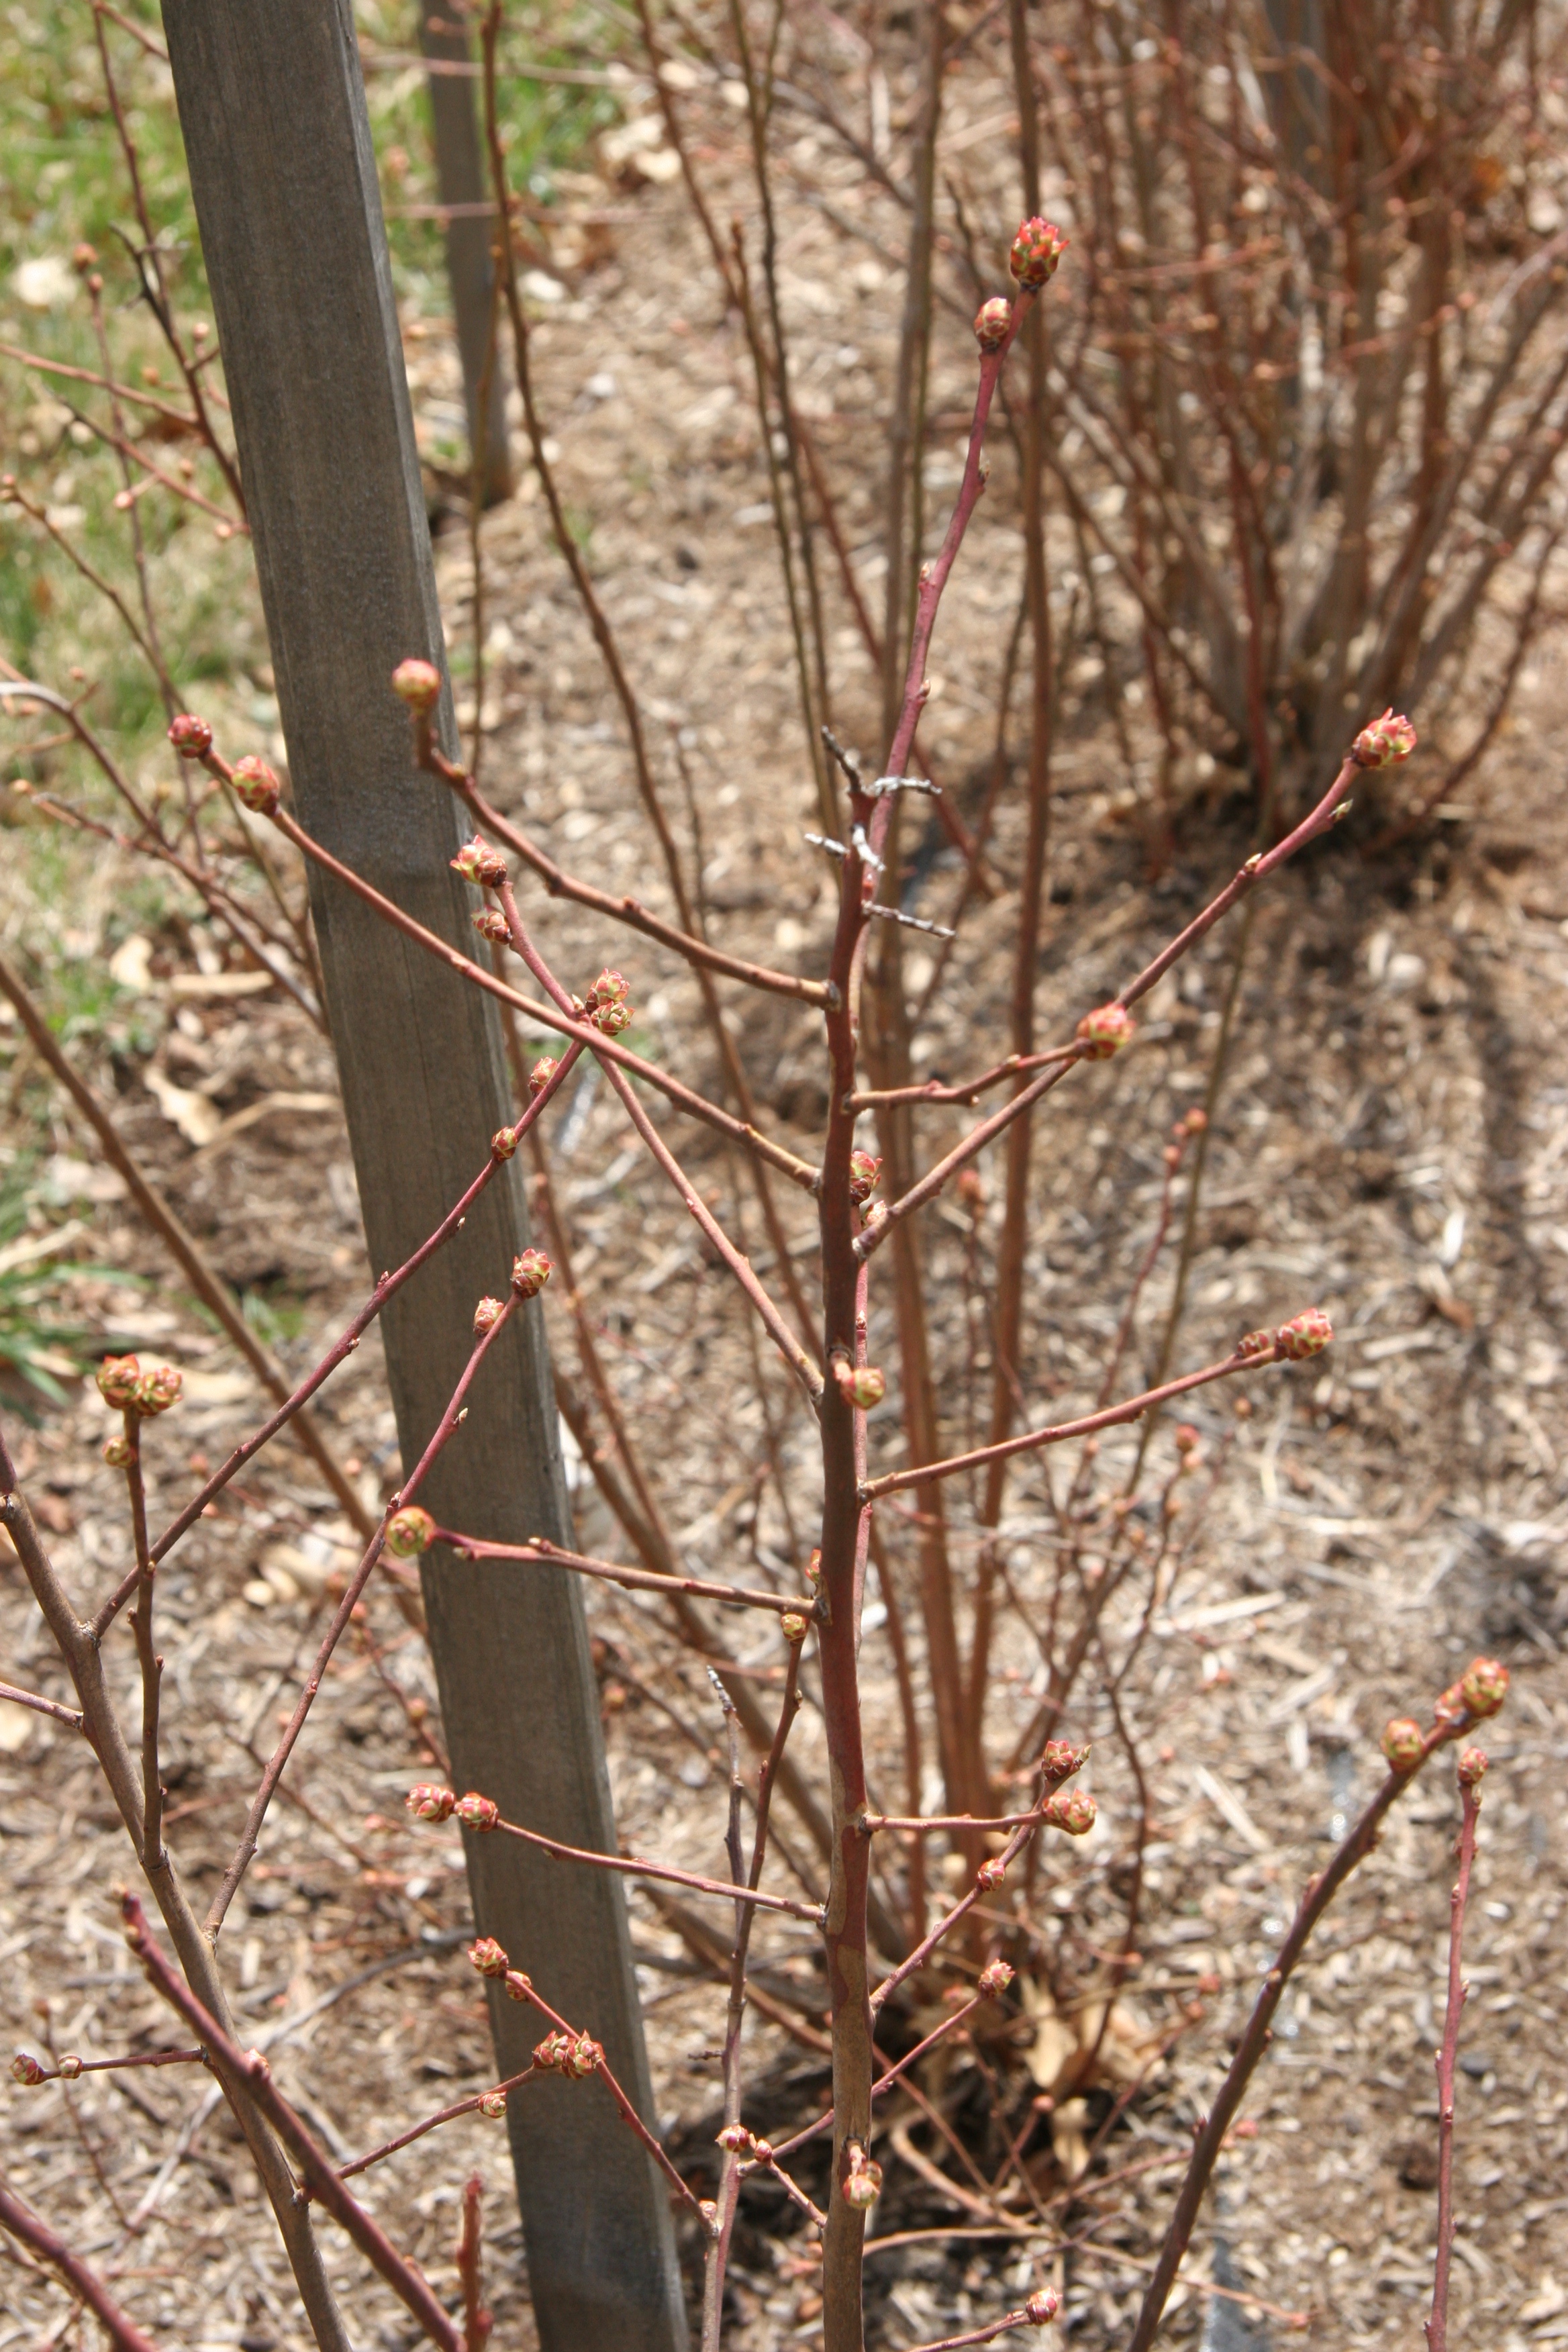
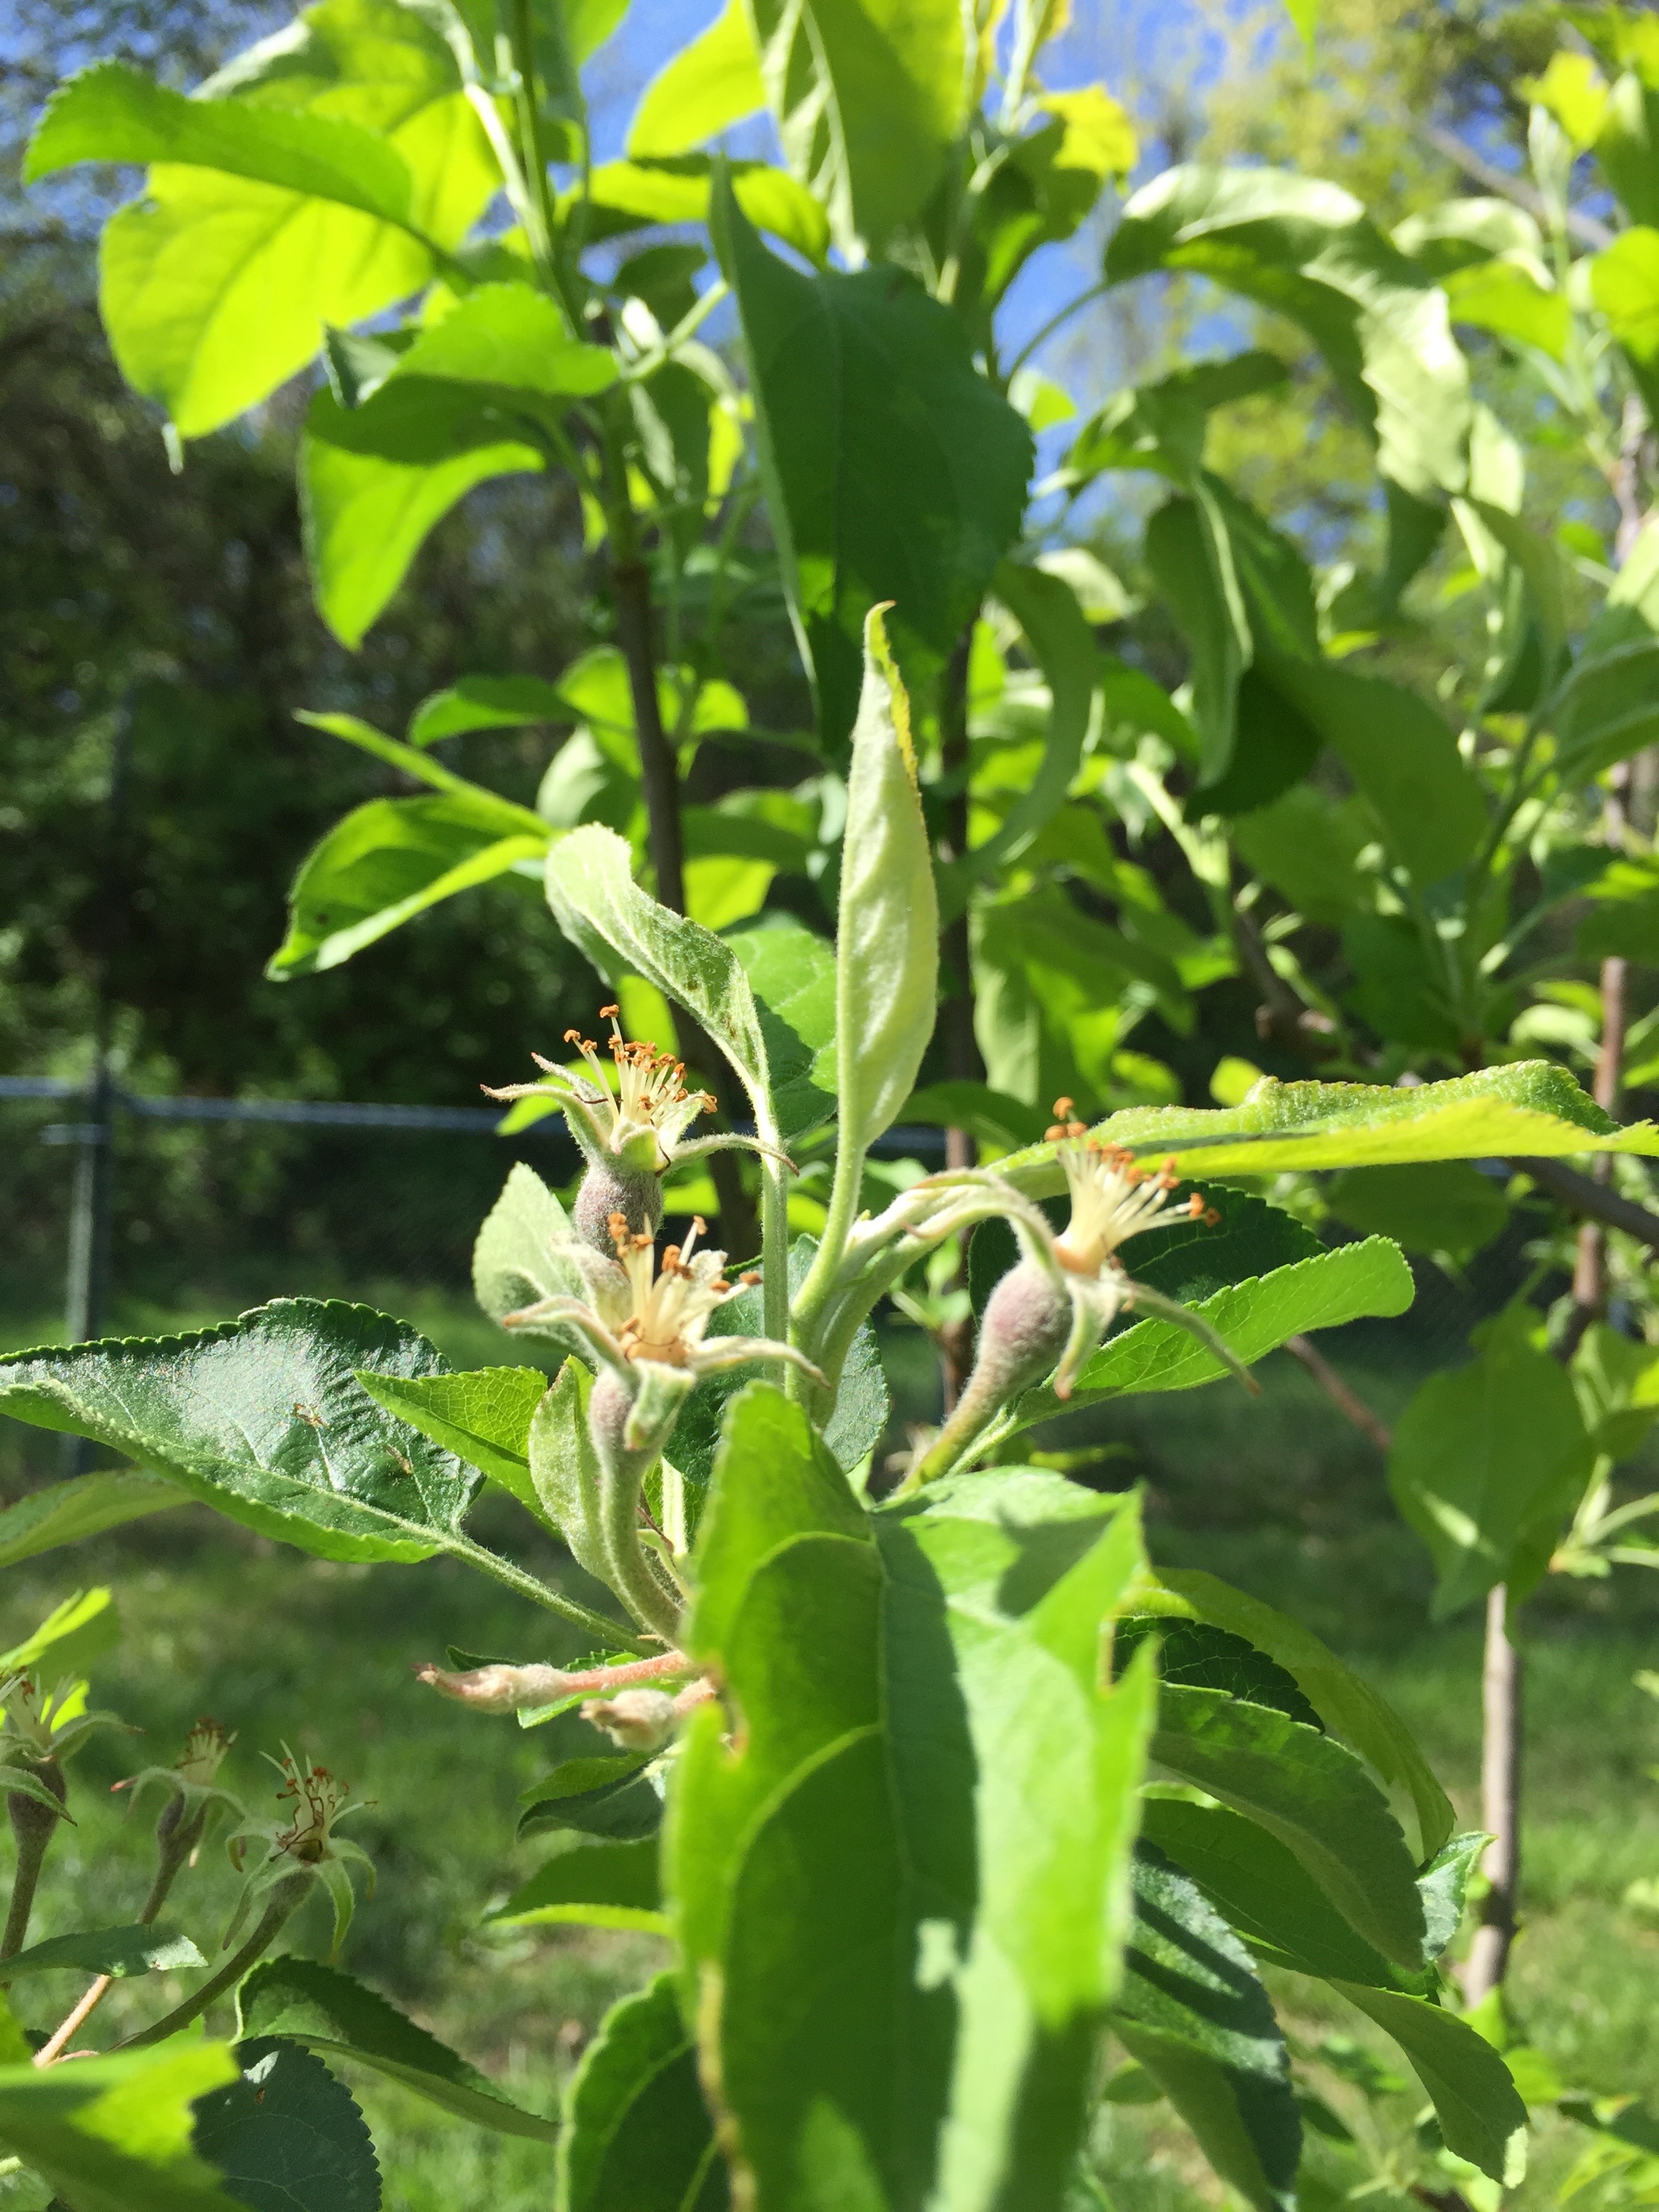 The blueberries are also prolific and blooming their heads off with more fruit set on than I’ve seen any other year! Here are blossoms.
 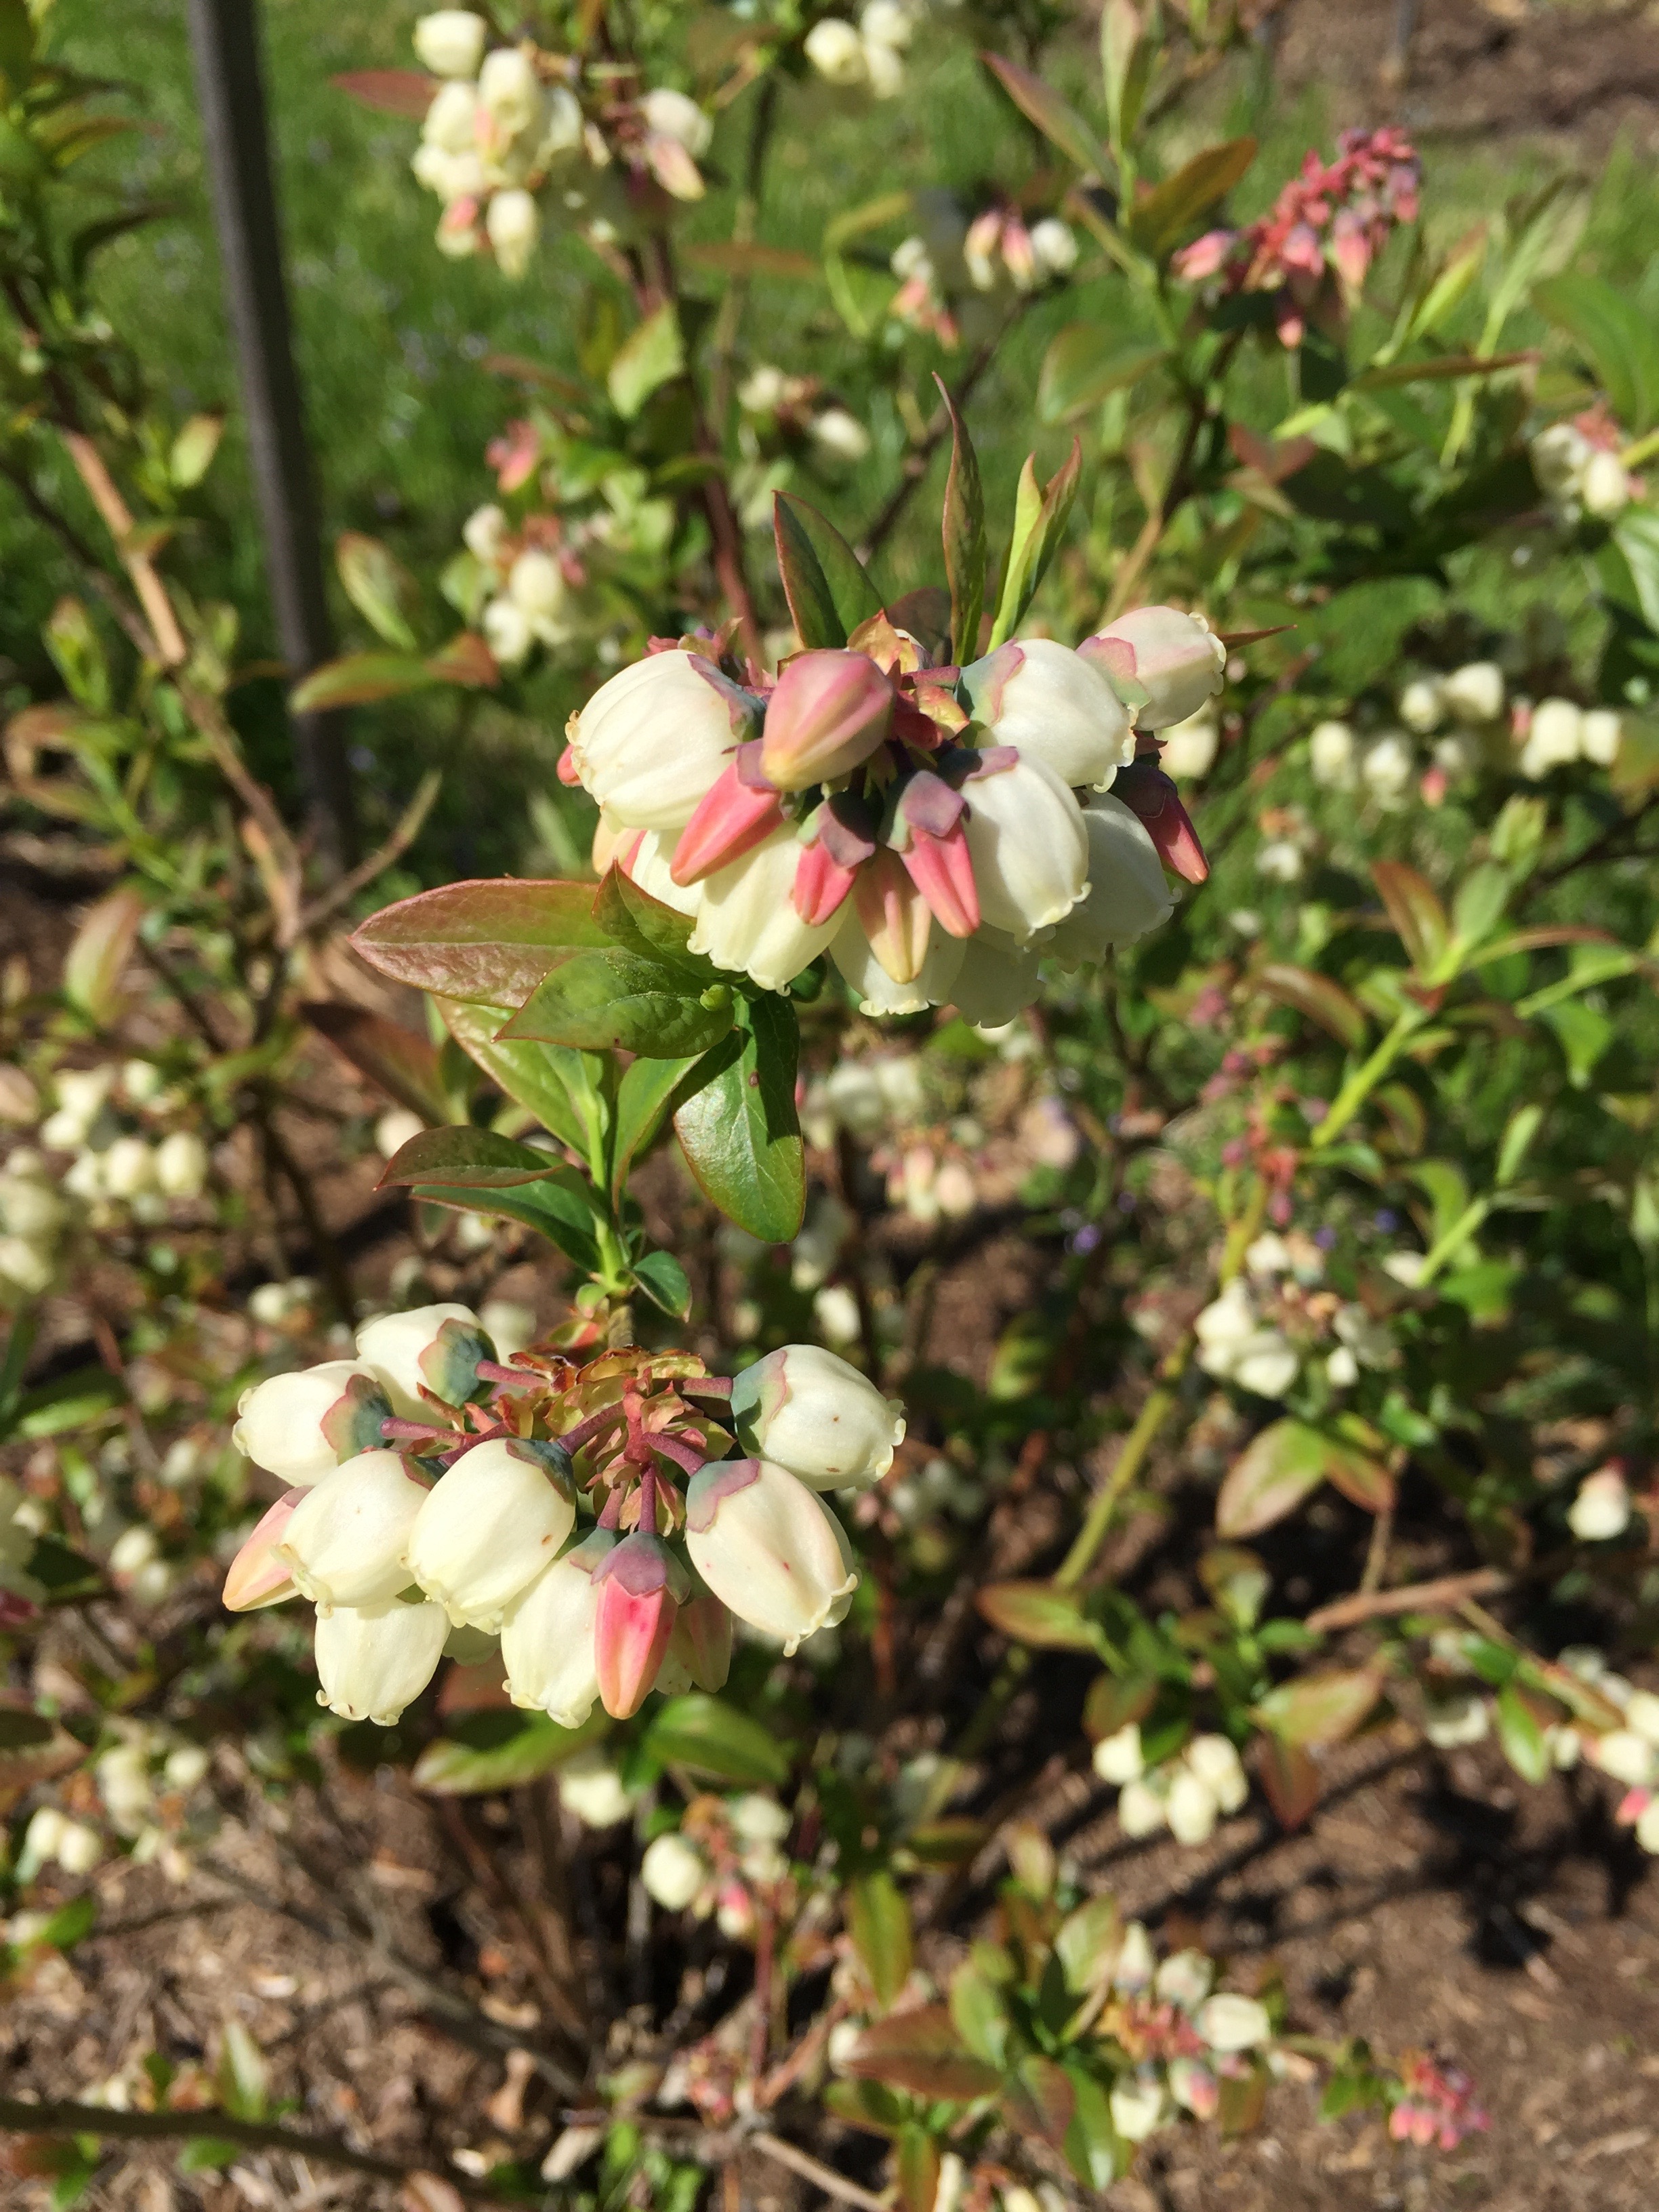 We put the netting back on the blueberries today. This maneuver is a two person job but is still tricky to do since the nets get caught on the posts here and there (and even our boot eyelets!) but we try very hard not to let the netting touch the blossoms since they will tear at them and rip them off if we are not careful. The nets are 14 feet wide by 45 feet long so they can be rather cumbersome to install. They are trickier after several seasons since they have repairs and spots that are tangled. Here is one of the large stored nets that we unfurled today and installed on one of 5 varieties of blueberries.
 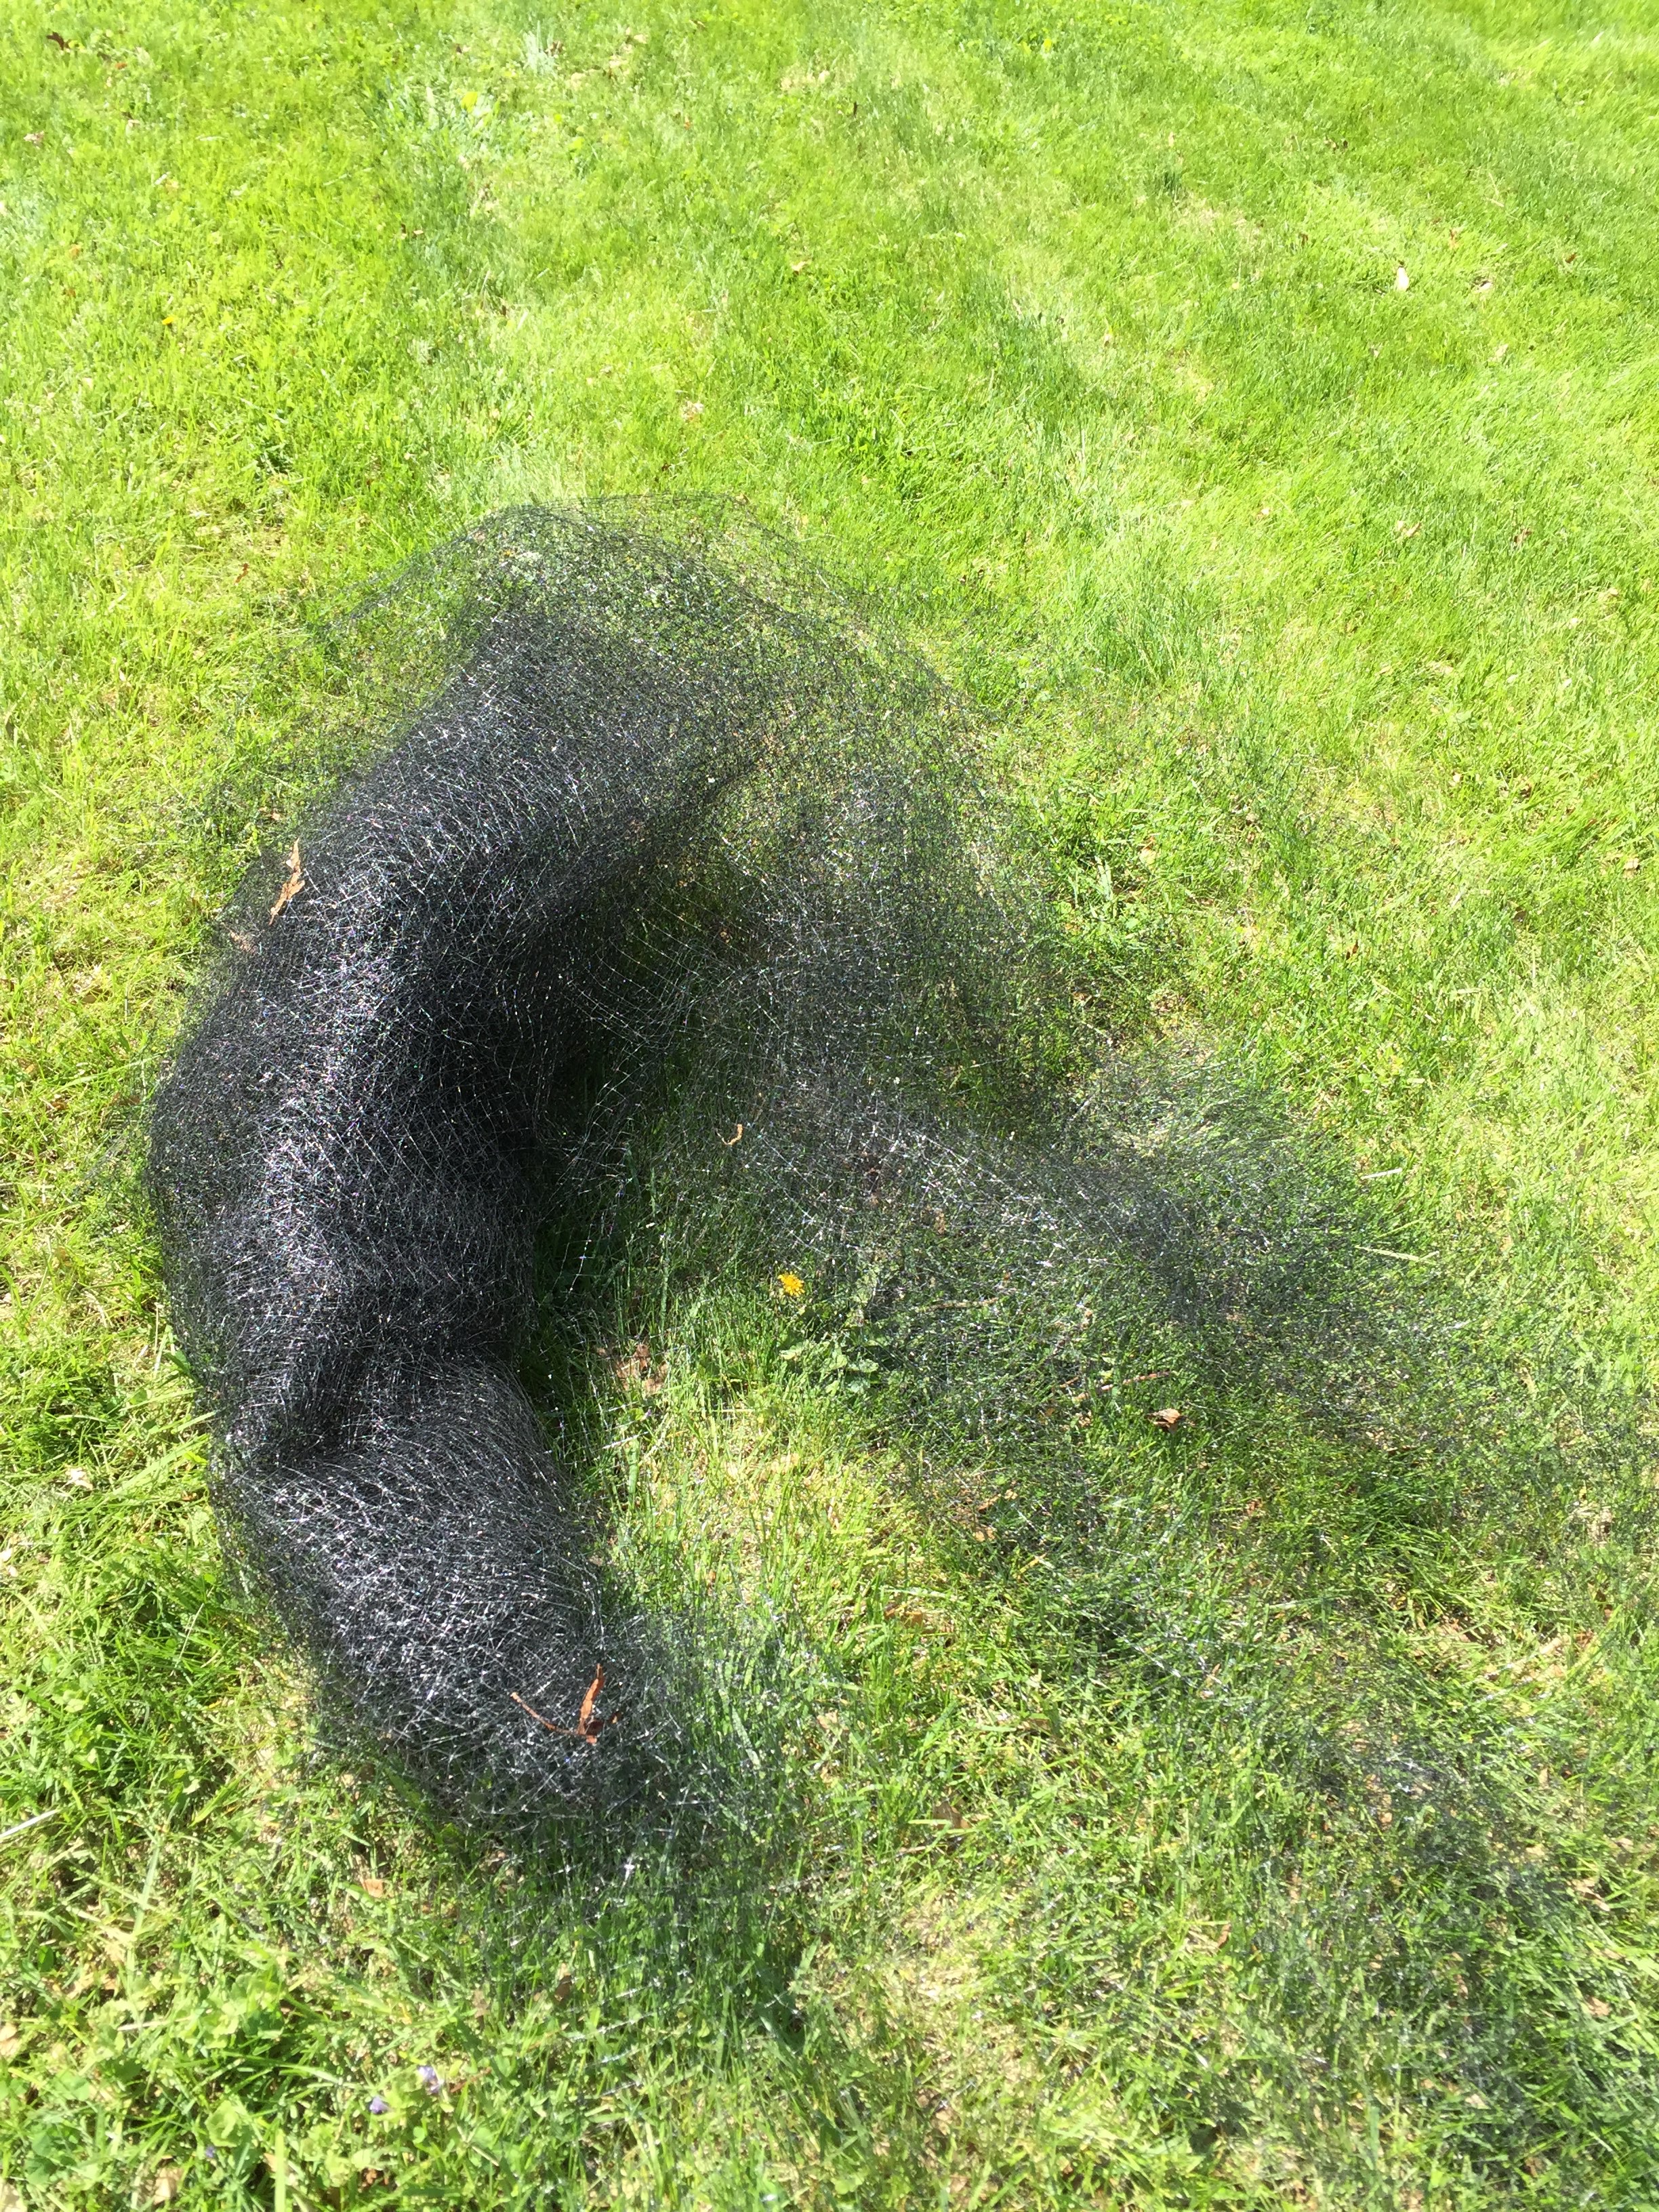 In order of ripening: we have 10 each of these bushes: Patriot, Blue Ray, Blue Crop, Jersey and Eliot varieties.
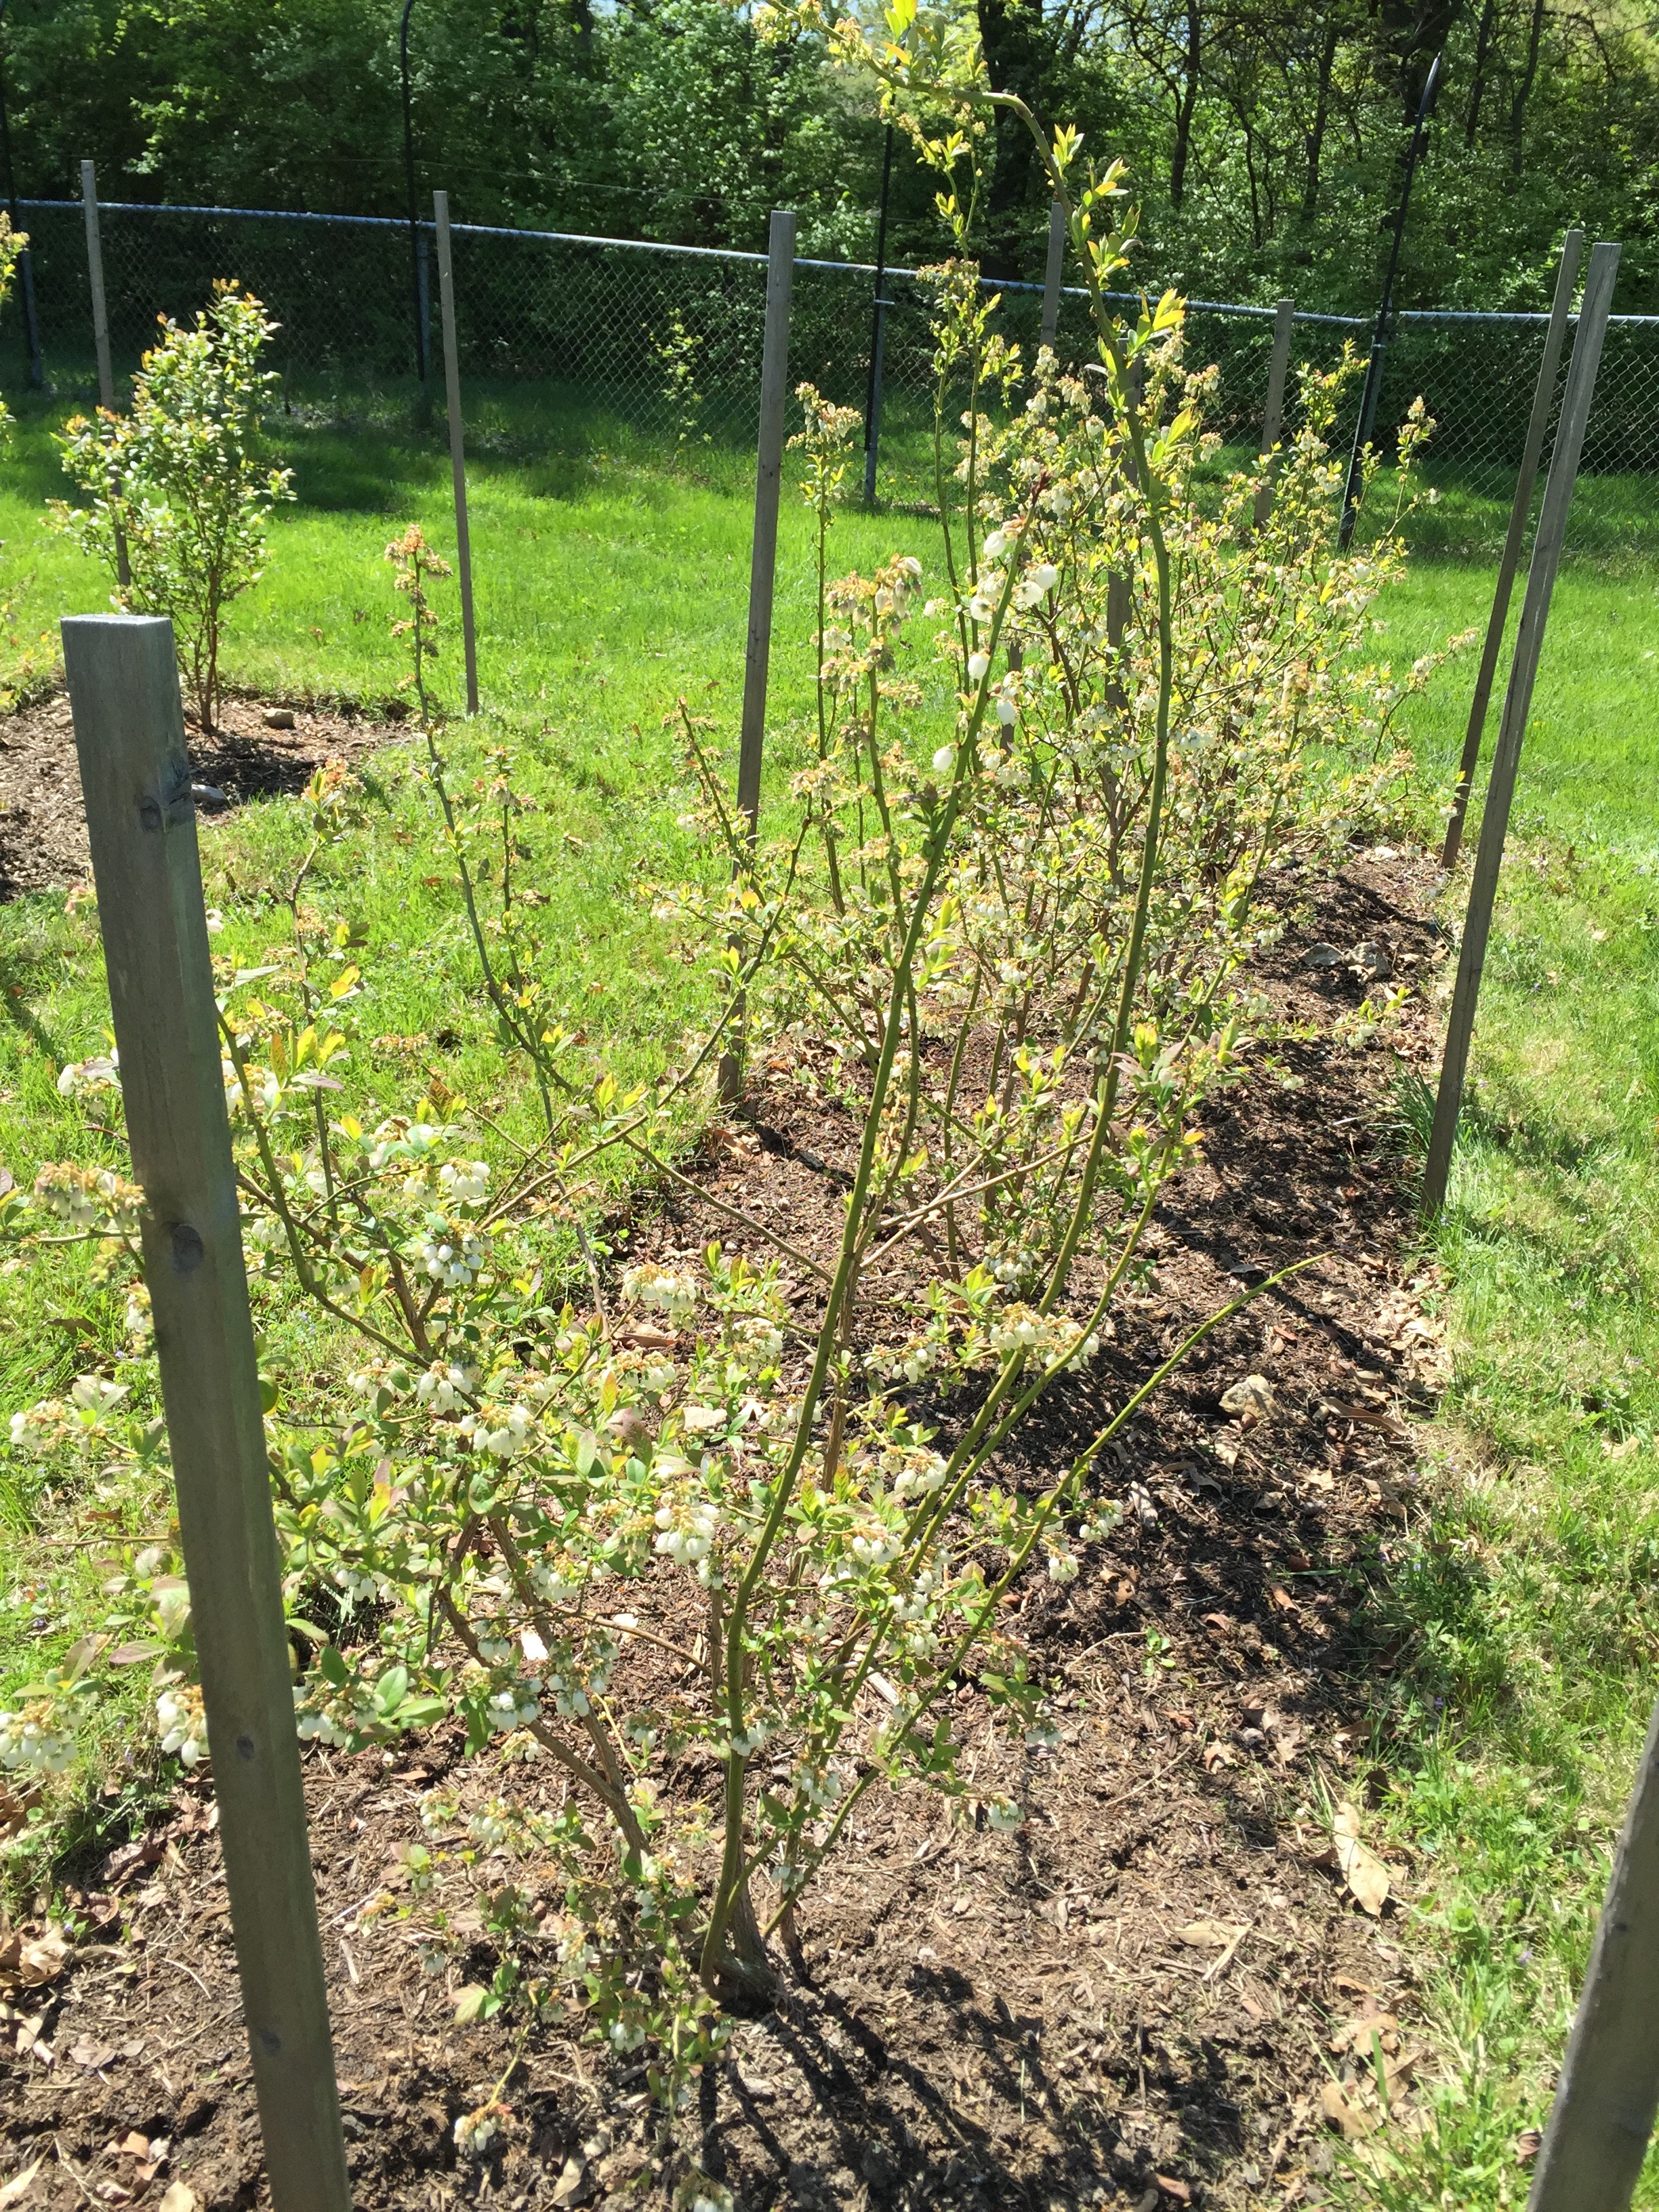 It is difficult to focus on the farm when all we want to do is admire our first grandchild but this is a busy time of year! We look forward to sharing all that we have to offer here with this little guy as he nestles into our lives in the coming years!