
I have heard rumblings that I’ve left some of you hanging with anticipation as you have eagerly awaited the results of the tiny egg dissection as well as the status of Buttercup, our beak challenged hen from the last post. I appreciate your patience and have good news on all fronts but first, Buttercup got a little worse before she got better but is now fully back in the flock after needing to isolate her for a bit. I am actually pretty surprised by how quickly her beak is growing back. When I look at her now, I would not have really noticed a problem with her beak at this stage. If you look closely, you can almost see a newer, whiter layer filling in on the bottom. This girl is now used to my thorough daily inspection of her health, so she poses just so! Don’t you love her fluffy chin beard which is a signature physiology of the Araucanian breed?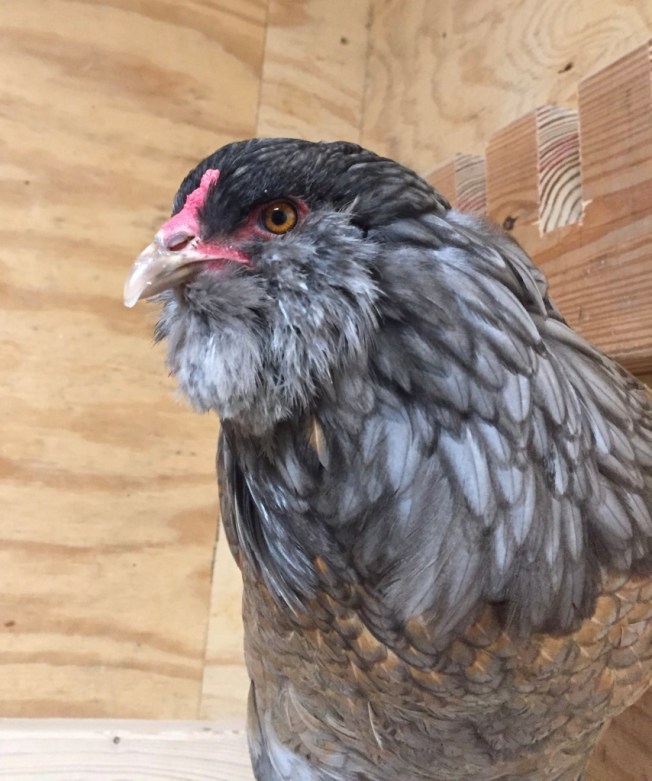 She is also back participating in all the group activities of the flock. I never tire of seeing them take a group dust bath!
So dissection of the tiny egg was very, very fun. The neighboring kids were very excited at the prospect of becoming my little citizen scientist assistants and brought their “Uncle Luis” with them to witness the event.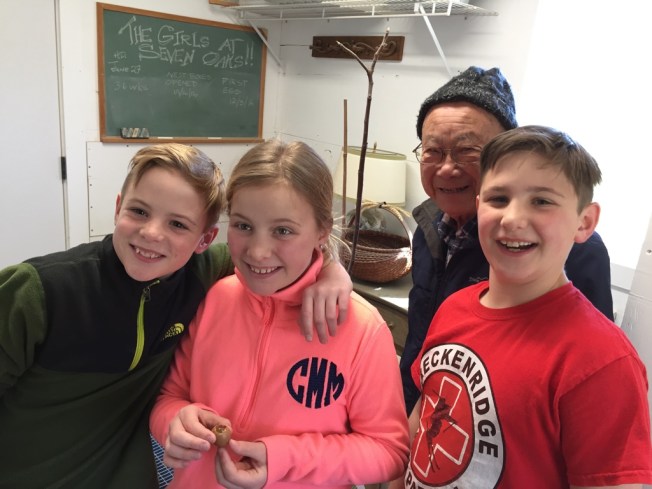 I was prepared with pointy scissors to begin the process but they really took it from there. I was gratified to see their curiosity in all things that had to do with the chickens that day including collecting eggs. Their mom took photos and videos and made the experience into a wonderful iMovie which she shared with us…many thanks Peggy, et. al.!
Later that week we had the pleasure of learning more about Ukrainian egg decorating known as Pysanky from Kate’s friend Mandy who I hope will become a new friend of mine as well. I tried to learn as much as I could about this process from her and this is what I gleaned from the morning we shared.
Mandy was introduced to this process as a grade school student when she took a class offered by the spouse of a local Webster Groves school teacher many years ago. She brought over her growing collection of decorated eggs as well as the original instructions which she had saved and some of the equipment for the process. Here are some of the eggs she has decorated over the years. Gosh, it is hard to pick a favorite! 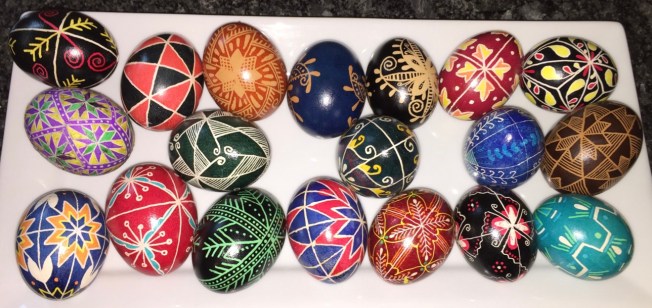 The process starts with taking an egg and drawing a design to follow. Mandy now does this with the help of a craft lathe but this can be done by hand as well. She uses the lathe to help draw circles and intersecting patterns.
 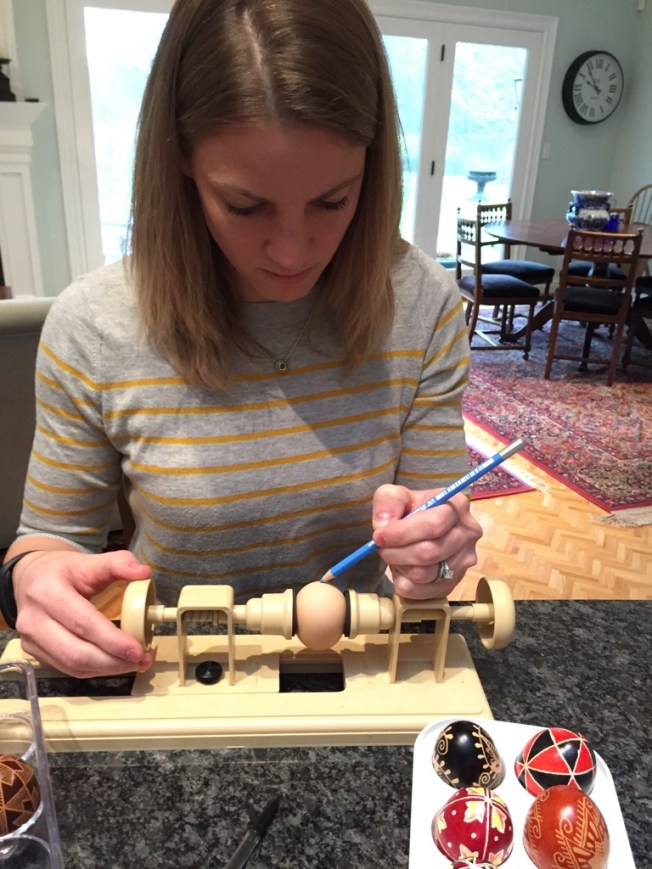 Then she begins to apply the wax and dyes on the eggs to make layers of colors. The first wax layer protects the egg from receiving any dye at all. The successive layers of wax are applied to continue the design and the deepening of the colorful dyes. Mandy uses a wax applicator called a kistka which is a wand with a copper funnel that can hold the melted wax as she applies it to the surface of the egg. These kistkas come in various diameters for the wax line of application. The blackened portion you see here is due to the heating of the instrument (a copper ‘funnel’ if you will) done using the heat of a regular candle.
 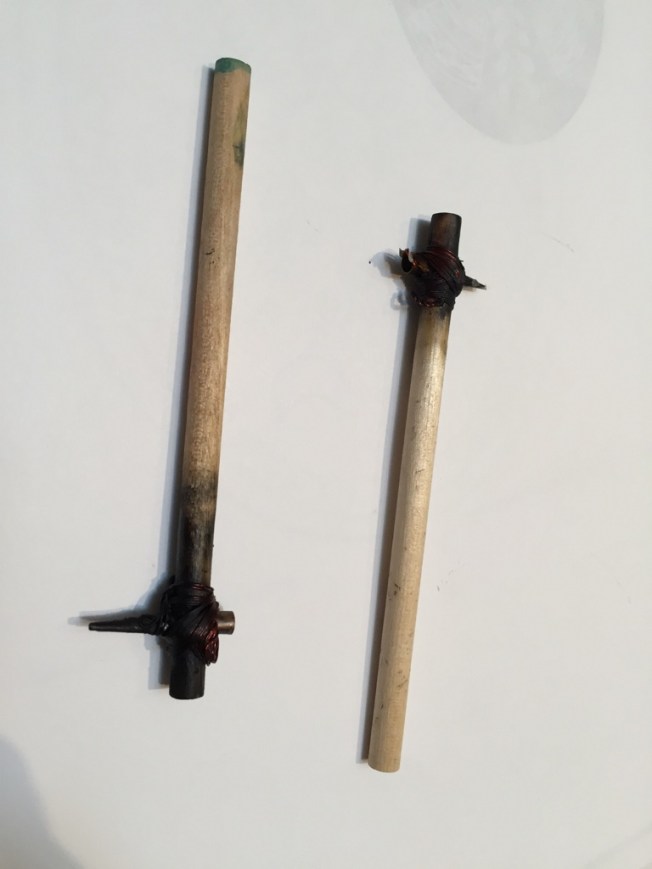 Here is Mandy filling the kistka (left hand) with beeswax (right hand), heating it in the flame of the candle in order to apply it to the surface of the egg. She blots the kistka as she works which is what you see on the splotchy paper below her hands. The colorful egg sitting on the cloth was one in progress that she started the previous night to help me understand the process.
 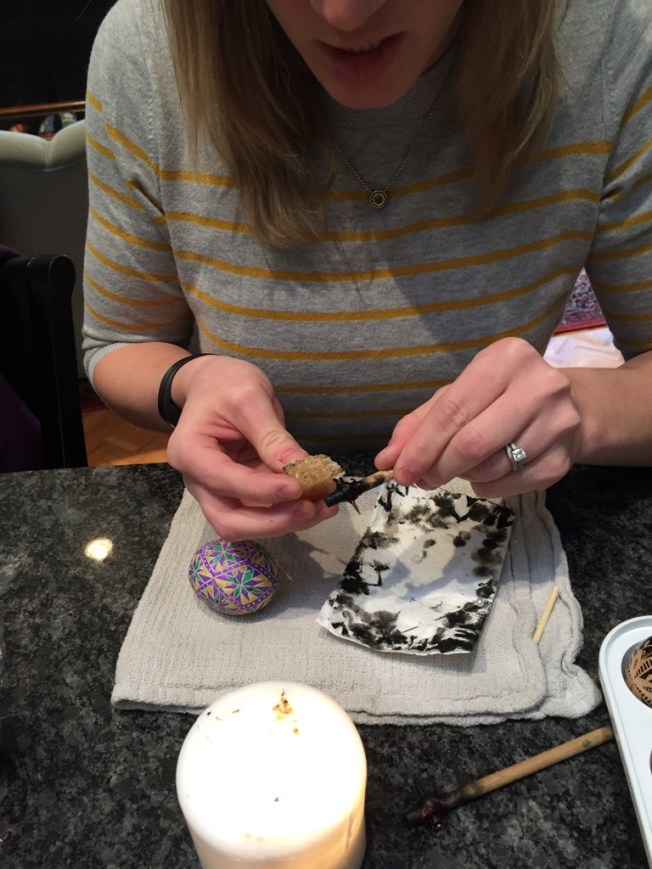 Simply put, after each layer of wax and dye is incorporated into the design, the egg is nearly completely covered wax. The wax is then melted off of the egg (Mandy says there are various ways to do this) and the egg is then emptied of the contents using a couple of special tools. First, she creates a tiny hole with a burring tool and then she uses a device that displaces the contents of the egg using a small bellows and a hollow needle.
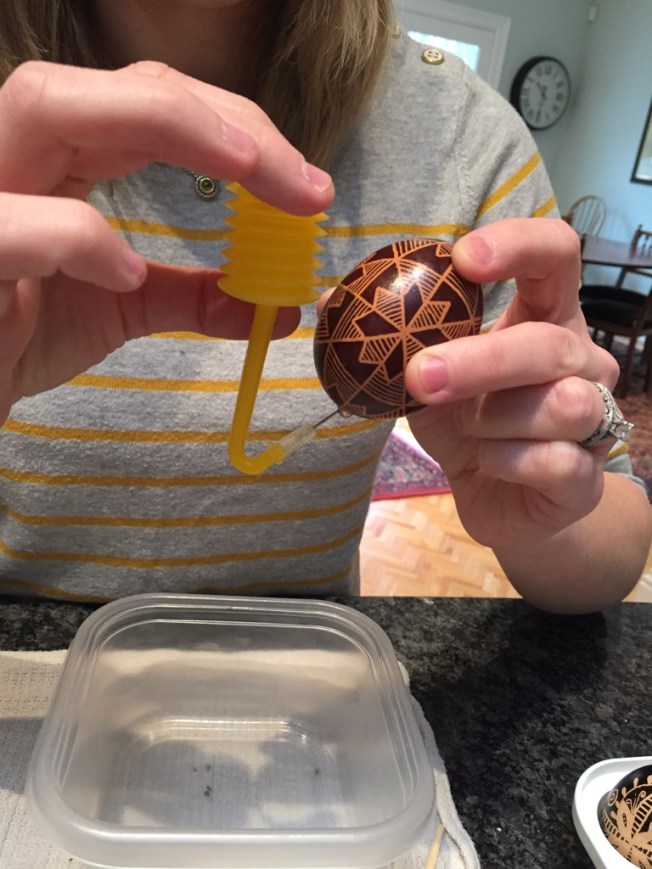 After this point, the hollow, decorated egg is then varnished for safe keeping. Mandy did an amazing job of introducing me to the process of creating these traditional, decorated Pysanky eggs. I hope I did the process justice in my description and told her that if she wanted to teach a class that I would host it here! Supplies for this craft can be found at the Ukrainian Gift Shop.
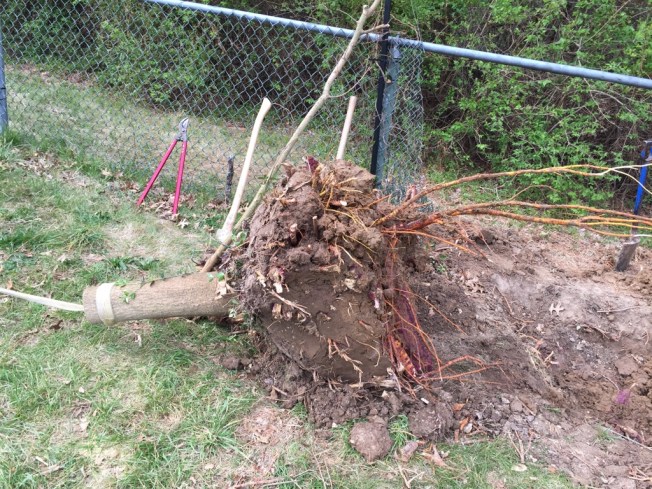
The new fence at the farm is continuing a pace as Dave (tirelessly) and I (somewhat less) continue to clear the existing line. Piles of debris now litter the sides of the old fence but this is a good thing that we will deal with later when we have more time. One of the worst stumps was taken out with a joint effort by Dave and Jon Lanaghan. They both sweated over this and employed all the tools at hand, including bolt cutters for the fence, multiple axes, saws, shovels and lastly, the power of the tractor to extricate this monster from the fence line.
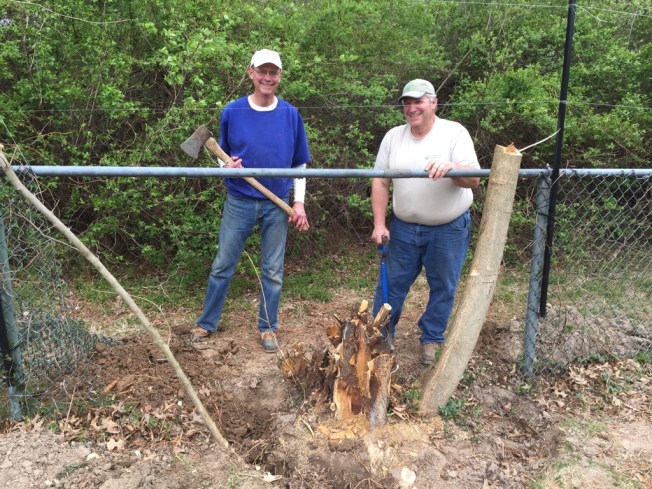
 The new fence installation is coming along. The tall posts are in place on the south side and the fencing has been stretched about half way along before the current rain stopped the progress.
 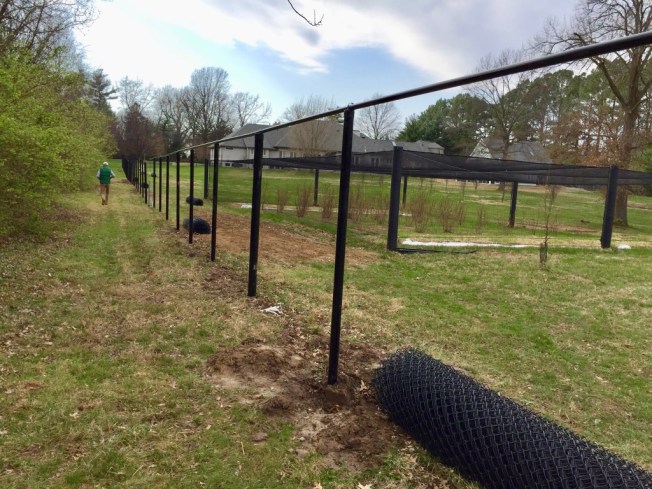 Although we are busy here, there is nothing more fun than entertaining some favorite guests from out of town. Kate’s dear friend, Robin, was in town last week with little Damon who is just a couple months older than Coulter and they all had fun in the corn pool!
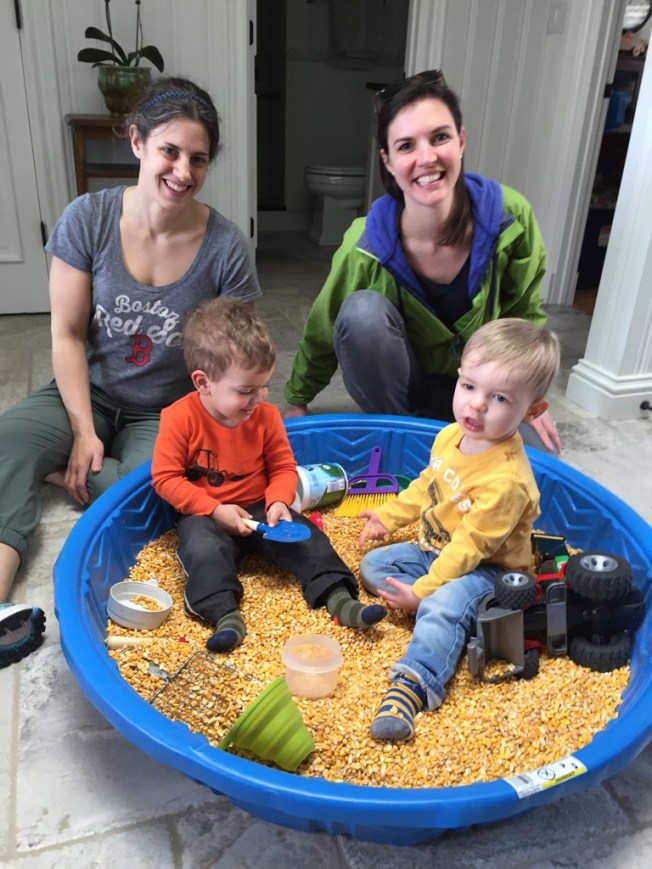 A rainy day here has given us a break from the fence project but thankfully, the hens never stop laying…we just topped the 1300 egg mark a mere 3.5 months into their laying productivity. I’m so pleased with their progress! Next blog: looking forward to an interview with Kathy Rainey Bussmann about her newly published book, ‘The Uncommon English Teacher and the Forgotten Doughboy’ available for sale at http://www.mirabooksmart.com. It can be found here as well.

Nancy, this post is well worth the wait!!! The chickens are so grown up now!!!…and Buttercup is looking good! The fence is looking good, and the Pysanky eggs are things of beauty (Mandy is an ARTIST!). Peggy’s movie is great – and the kids did a terrific job w/their dissection, and look FFA. Of course, Coulter is ADORABLE!