
Making sauerkraut isn’t exactly a conversation magnet for most folks. Nor are any of the details of fermentation that go along with it, but I won’t let that stop me from giving you all the information I have about my recent experiment with making Sauerhoff Sauerkraut at Seven Oaks Farm. As you know, I had my first experiment with fermentation when I started sour pickles a couple of days ago. These are doing quite well and look and smell just like they should despite the fact that they need several more weeks to come into their own. So with several more crocks waiting their turn and plenty of cabbage (or so I thought) needing to processed, I did my research and set about this task last Tuesday morning after blueberry picking. What joy, 4.5 more pounds of nice large berries!
It turns out that kraut making is really simple. The hardest part of this is to cut up the cabbage in what the books say is quarter thin slices. I can’t tell you how many people have told me about the box cutters their grandparents used for this. Hmmm. I bet they were all wishing they had my Cuisinart, since I wasn’t really relishing spending hours and hours with a box cutter and bloody knuckles! I put the slicing blade on my machine and made wedges out of my cabbages before putting them thru the feed tube. Again, the ‘recipe’ I decided to use was from the University of Minnesota Extension Services since they seem to know what they are talking about when it comes to fermenting. The recipe said to use 25 pounds of cabbages which luckily I didn’t have. I only had 10 pounds, but it seemed like a lot at the time. Sure, a cabbage head is a heavy thing, but once you shred it to pieces, the volume is unreal!
Luckily the recipe had instructions that were for 5 pound batches which was easy for me to follow. For every 5lbs, you mix in 3 tablespoons of canning salt. I was going to do this in my 3 gallon container but that only held the first 2.5 pounds I had! So I looked around for something the size of a kiddie pool to mix the rest of this in and found instead the white elephant in the room, our umbrella holder which is in reality a crock. I bought this thing at an antique store years ago since I was attracted to the large “S” on the front of it. That “S” was undoubtedly for Sauerkraut and not for Sauerhoff, but it came in very handy that day. For purposes of scale, here is Dave wrestling with it. 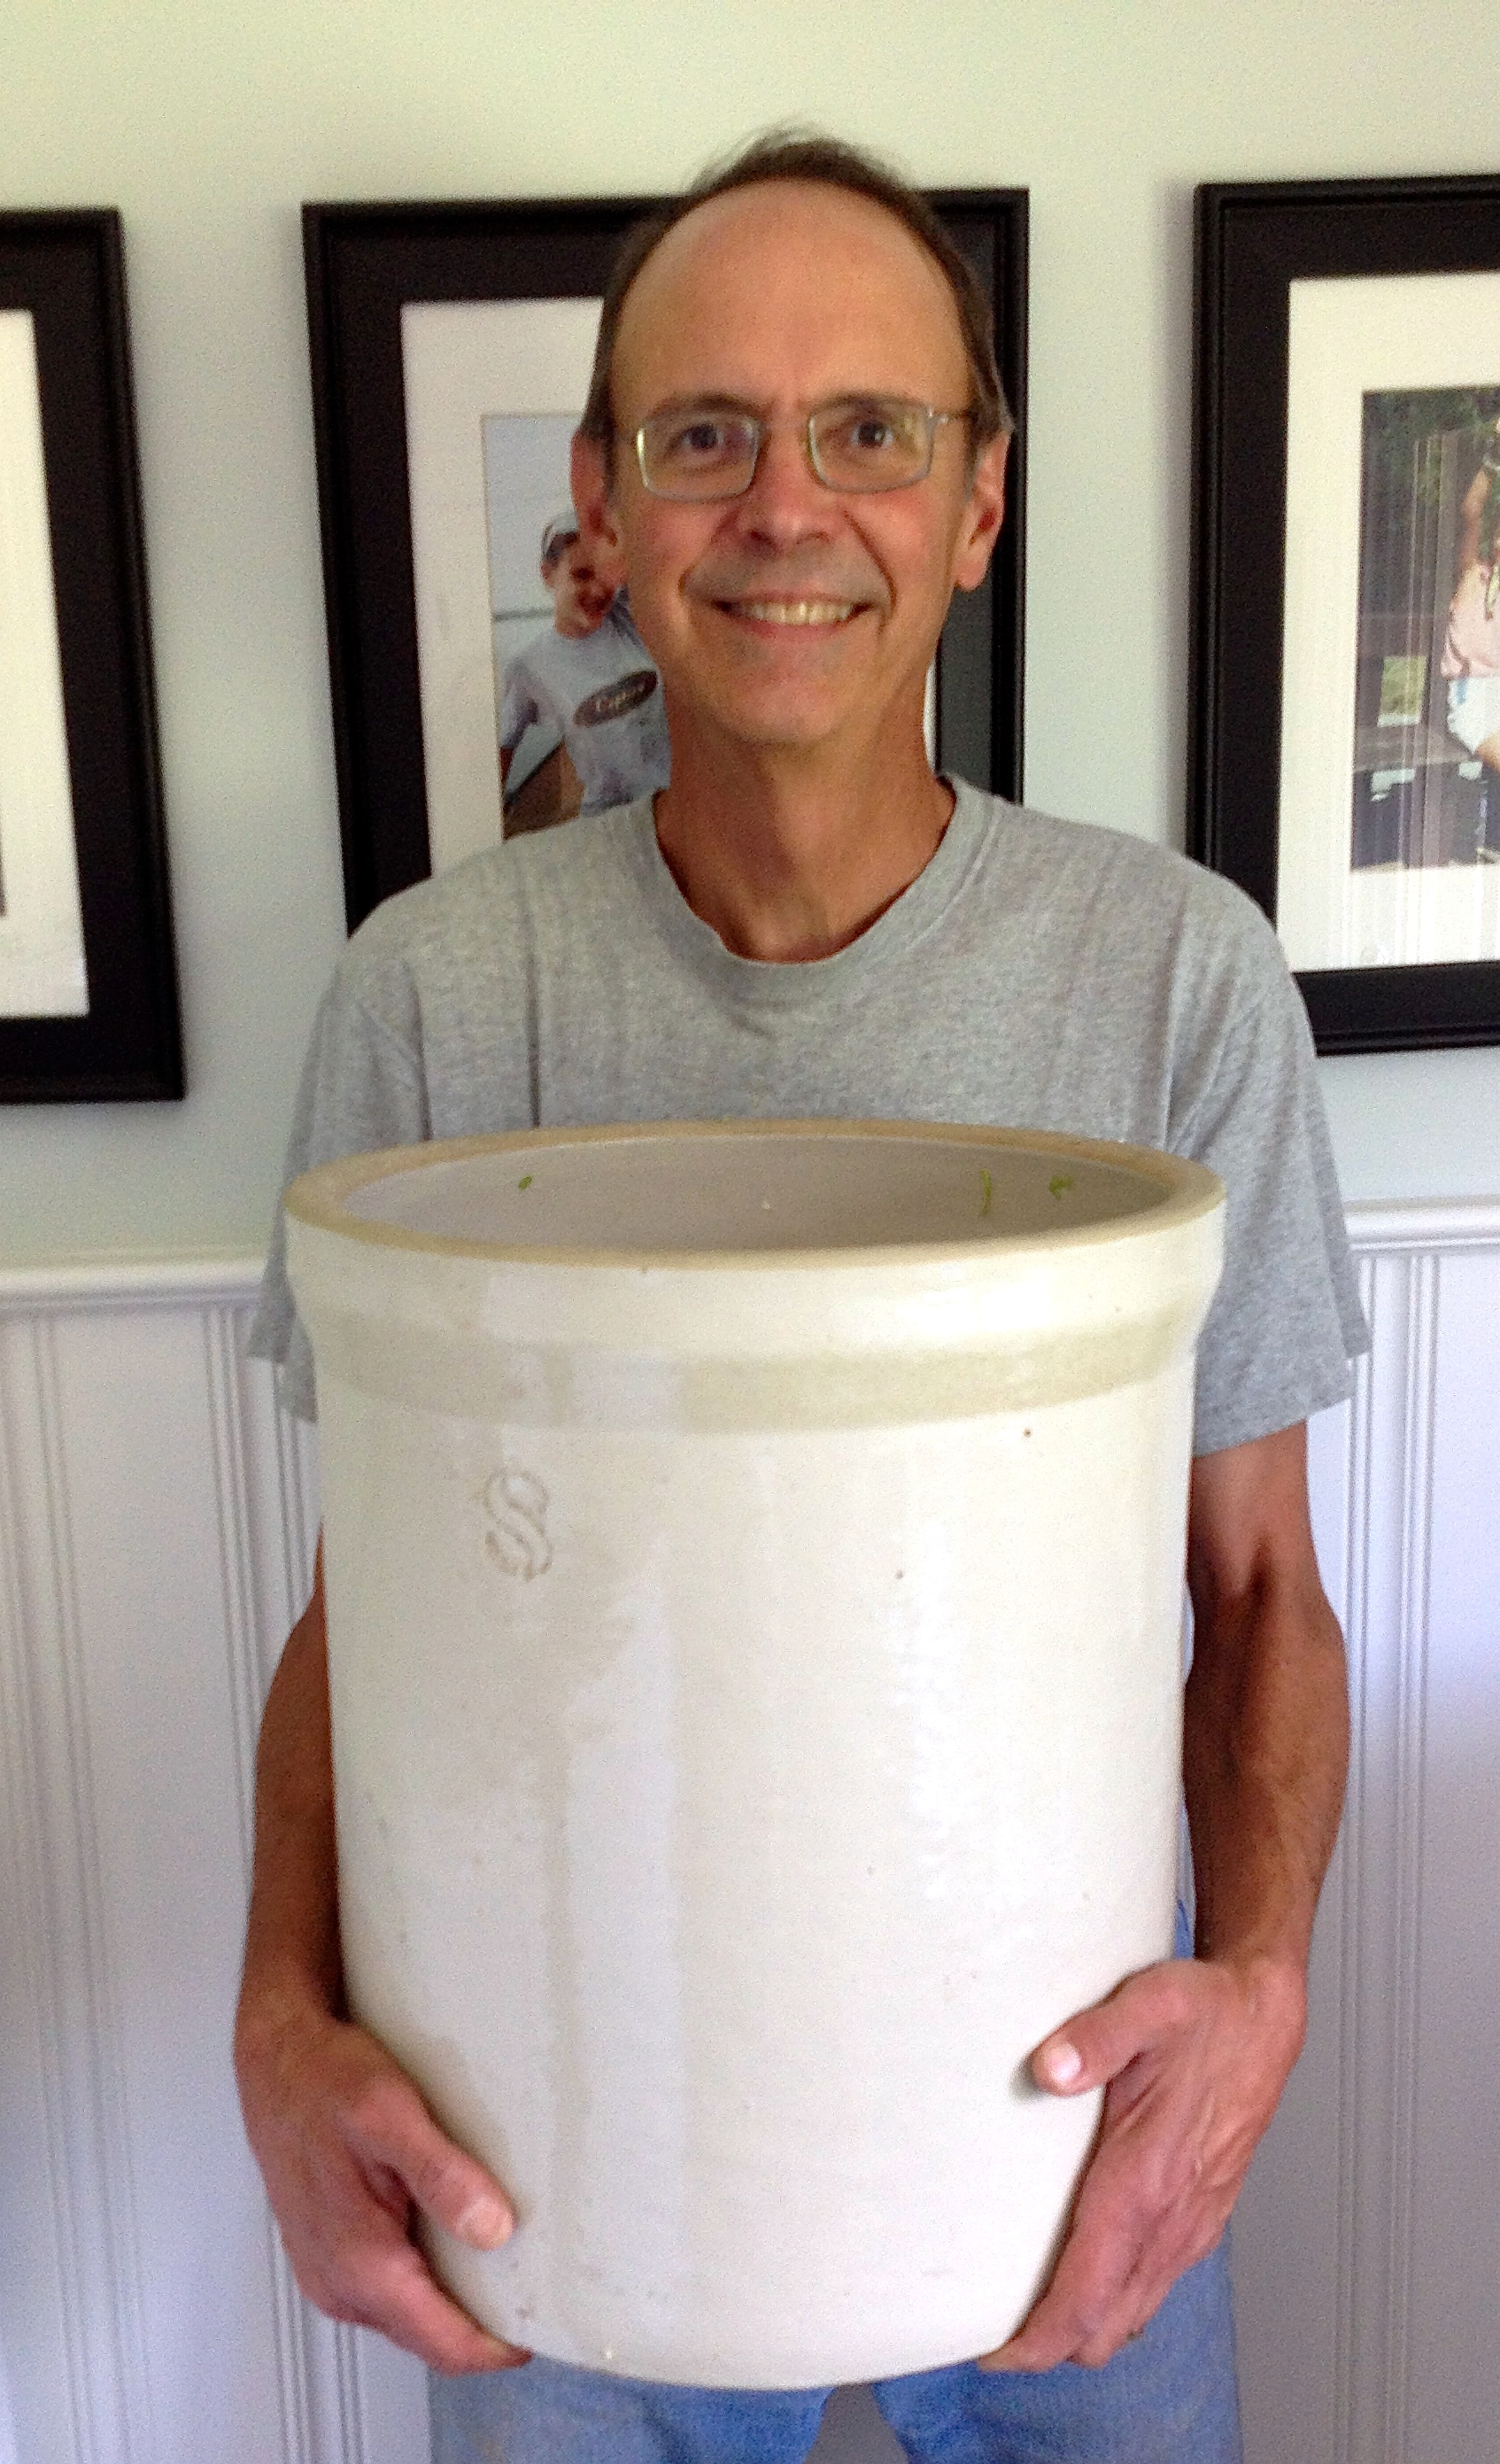 I used it to mix the ten pounds of sliced cabbage with the salt. I was amazed at how fast the salt went to work on the cabbage structure, wilting it down in volume to fit into the 3 gallon crock not long afterwards.
 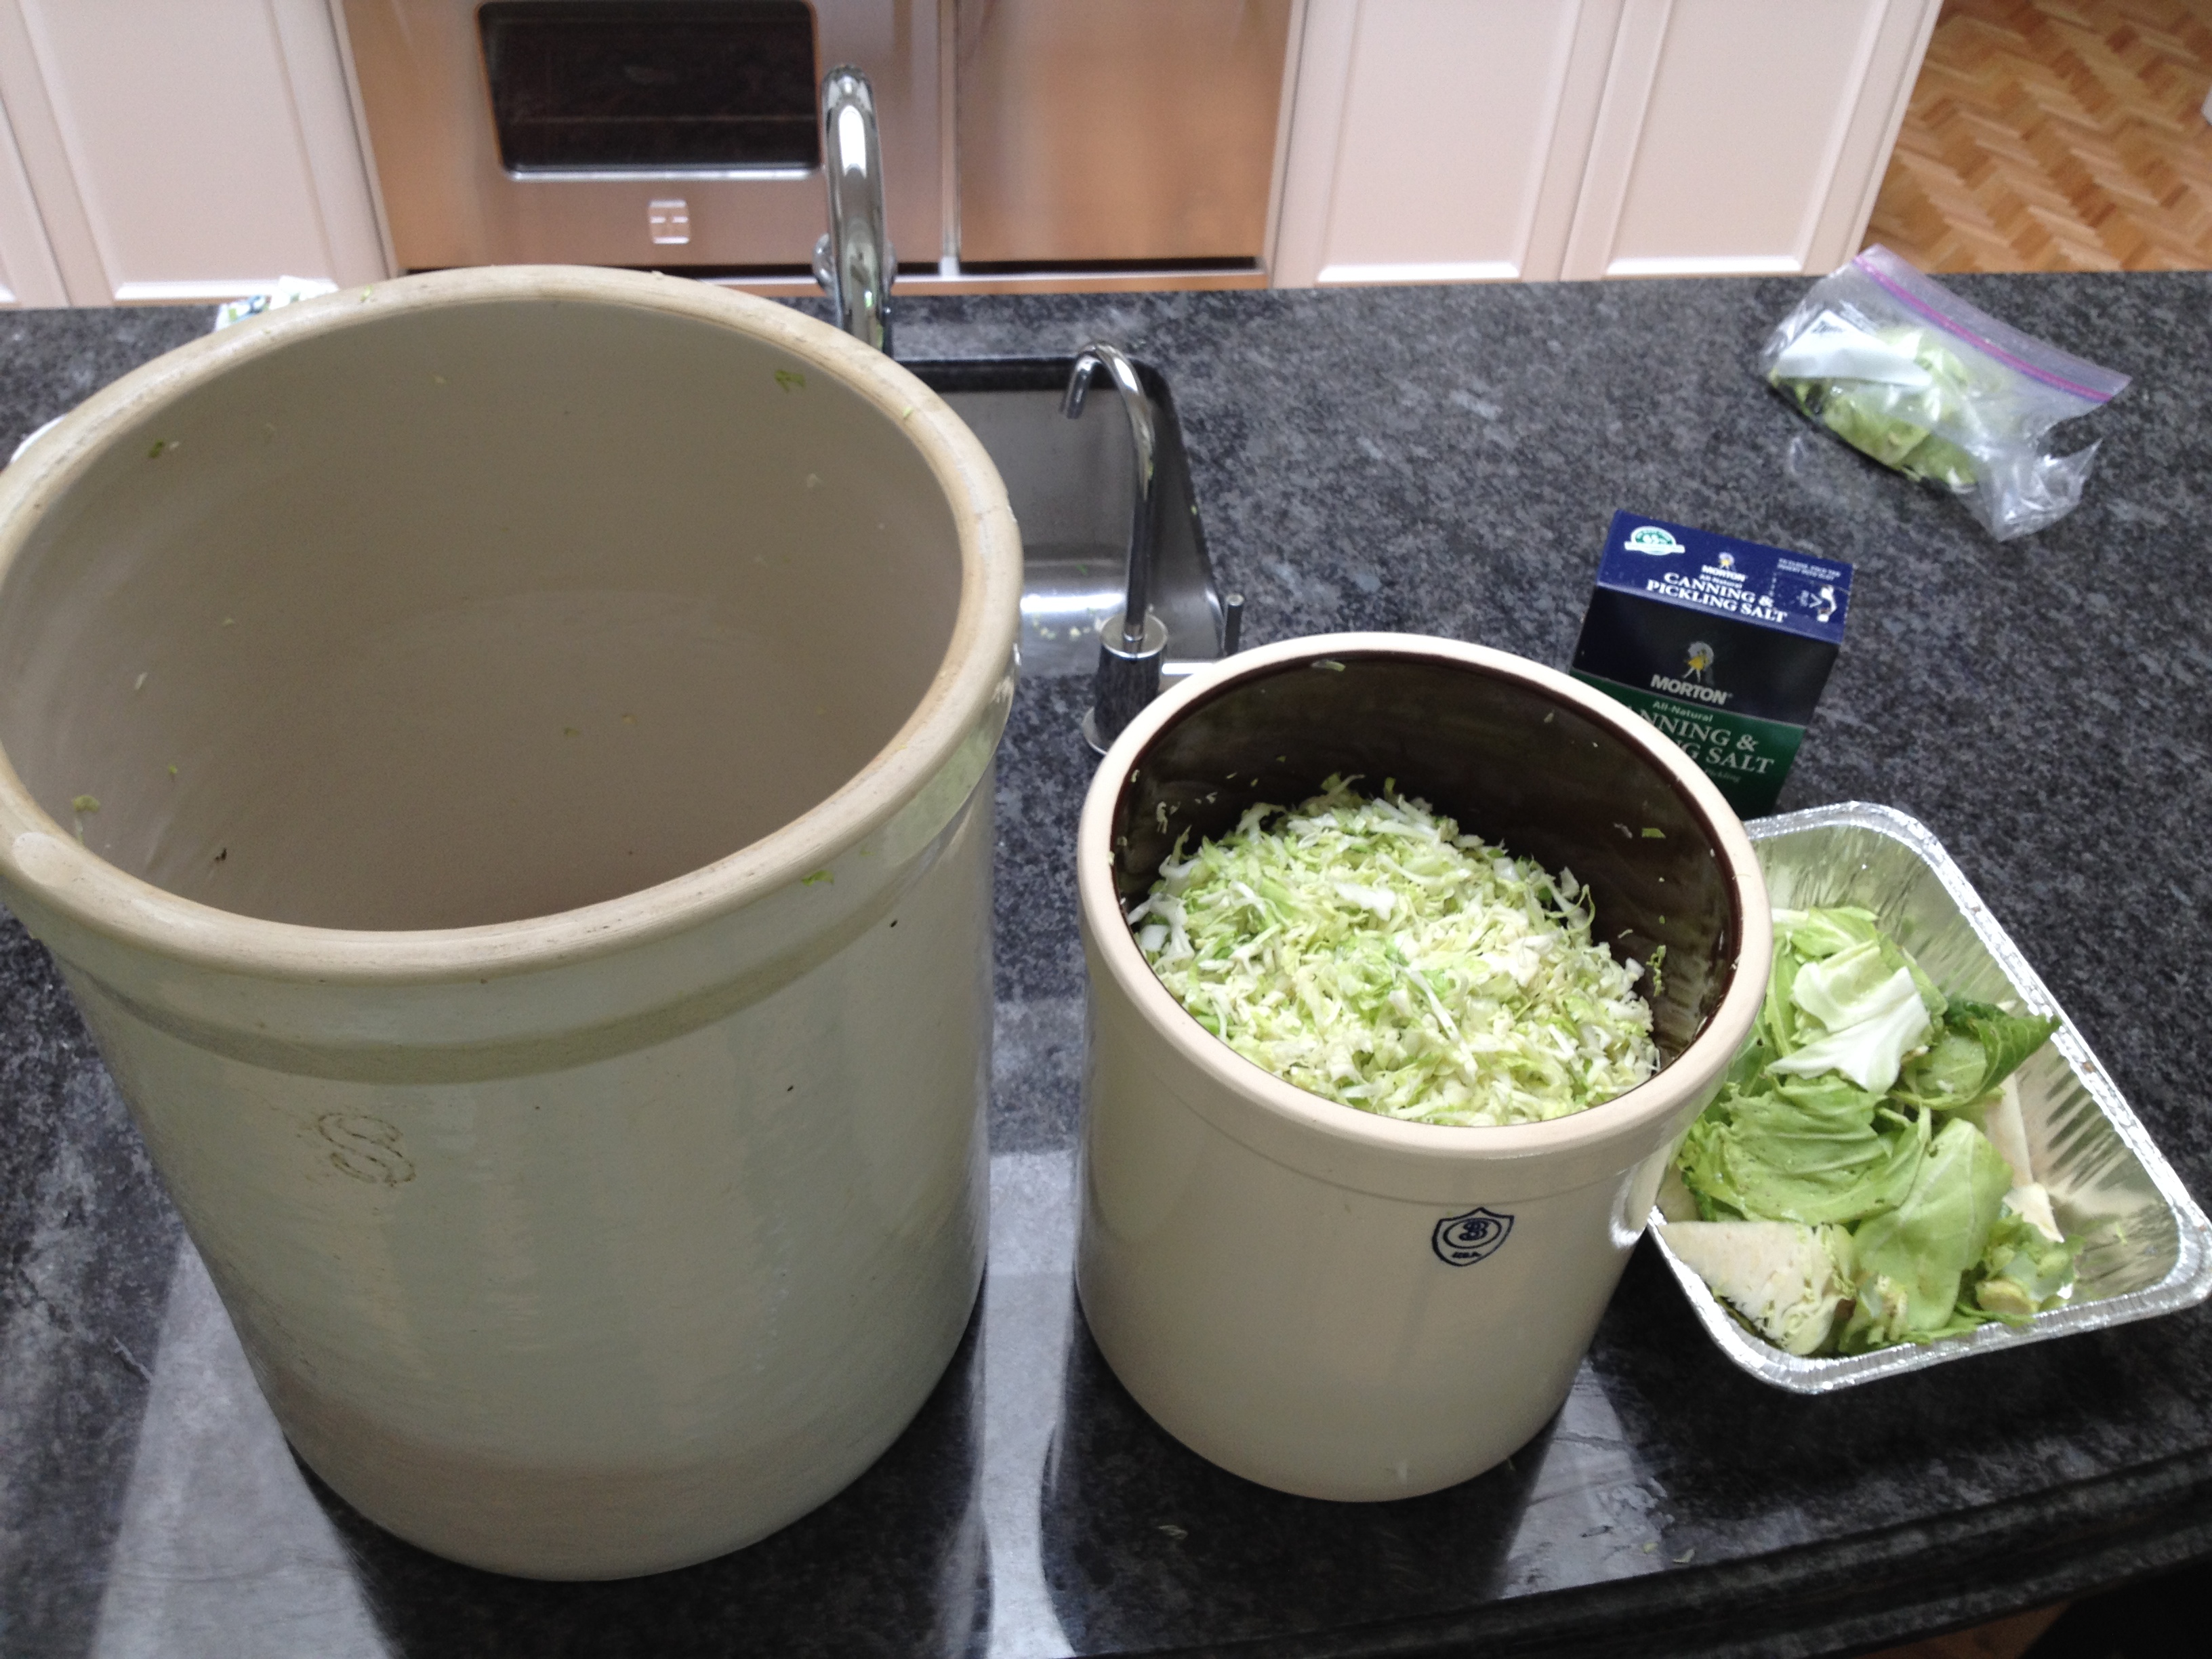 One day later, I transferred it to the two gallon crock. There was so much brine at that point that I have three quart jar filled with water weighting it down.
 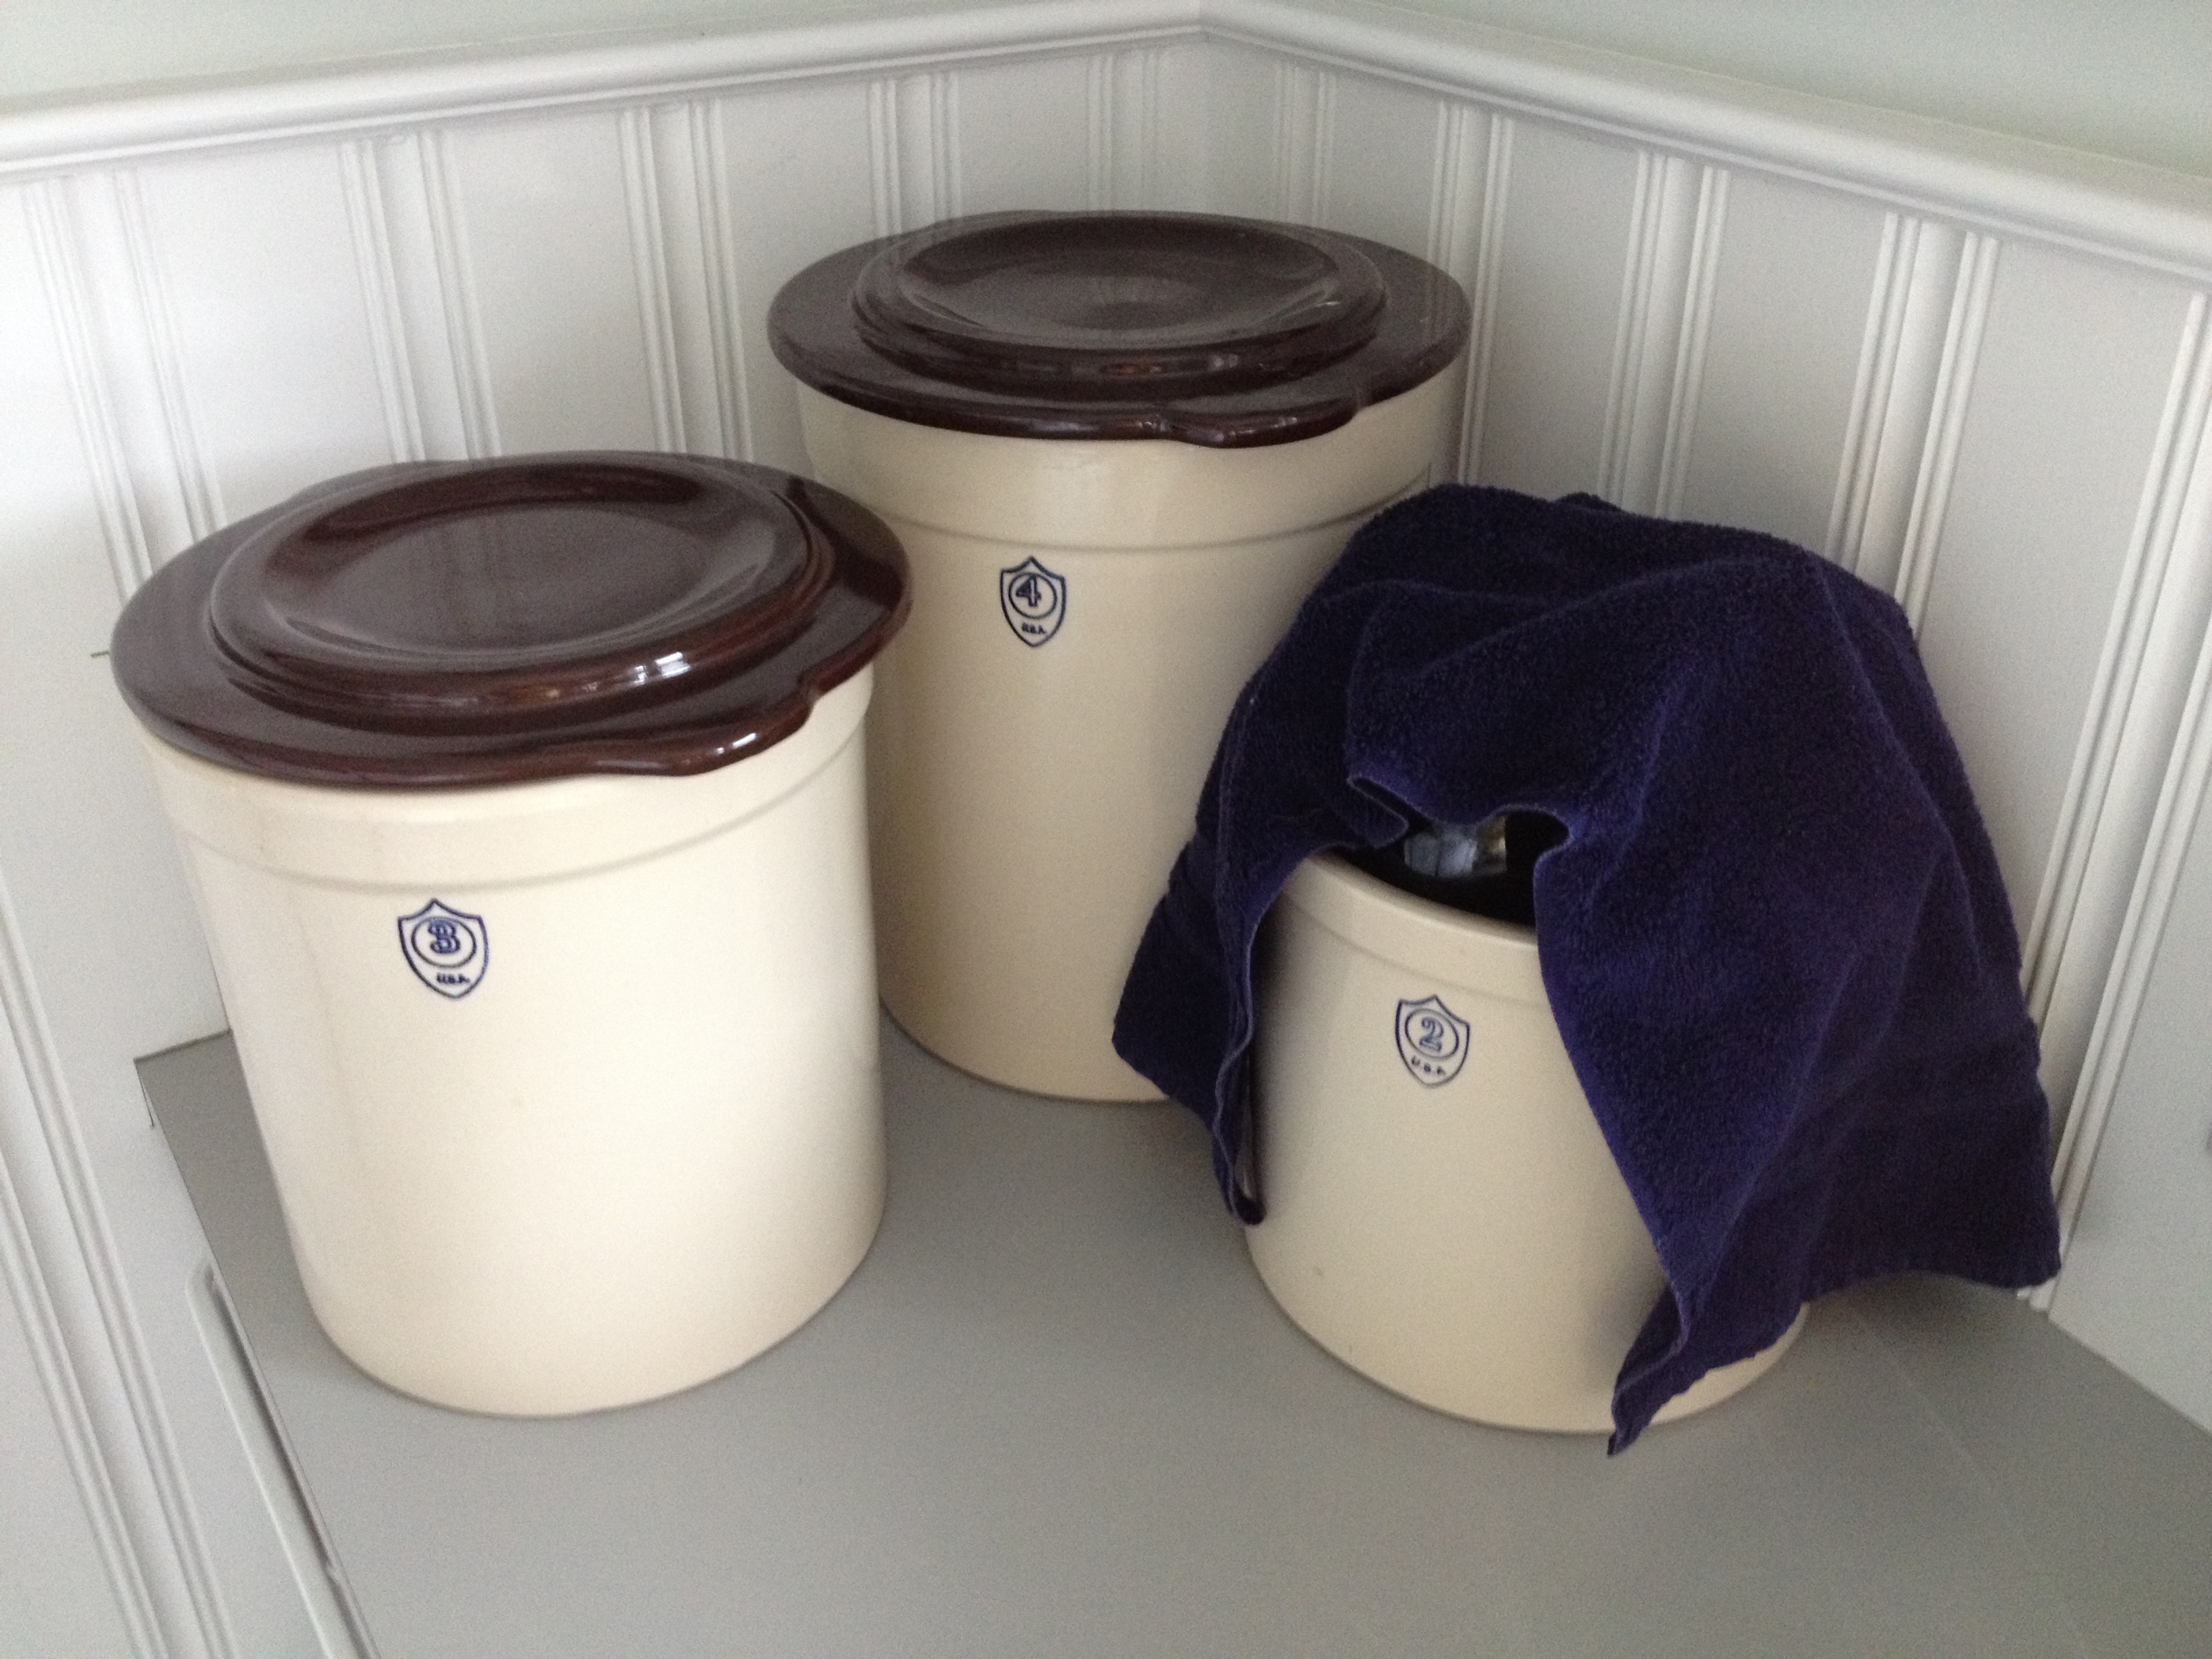 Since then, I used another 12lbs of cukes to make a 3 gallon batch of the sour pickles since the 4 gallon crock is turning out some delightfully dilly smells. The fermentation of all of these crocks will take several weeks of patience before the next steps, so stay tuned. In the meantime, I turned another 9 pounds of cukes into traditional sweet pickles that we so love.
I’m still working on additional ways to preserve the harvest and have discovered that one of the best ways to keep zucchini is to dehydrate it. Lucky me, I have a new dehydrator to use. But even if you don’t there are lots of other ways to do this. My favorite finds were these two web pages about the Italian way to do this.
http://honest-food.net/2013/08/08/dried-zucchini-recipe/ and http://christinascucina.com/2012/07/dried-zucchini-save-some-for-winter.html
So I attacked about 8 pounds of zucchini and yellow summer squash yesterday. How simple it was to slice them up and put them into my dehydrator.  I must say I hesitated on how to slice up the Siamese triplet here. Isn’t Mother Nature curious? This belongs in the annals along with Quasimodo’s Lips Strawberry.
 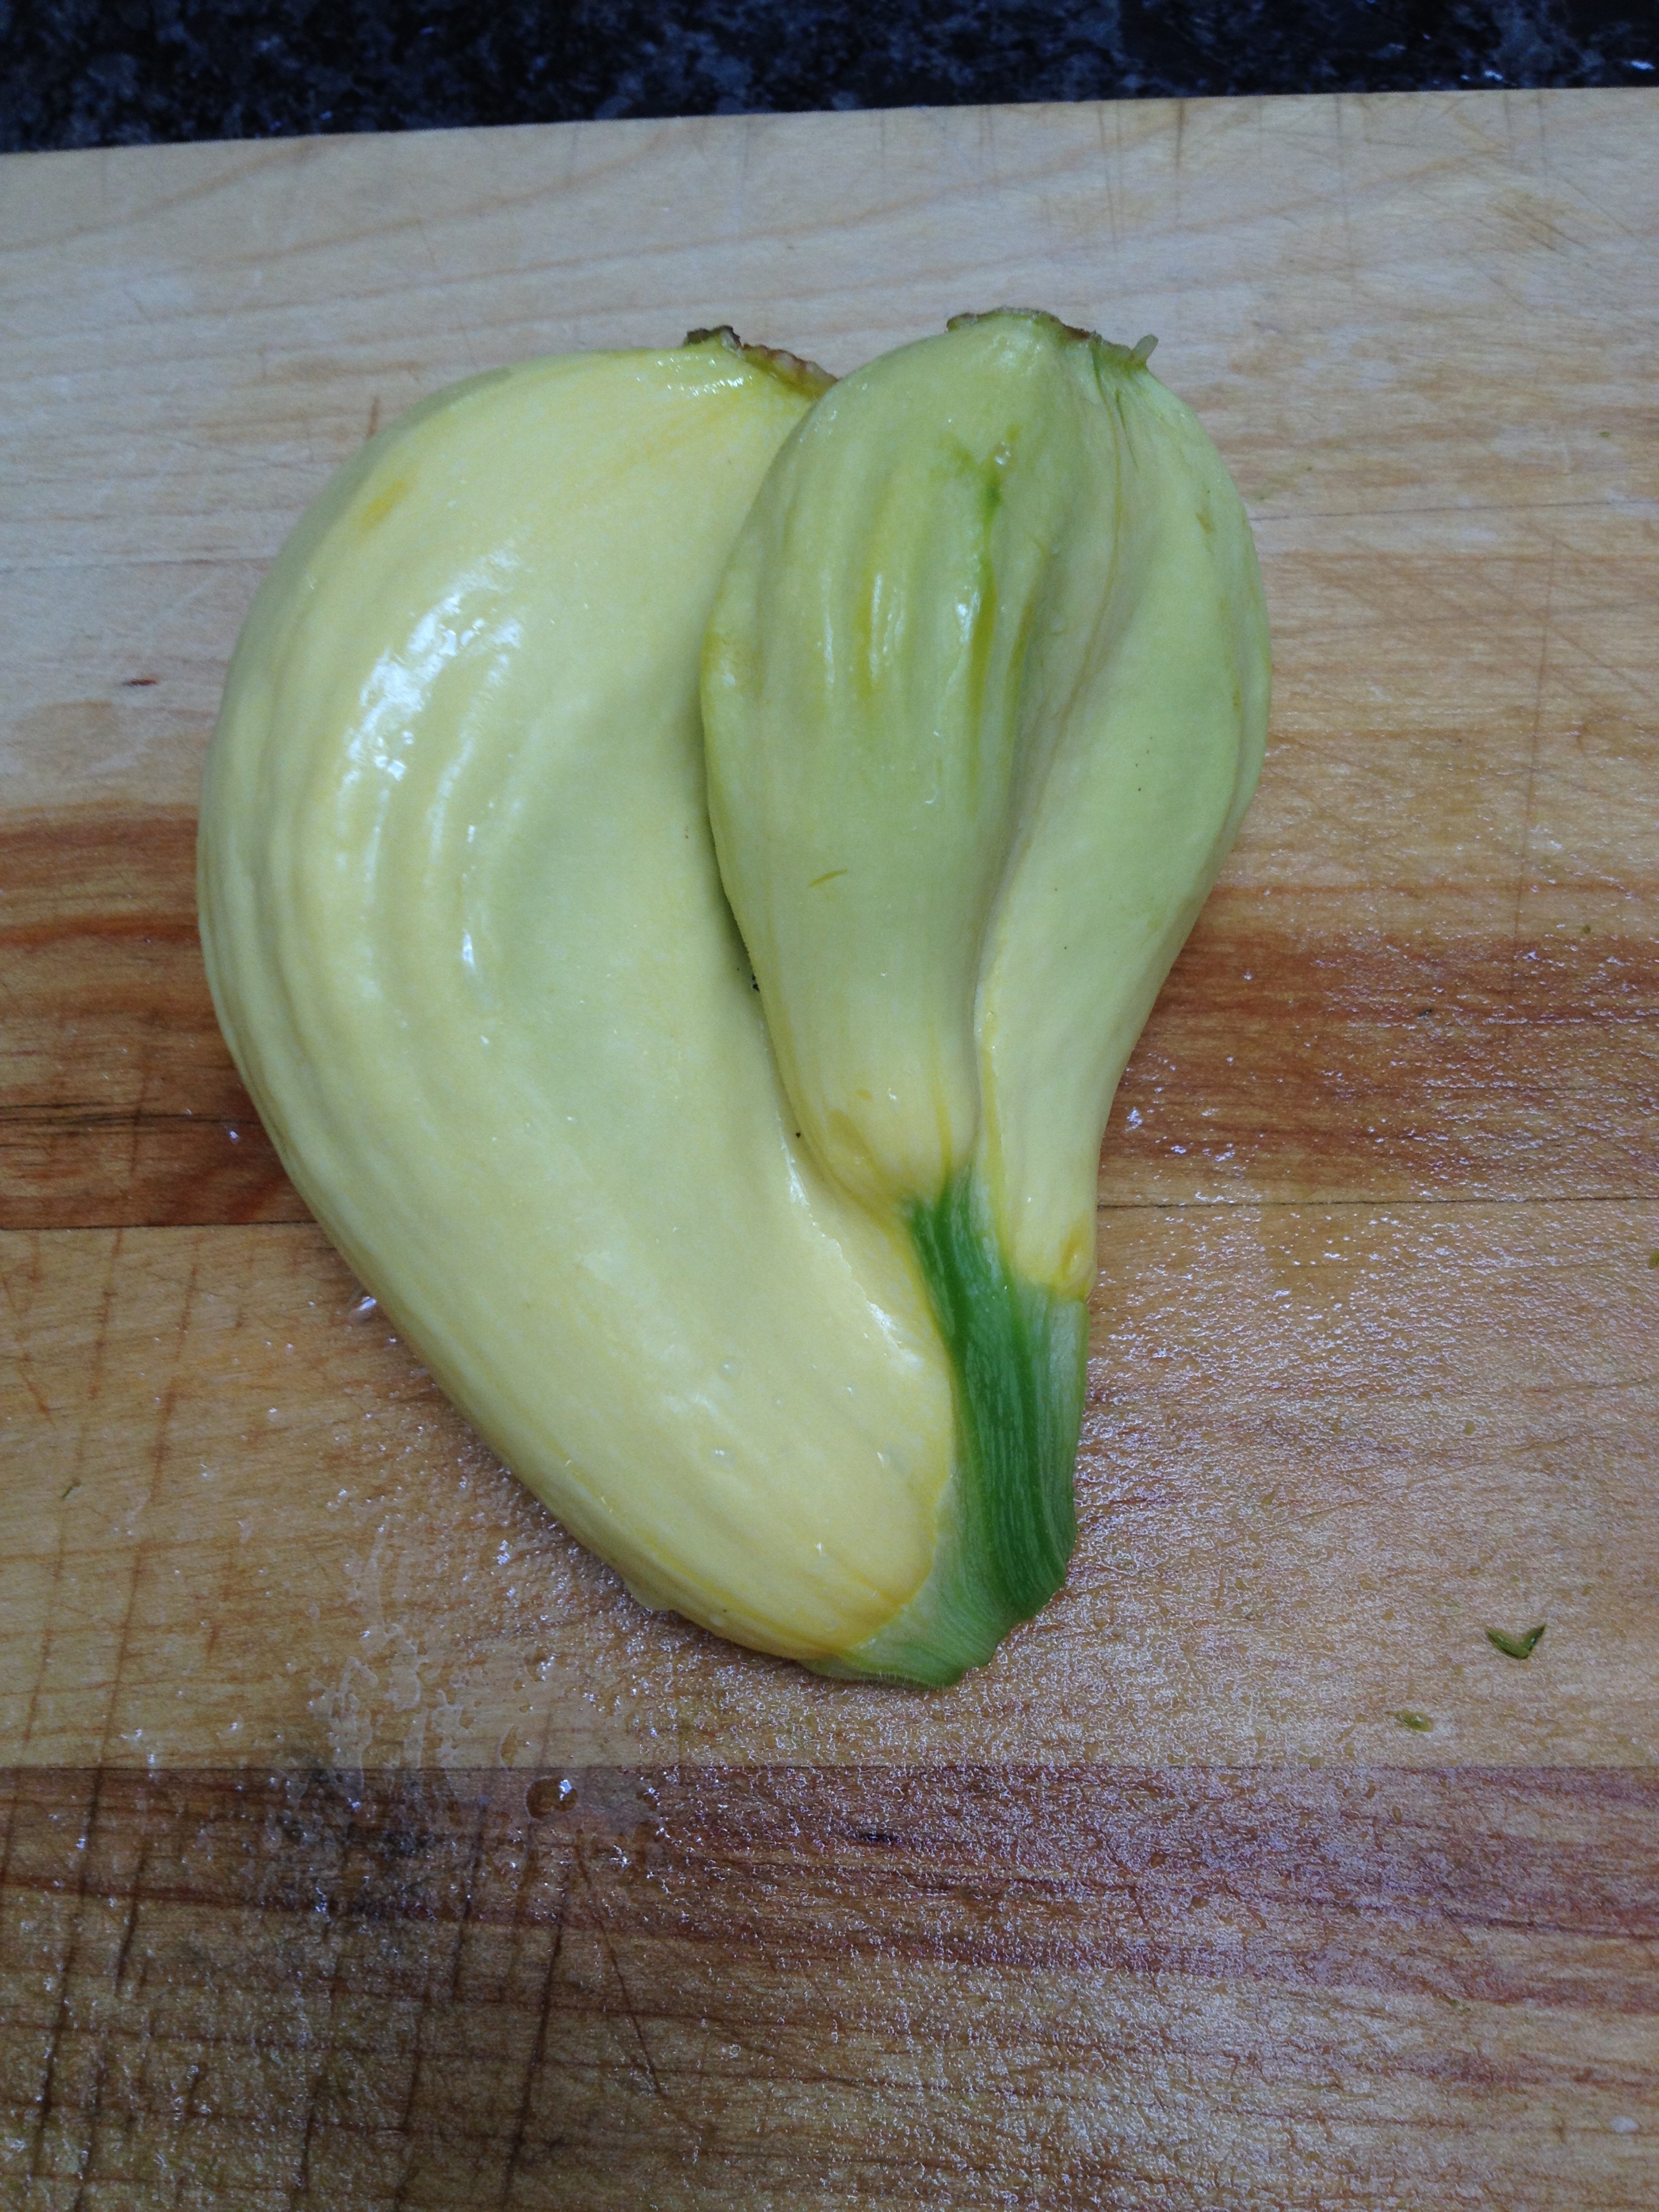 I set the temperature for 135 degrees and the timer for 6 hours and woke up this morning to these beautiful specimens that fit nicely into a zip lock gallon bag. I’ll store them next to the dried turnips and will gladly look forward to more squashes from the garden soon and also to using these in winter meals.
 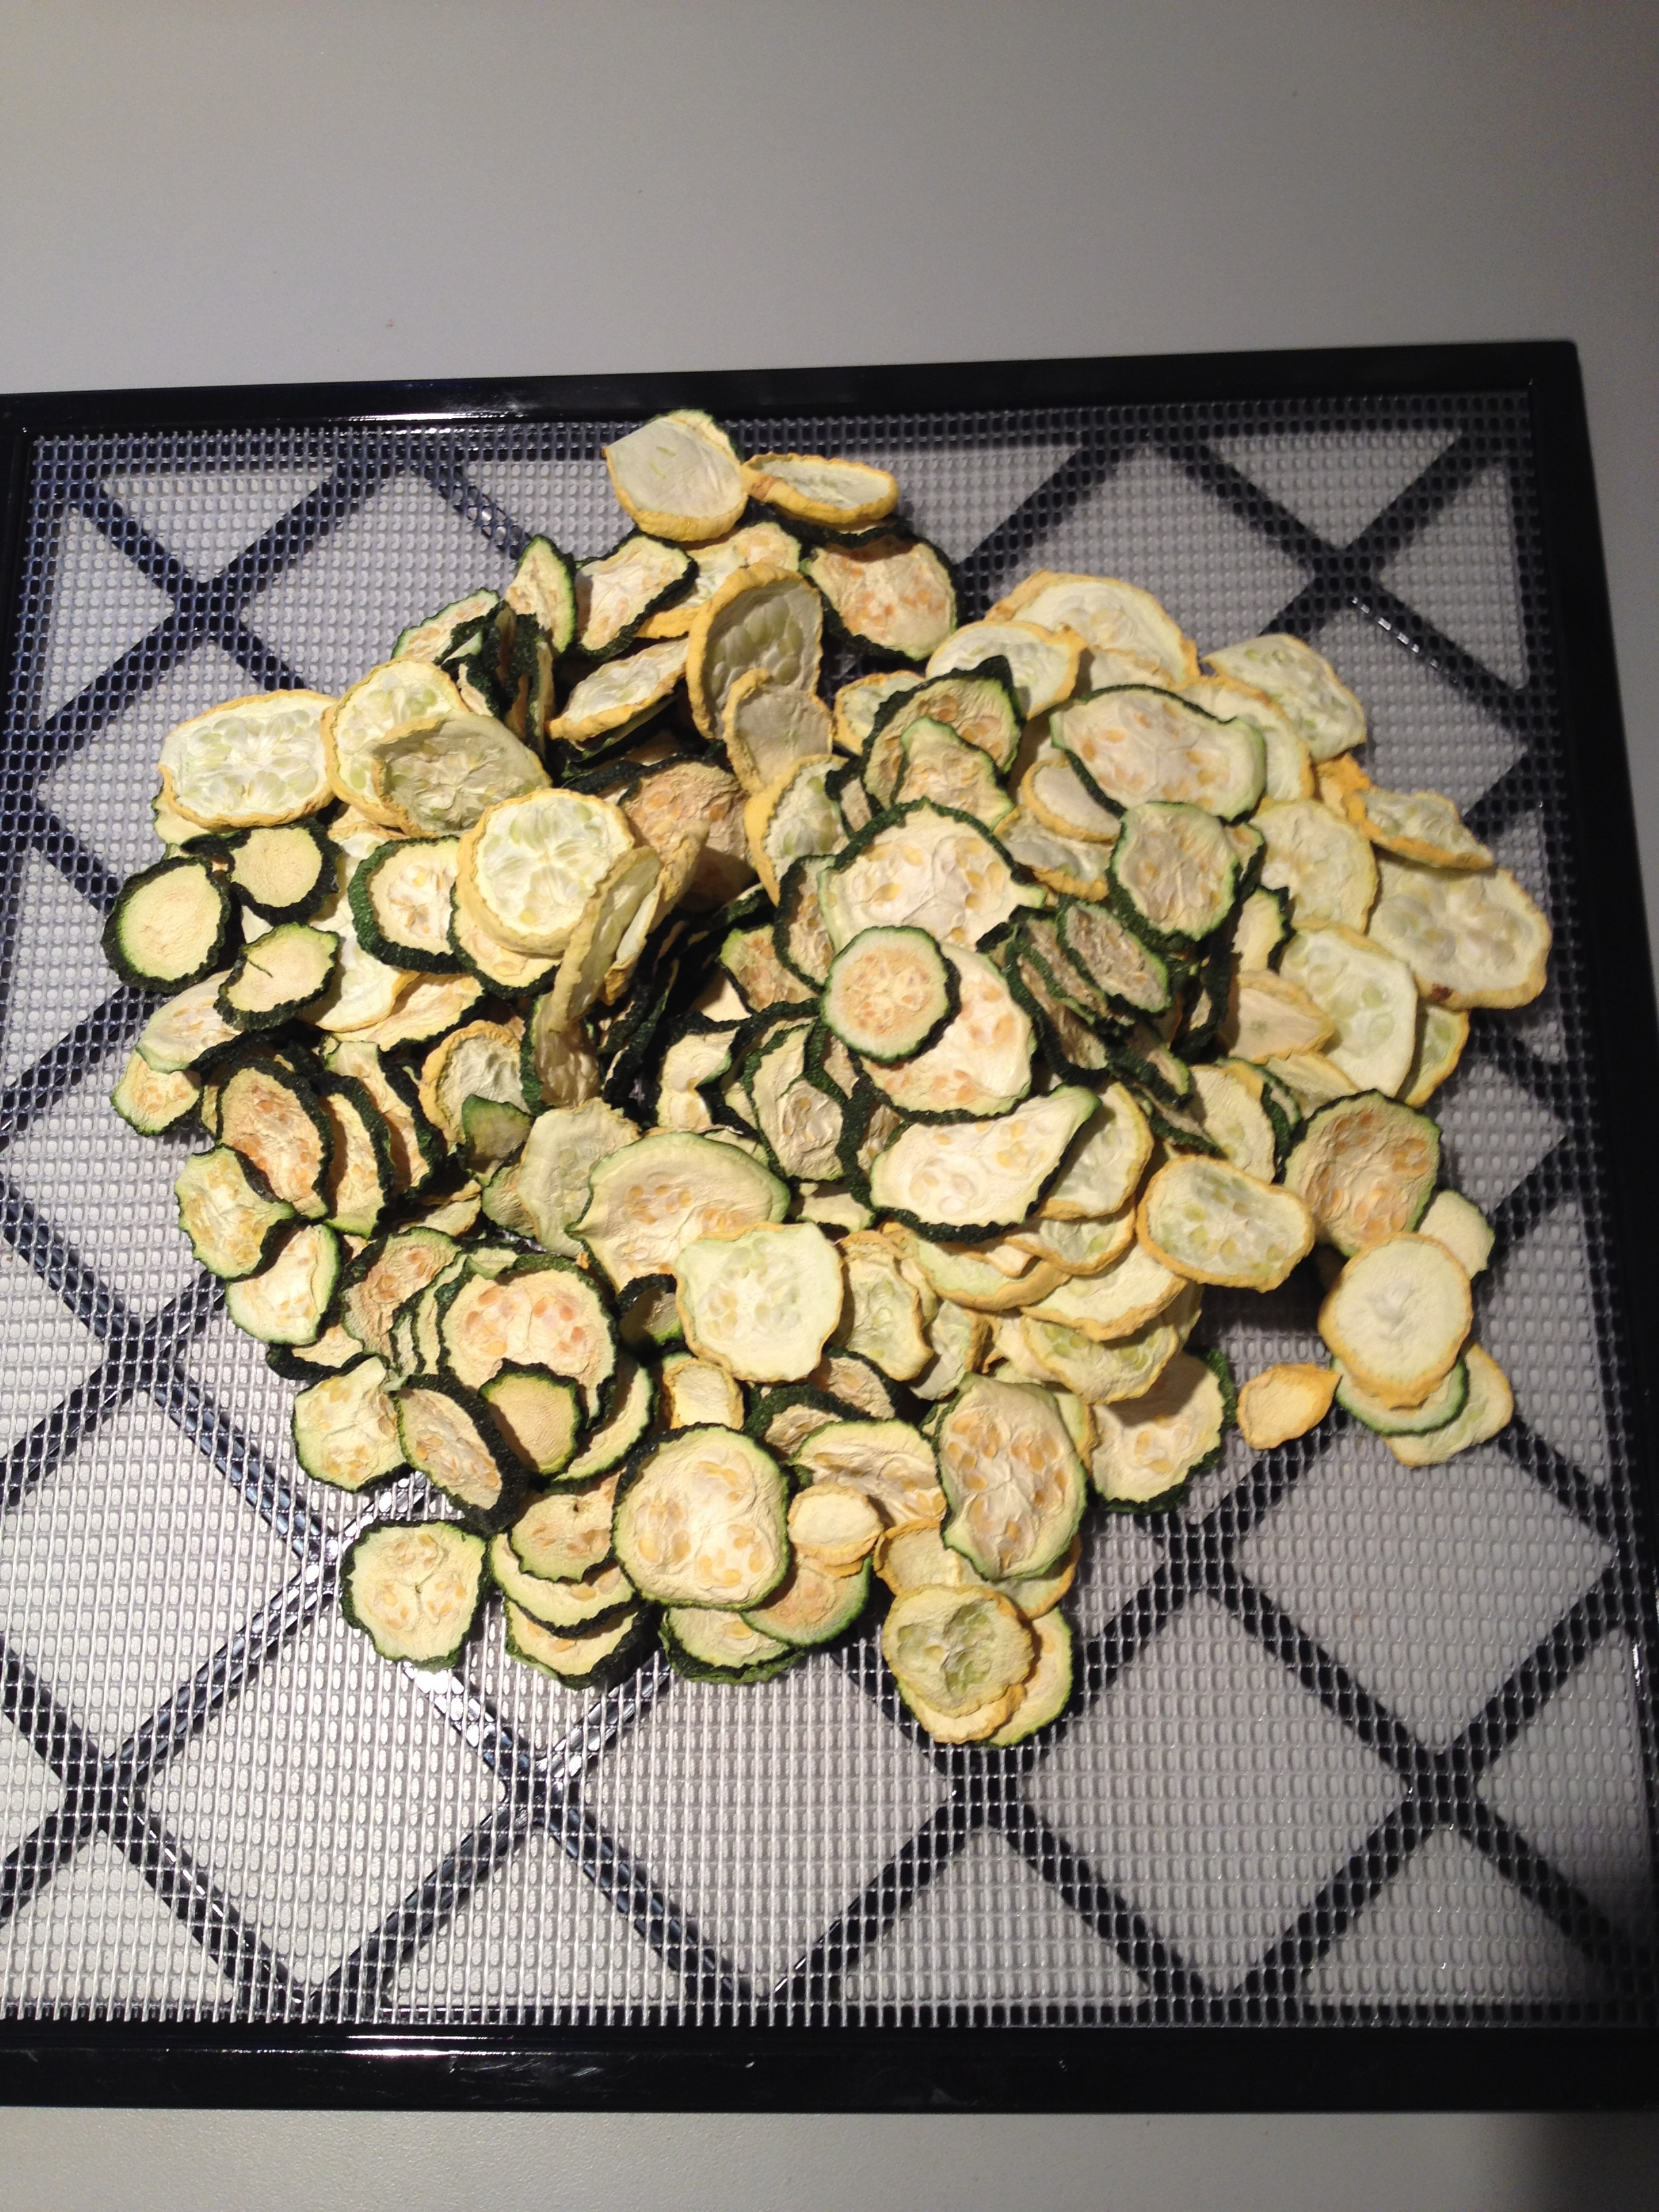 Besides all the pickle making I’ve also been busy dispatching with hordes of eggplants. In two days time, I processed 37 of them into either roasted vegetables or Parmesan eggplant patties which freeze nicely for delightful meals all winter long. Here they are before baking.
Here they are afterwards. This is less than half of what I put into freezer bags. 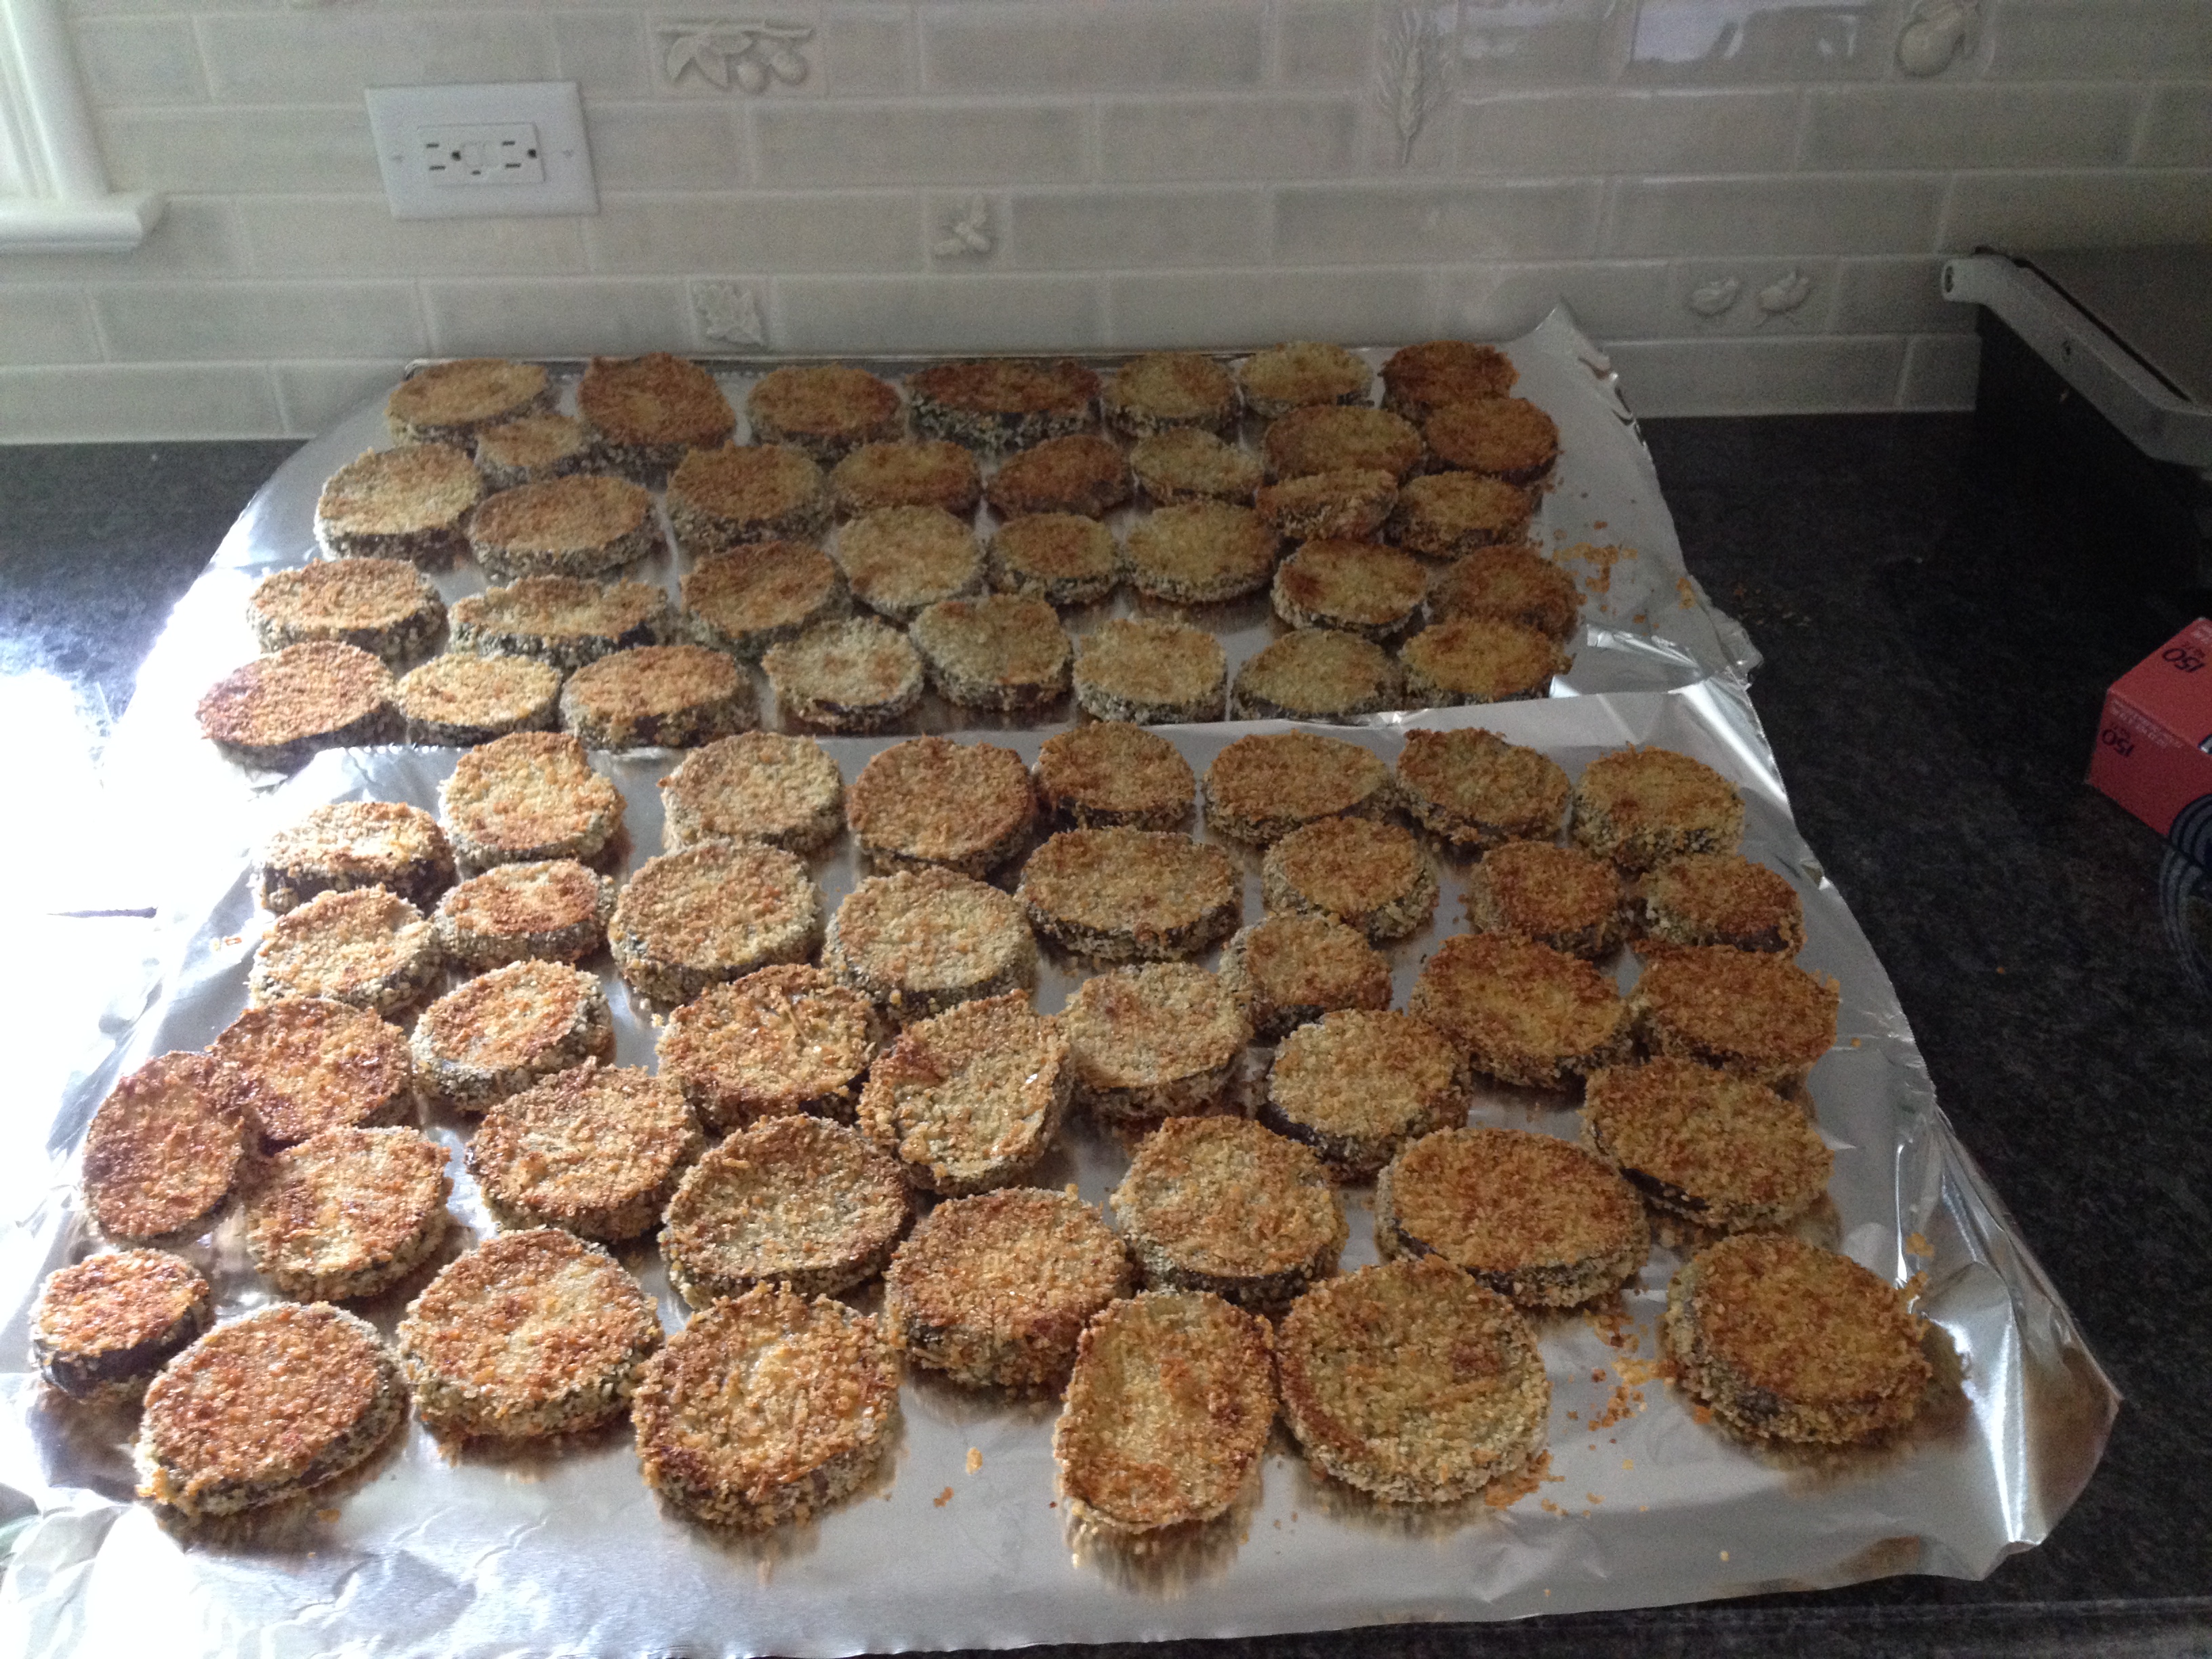 As always, the bee report is last. Although it has not been a week since I put the empty honey supers on the hives for a bit of a clean up, Jurgen decided that 3 days was sufficient and advised me to remove them today. With exceptionally cool weather to work in, I jumped at the chance this morning to do this. I set about opening the hives to discover that the bees had indeed cleaned up the combs. It was slightly unnerving that they were still pretty interested in the empty space and I had to forge ahead and displace them from the frames before I could remove them, first with a sharp thwack and then with my hive brush. As you can see, I brought the leaf blower just in case but did not have to use it.
  I carried all four empty frames away for winter storage.
I’ll pop them into the basement freezer for a day or two first to kill off any stray mites, but not before observing one frame that had several young bees emerging from their cells into the world. It isn’t easy to activate your cell phone wearing a bee suit but I managed this video despite not being able to clearly see where the camera was pointed. Forgive the amateur file. The bees take so long to emerge that I don’t have their final flight from the cell, but this should be an indication. Also, I just upgraded this blog to enable videos and I’m experimenting with the format, so be patient.

WHAT A NICE WRITE UP. I GUESS I WAS GETTING MY MAIL! REMEMBER, I AM GOING WITH LISA TO EVELYNS. LOVE, MOM
Wish I were there to taste test your maiden voyage into sauerkrauting (and the pickles, too, for that matter!)! You 2 are going to have the probiotic-laden guts that the rest of us can only dream about. :)) “Sauerhoff Sauerkraut”. . .sounds kinda catchy!
Nice video! I like the look of the dehydrated zucchini and yellow squash. I’m wondering about their texture. Are they still kind of leathery or do they get dry enough to be crisp? For your next batch of sourkraut you could always use that apple butter kettle!
The texture of the zukes is not exactly crisp but a bit more on the leathery side. The intention is to dehydrate them to the point of safe dry storage with the end goal being re-hydrating rather than using for snacking as other crispier products might be intended. Unfortunately, as far as sauerkraut or any other fermenting, copper is on the no-no list for containers, even temporarily, according to the University of Minnesota. The difference in the use of this metal for apple butter must be that the apples are cooked in it with sugars and not fermenting with salt and vinegar.
Thank you for linking to my dried zucchini post! So lovely to see others drying zucchini, too!