
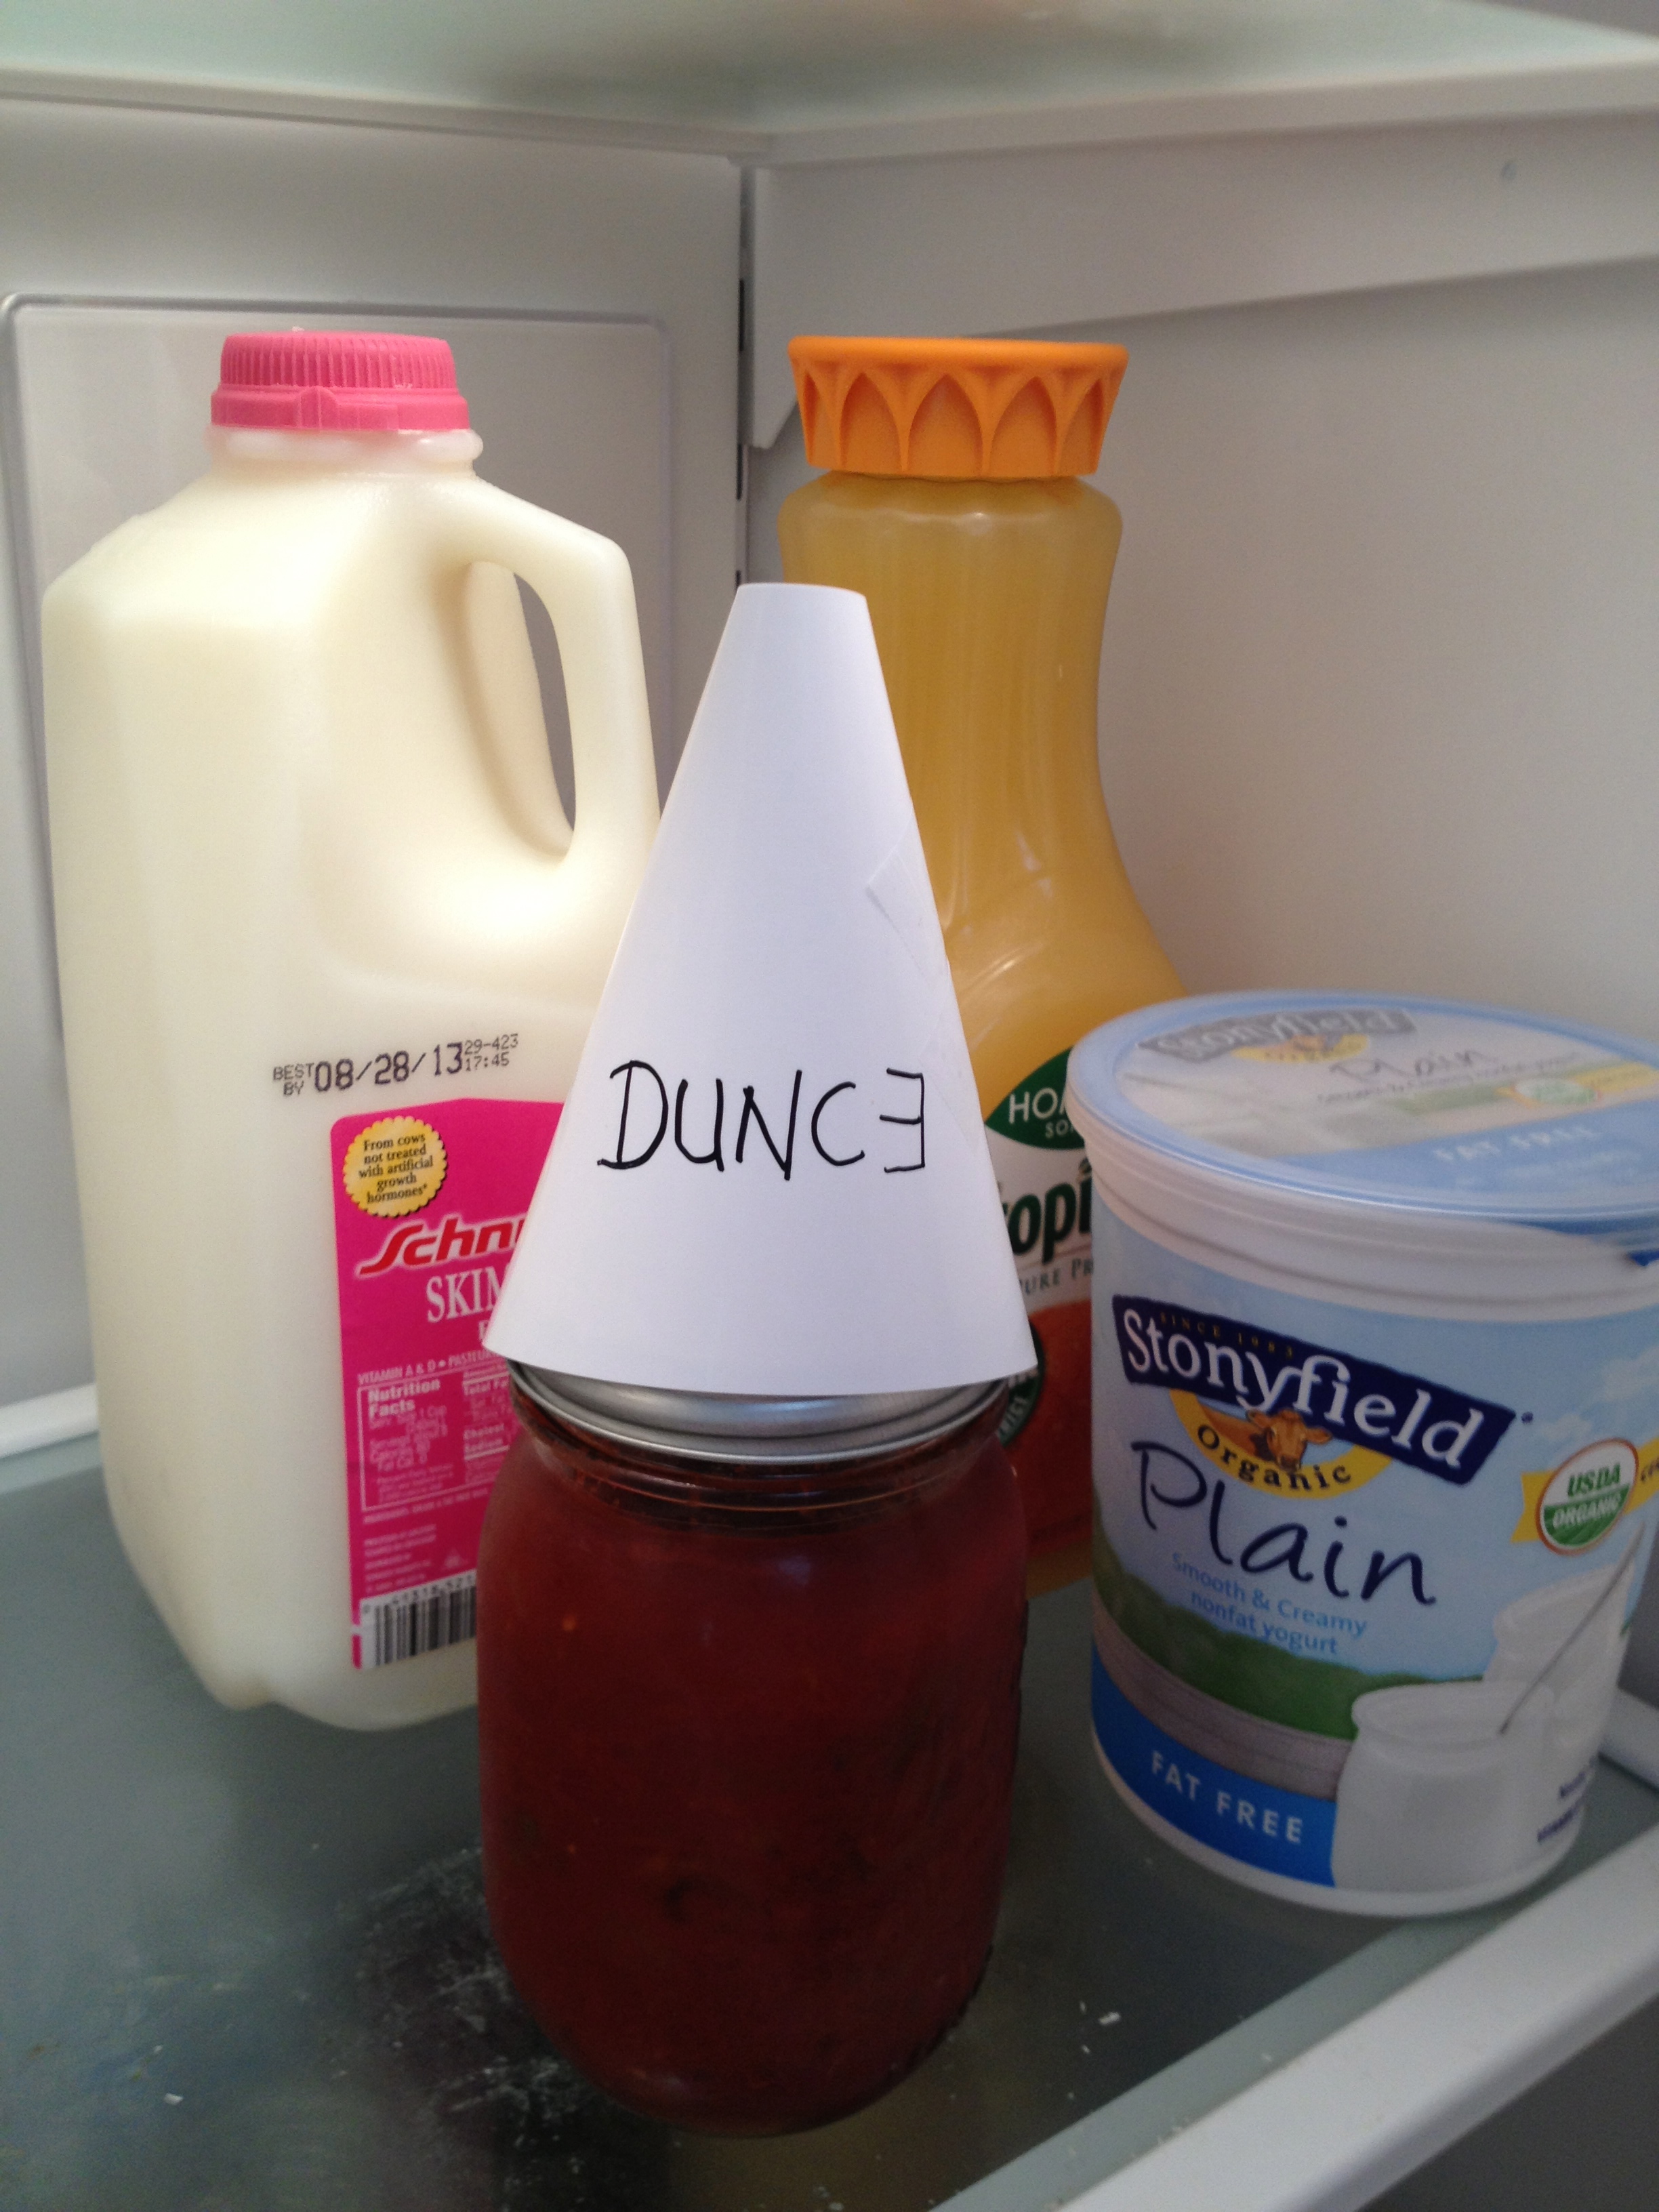
My last post was a sad note about a jar of tomato pasta sauce that had failed me and was put into the refrigerator for more immediate use. If I could fit in the fridge, this is the hat I’d be wearing!
 At that point in time I had the next batch of tomatoes cooking away on the stove top and had written a teaser about whether it would be pasta sauce or ketchup since I had not decided what direction to go. Well, I was wrong about that. I had forgotten that my favorite ketchup recipe starts off with some onions in the initial processing of the tomatoes which I had not included in that batch. So, after consulting my recipes, while that batch of milled tomatoes were simmering down on the stove top, I decided to roast some veggies to add to the sauce and make it into a hearty pasta sauce.
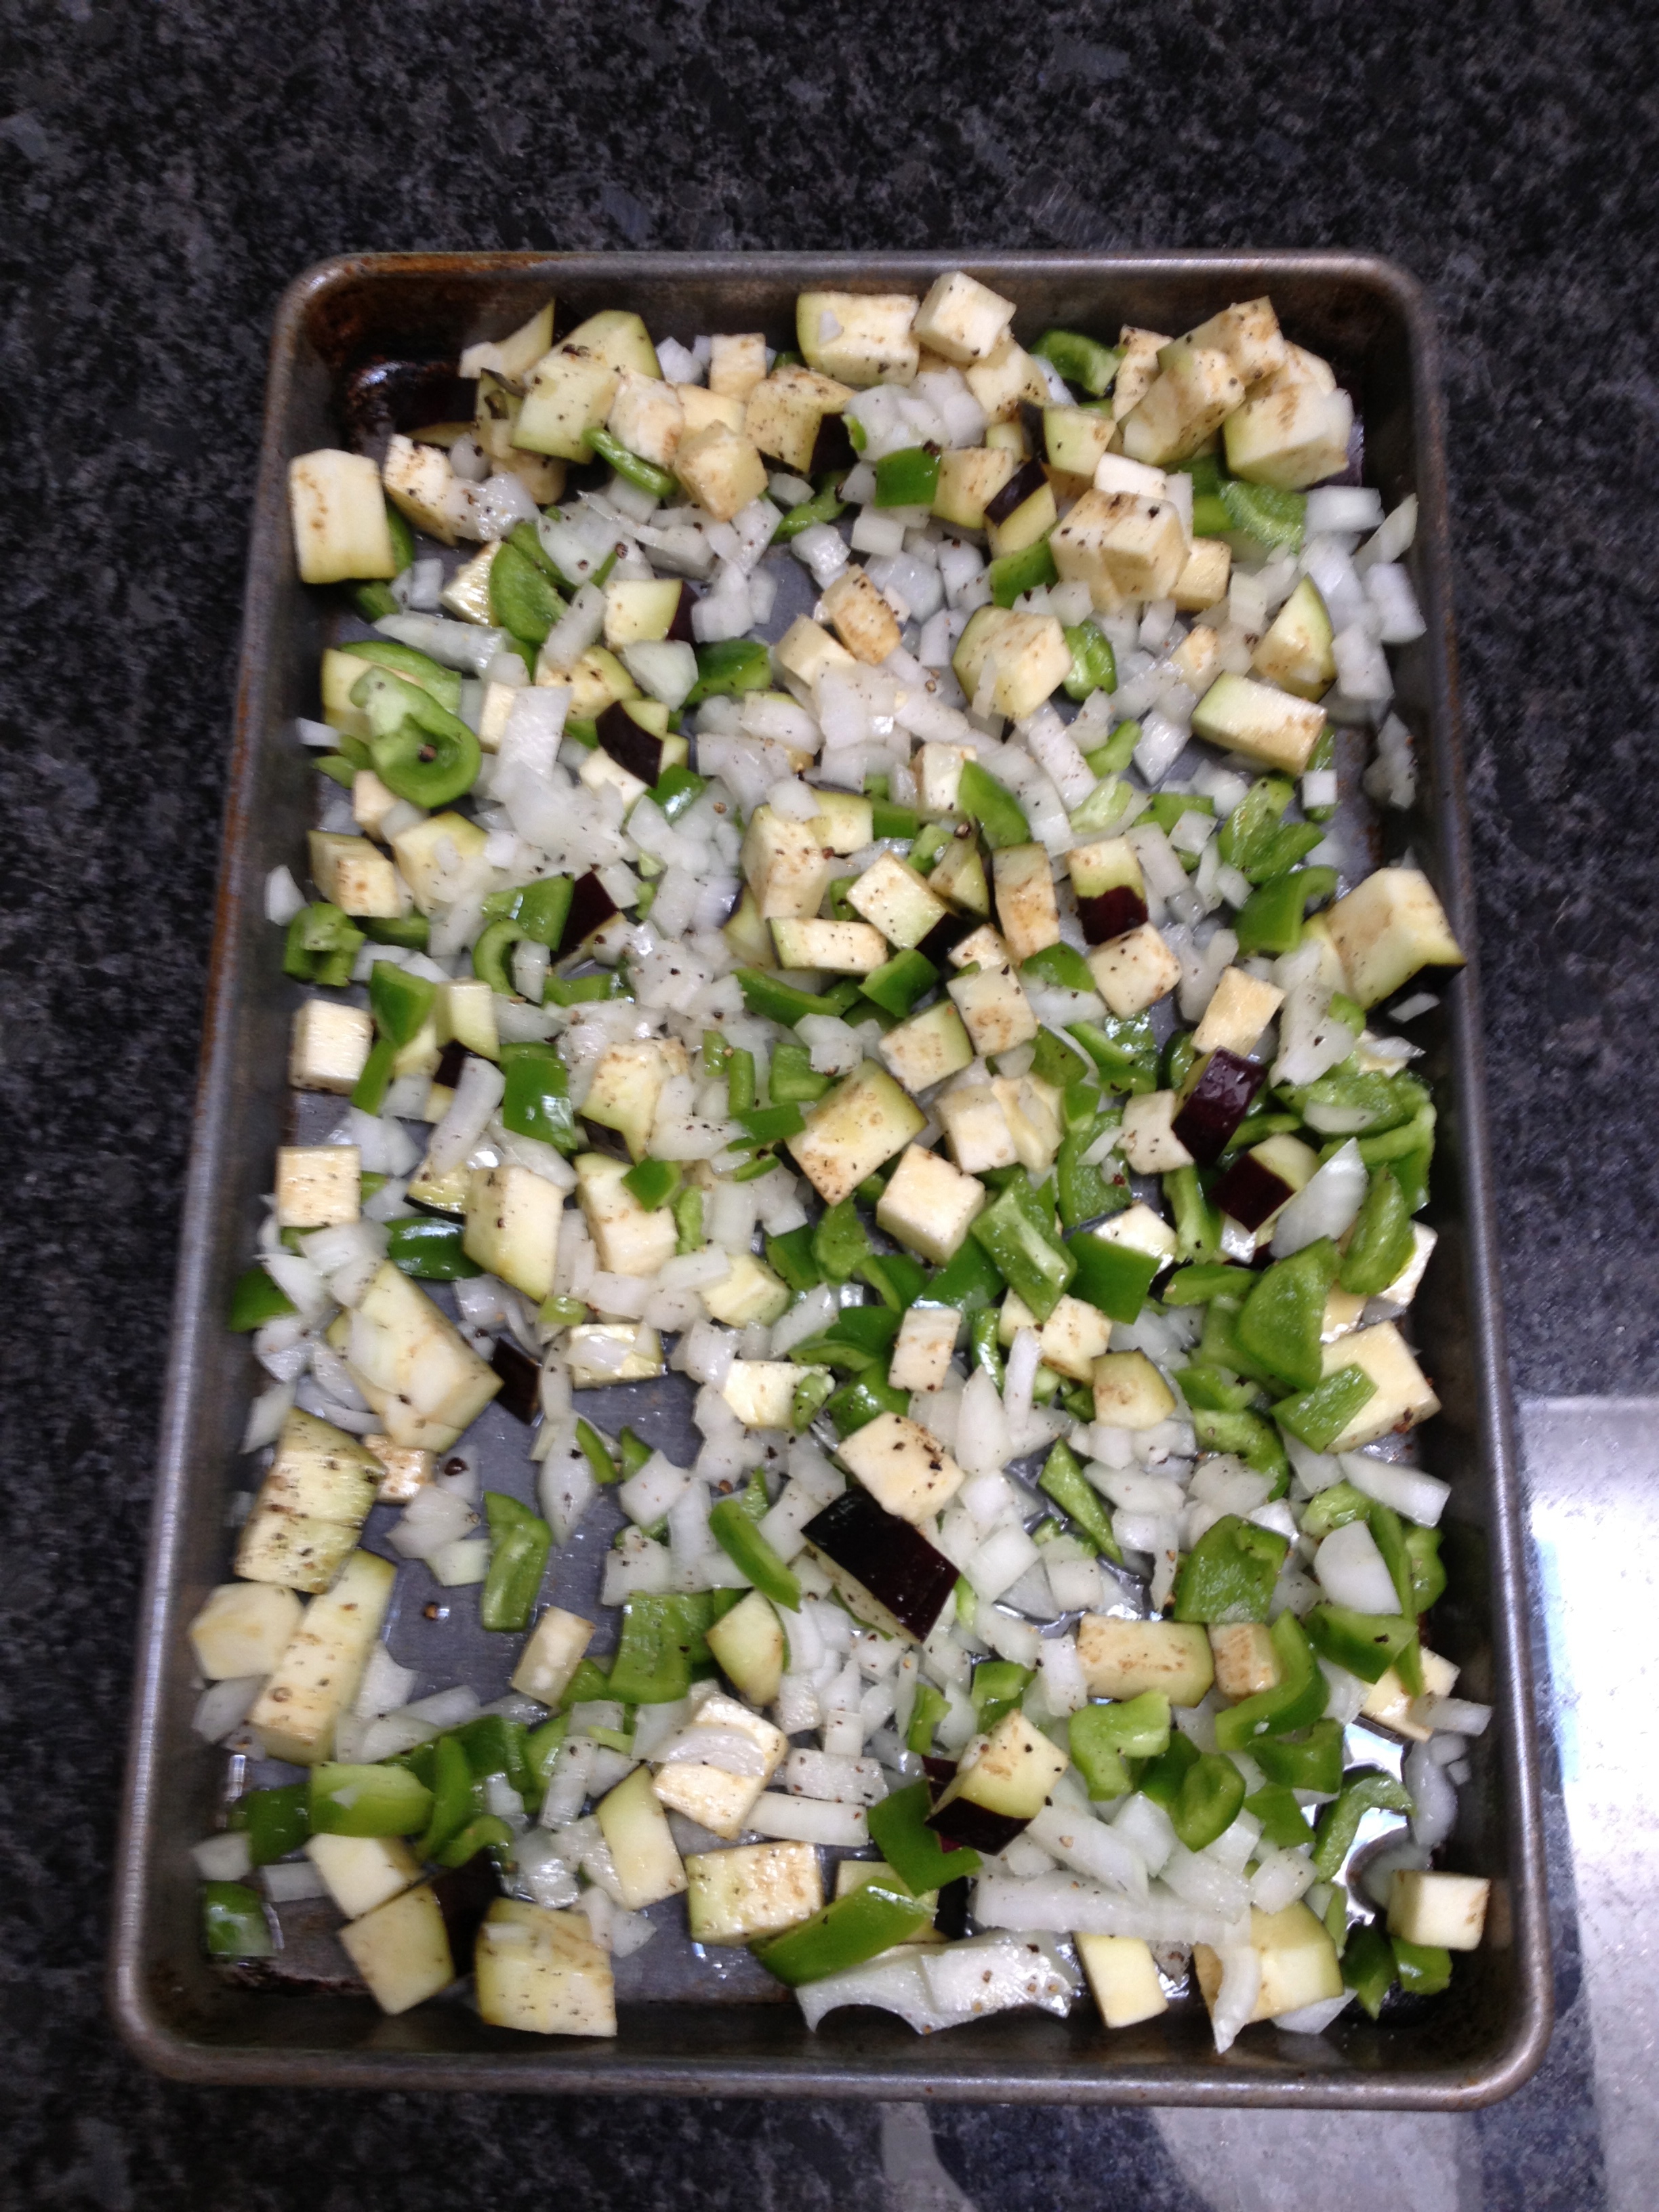
I chopped up some eggplants, green peppers, onions and roasted them on high heat in the oven.
 After the sauce had reduced considerably, I added these roasted veggies and cooked it all a bit more before ladling into jars and processing with my pressure cooker into 5.5 pints.
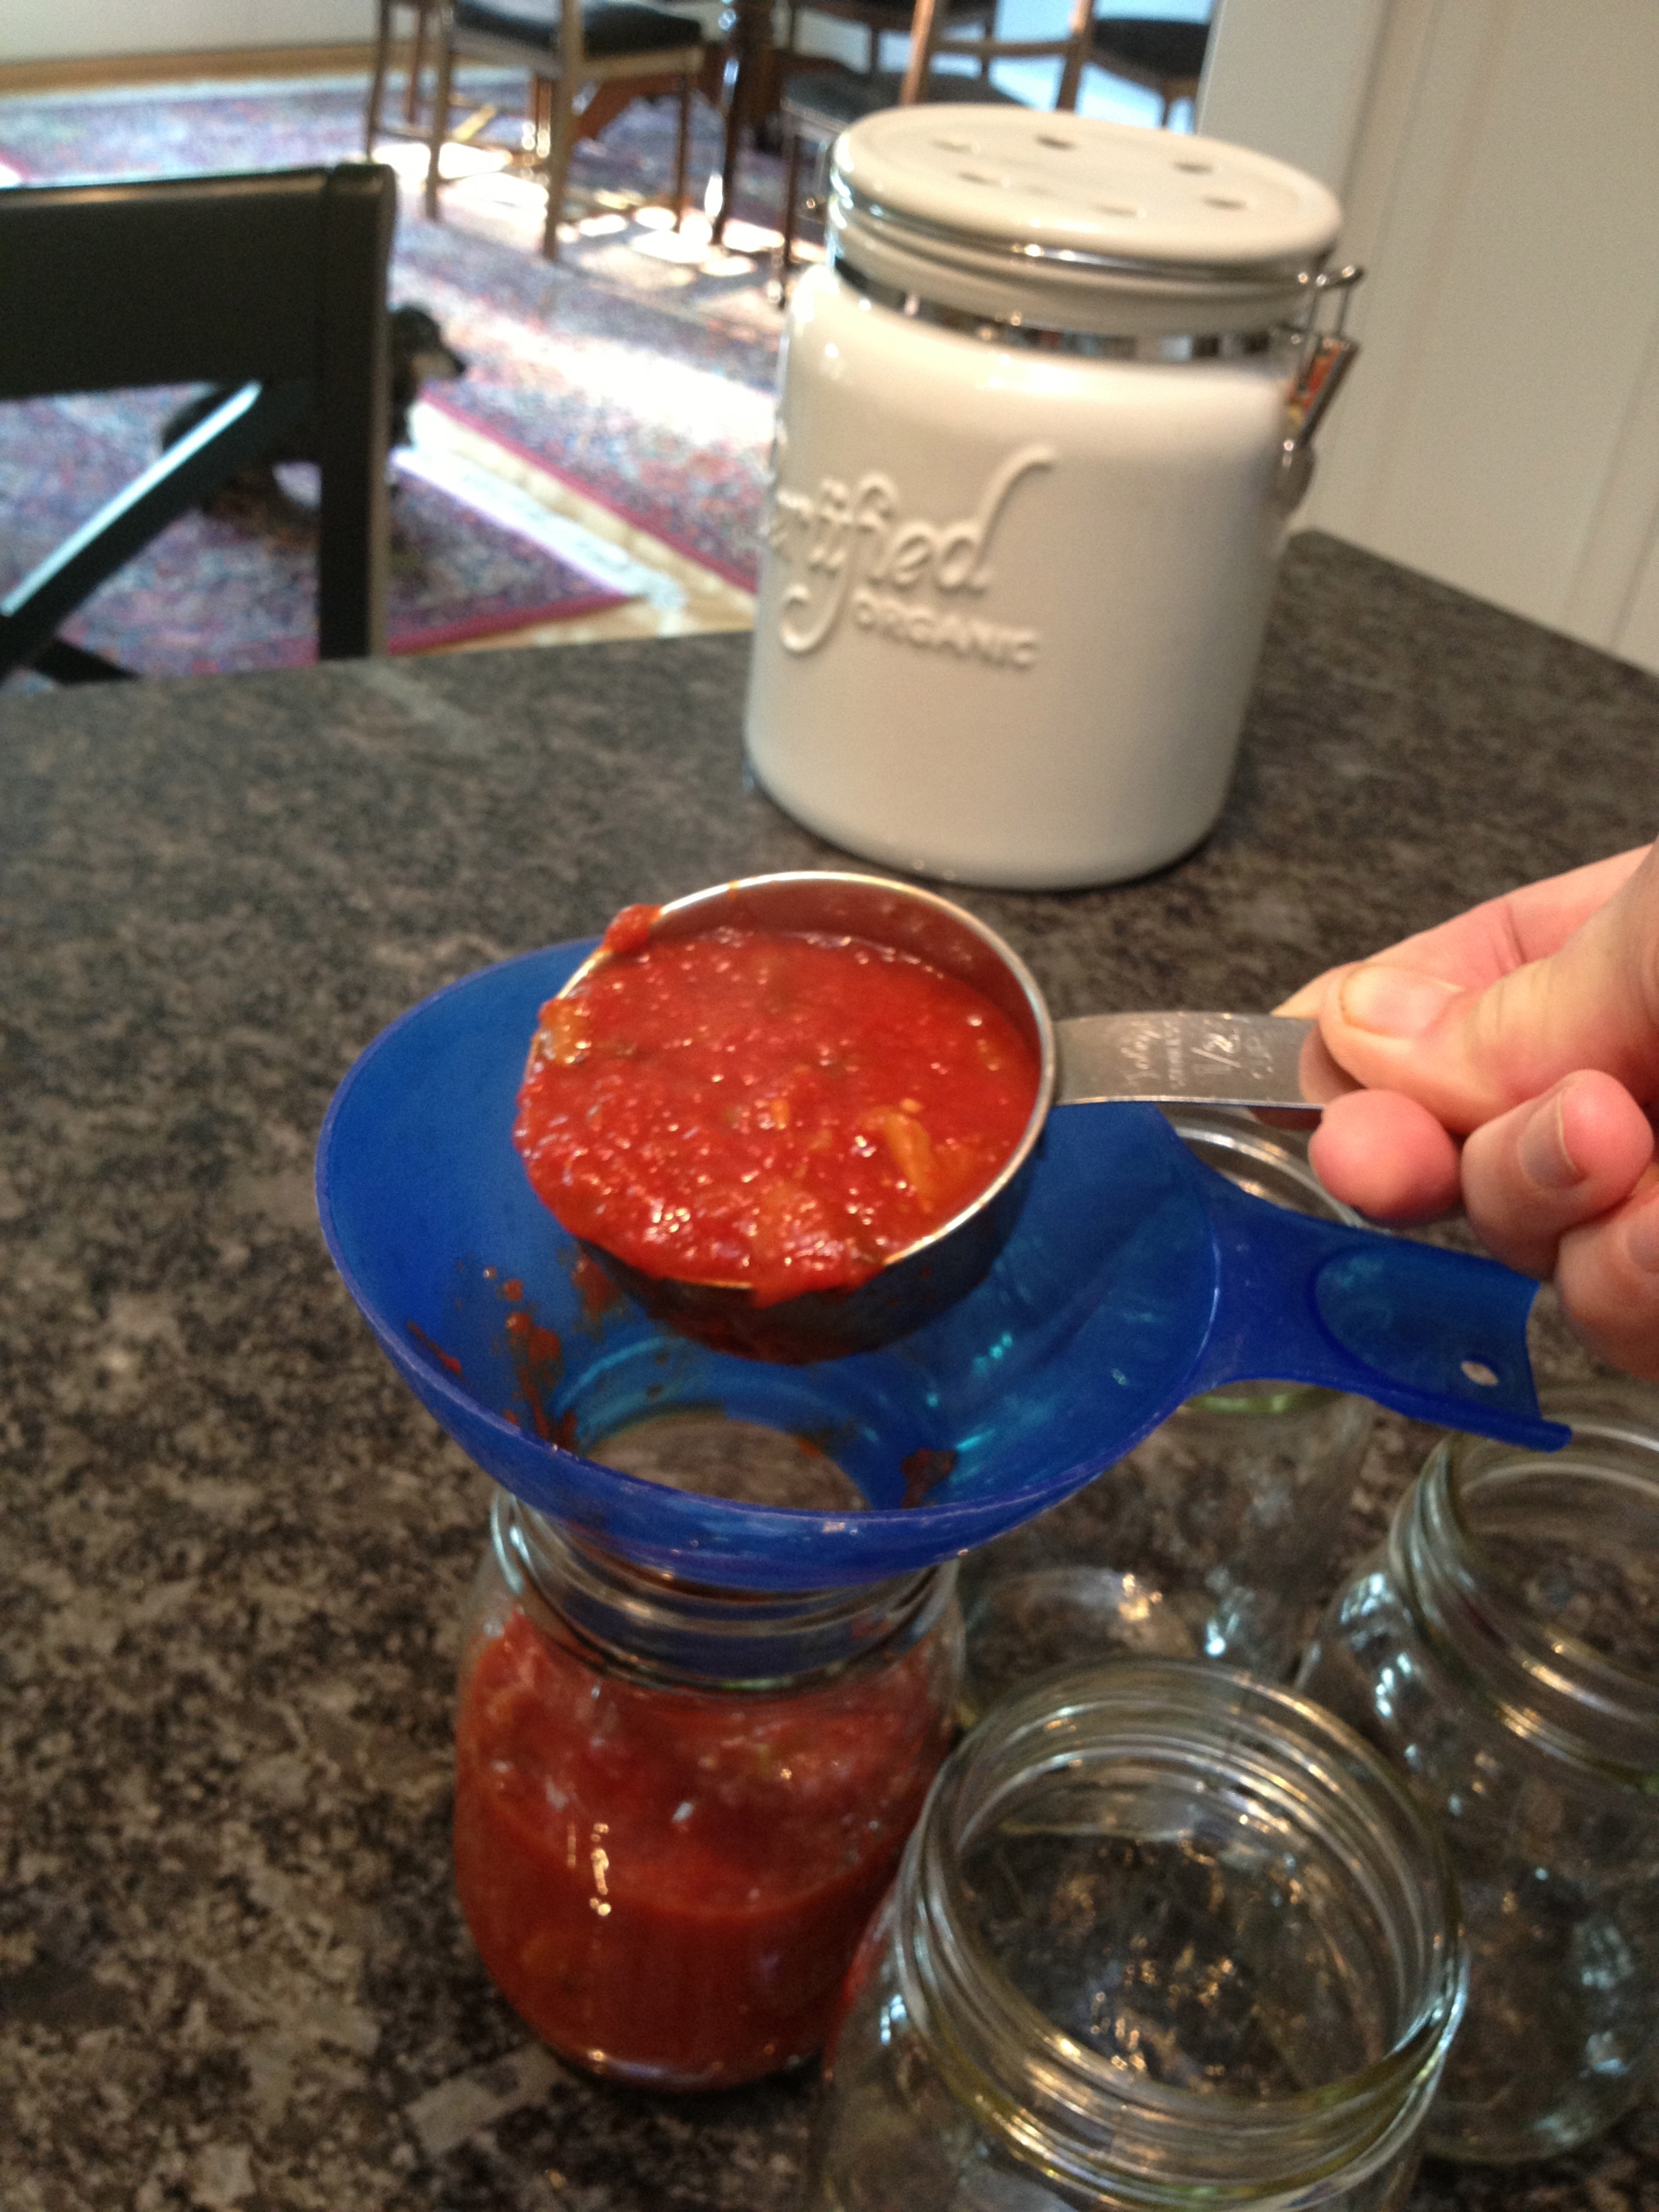
Not sure if I’ve glossed over this, but just to be clear, there are two ways to hot process foods in glass jars. One is pressure cooking which requires special equipment and the other is a hot water bath which just requires enough depth of a pot to submerge a jar of contents in water with at least an inch of water over the top while it boils. The acidity levels of each fruit or vegetable helps to decide which process is safest to use for the best outcome. There are charts and charts of times, sizes of jars and pounds of pressure to read and follow. I never really trust my memory and so I consult the charts and directions each time I work up a batch.
Although I followed all of the directions I had used in previous years for pressure processing the above mentioned batch of pasta sauce, I found a tinge of pink in the water of the cooker when I finished. This was disturbing to me. It suggests that one or more of the jars had their contents forced out (thru heat/pressure) over the seal and into the water. But, all of the jar lids popped down properly as normal so one would think this was okay but it still bothered me.
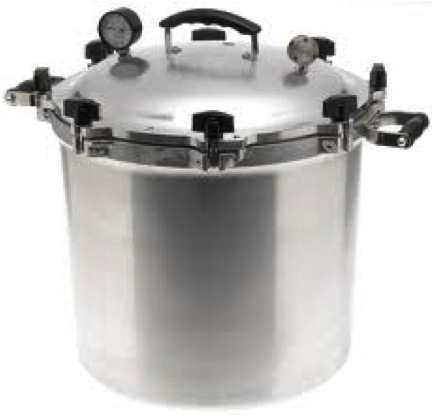
I’ve done some more research and have read conflicting comments about this result. Some say it is fine, others say it is cause for concern. For safety sake, I will place these jars in the refrigerator and watch them carefully. My newest concern is that I would like to have a better way to regulate my wonderful BlueStar range which features the greatest BTUs available to the residential market – 22,000; enough to practically melt an aluminum pot if one is not careful! The pressure cooking/canning instructions indicate adjusting the heat to keep the pounds of pressure at a certain level for a set number of minutes. With my model of pressure cooker, the only way I can monitor the correct pressure, is to look at the steam value and evaluate the steam emerging from it and then listen to the rocking of the weight that sits on top of that valve and time the length of my observations with accordance to the recommended cooking times for each jar size and its contents. This has worked pretty well in the past but lately I’m a but frustrated by less than perfect results.
I spent some time on line recently reading about this and realized that I would feel much better with a pressure cooker that had a readable gauge on it to better calculate the pressure necessary (in other words how much heat) to exert on my jars when cooked with my Goliath of a stove top. I’m now in love with the All American Canner Company and their products! http://www.allamericancanner.com/ This is what I ordered.
In the mean time, I started to process some cucumbers into some sweet pickle relish from the same recipe I used with success last year. It calls for 6 pounds of diced cucumbers as well as onion, green and red peppers.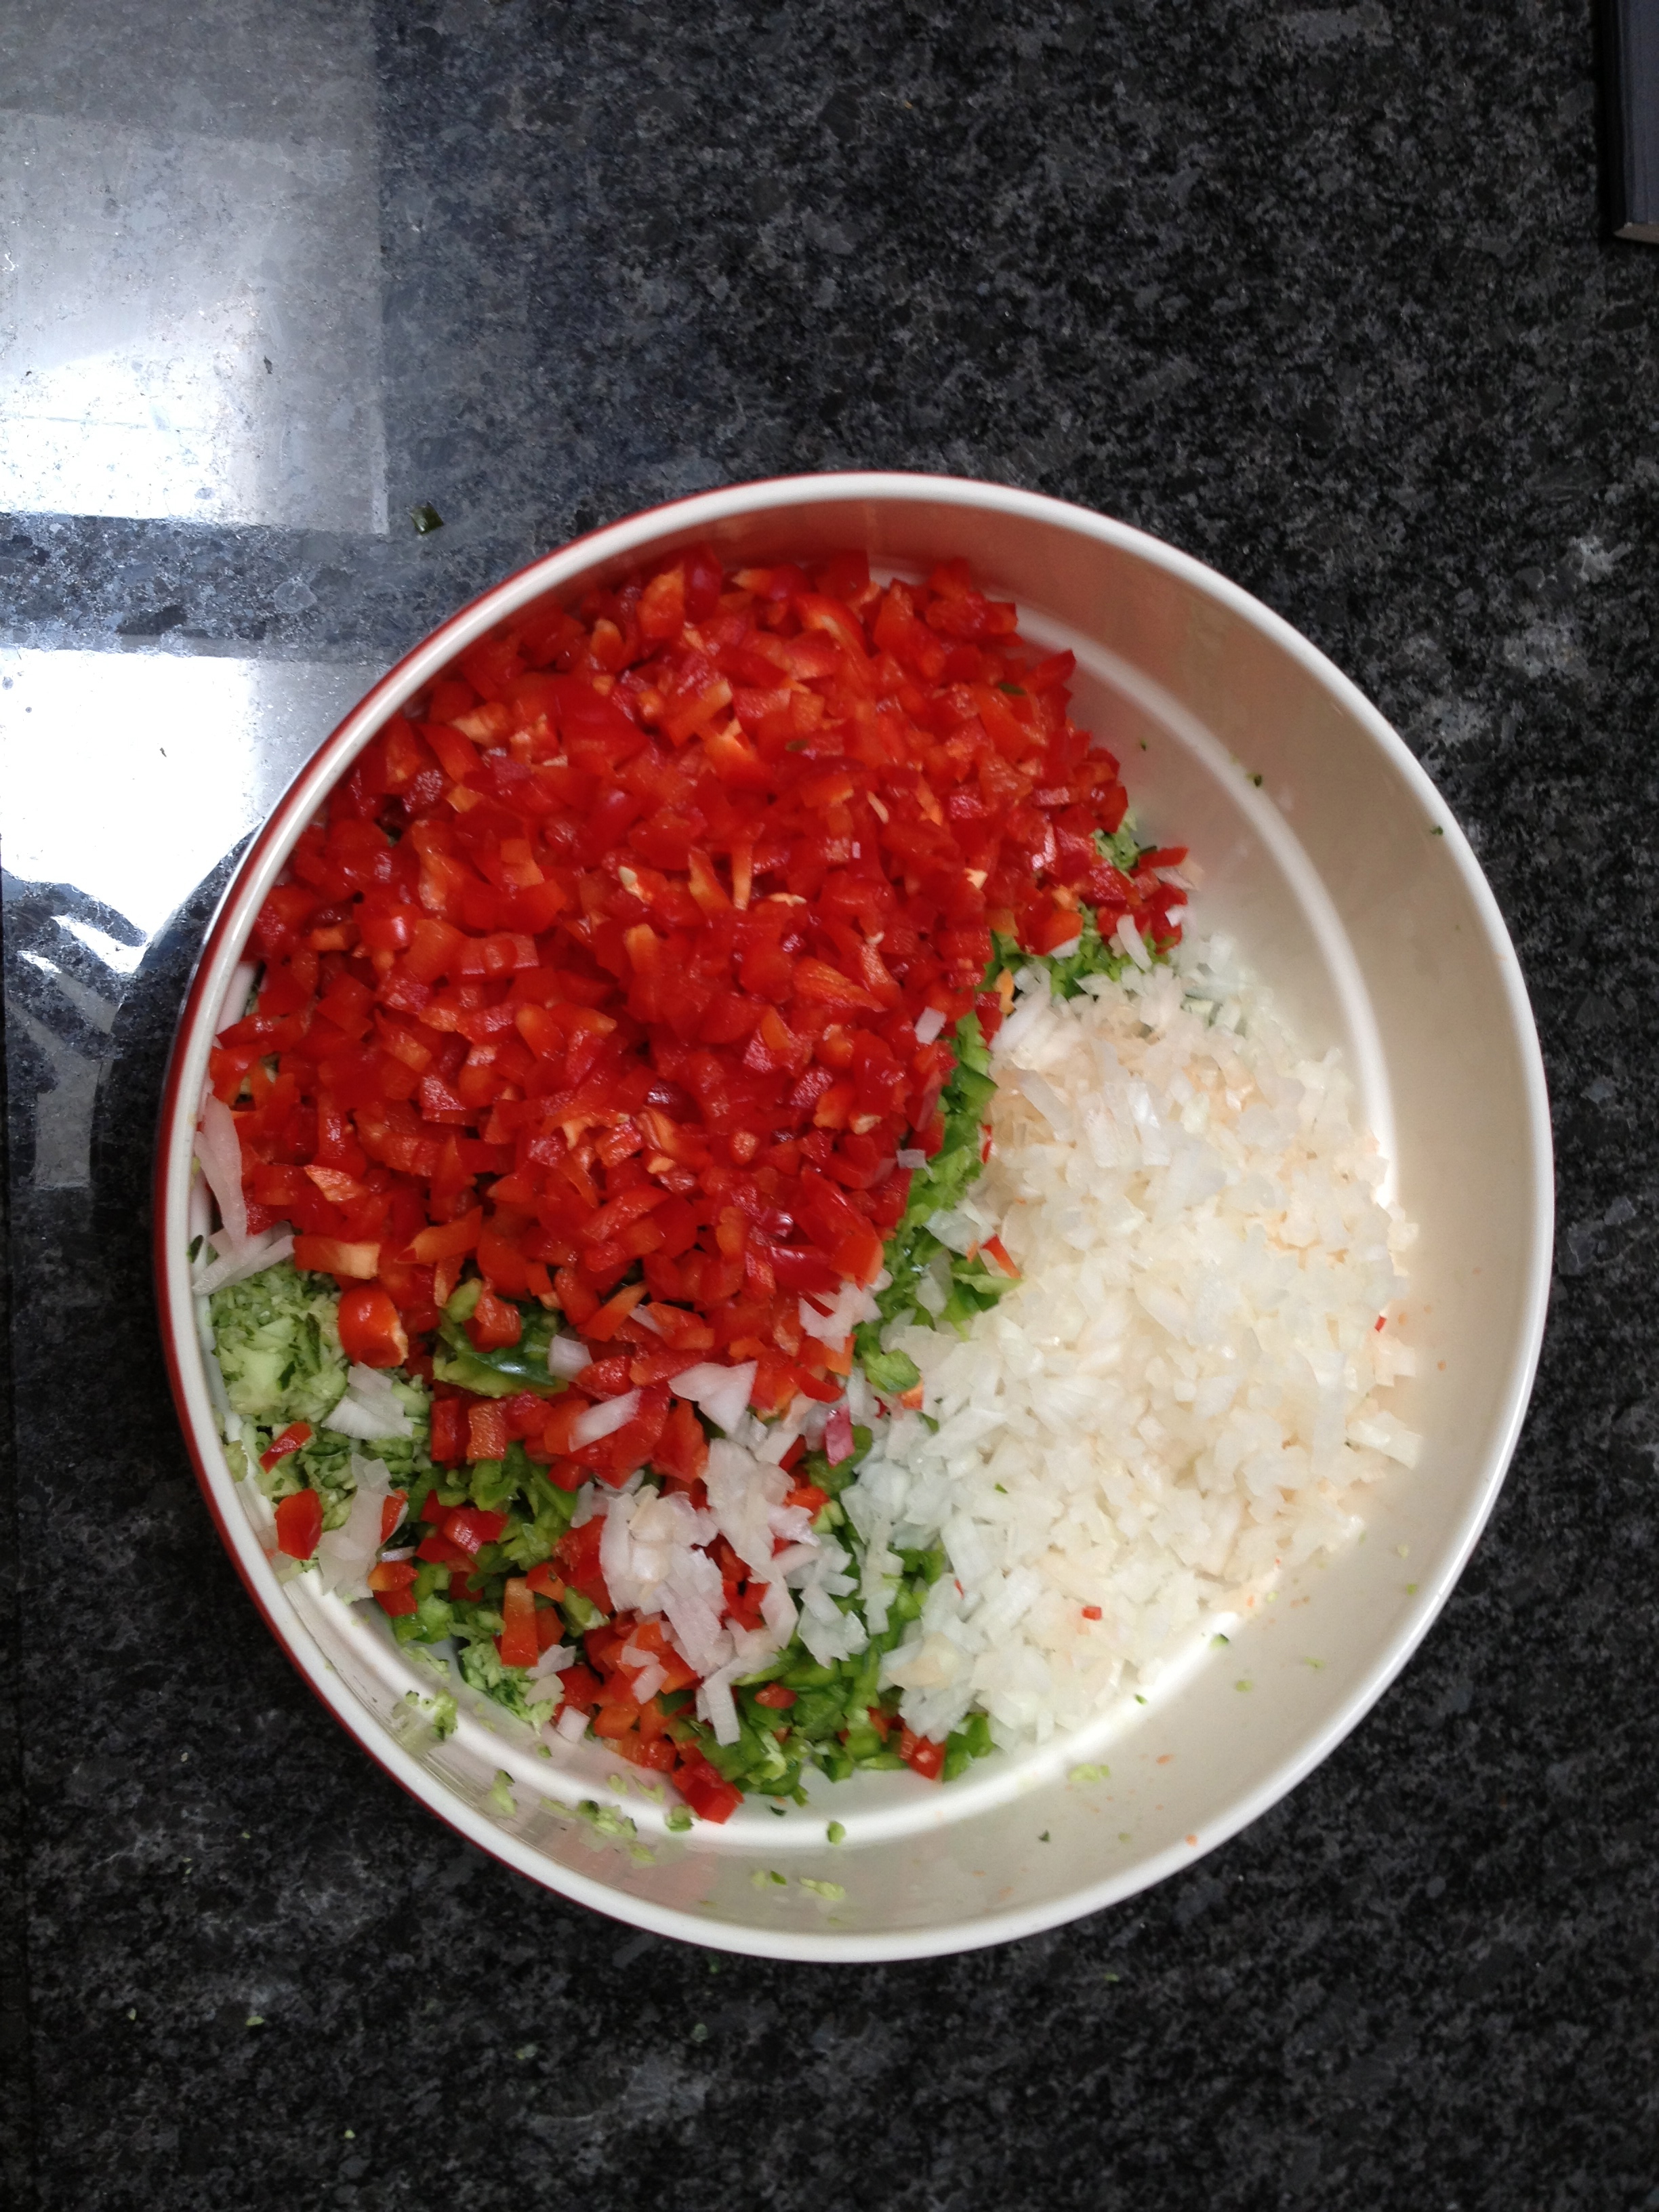
I got all of this together in a large container and then put it thru an initial cold brining….ice and pickling salt over several hours, and then drained it and added more ice to sit some more. 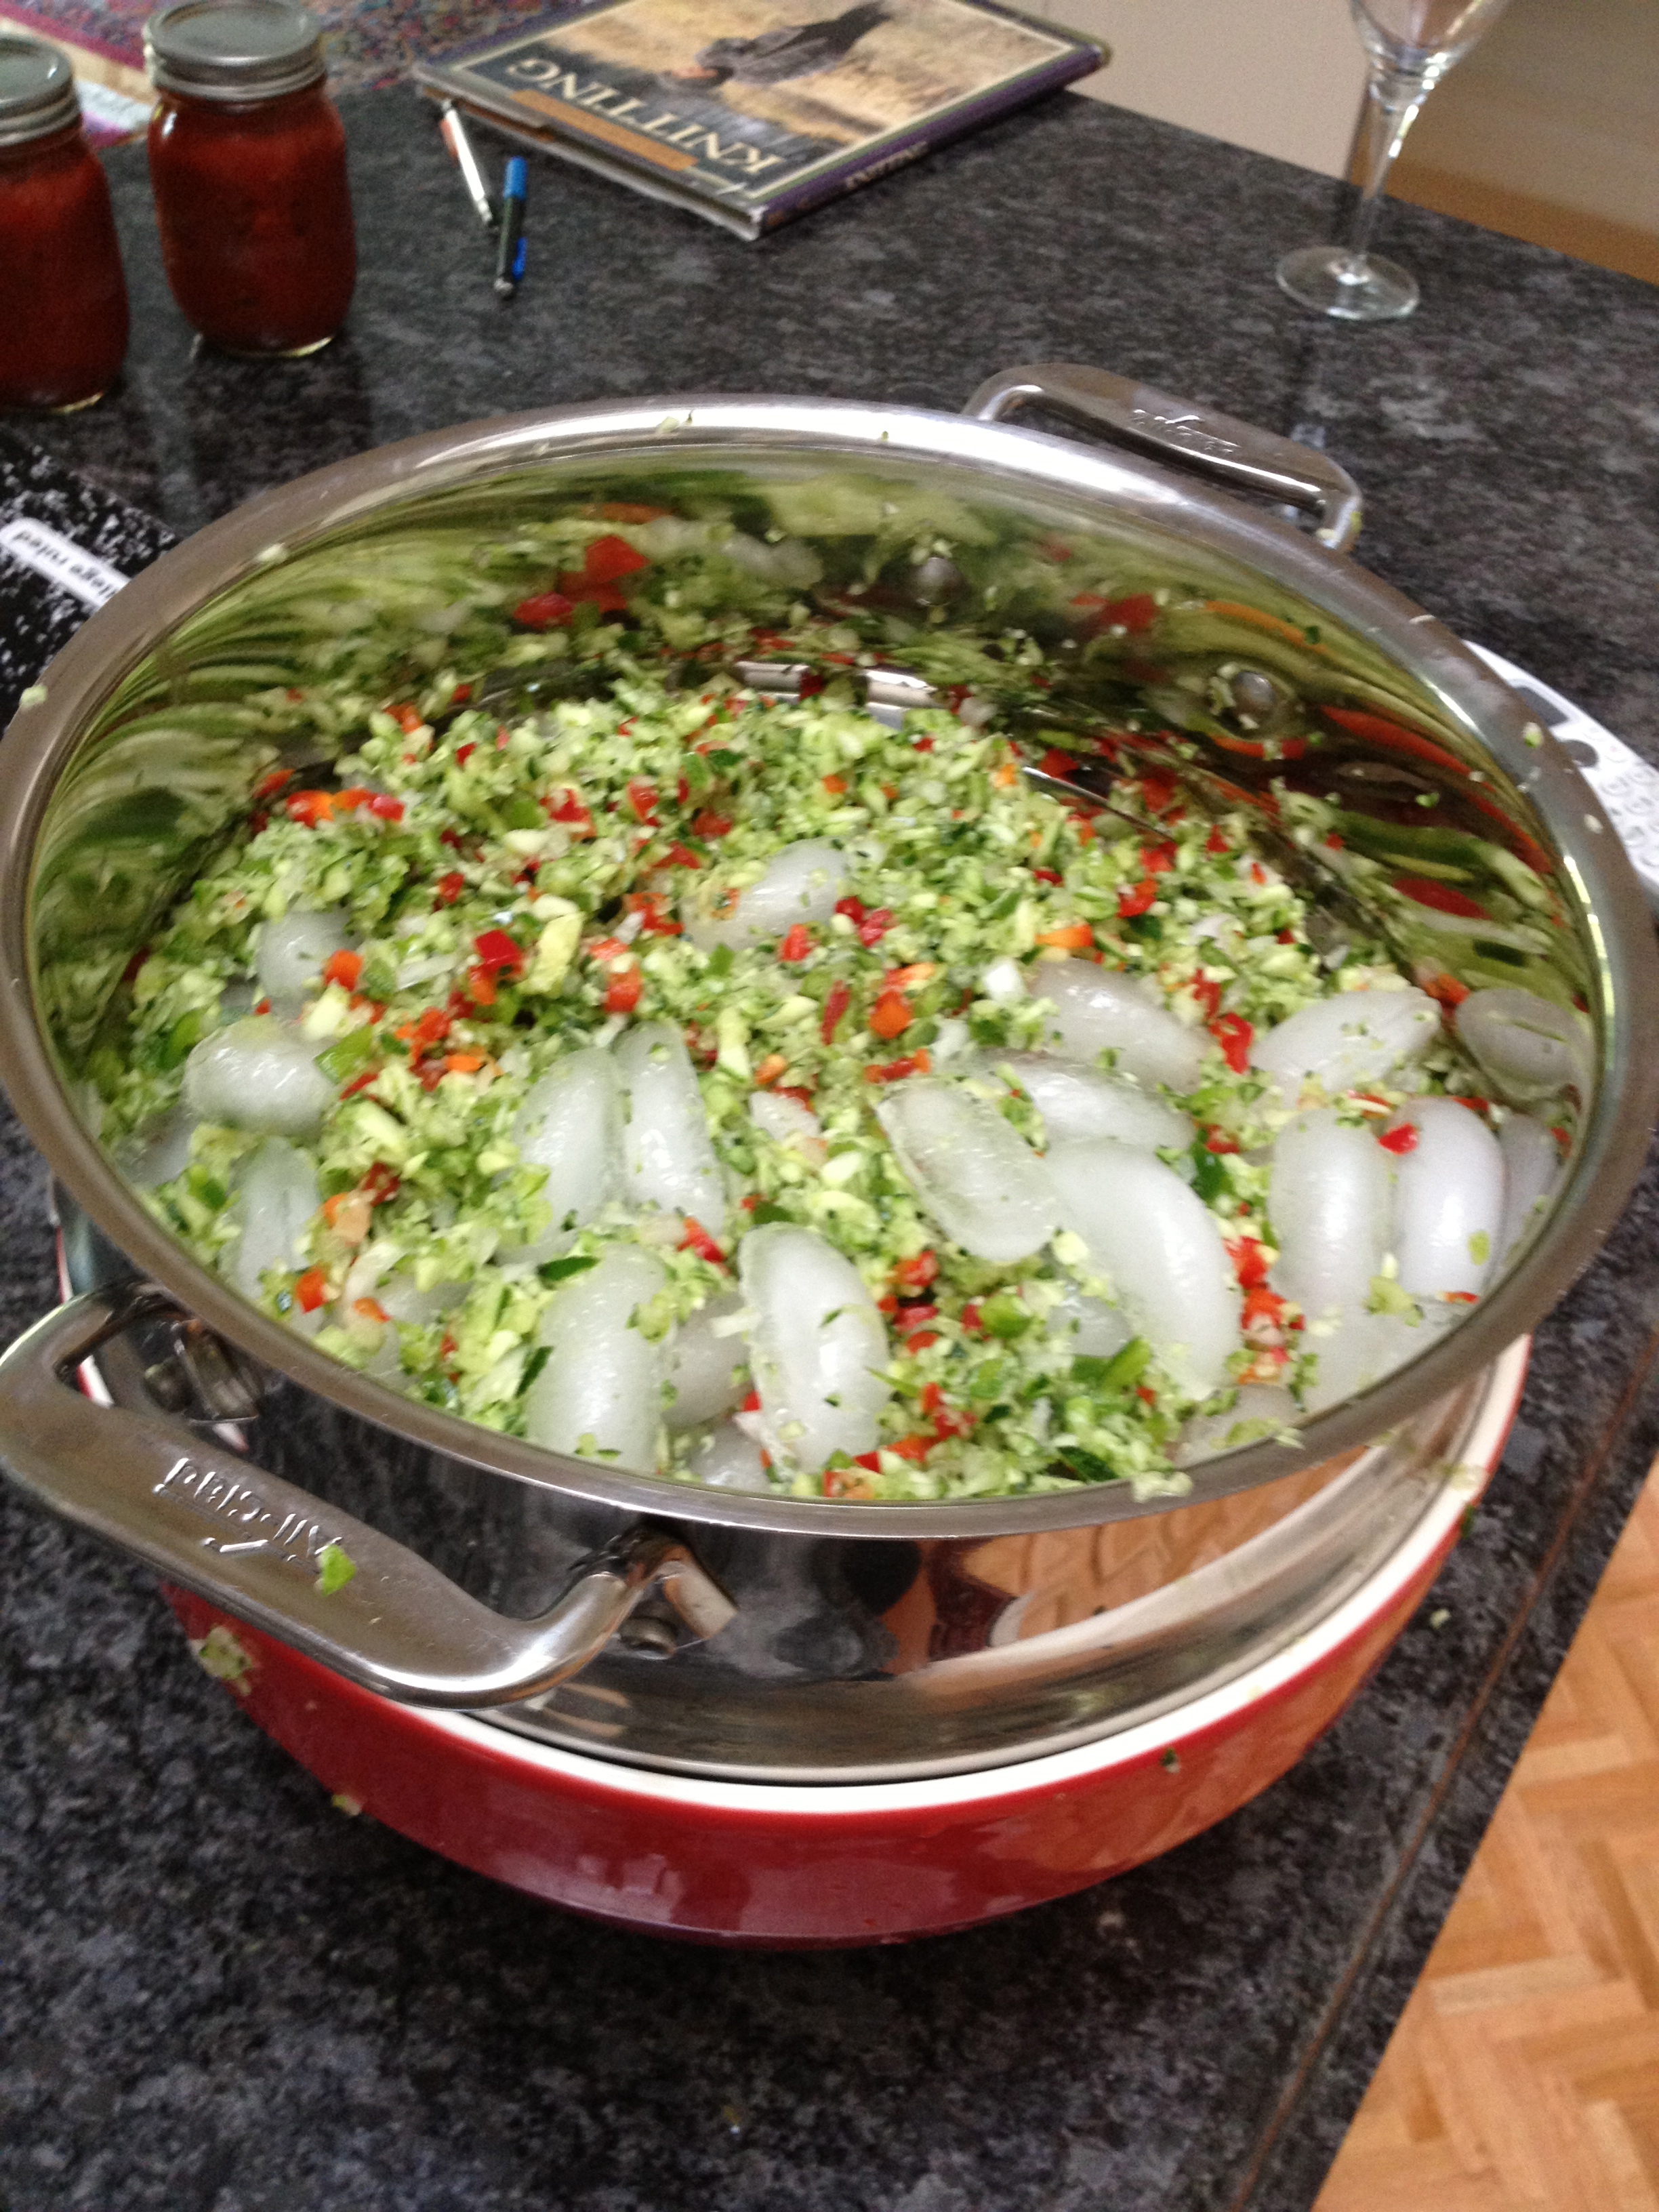
I boiled a mixture of sugar/vinegar/spices and added the diced veggies to that. 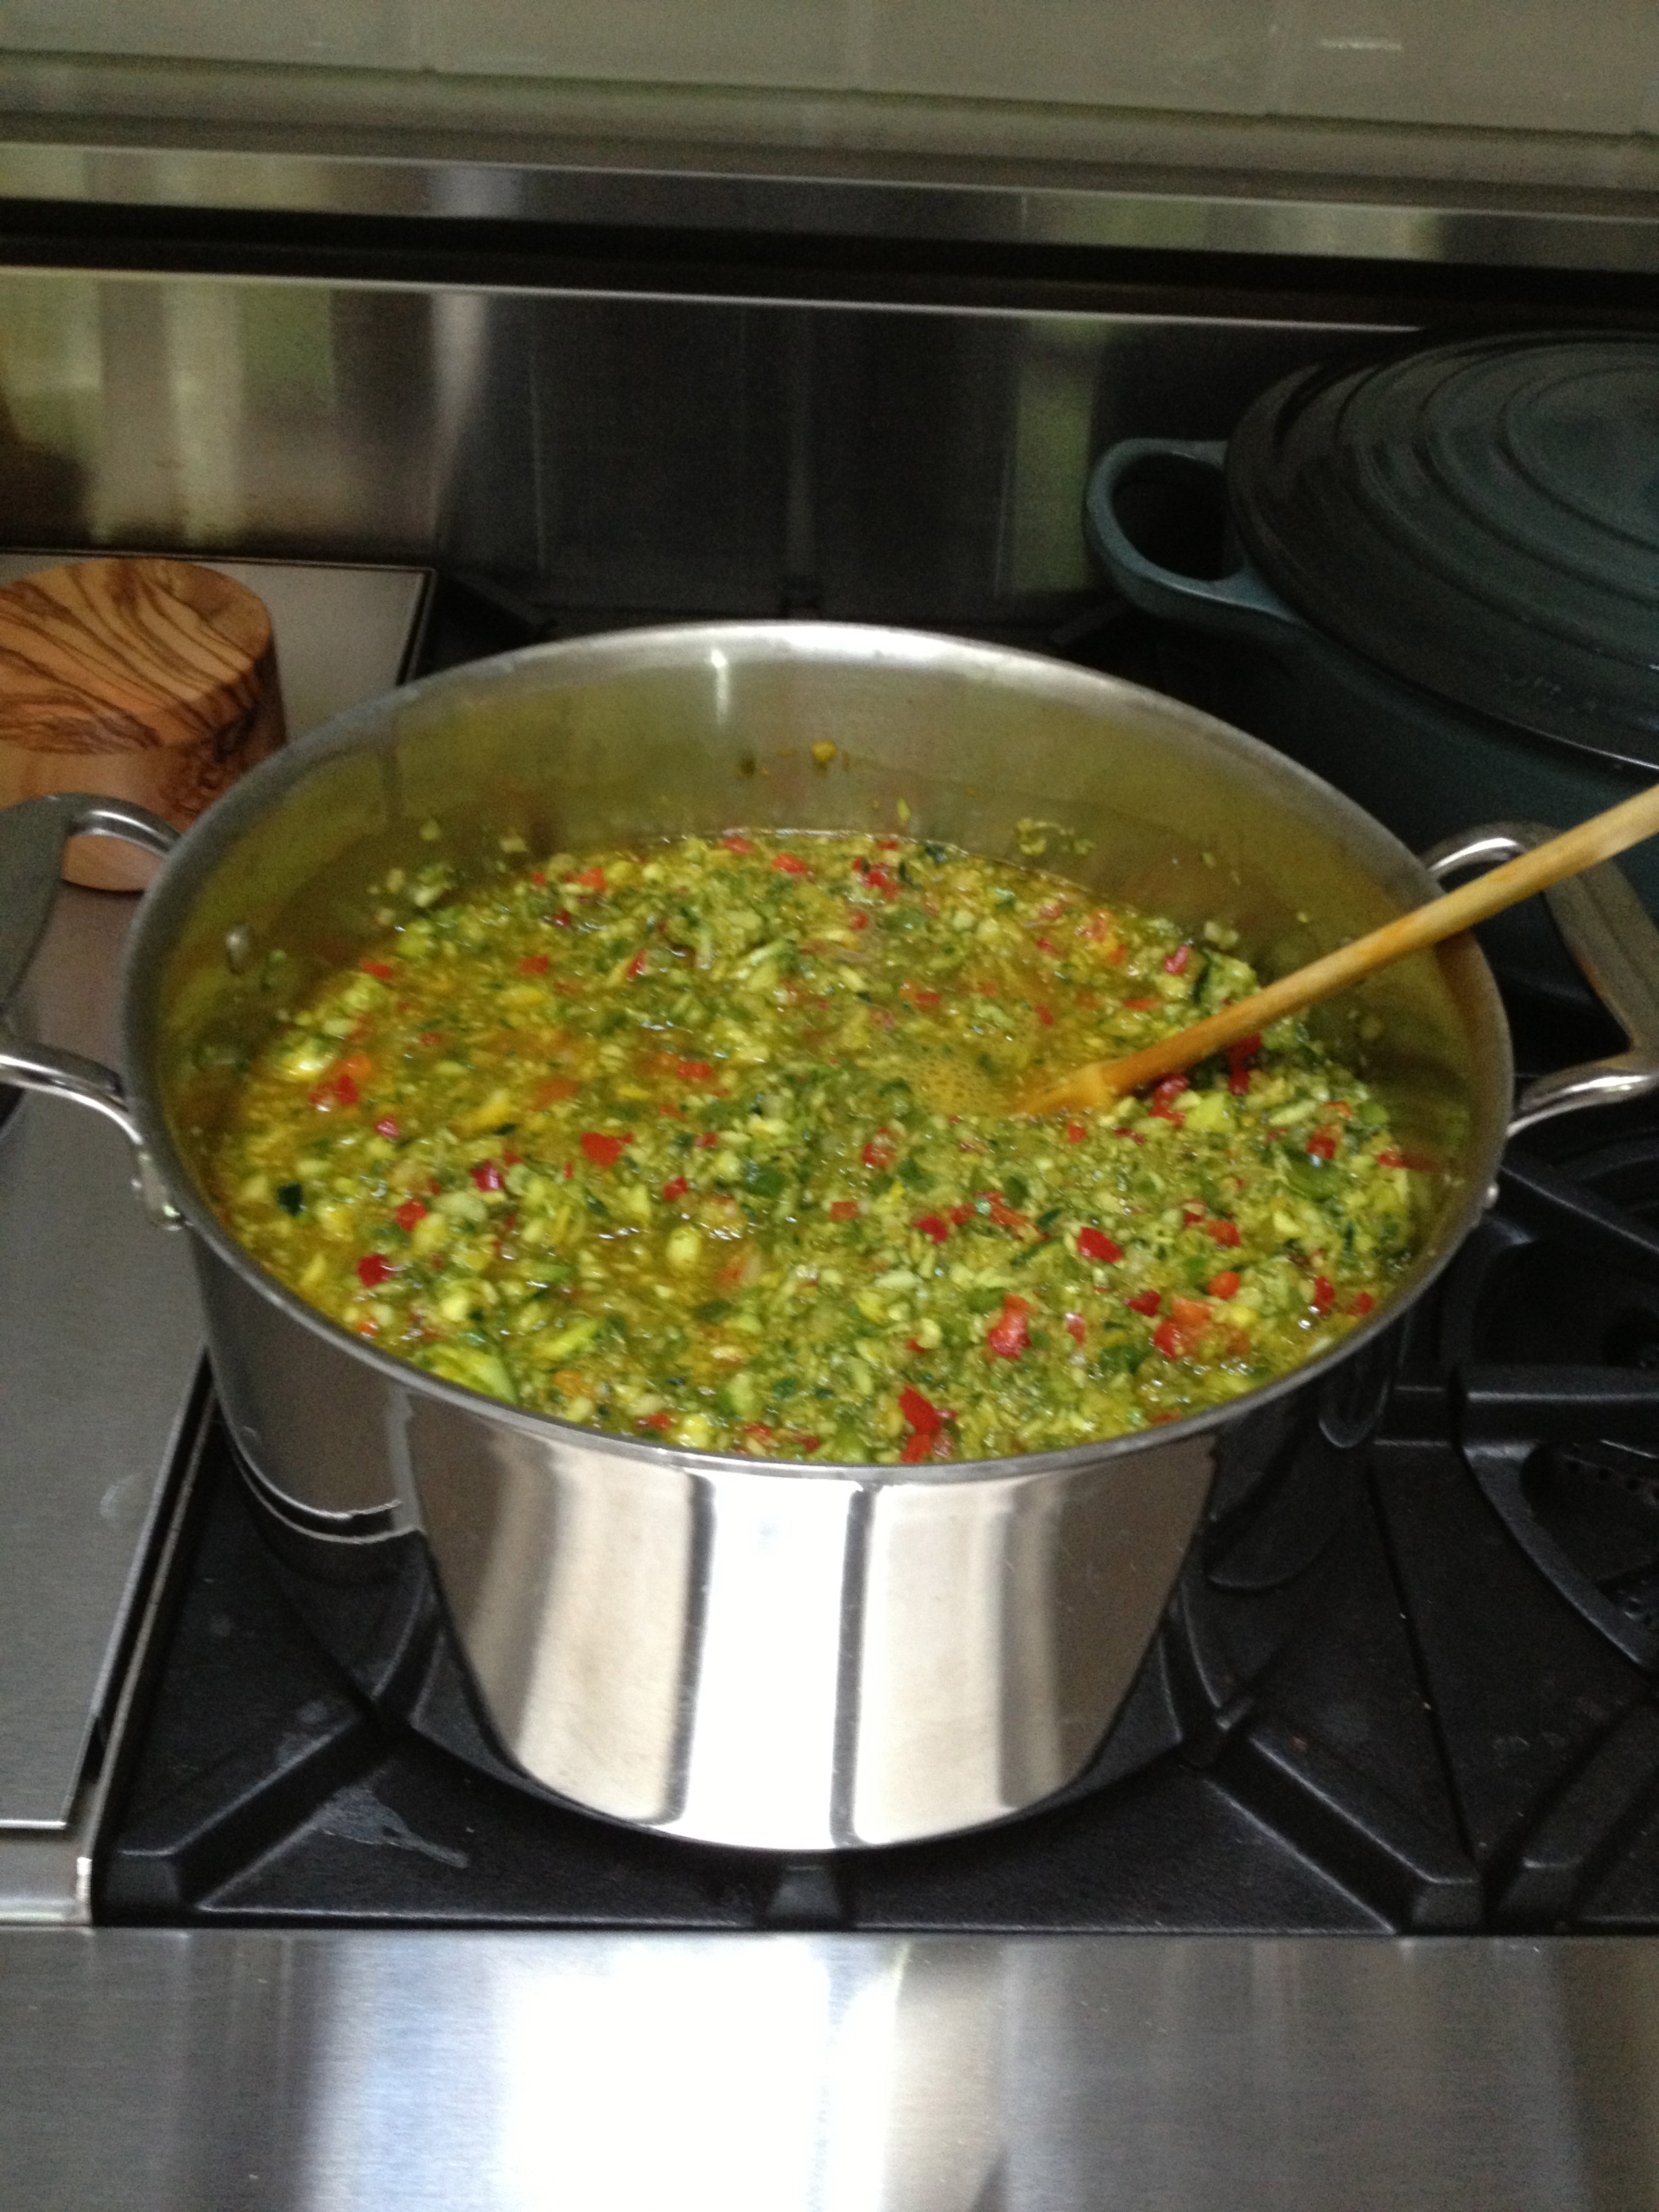
I let this “marinate” for 24-36 hours. Some of the spices were bagged or contained so they could contribute their flavor but be removed from the result. 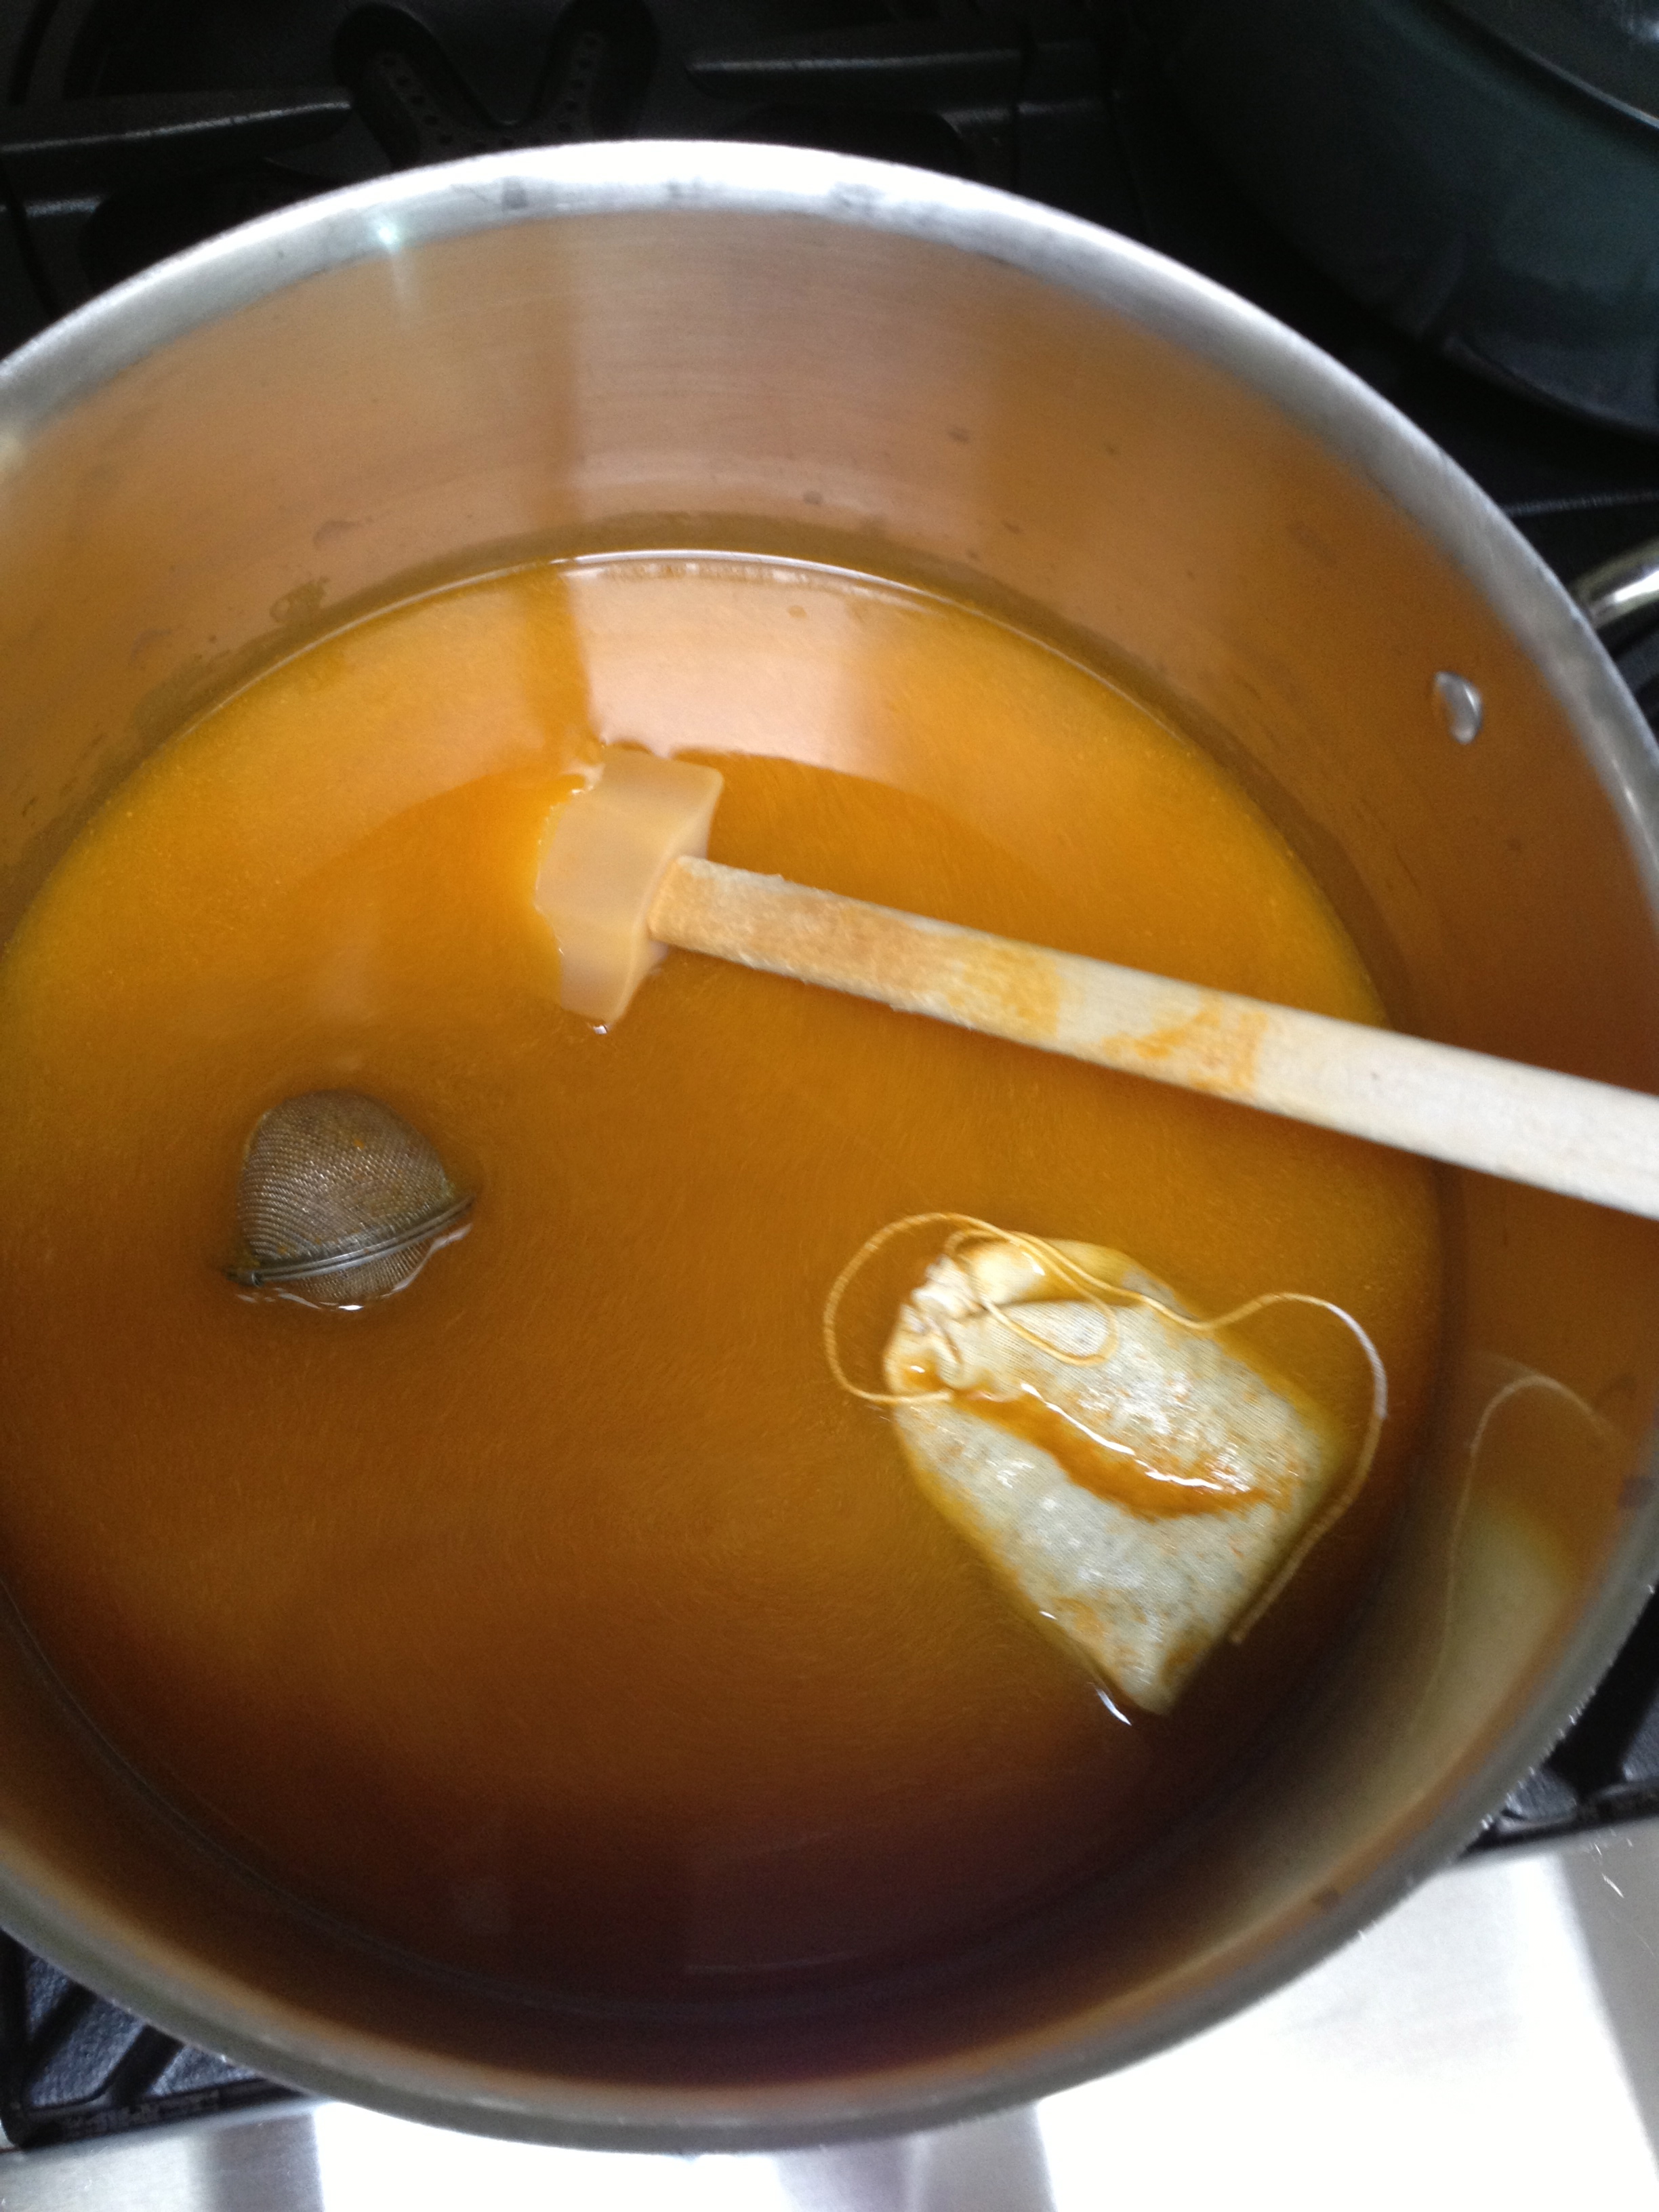
This resulted in 17 half pints of beautiful, sweet, pickle relish.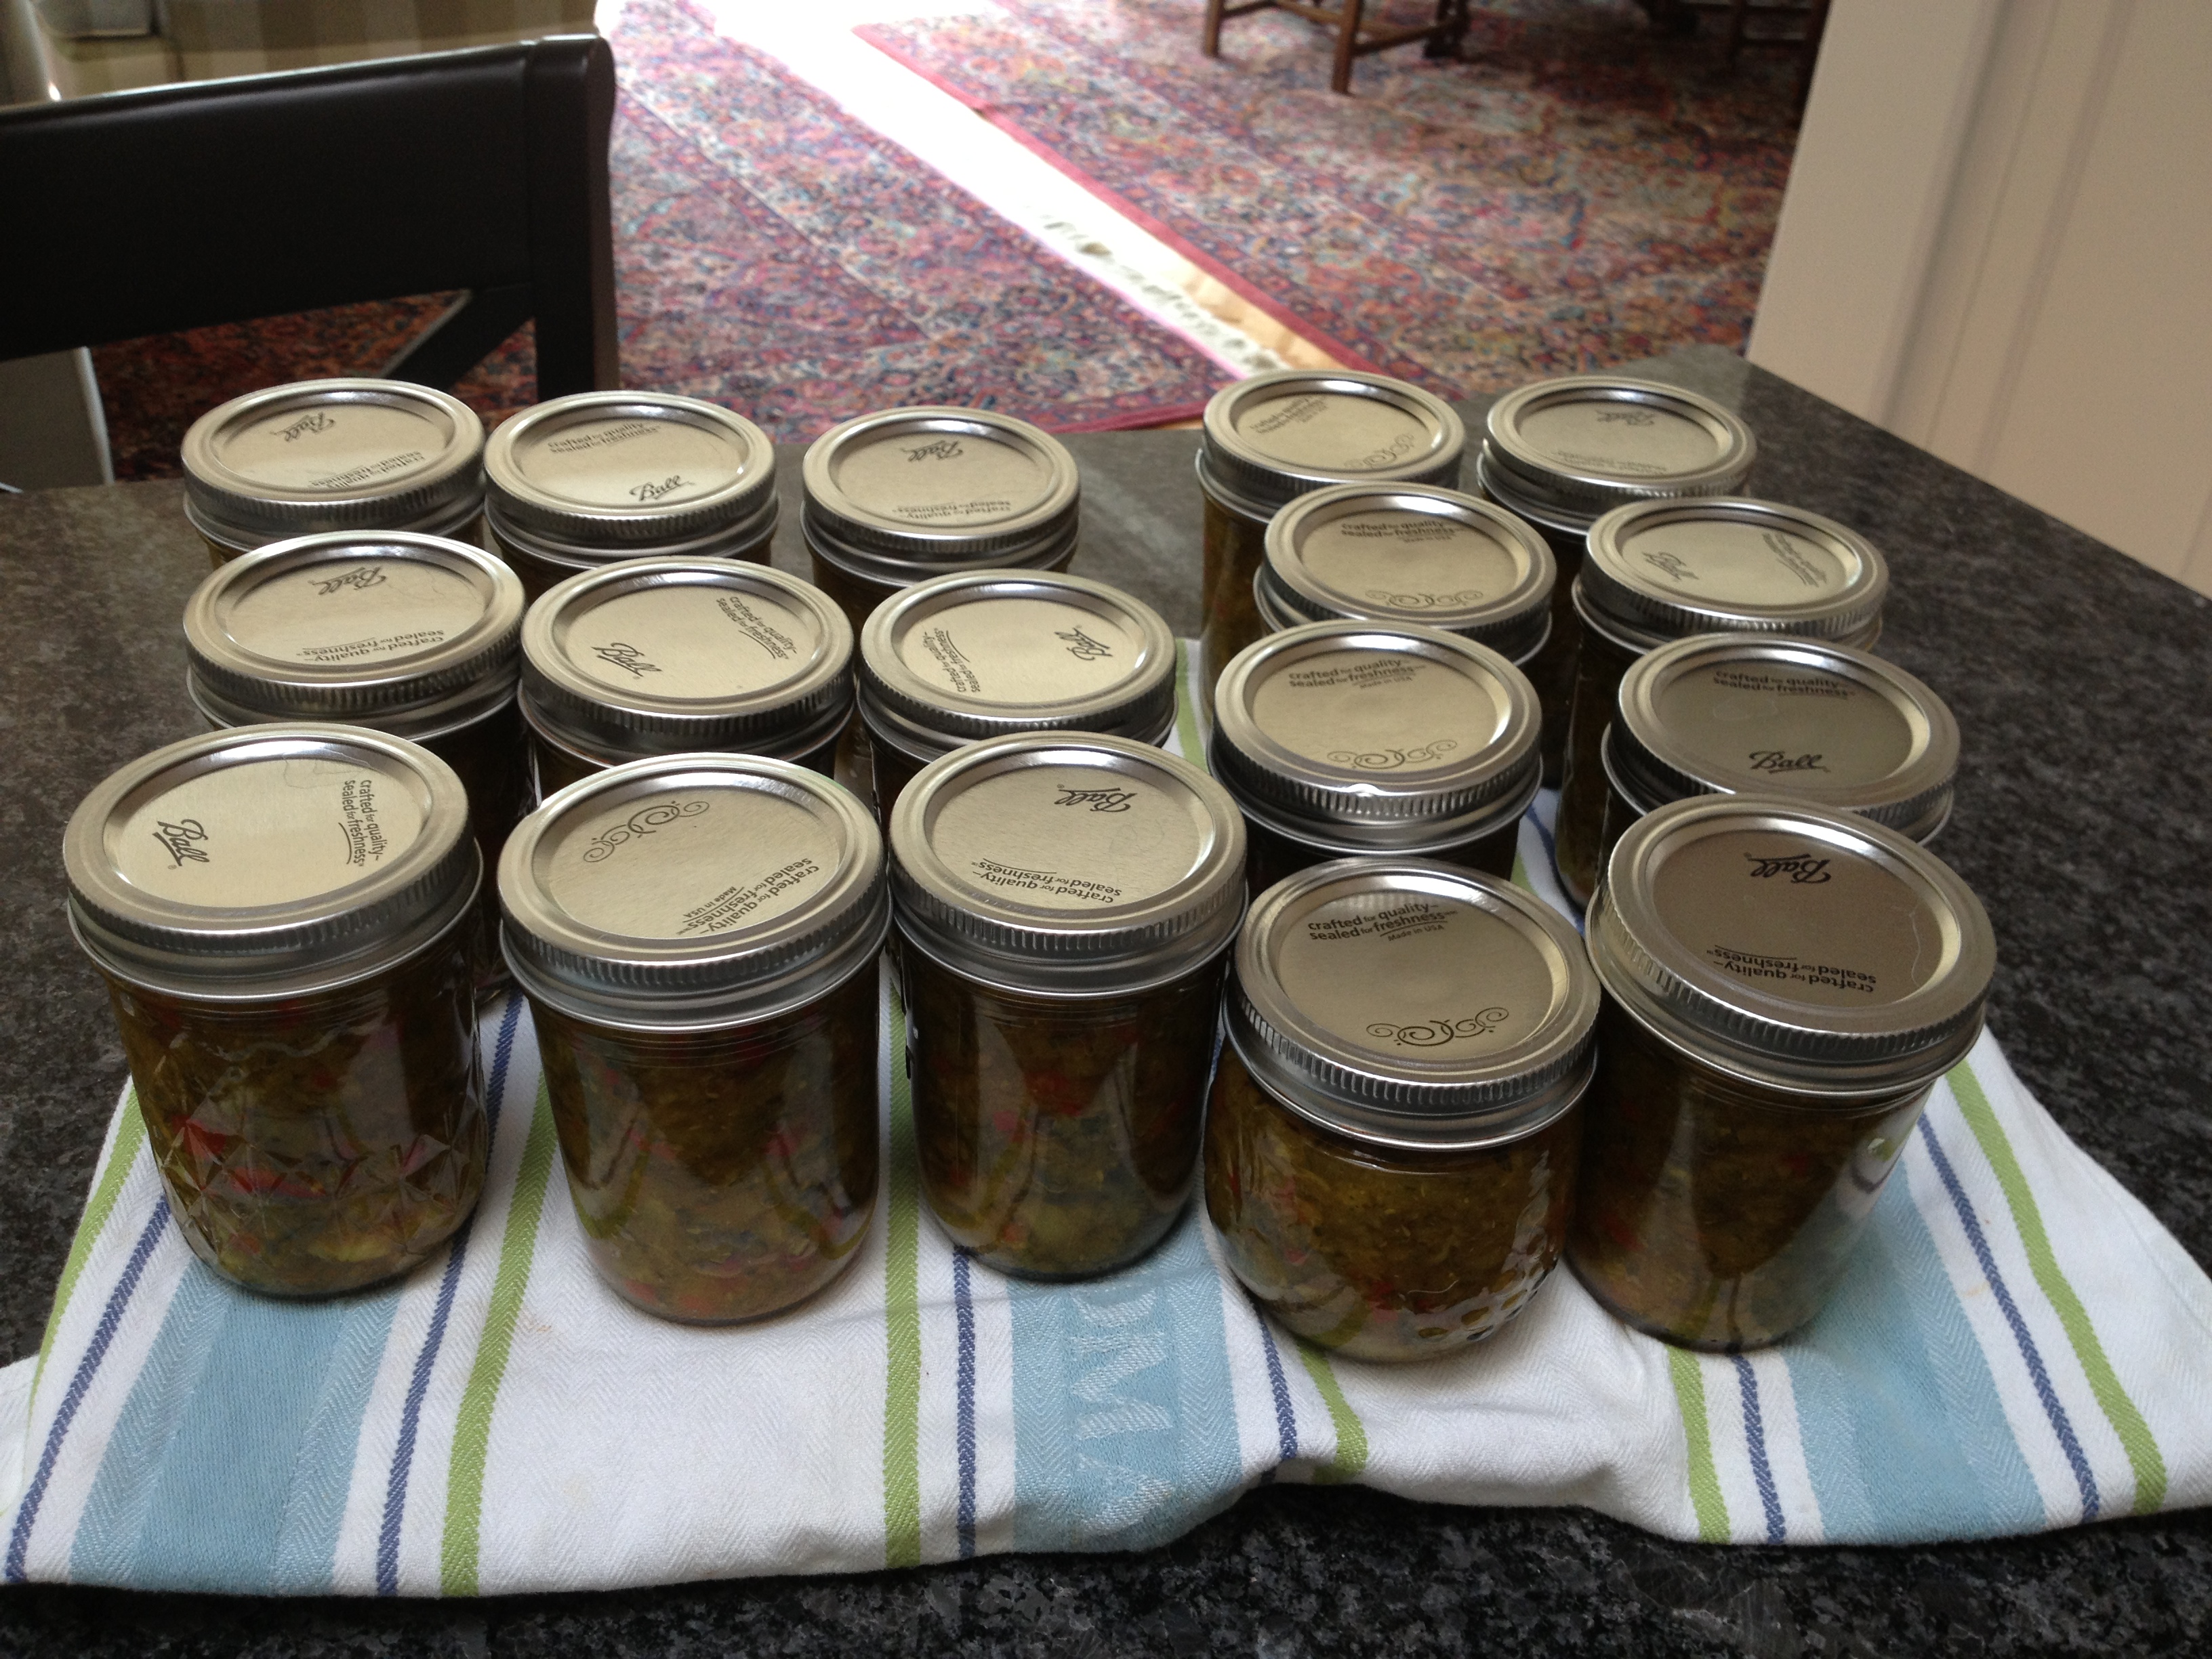
Yesterday morning (at 8am) I started on a double batch of ketchup using 16 pounds of dead ripe tomatoes. 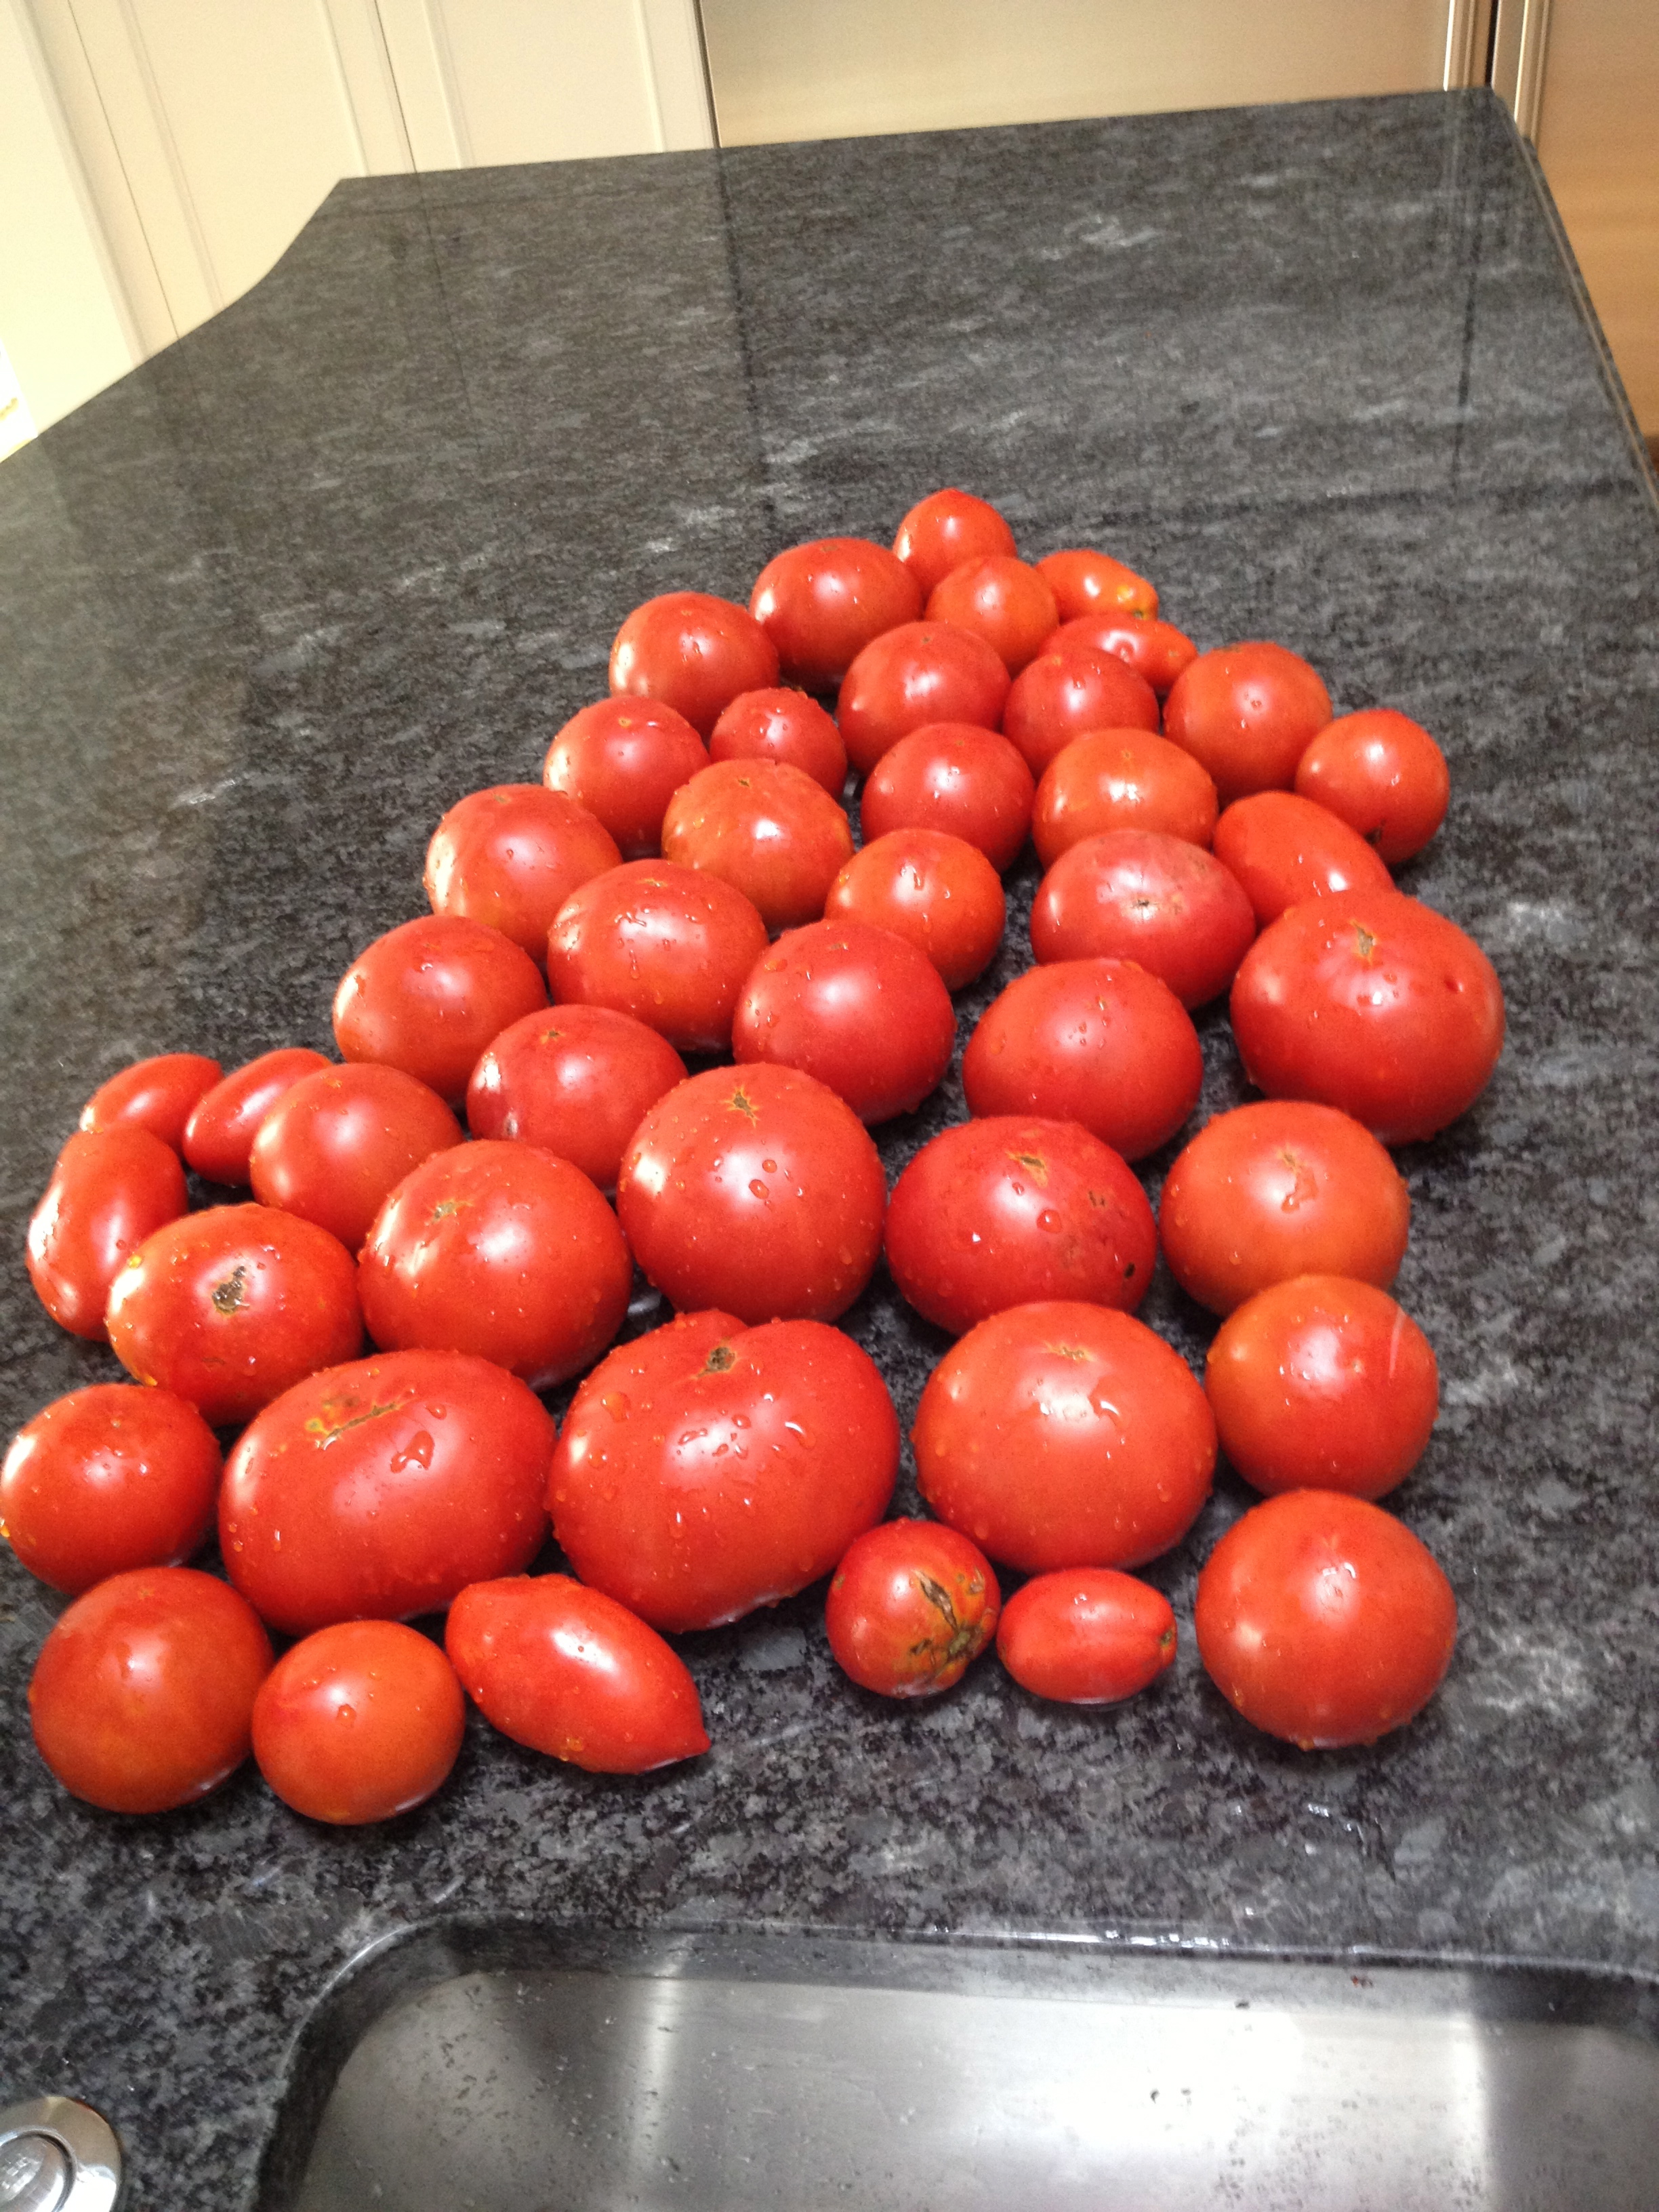
These are a precious commodity this year since the cool weather is keeping down the production. With this cool trend continuing for so long, I’m worried the plants may get tricked into thinking it is fall already! As I mentioned, when making ketchup, you cook the tomatoes with diced onion for enhanced flavor. 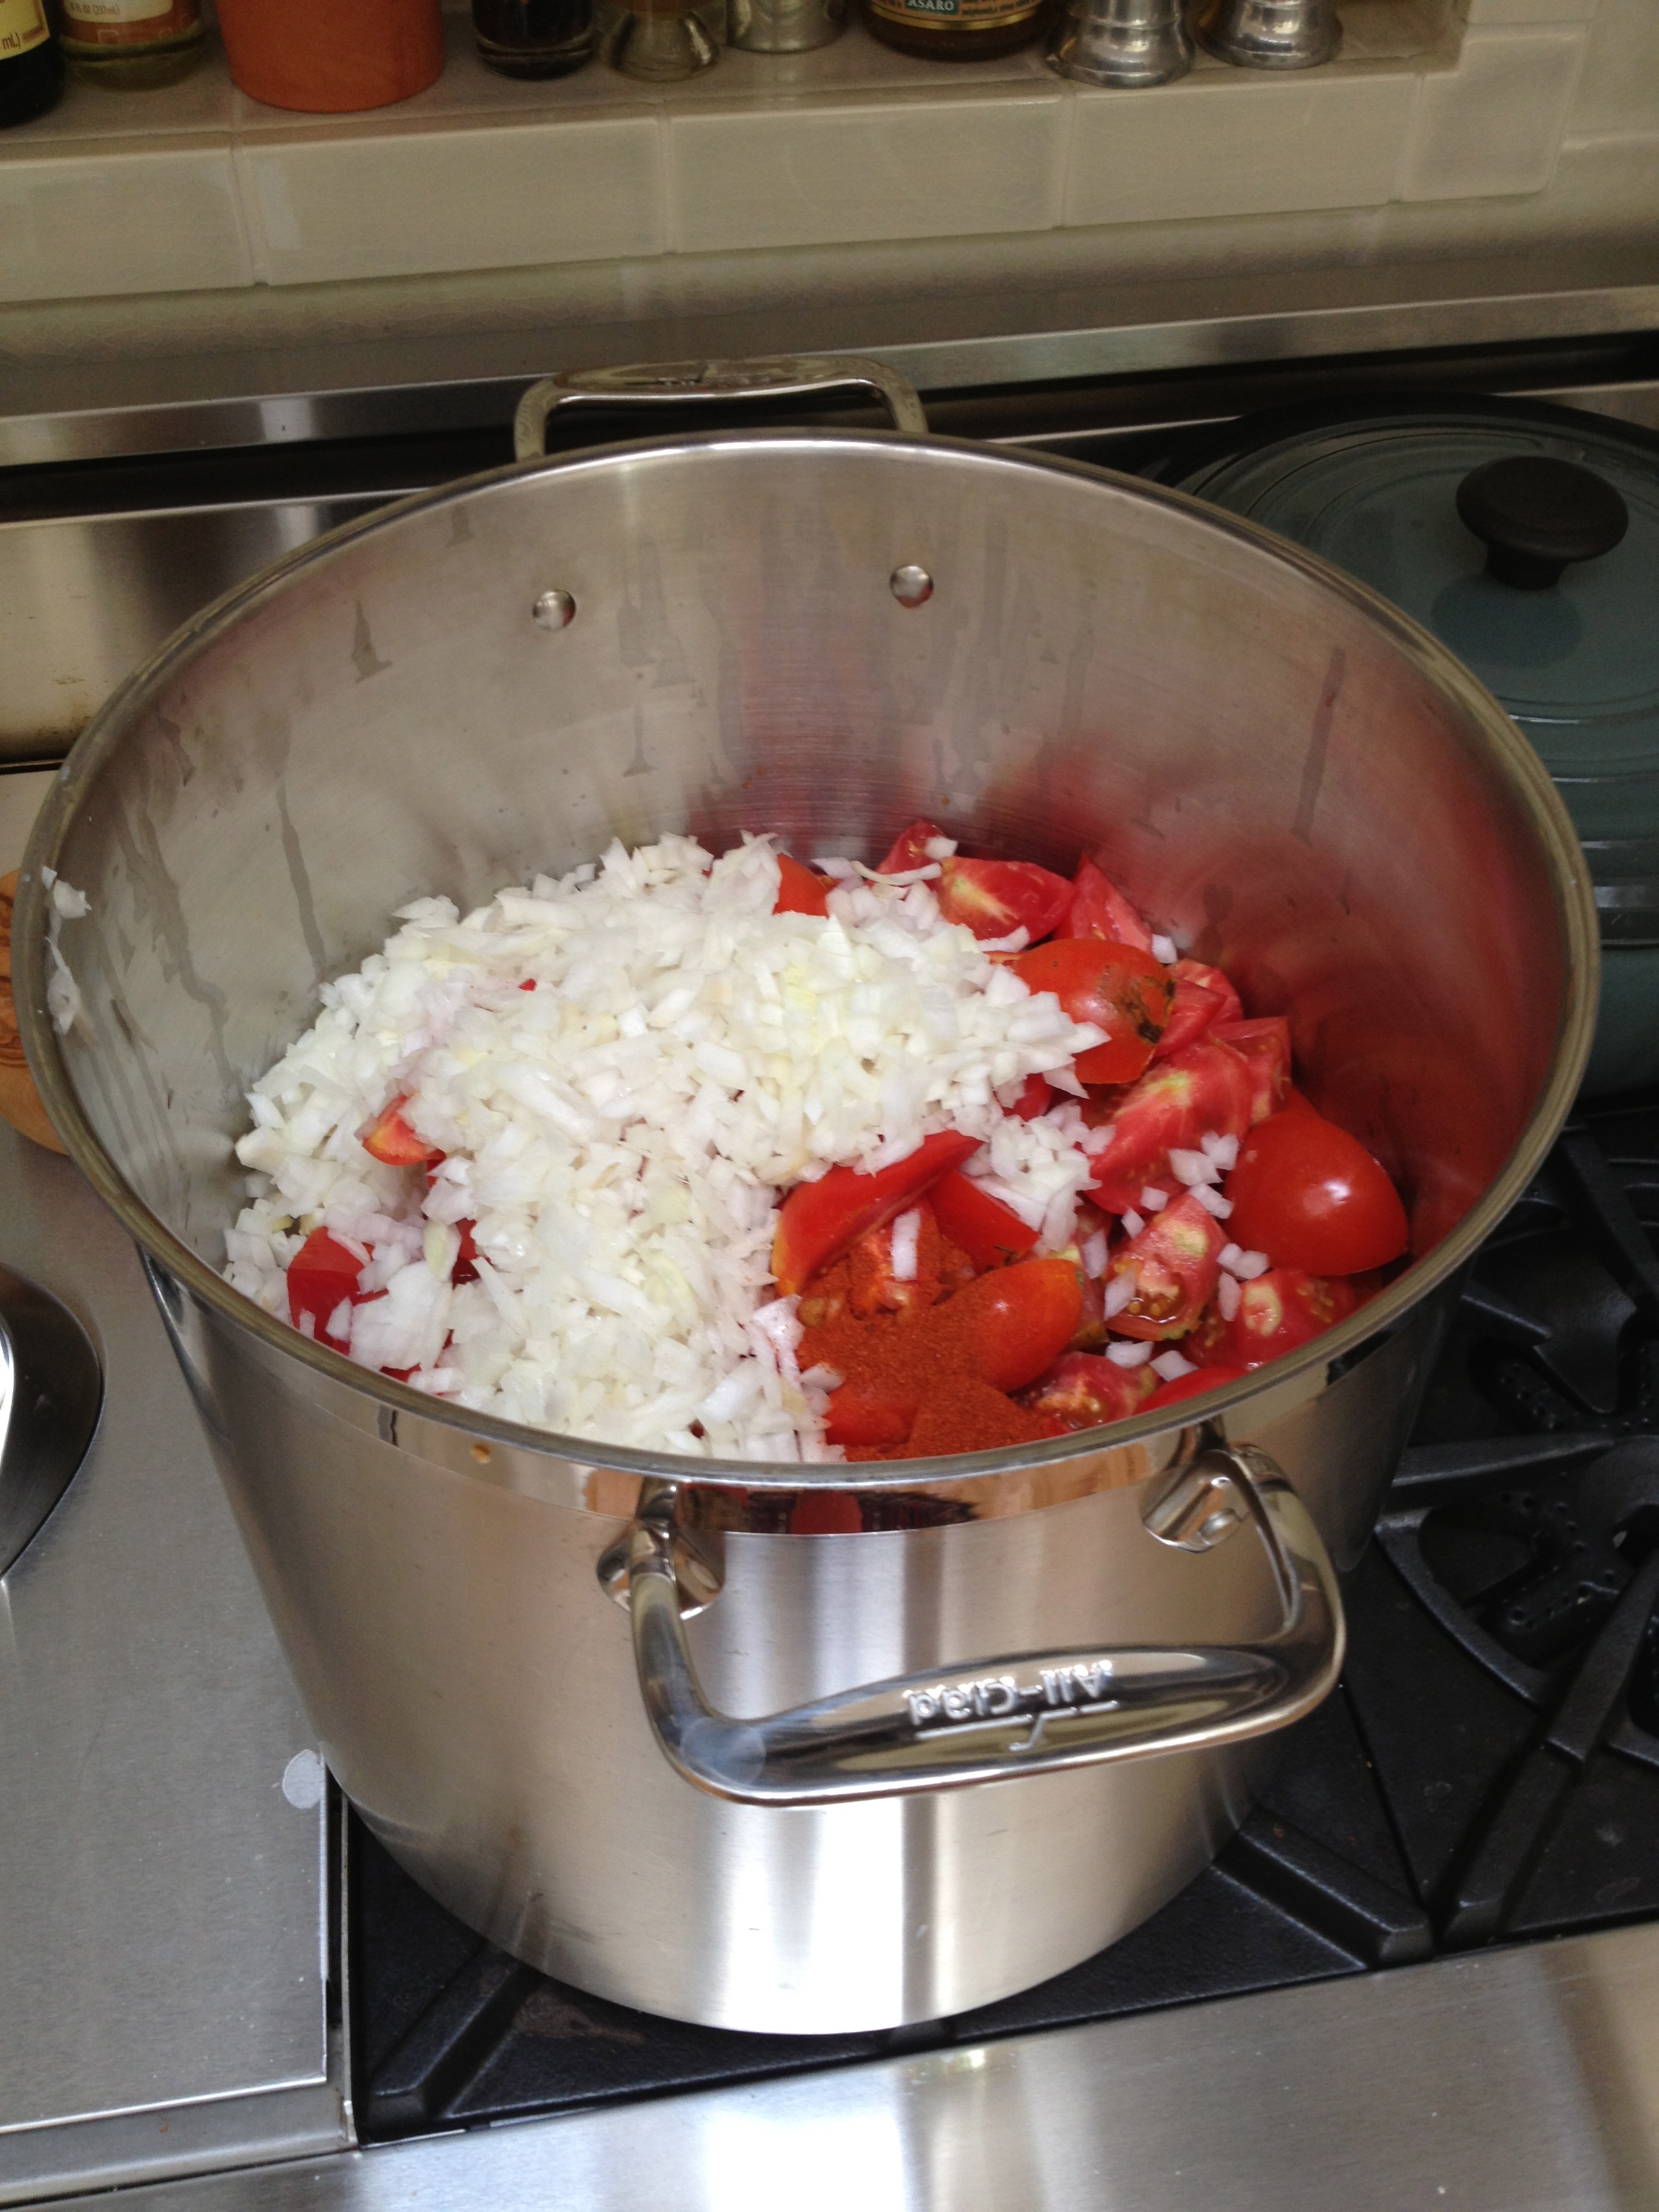
Although this smells really good when cooking, the combination of spices and vinegar smells even better! I boiled up a pot of broken cinnamon sticks, whole cloves, celery seed and vinegar and let it sit while the rest of the process was on going. 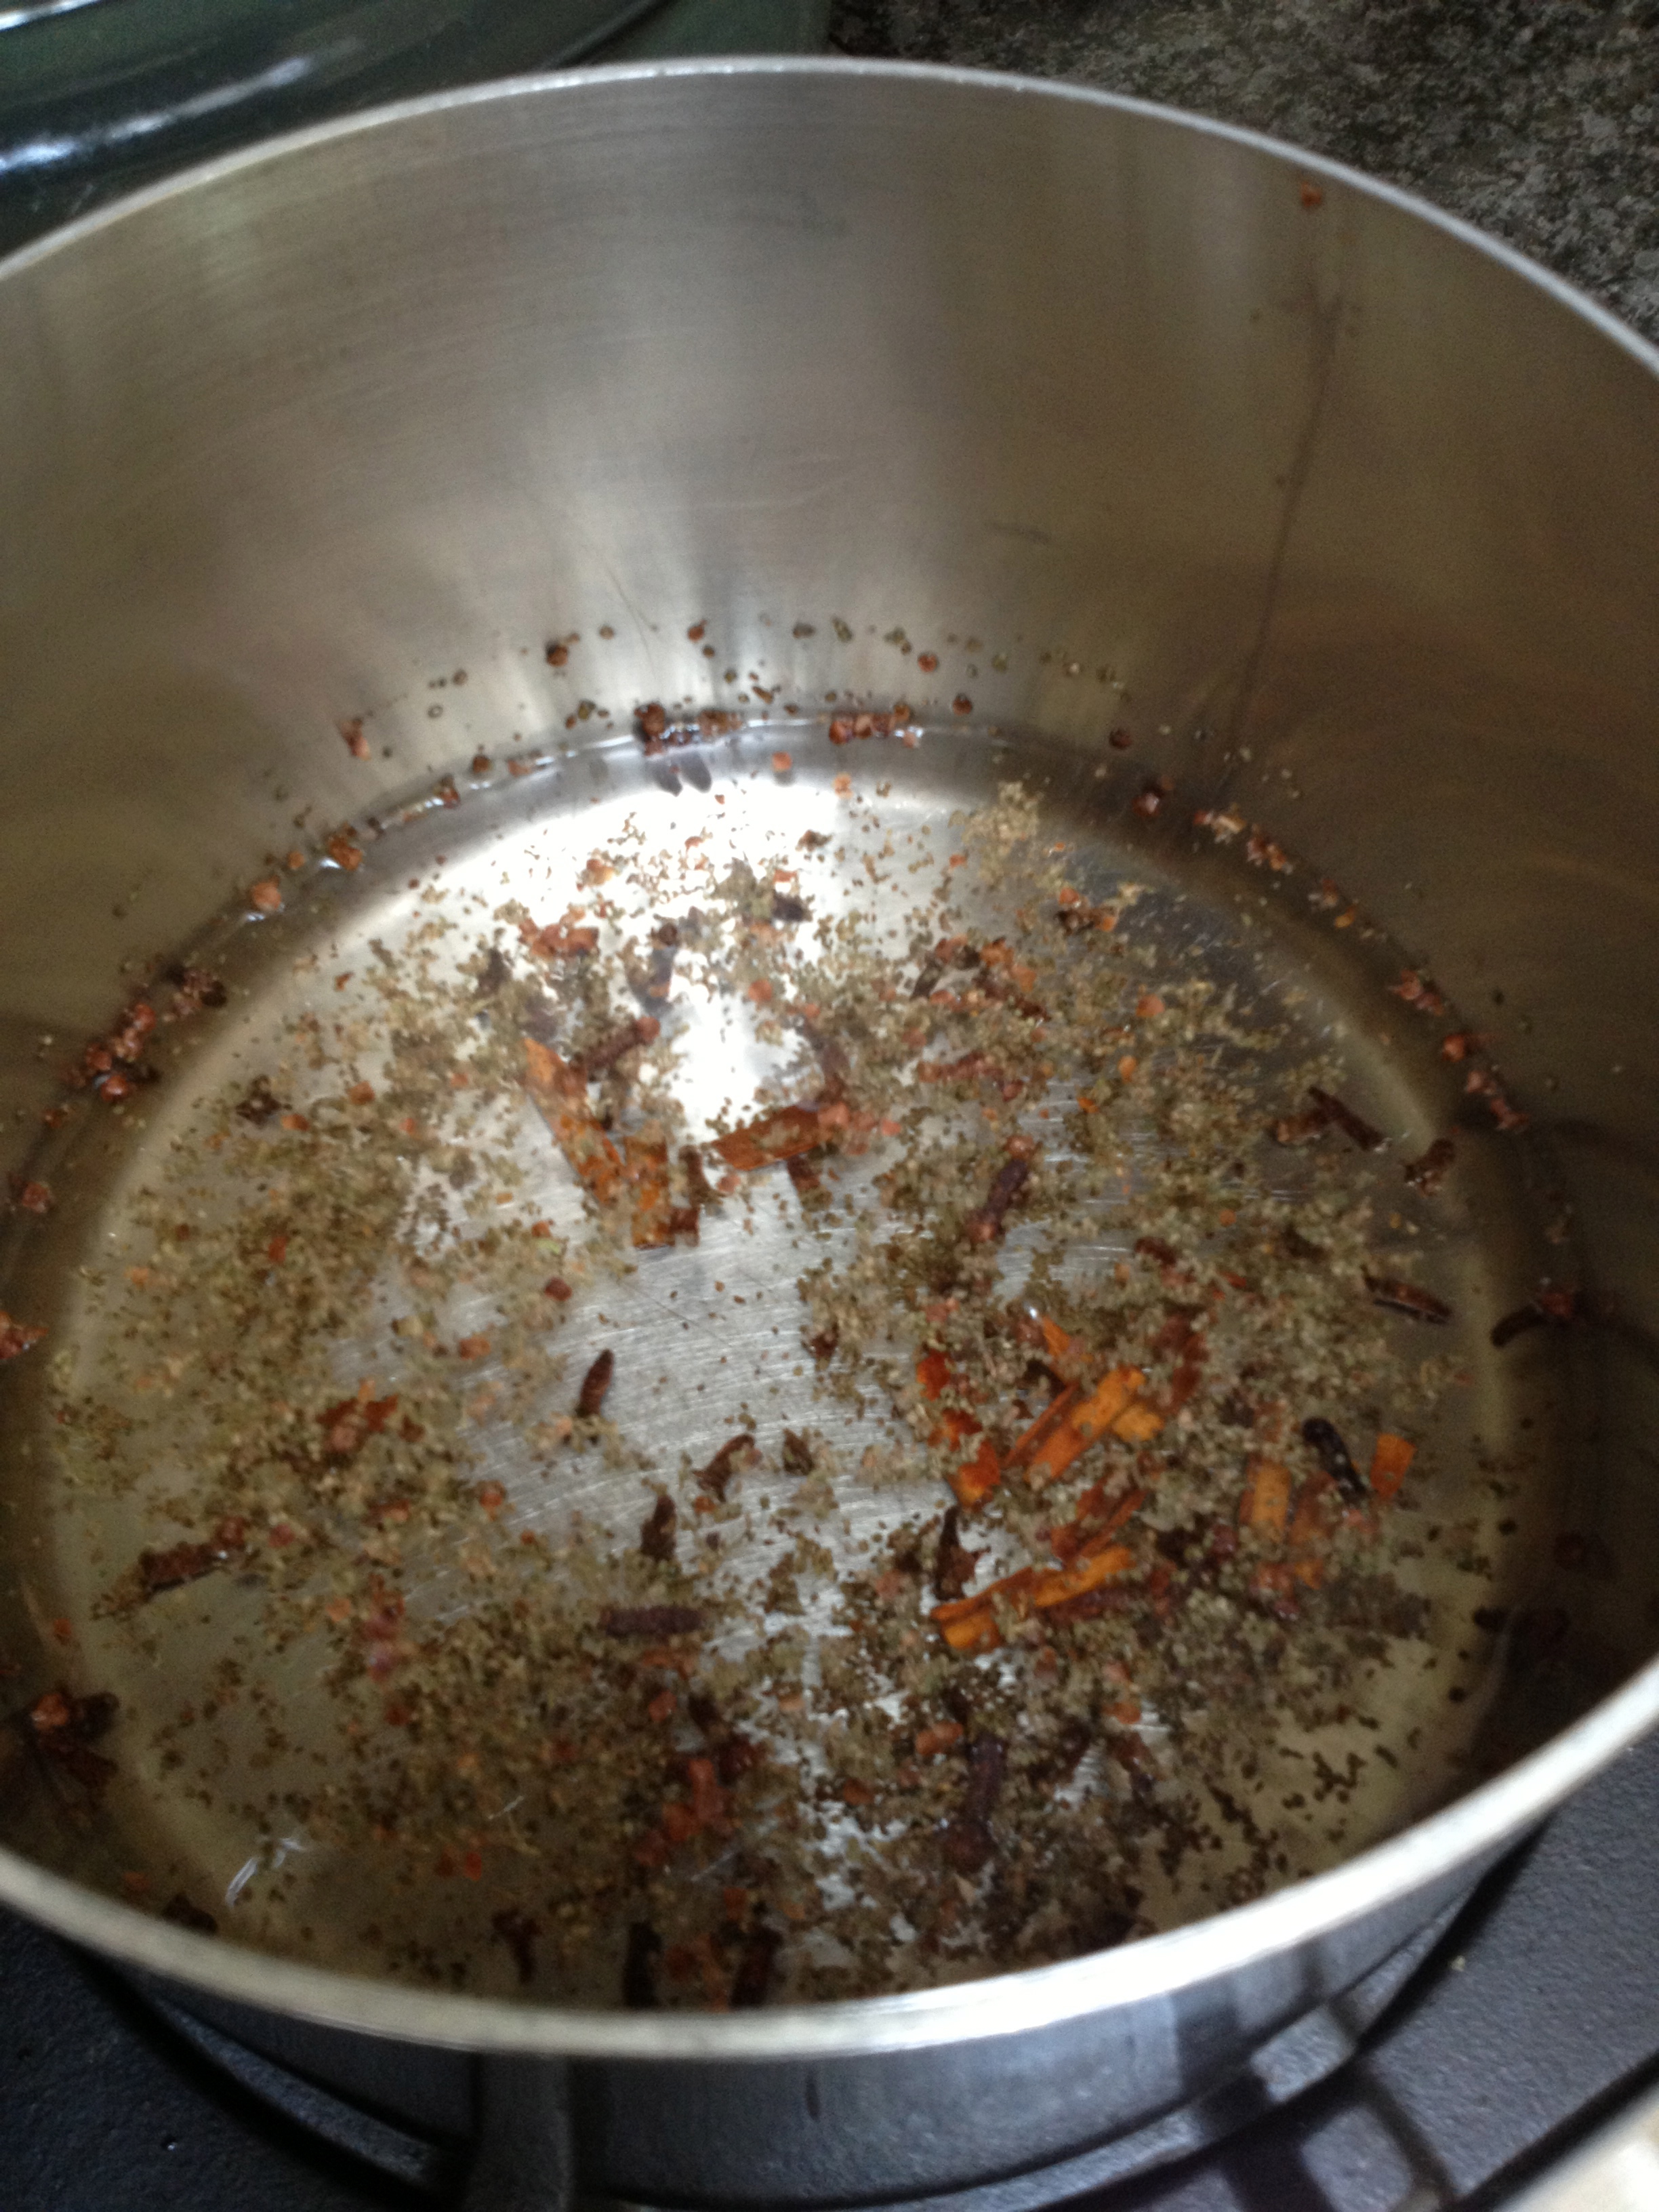
Of course after the tomato/onion combo cooked for the appropriate time, I milled out the skins and seeds and set the results on the stove top to cook down to half the volume which takes hours and hours. Thanks go to Dave and Joyce who helped stir the pot a bit during the long day when I had to run to my job sites! 
I then strained the spiced mixture and added it to the tomato sauce. 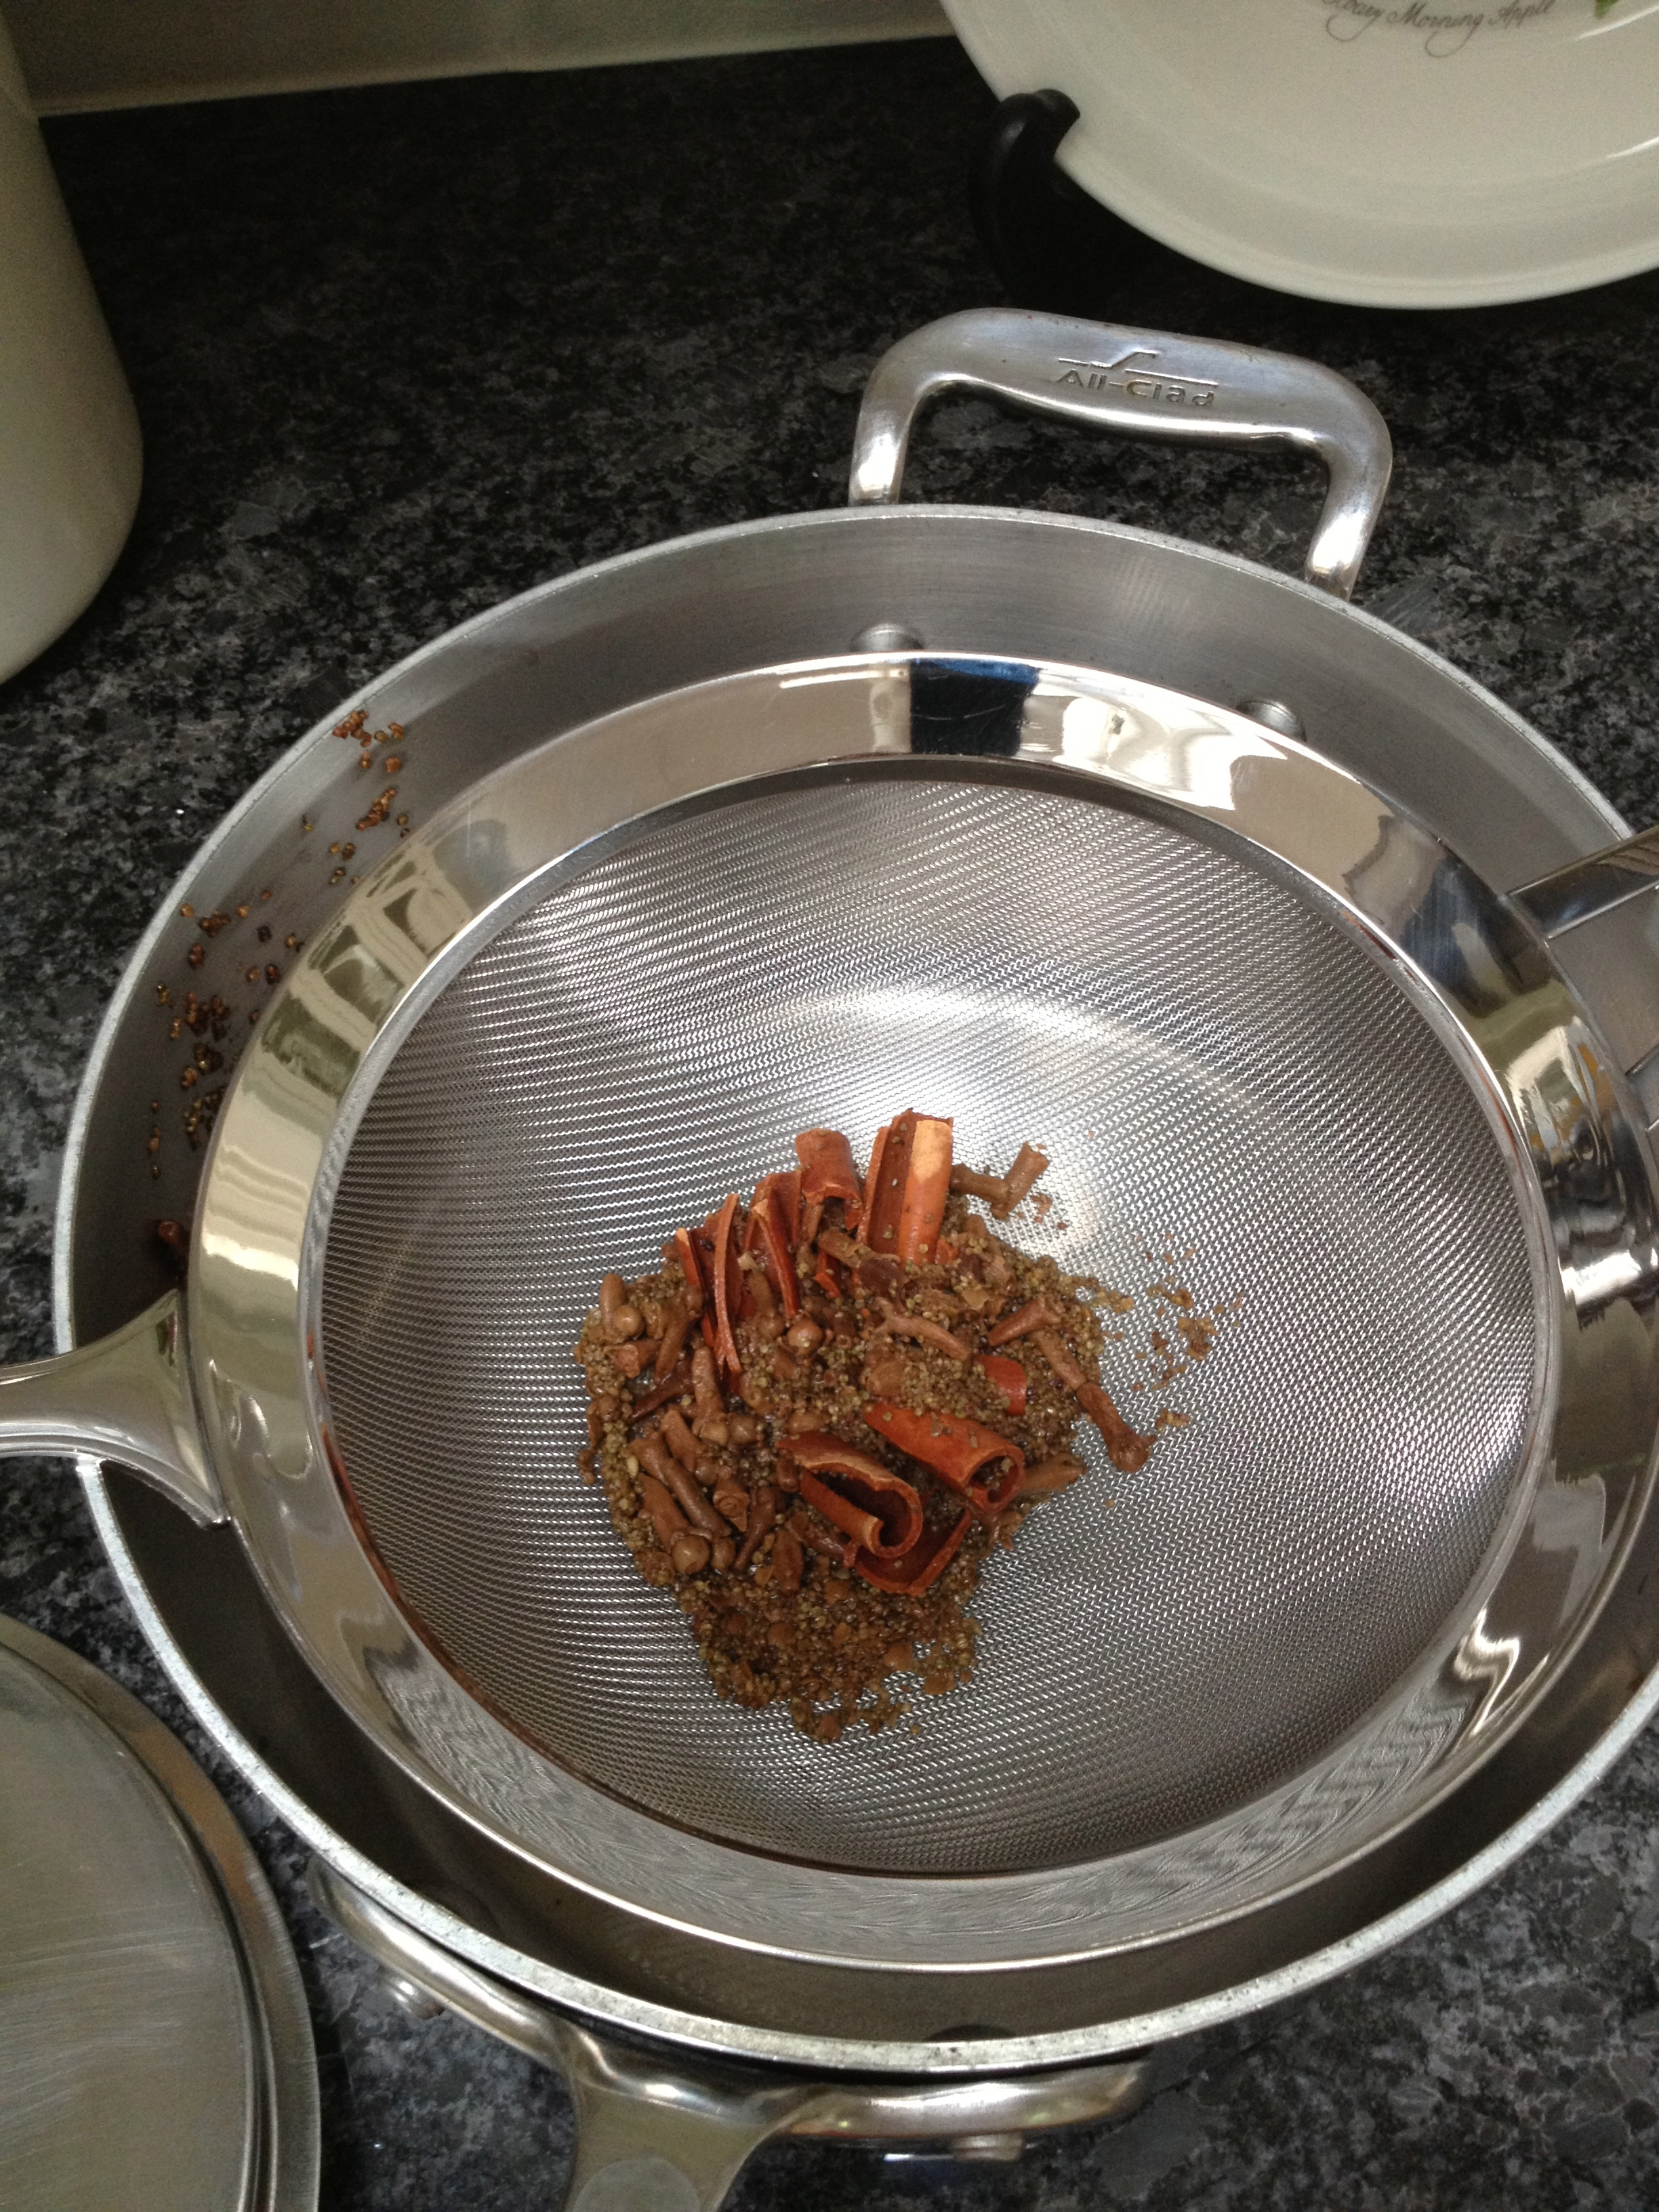
This then cooks down for several more hours until one has a thick, deep, red sauce, or KETCHUP! 
I carefully popped this precious gold into half pints before cooking them in a water bath. You do the math…that is 2 pounds of tomatoes per half pint of ketchup! 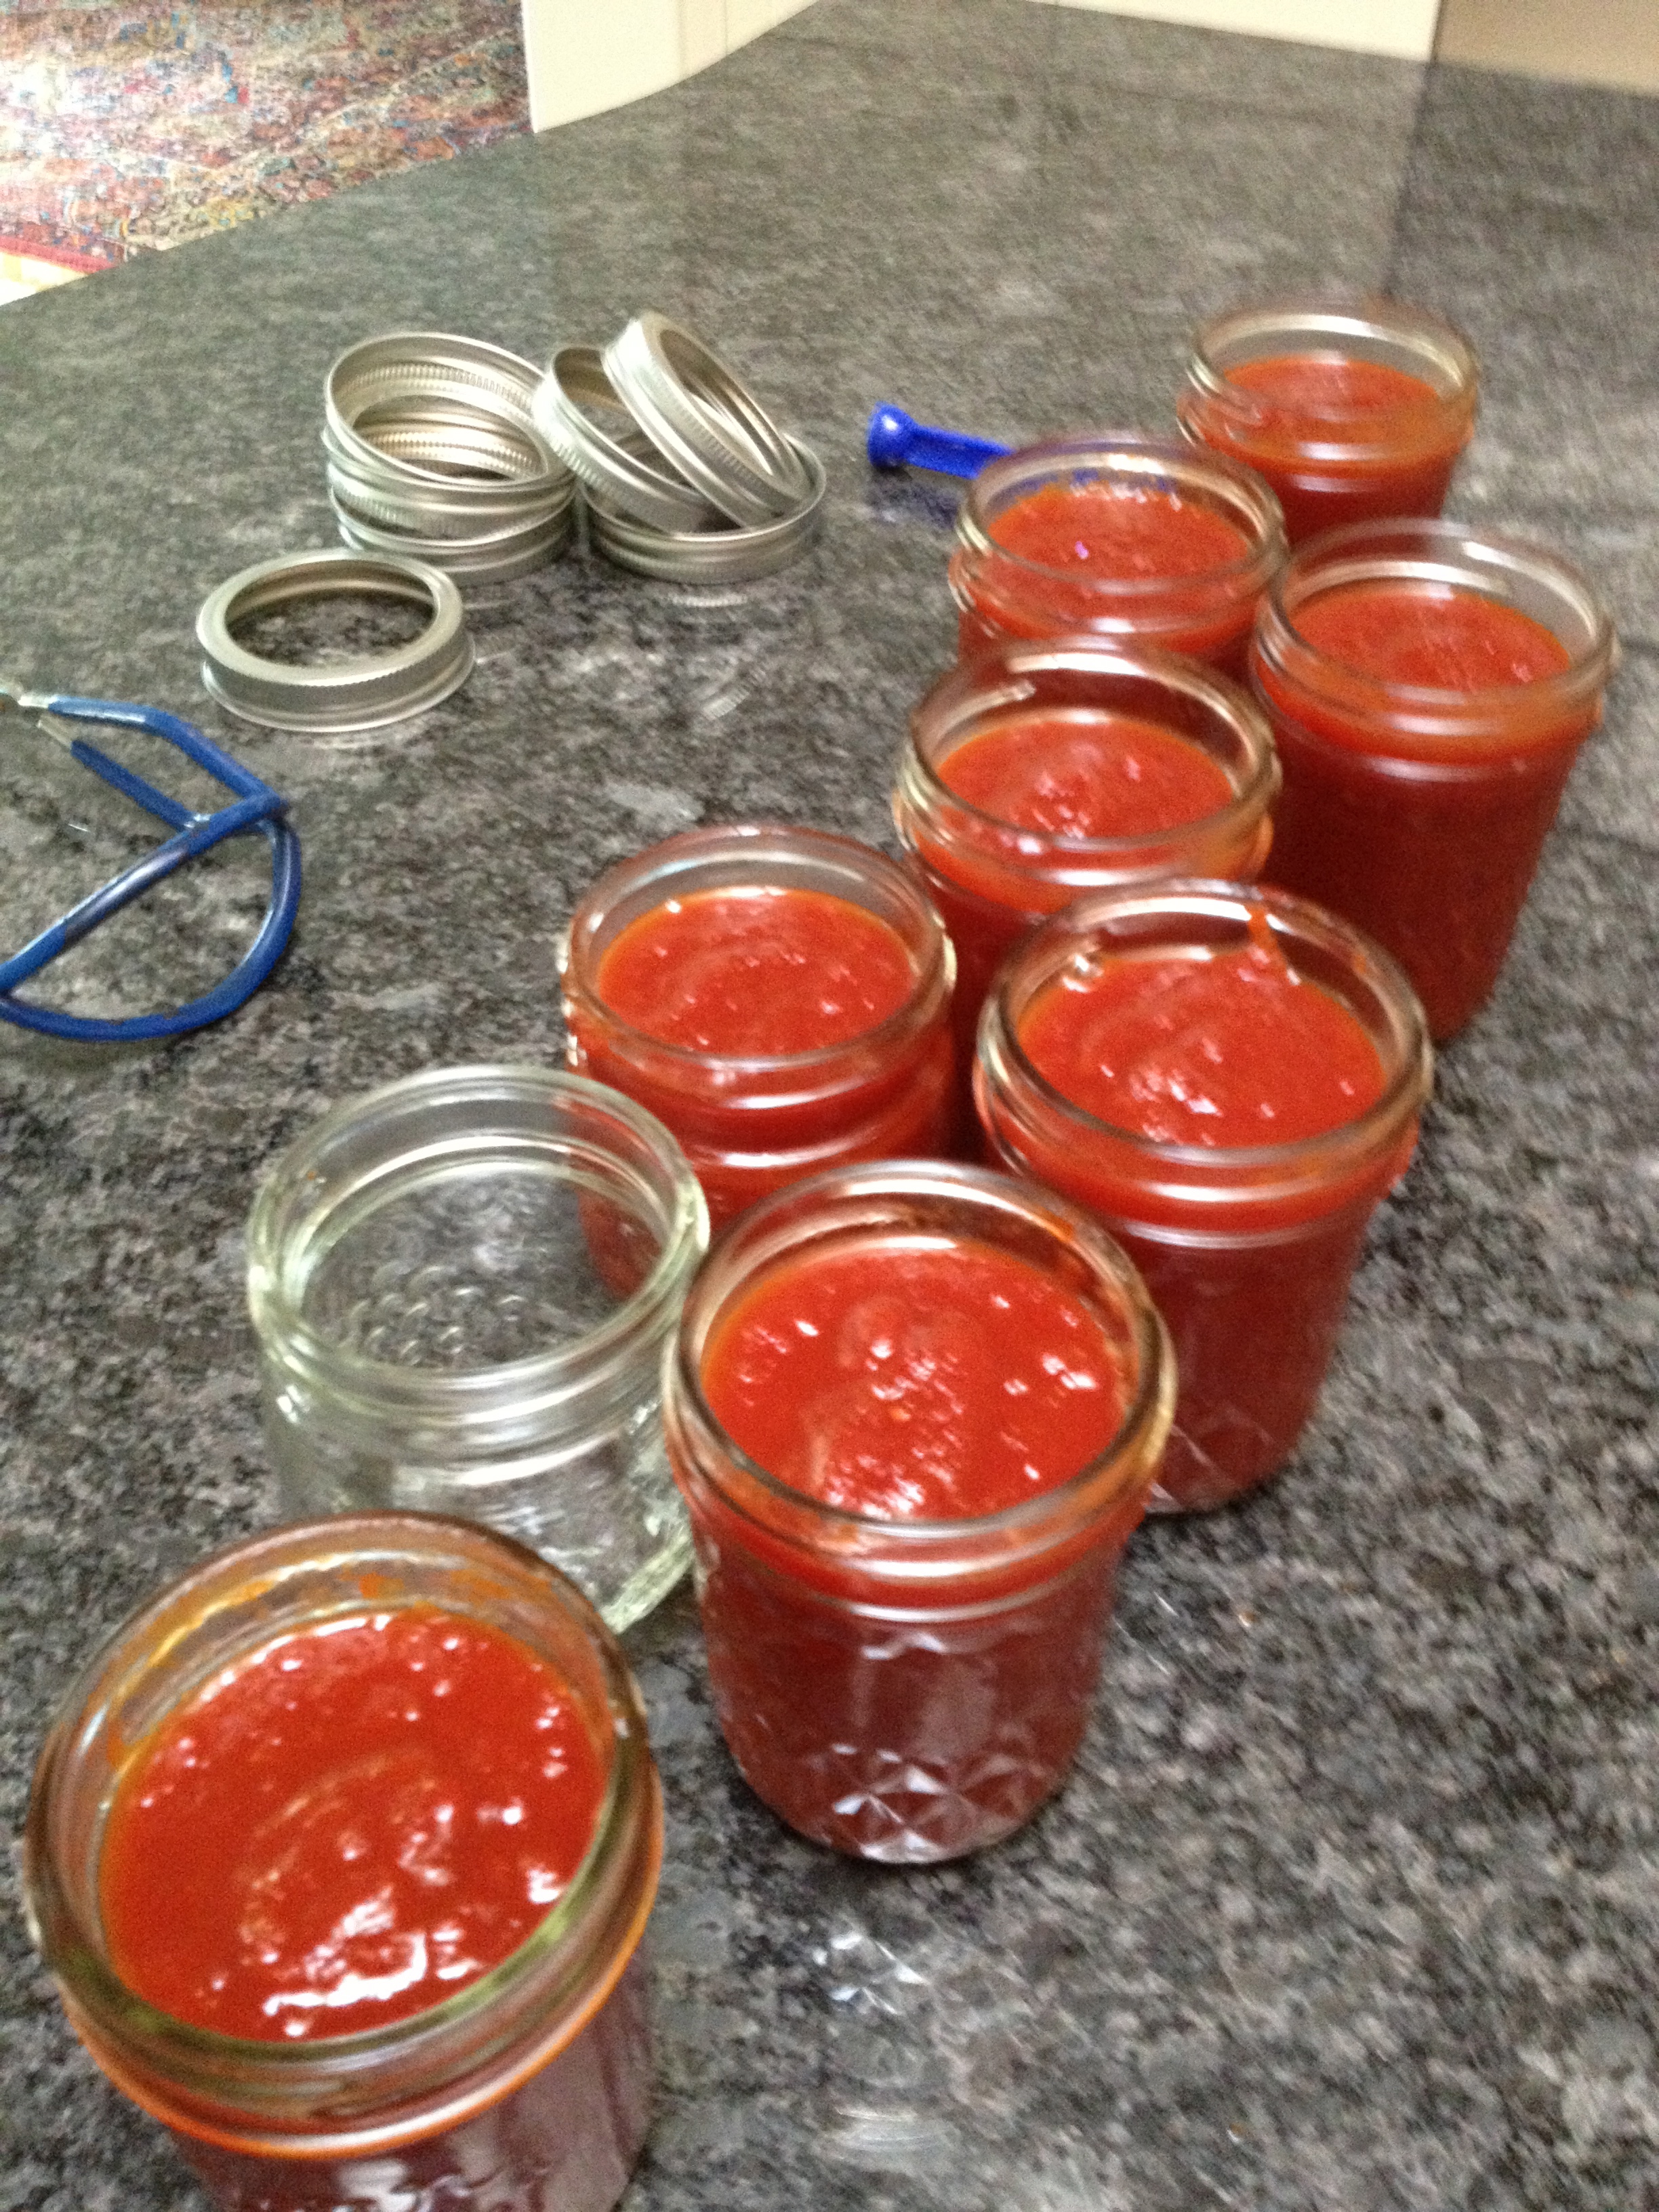
Out popped 8 little shinny jars, 12 hours later at 8pm! 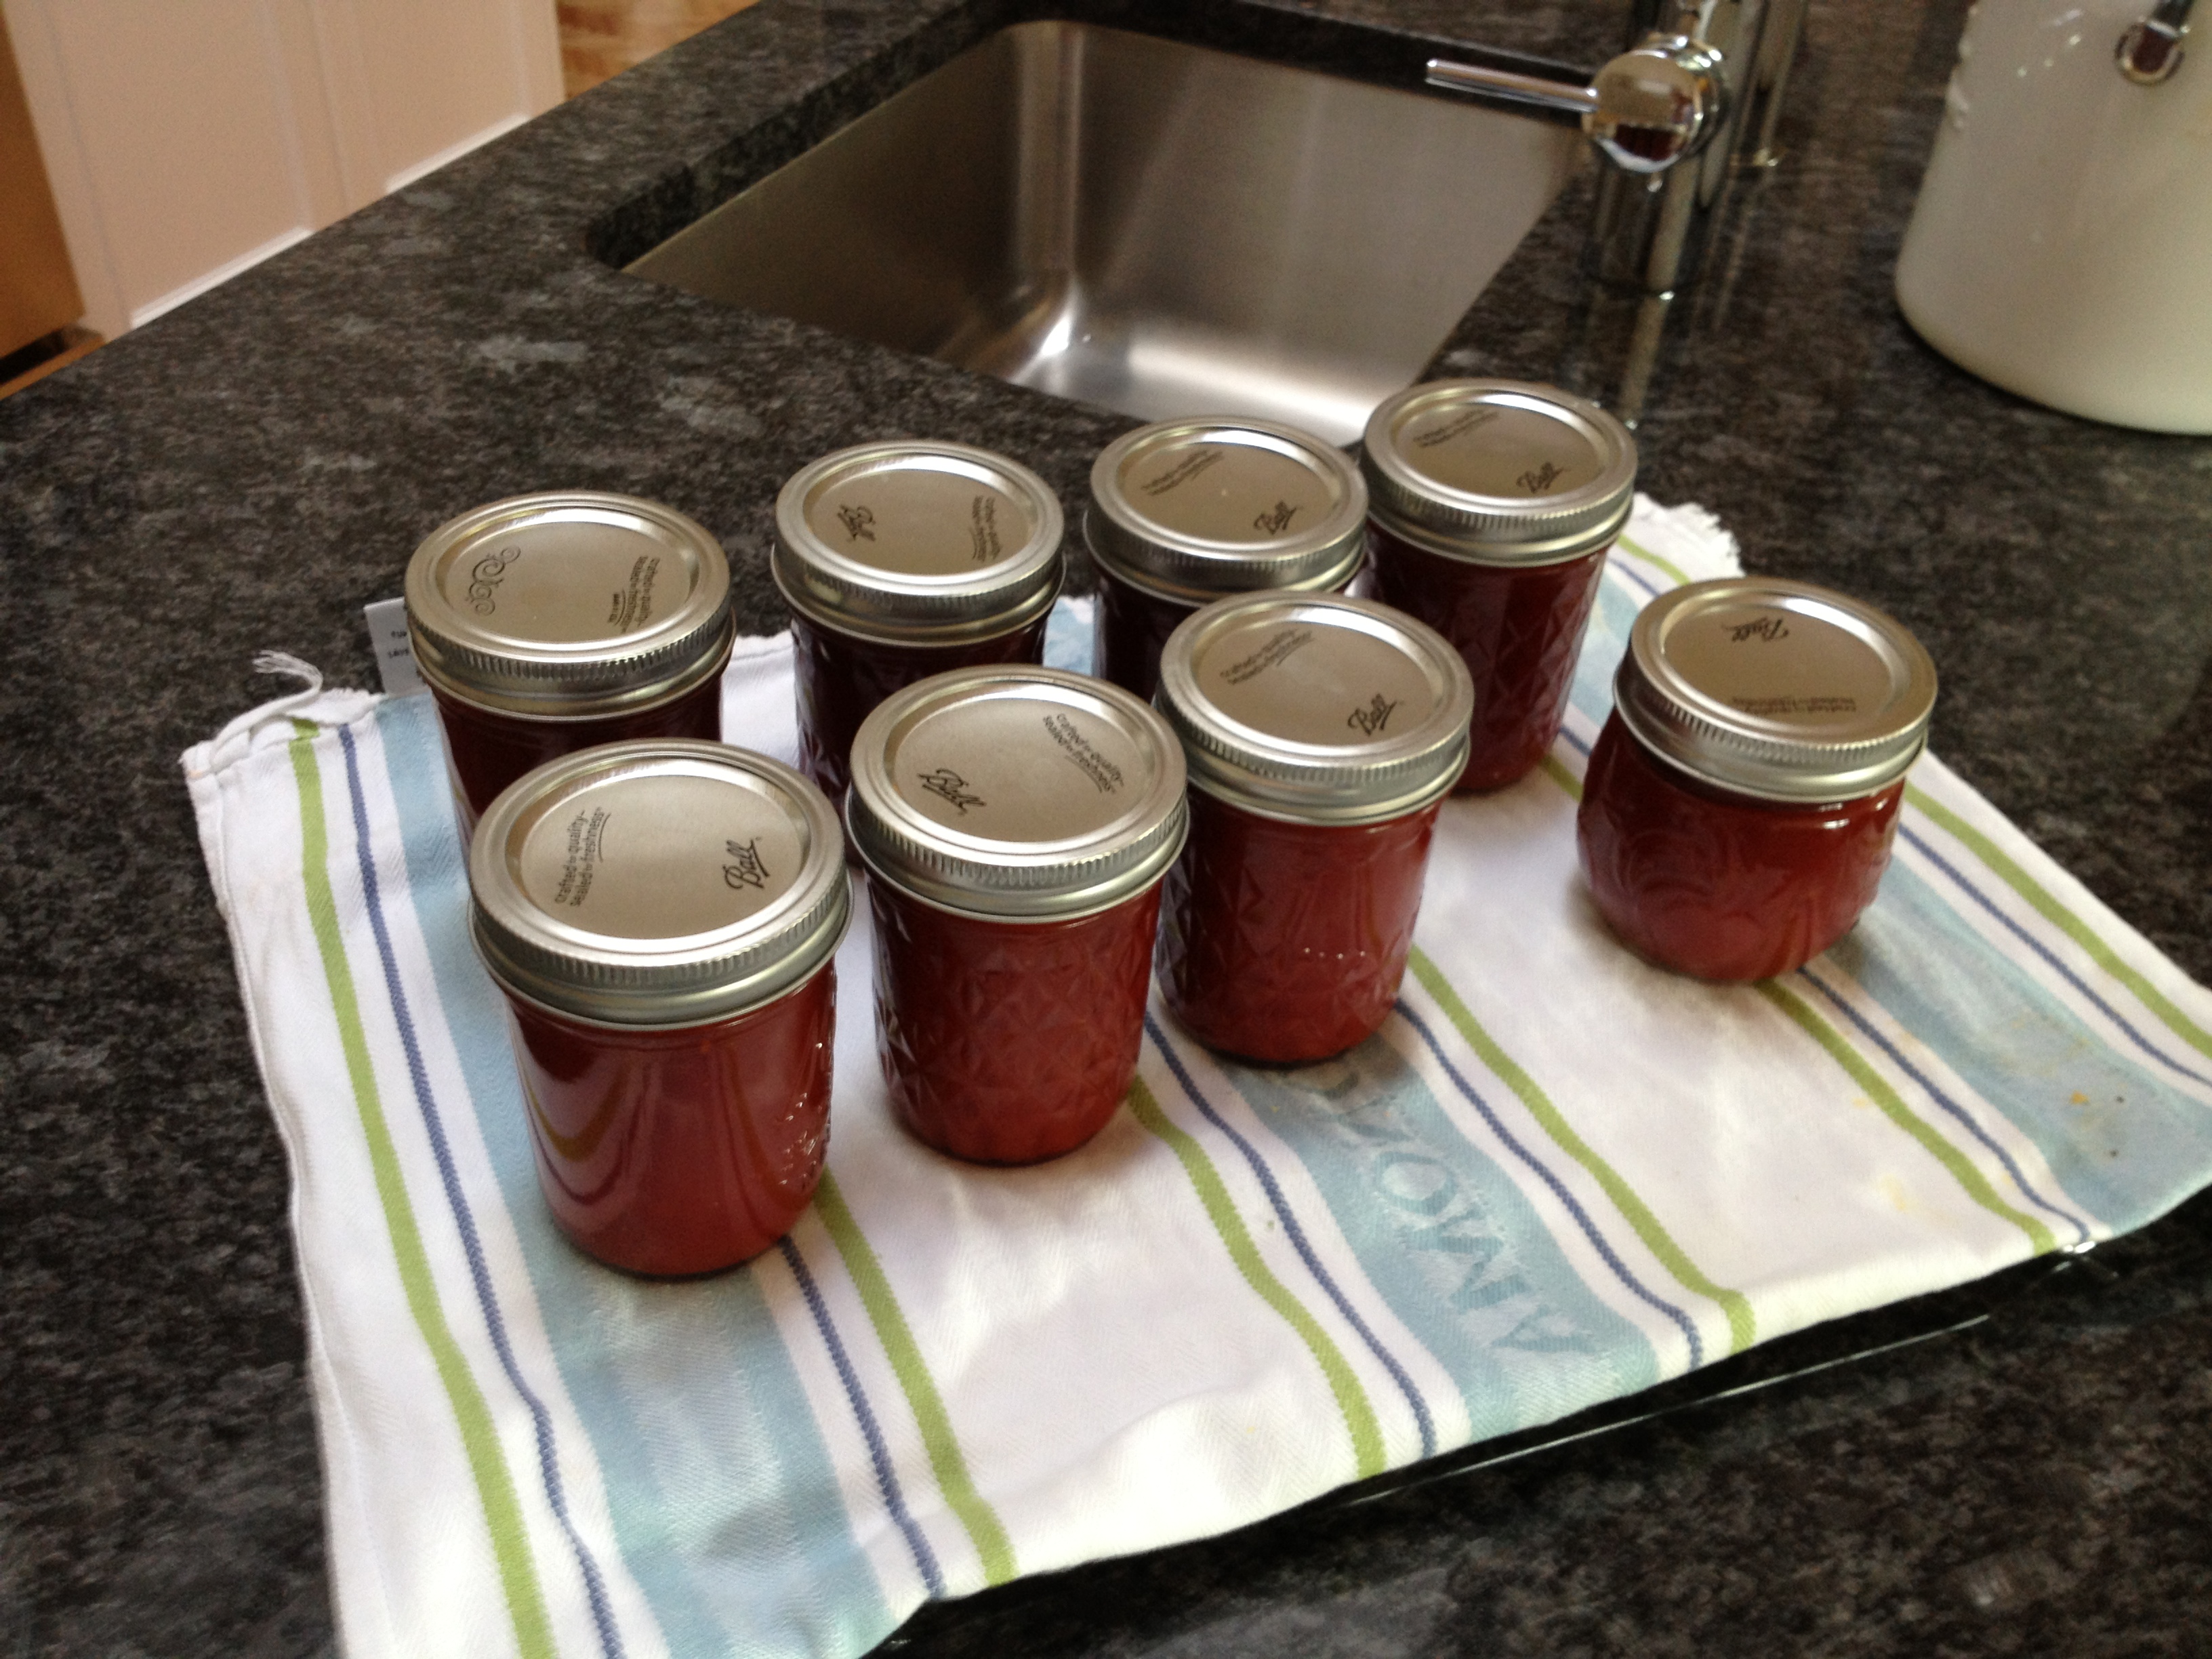
We adore our little red jars of ketchup, but we also have a great affinity (Nancy more than Dave!) for the peppery hot red sauce that I started making last year, called Sriracha. Those of you who read my non-blog previously will be familiar with the process but I’ll repeat it here.
I start out with a pound of our hot red peppers.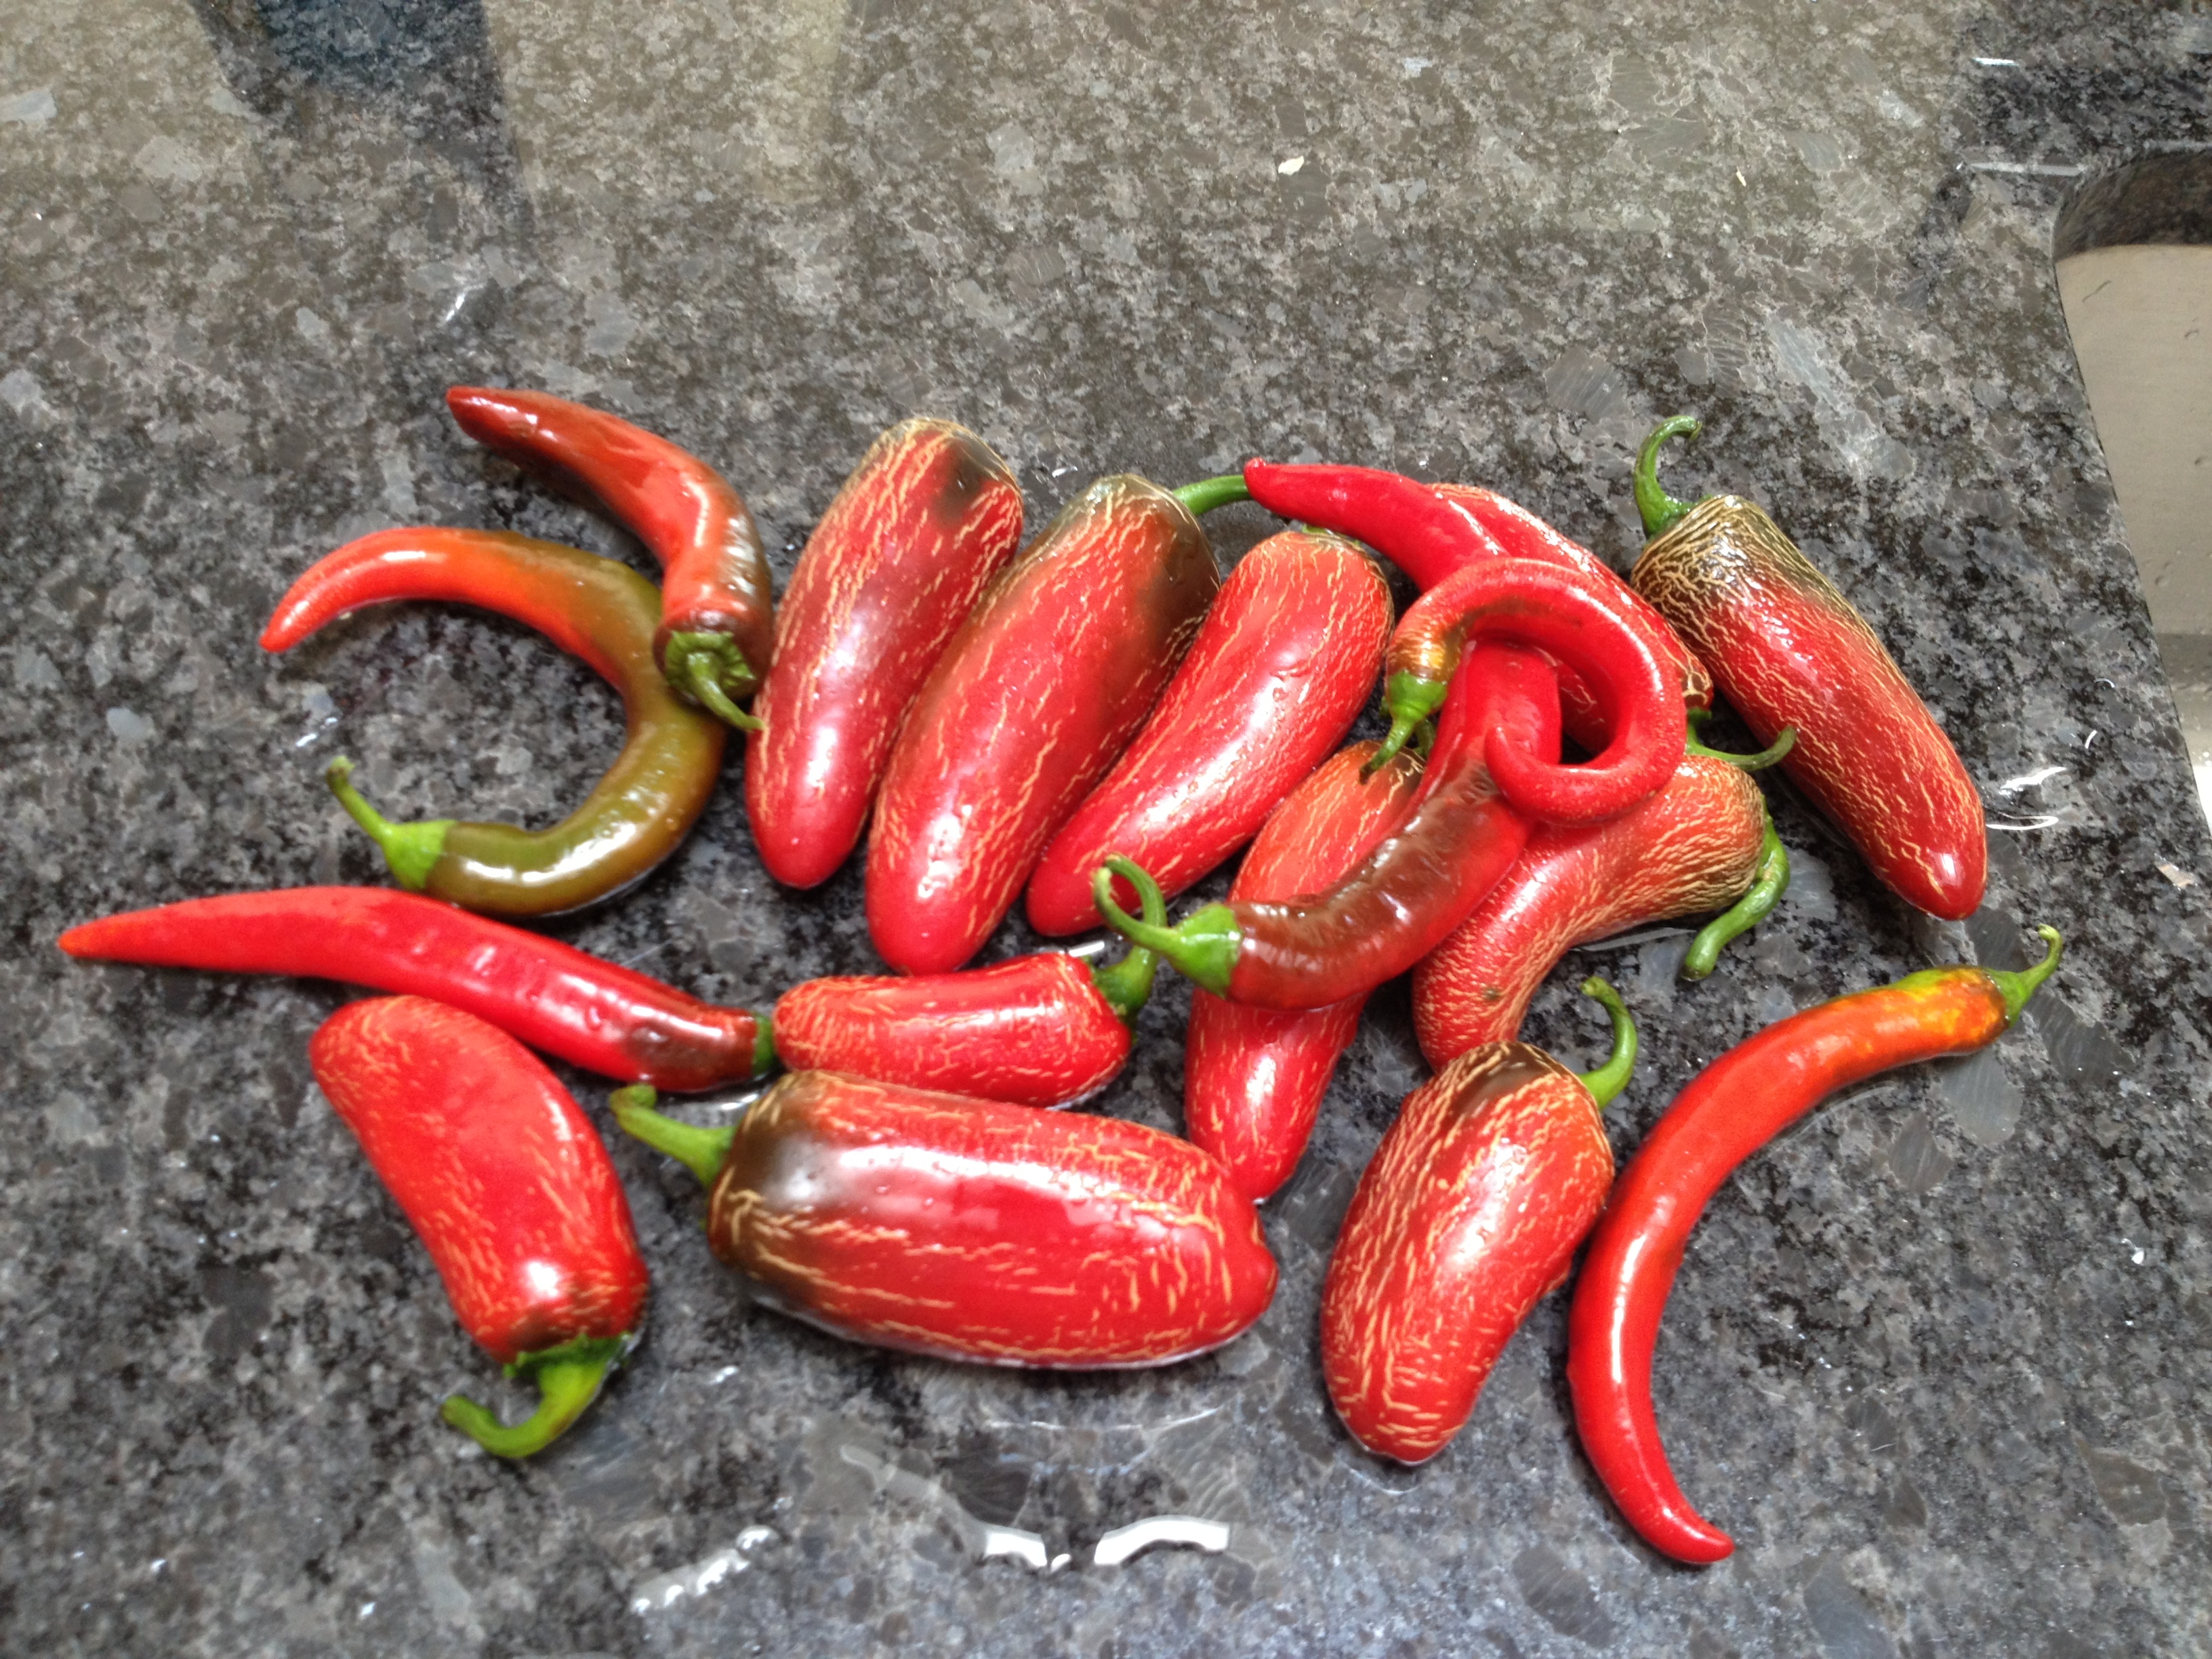
We have two varieties of them this year. One is called Mucho Nacho, the other is called Garden Salsa. They both are green before they turn red. From what I’ve read, by the time they turn red the heat intensity is a bit less. I wash, stem and slice them. 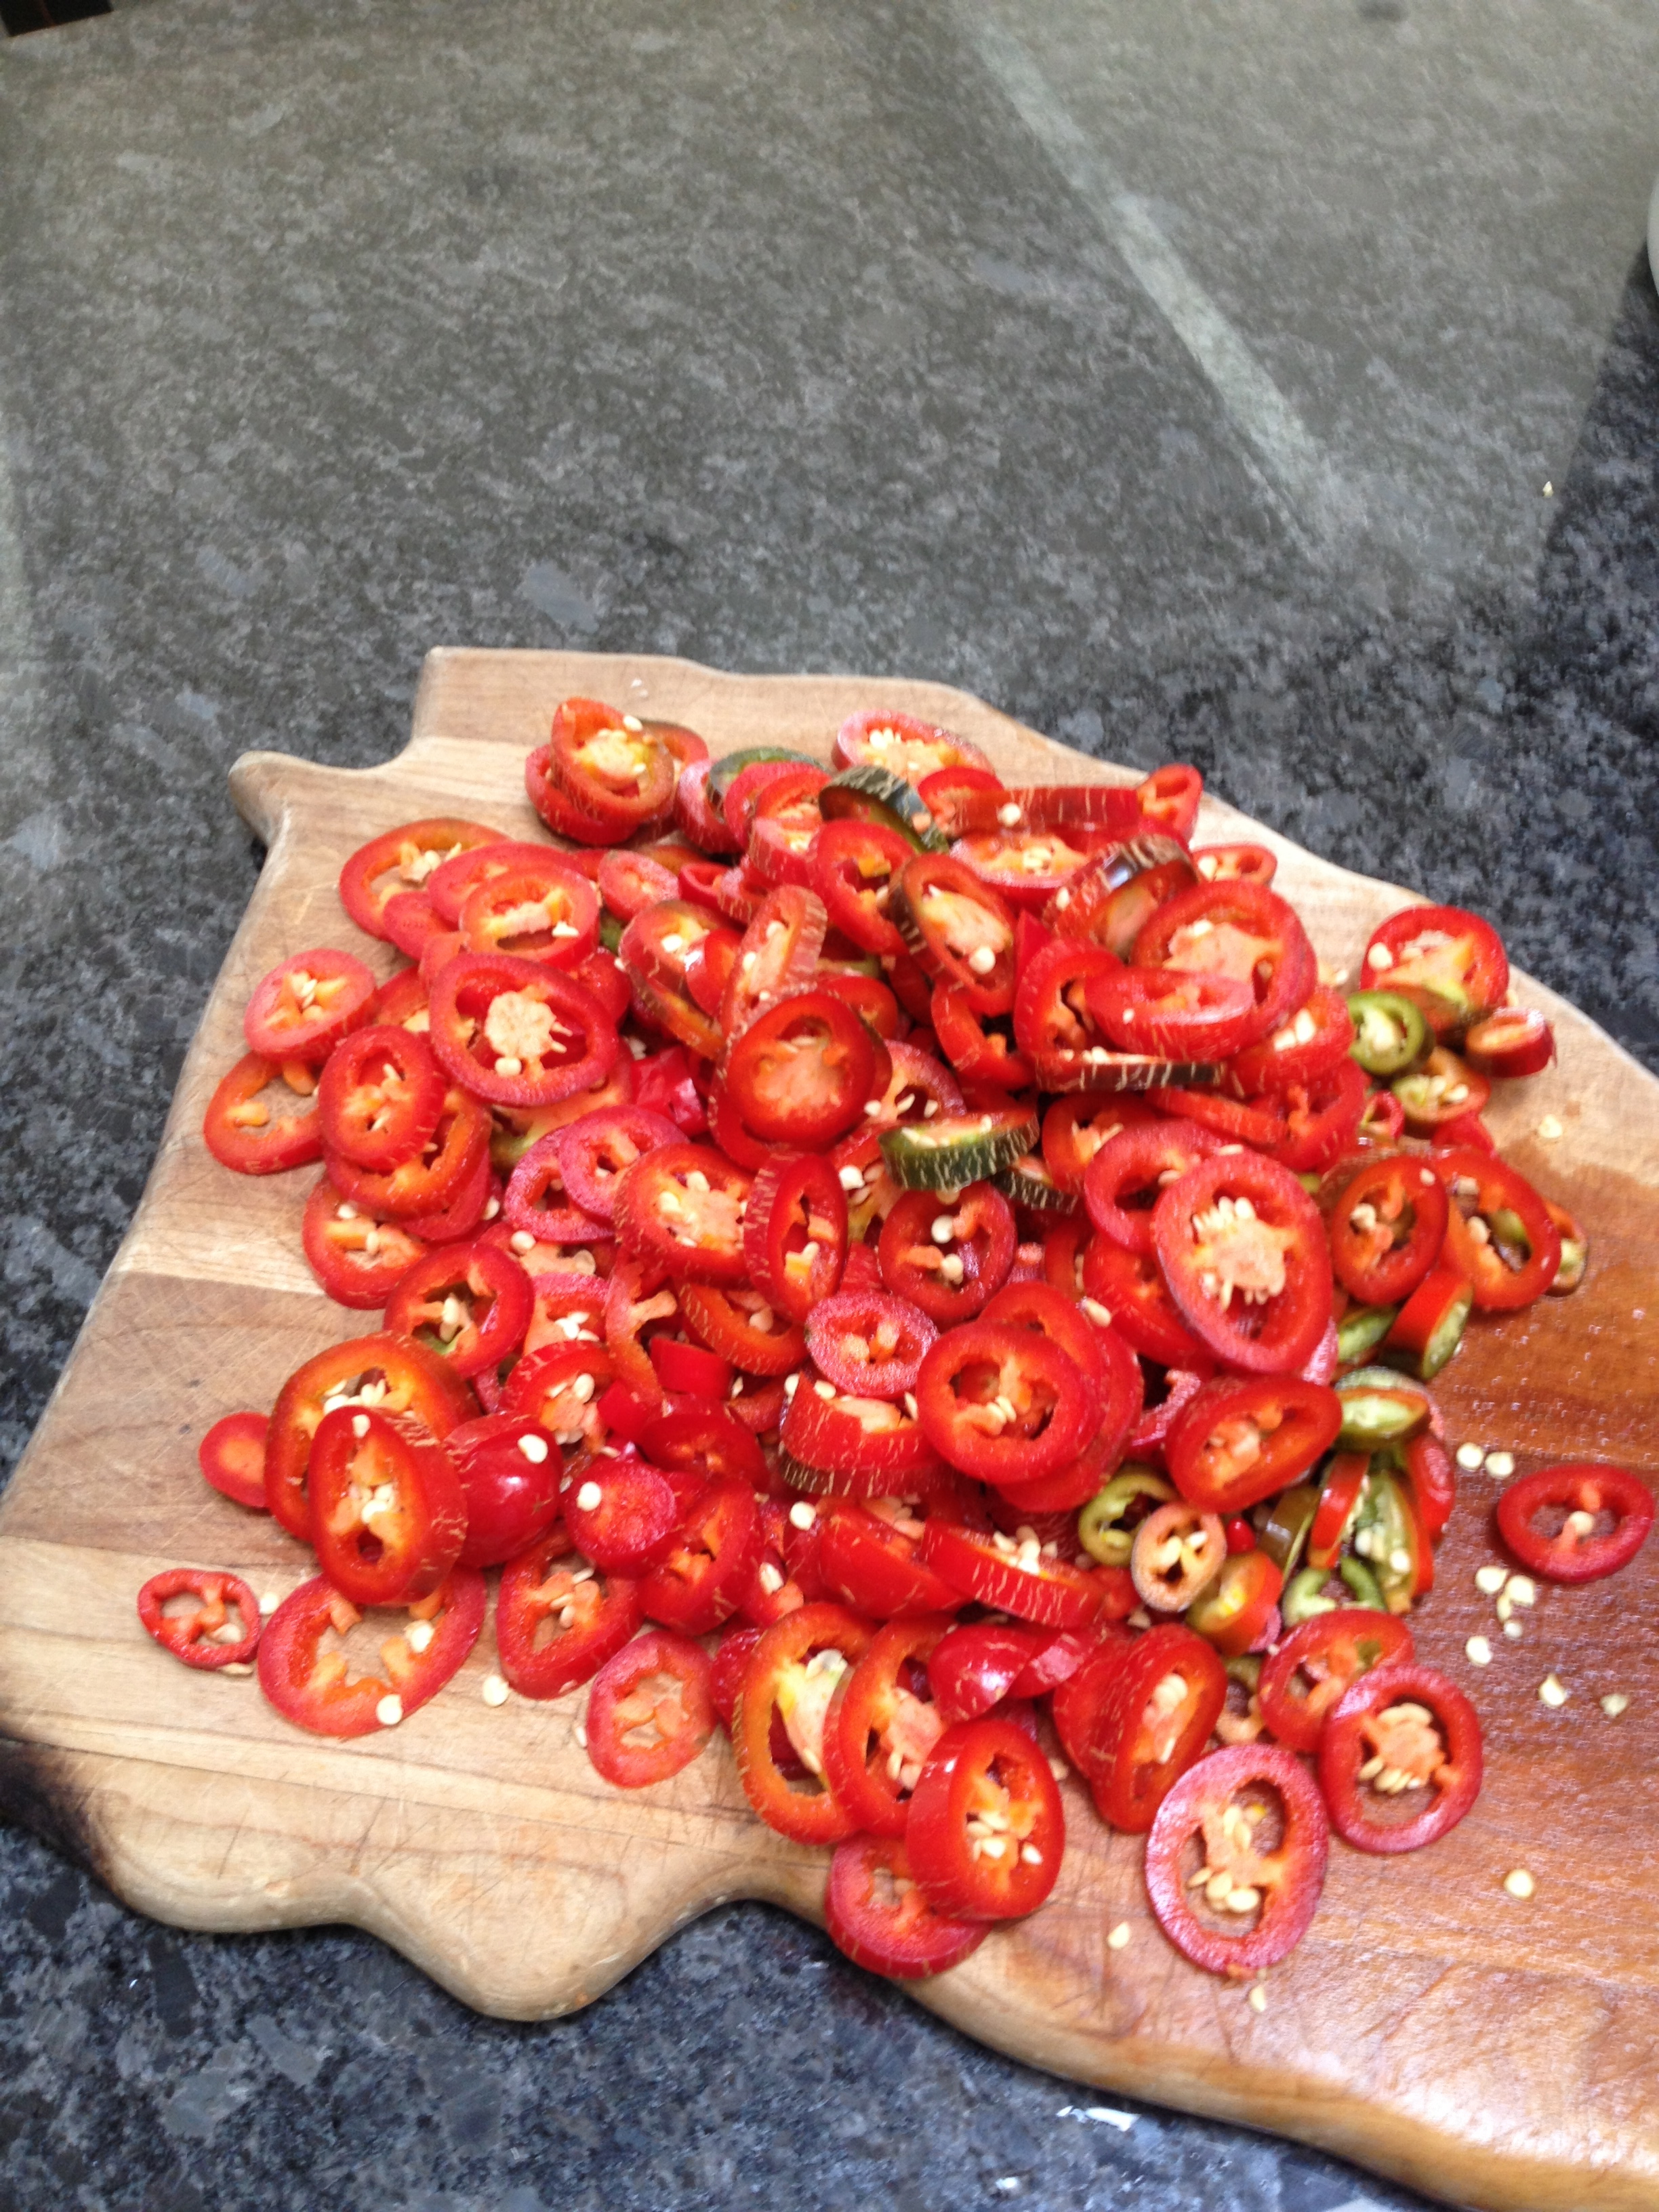
And then I turn my attention to peeling a cup full of fresh garlic. This takes time since there are many, many cloves that make up a cup of garlic! 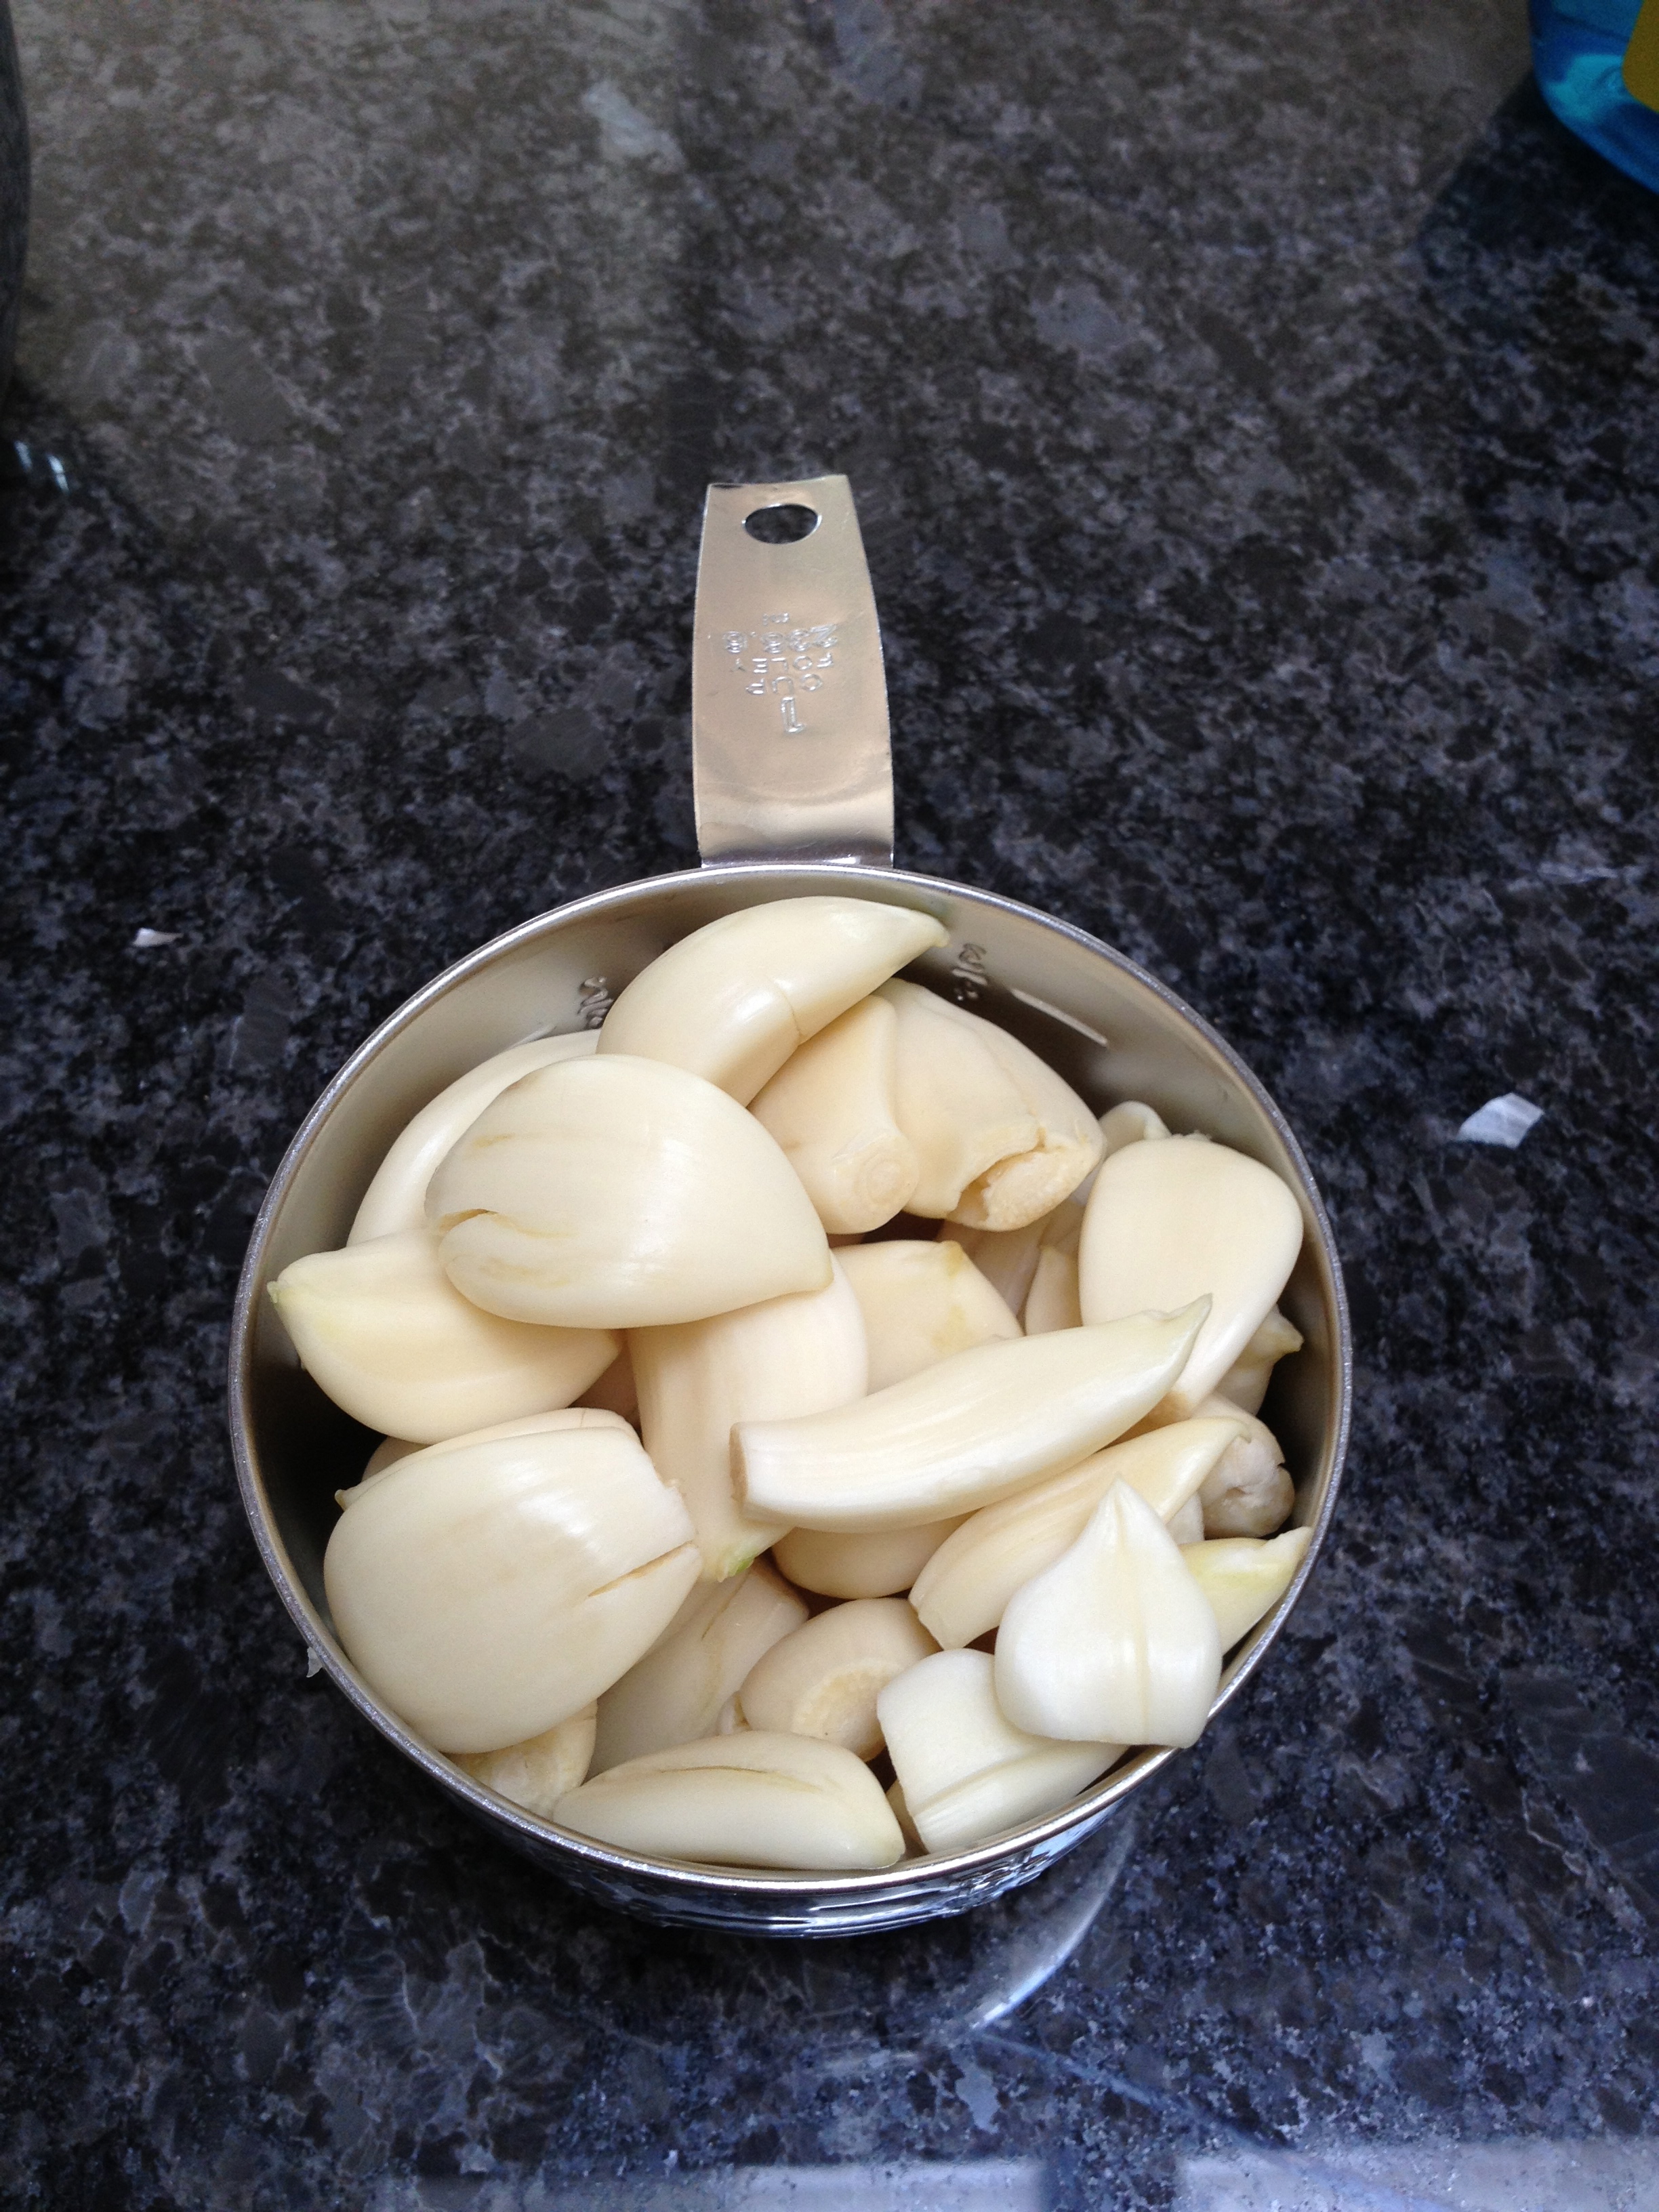
I then blanch the garlic cloves twice by covering them with cold water and bringing them to a boil on the stove top. As soon as they come to a boil, I plunge them into ice water and repeat this process. 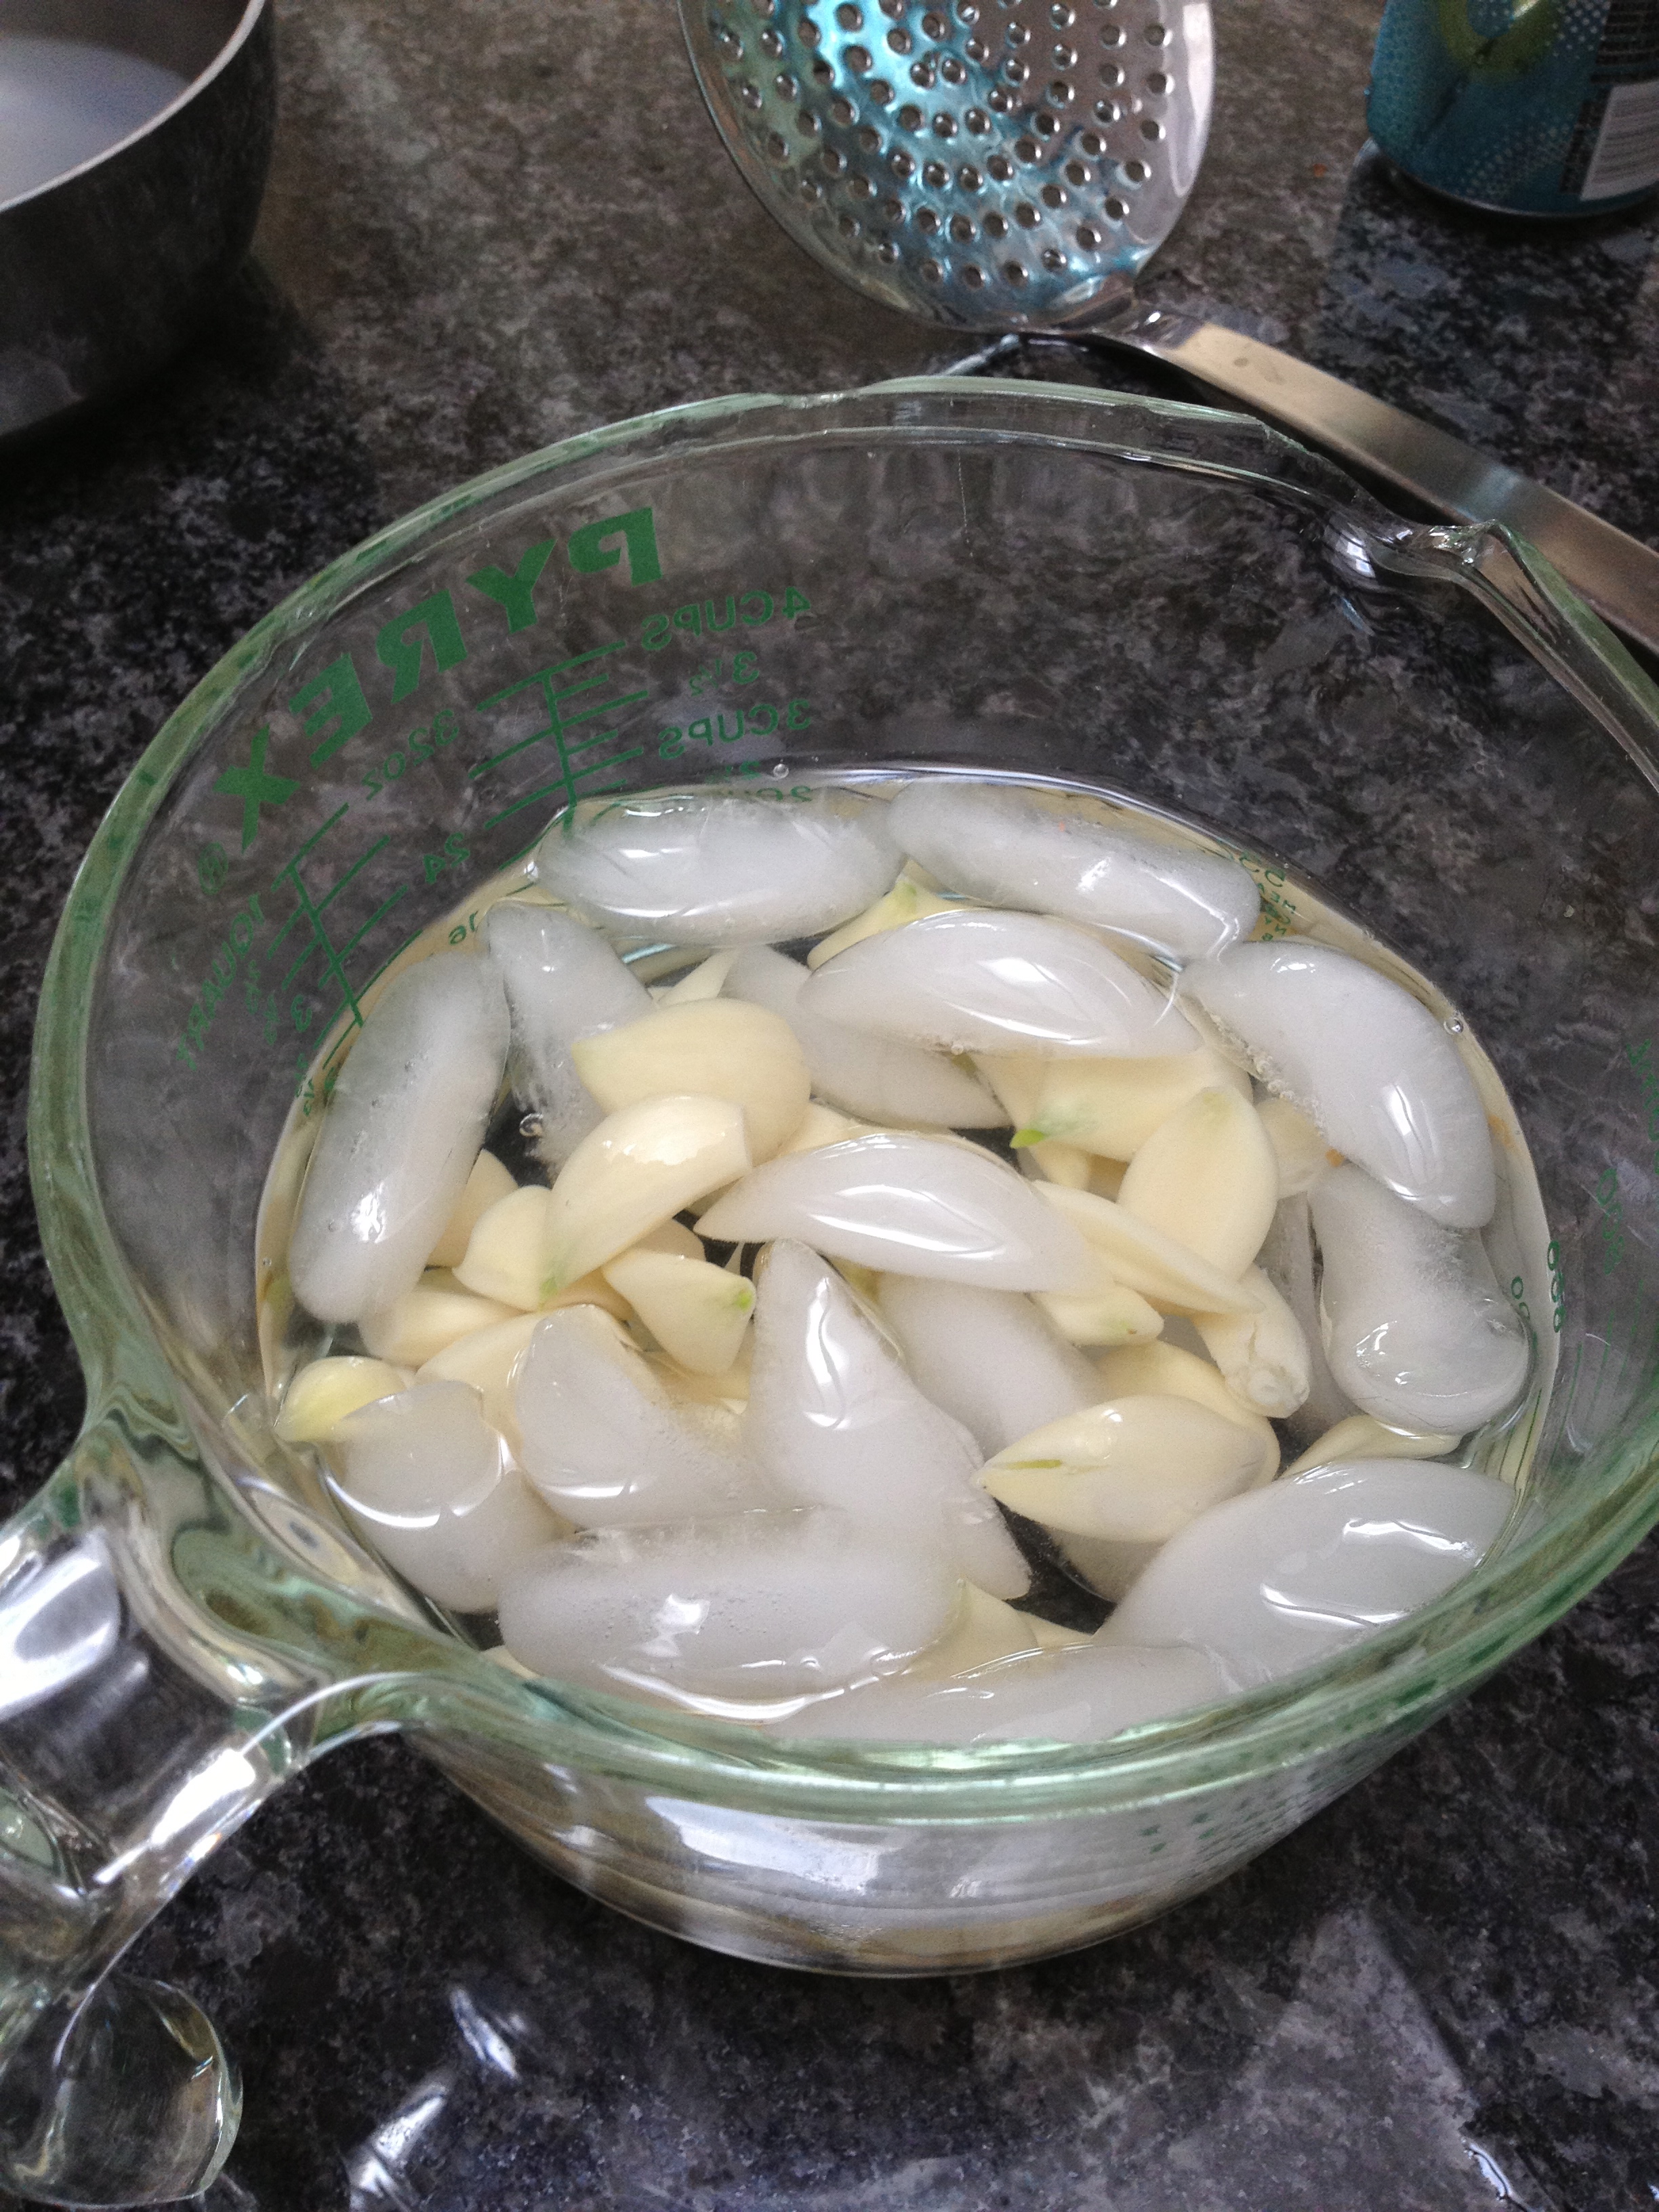
After the second time thru, I drain the cooled cloves and slice them very thinly and add them to the sliced red peppers.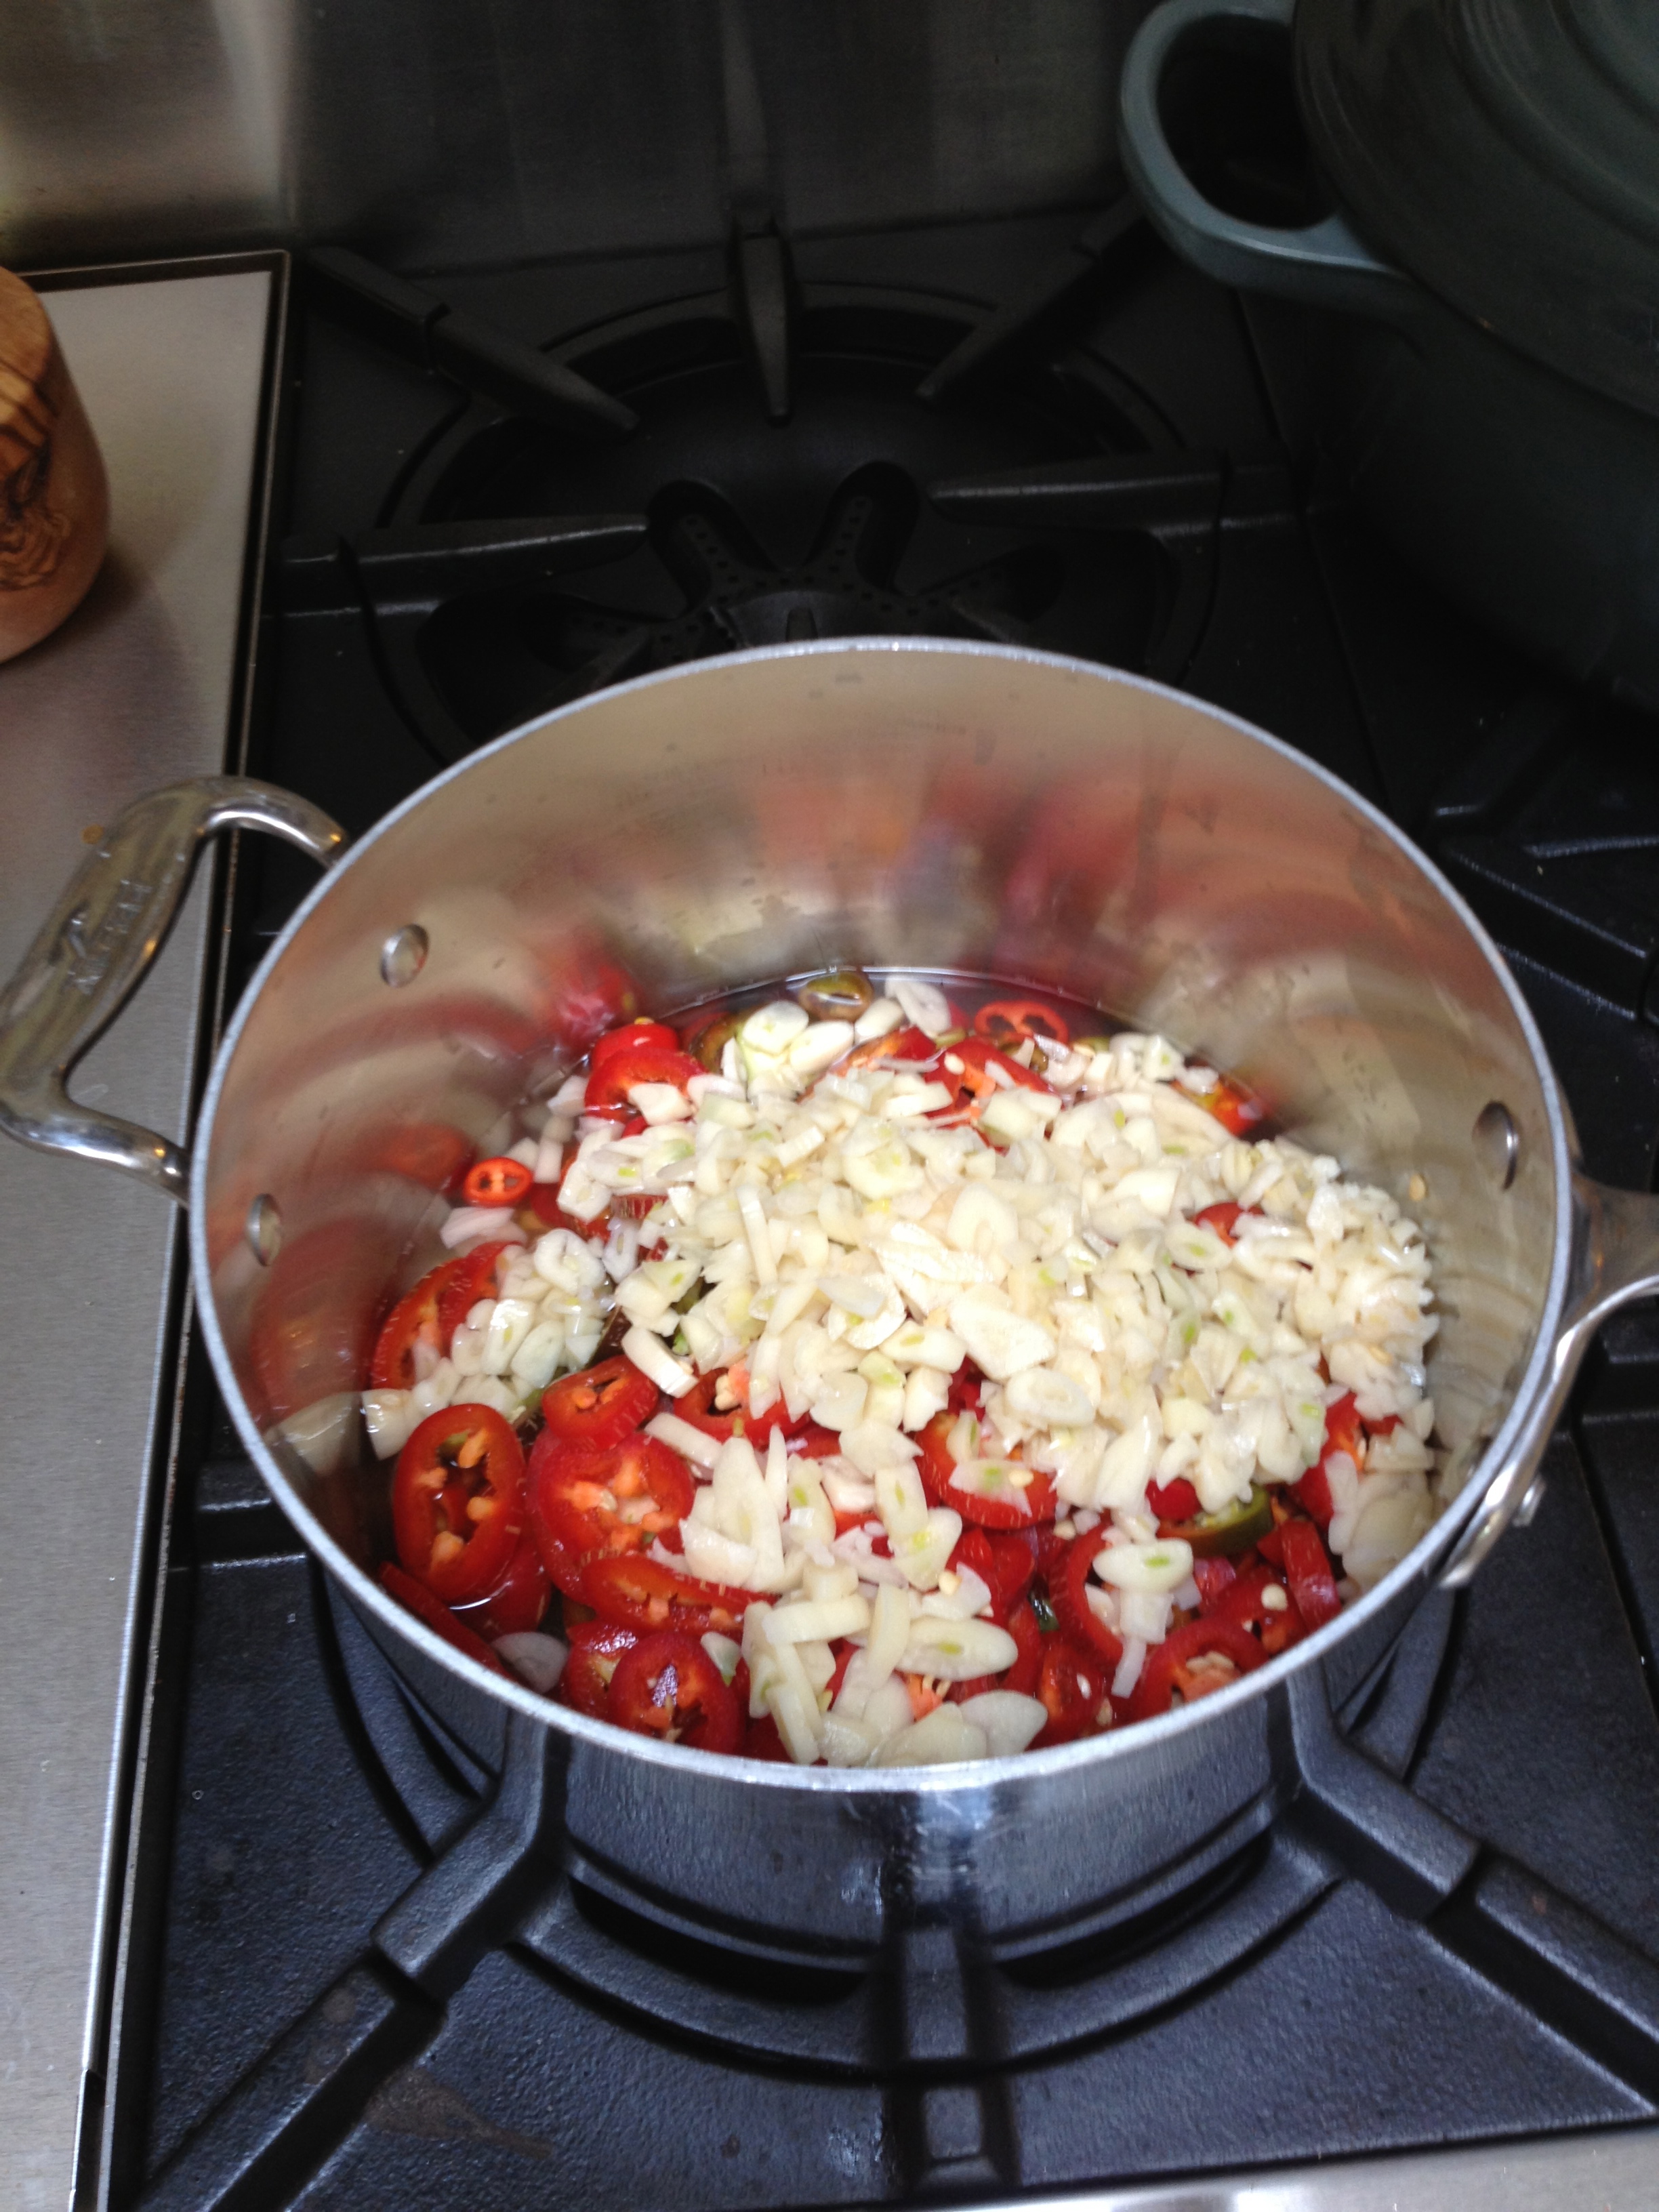
To this mix, I add white wine vinegar and bring it to a boil and let it boil for 3 minutes. I then take it off the heat and add Light Agave Nectar (mildly sweet – like a mellow honey) and kosher salt and allow it to sit for an hour in order to allow the flavors to seep and cool. 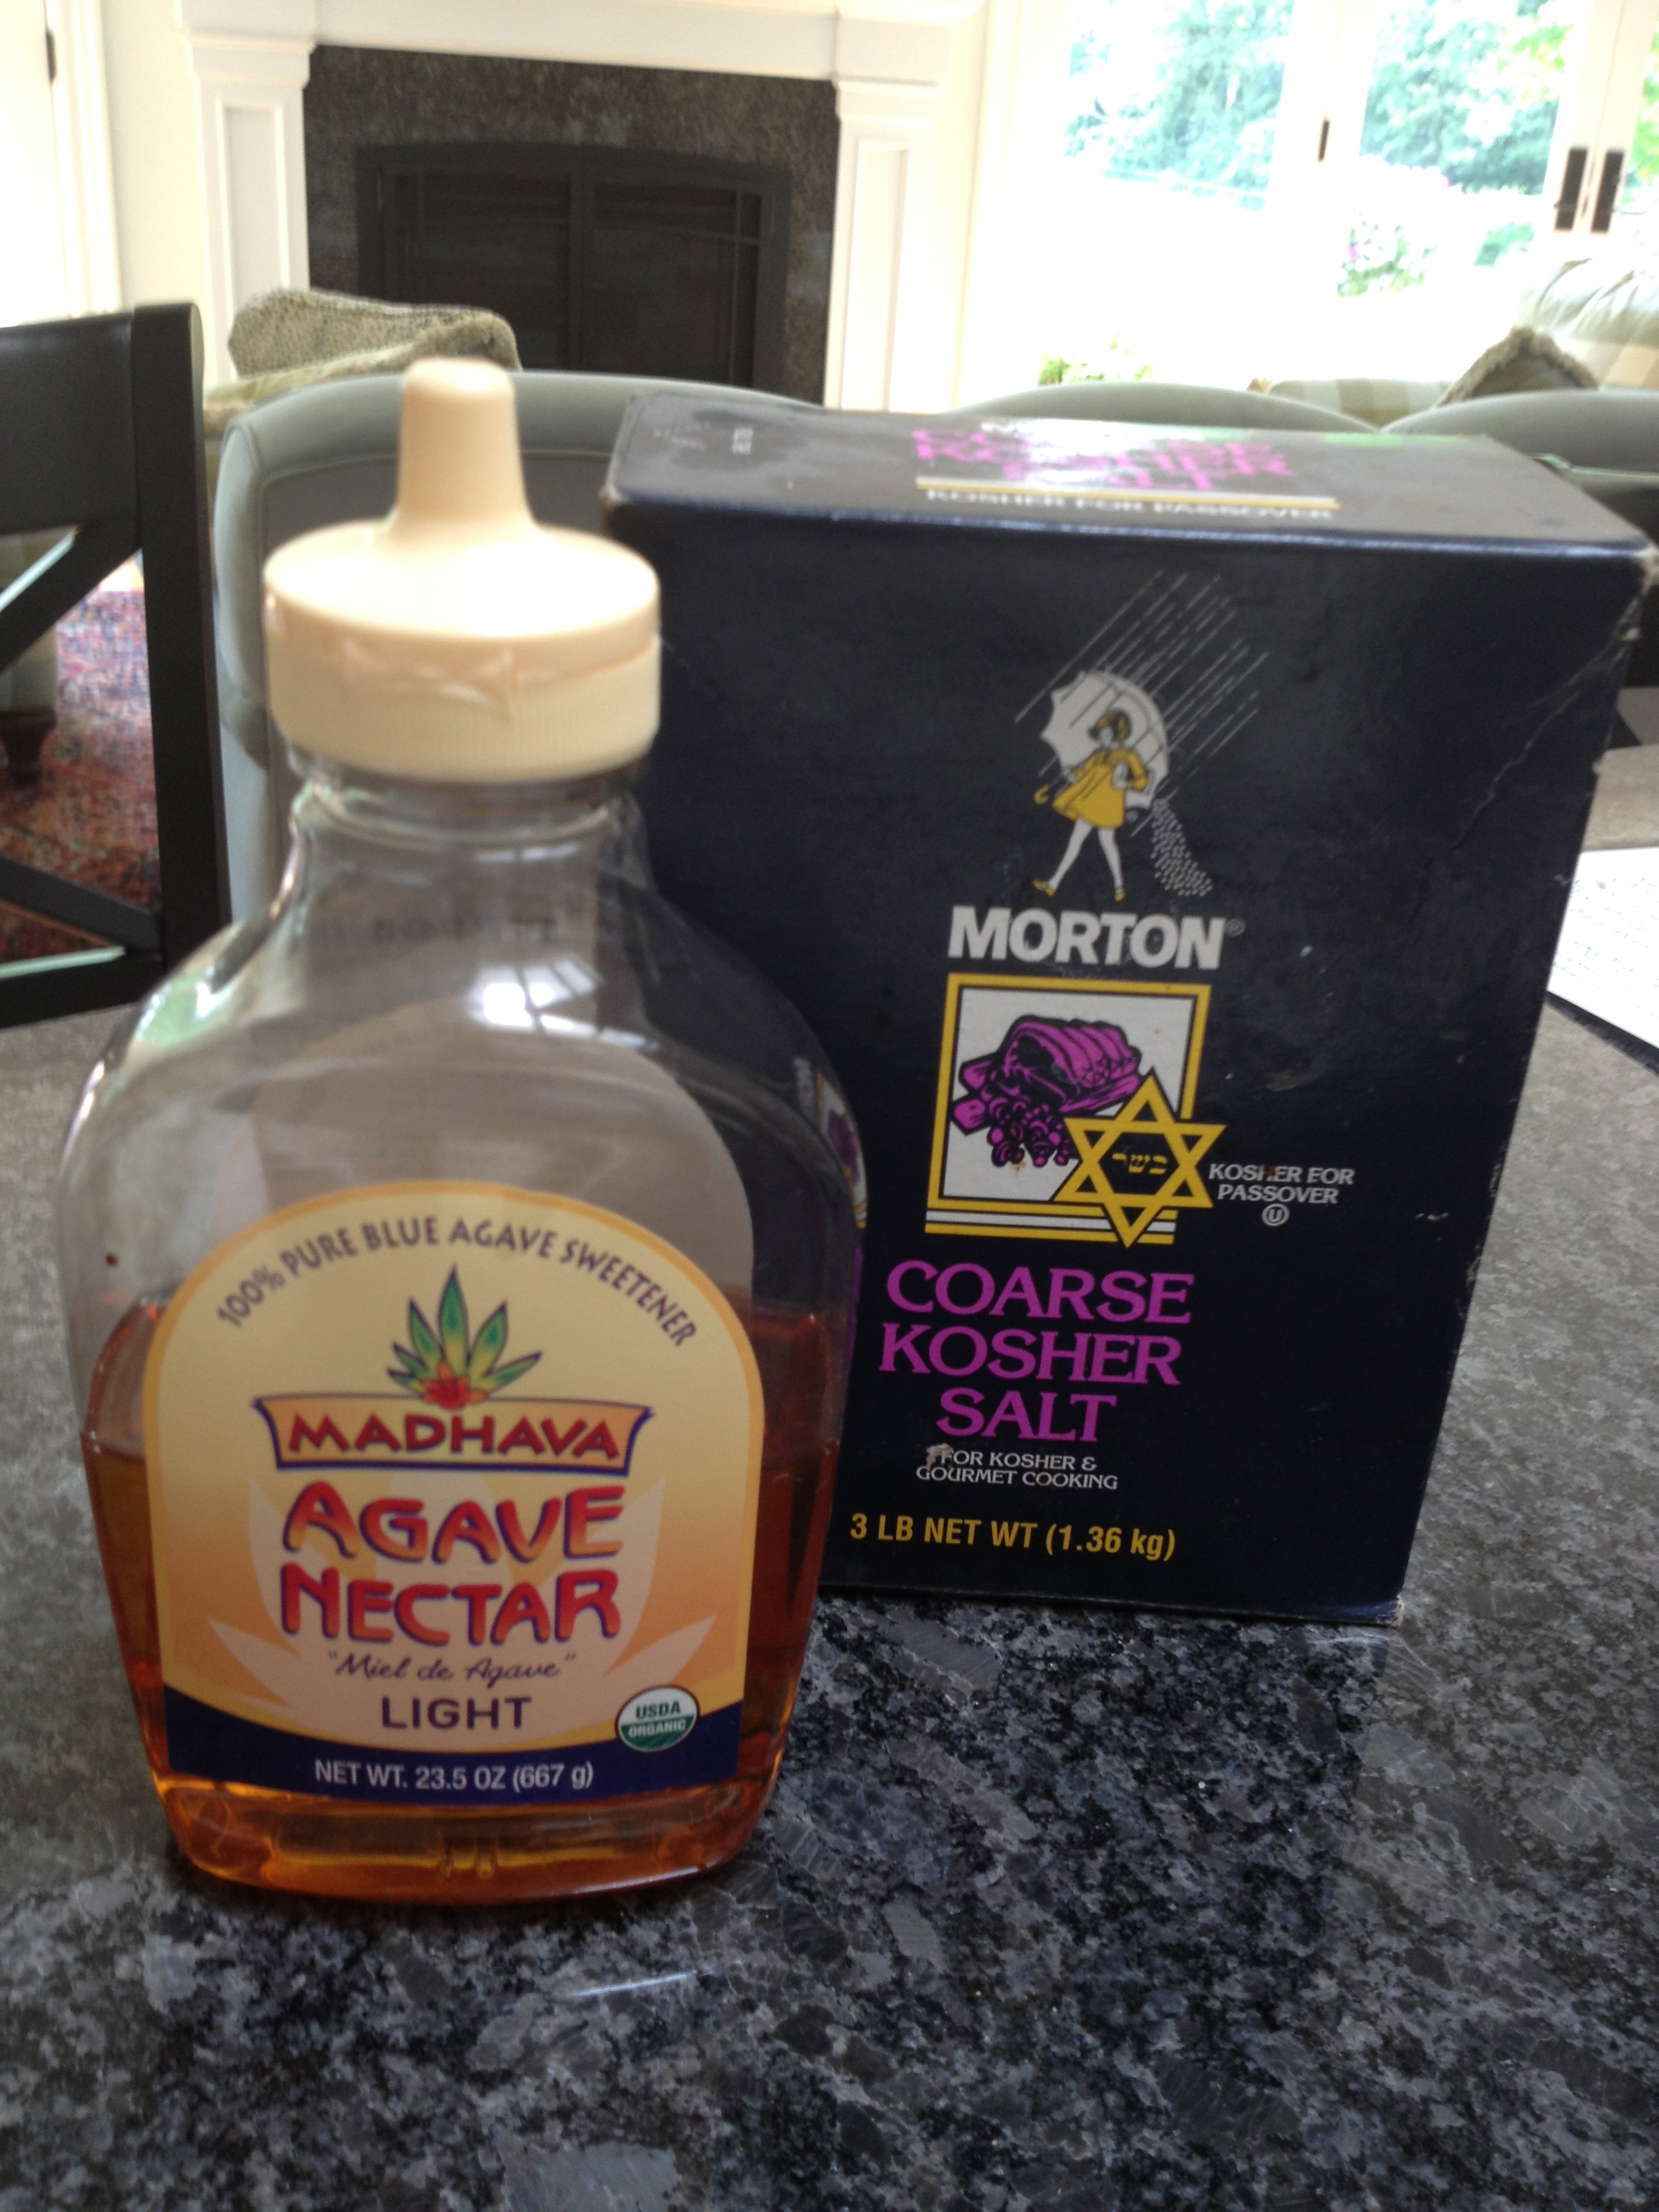
I then put the mixture into the Cuisinart with the metal blade to chop it all finely but it could probably also go into a blender. After this, put it back into its pan and bring it to a boil. 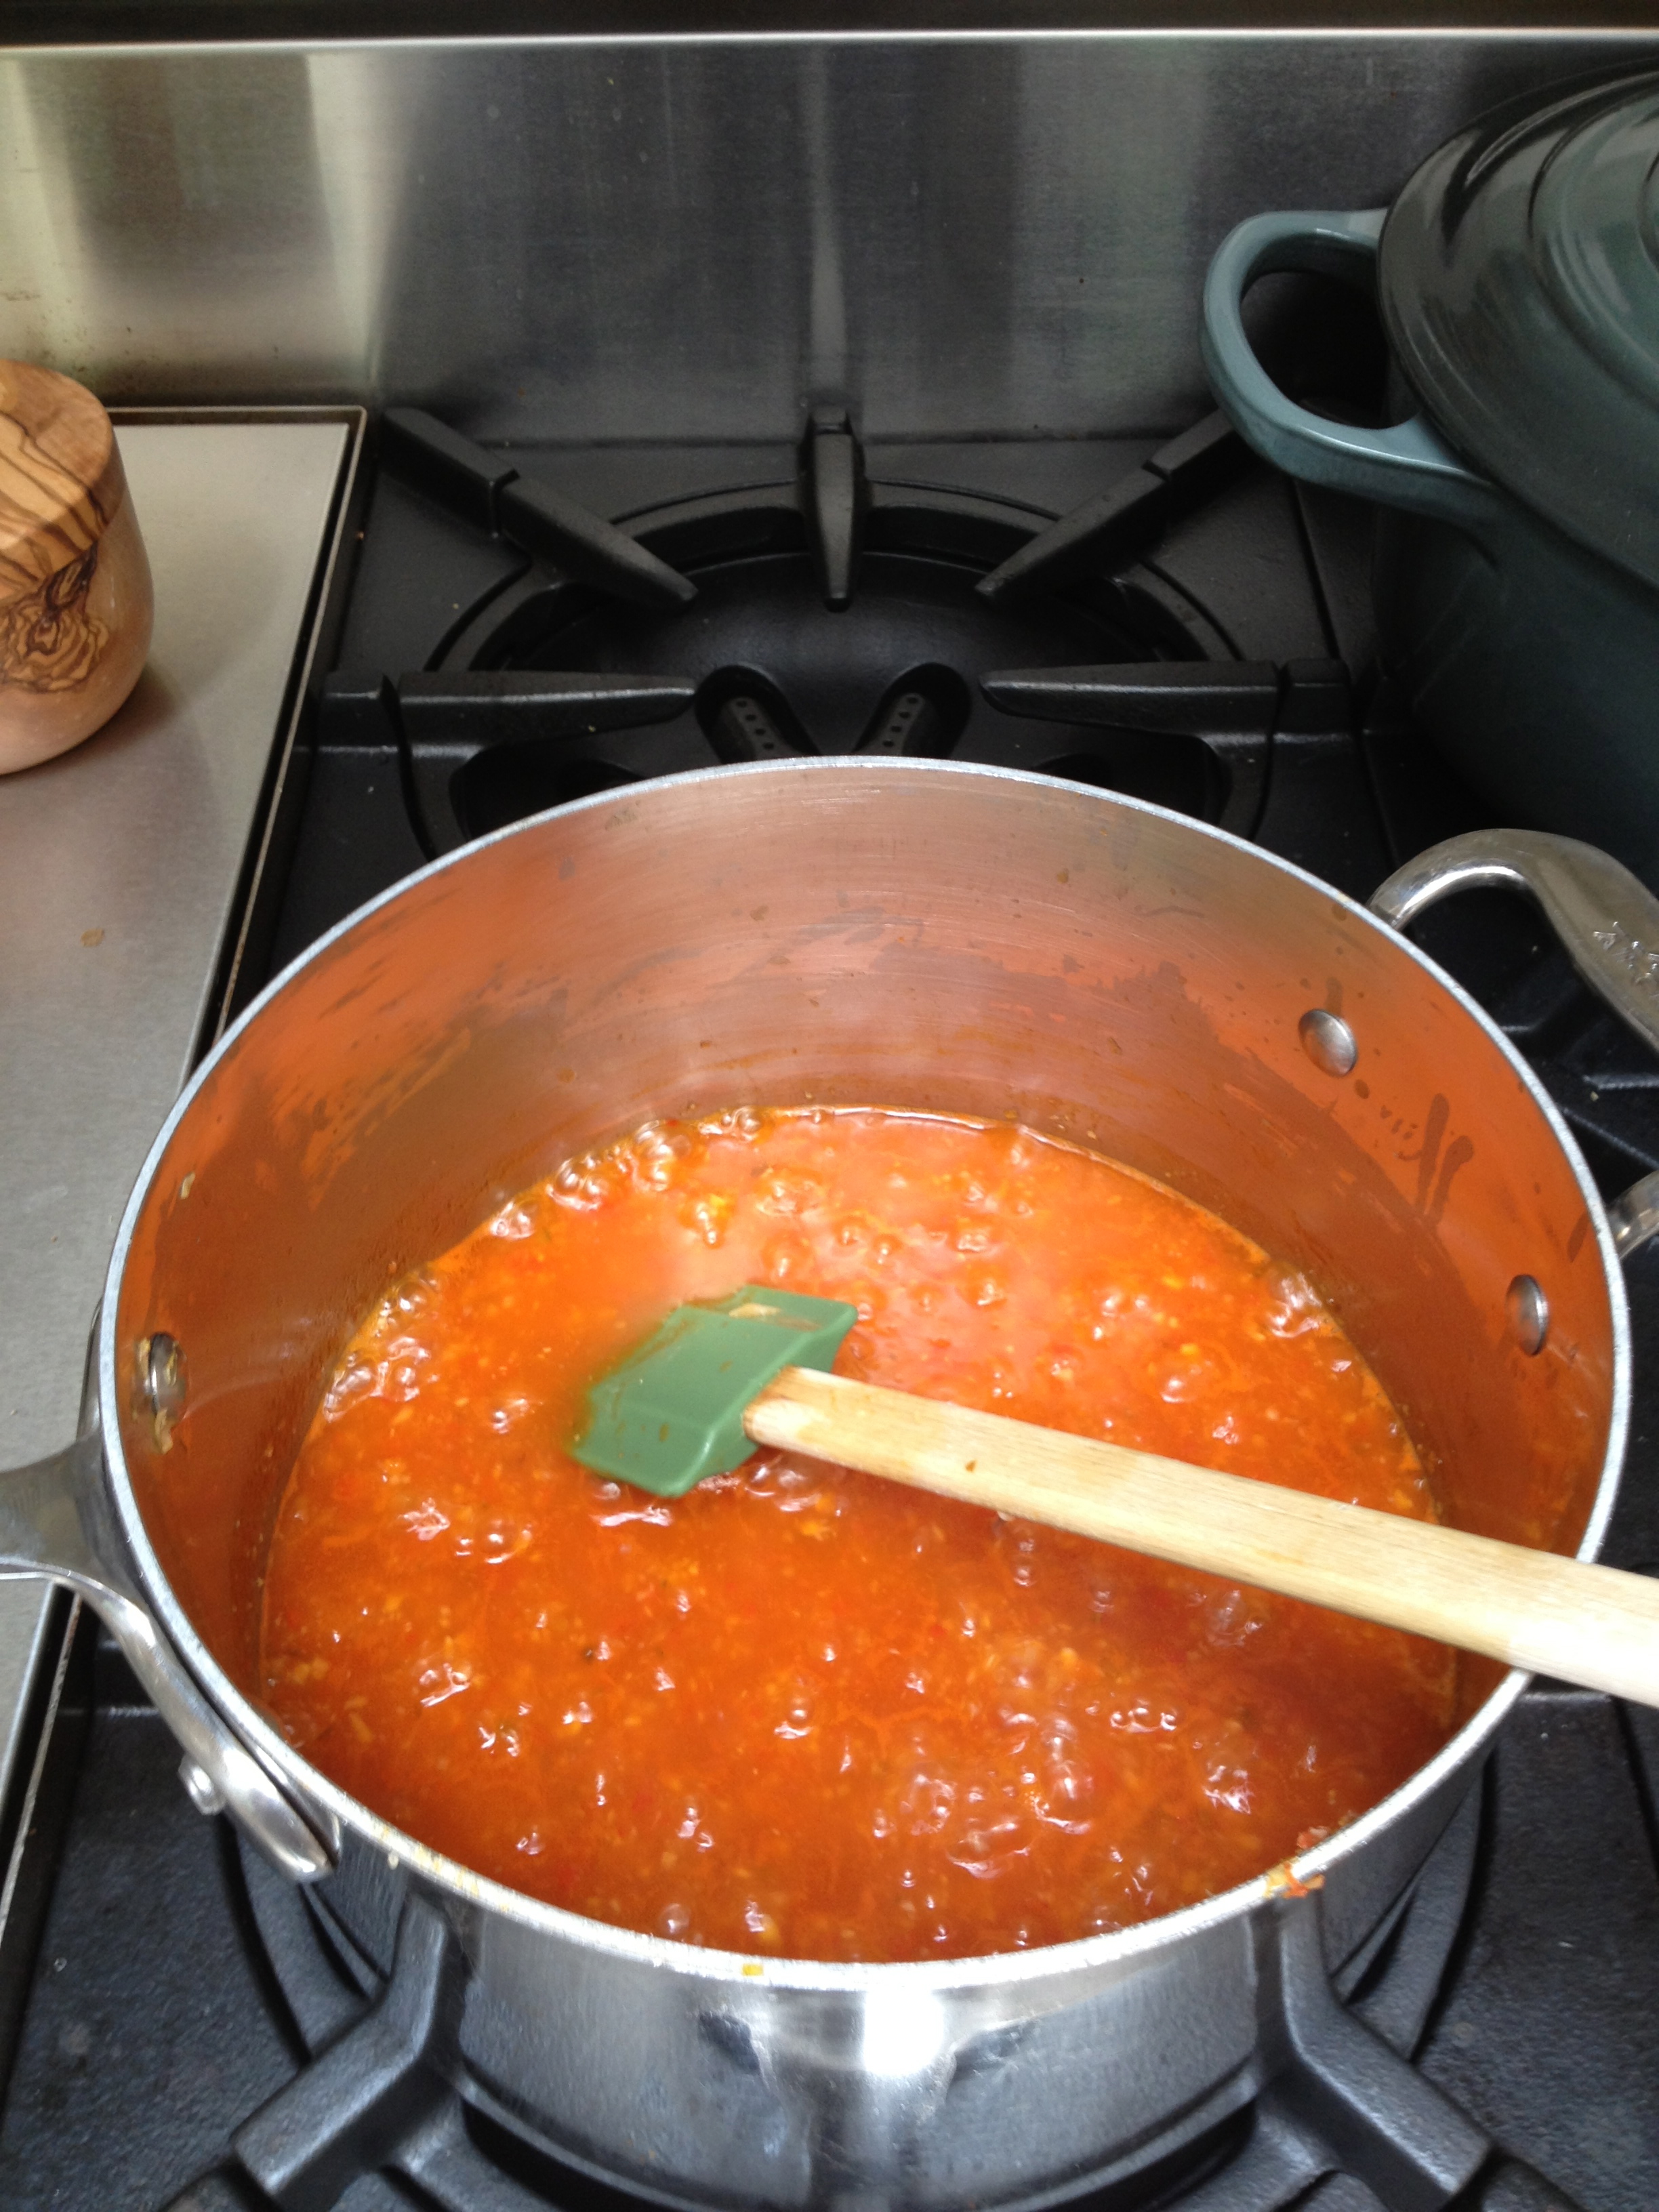
I boil it for 15 minutes or more until it has reduced and thickened. I add a bit of soy sauce and then thicken it all some more with a cornstarch/water mixture before putting the hot mess into jars and processing it in a water bath. After all that work, I ended up with 3 precious half pints of Sriracha! 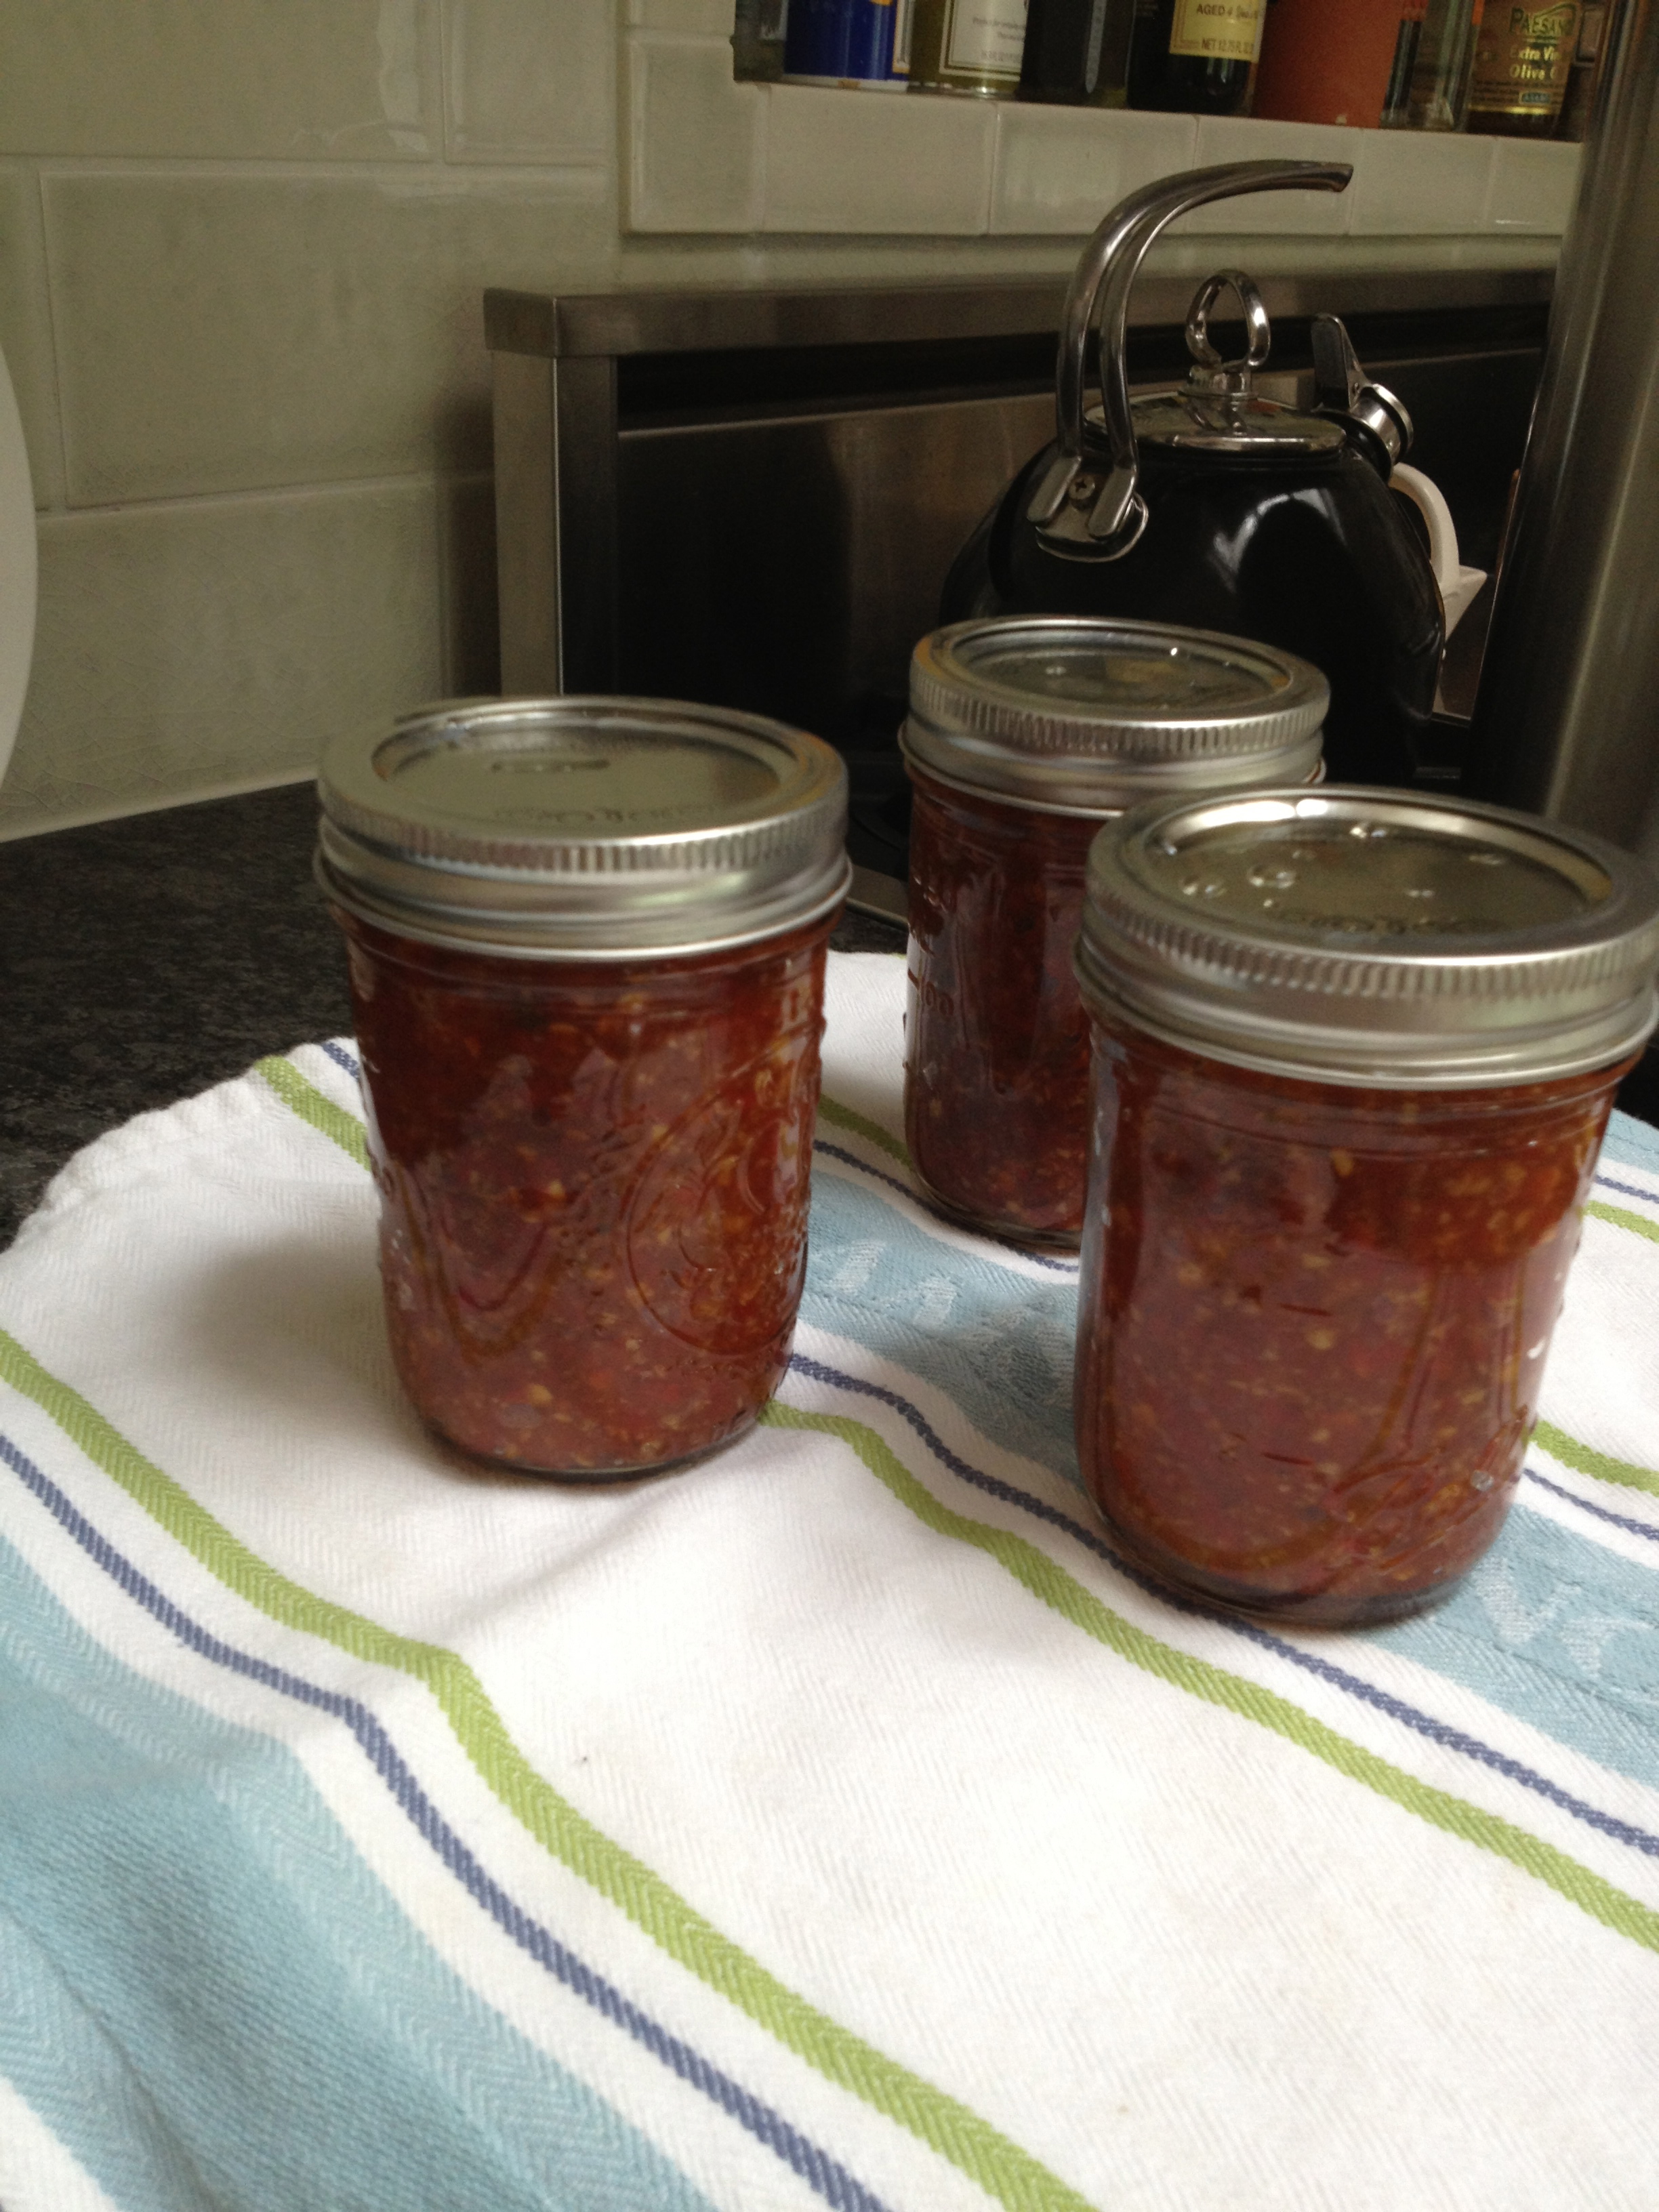
I’m now looking for a hot green pepper sauce recipe since I have quite a few of those as well. As I search on line, I see a lot of references to Denver cooks and perhaps, my sister Julie will know of some recipes.
Dave is still out working on the daily harvest but his numbers from the past day or two have put us over 700 pounds of produce for the year so far. Although the weather has been enjoyable, we are wishing we had some warmer days to ripen the melons in our patch. We hope that a slower ripening time will not ill affect their flavor. Many people tell me that farmers complain about the weather no matter what it is! We seem to be in this category despite the delight that others are cheering about with this mild summer.
I’m off to the kitchen to roast some cherry tomatoes for our lovely pizza dinner tonight but had to share one last photo. A friend who worked with Dave at AB for years, Carolyn Wolf, has been coming to the farm lately to visit and check out our progress so, we have shared some of our veggies with her over the last couple of weeks. Today she dropped by with this lovely pie…cherry…from a wonderful, small, local baker by the name of Sugaree. She claims she did not know that cherry was Dave’s favorite, but she obviously chose well! 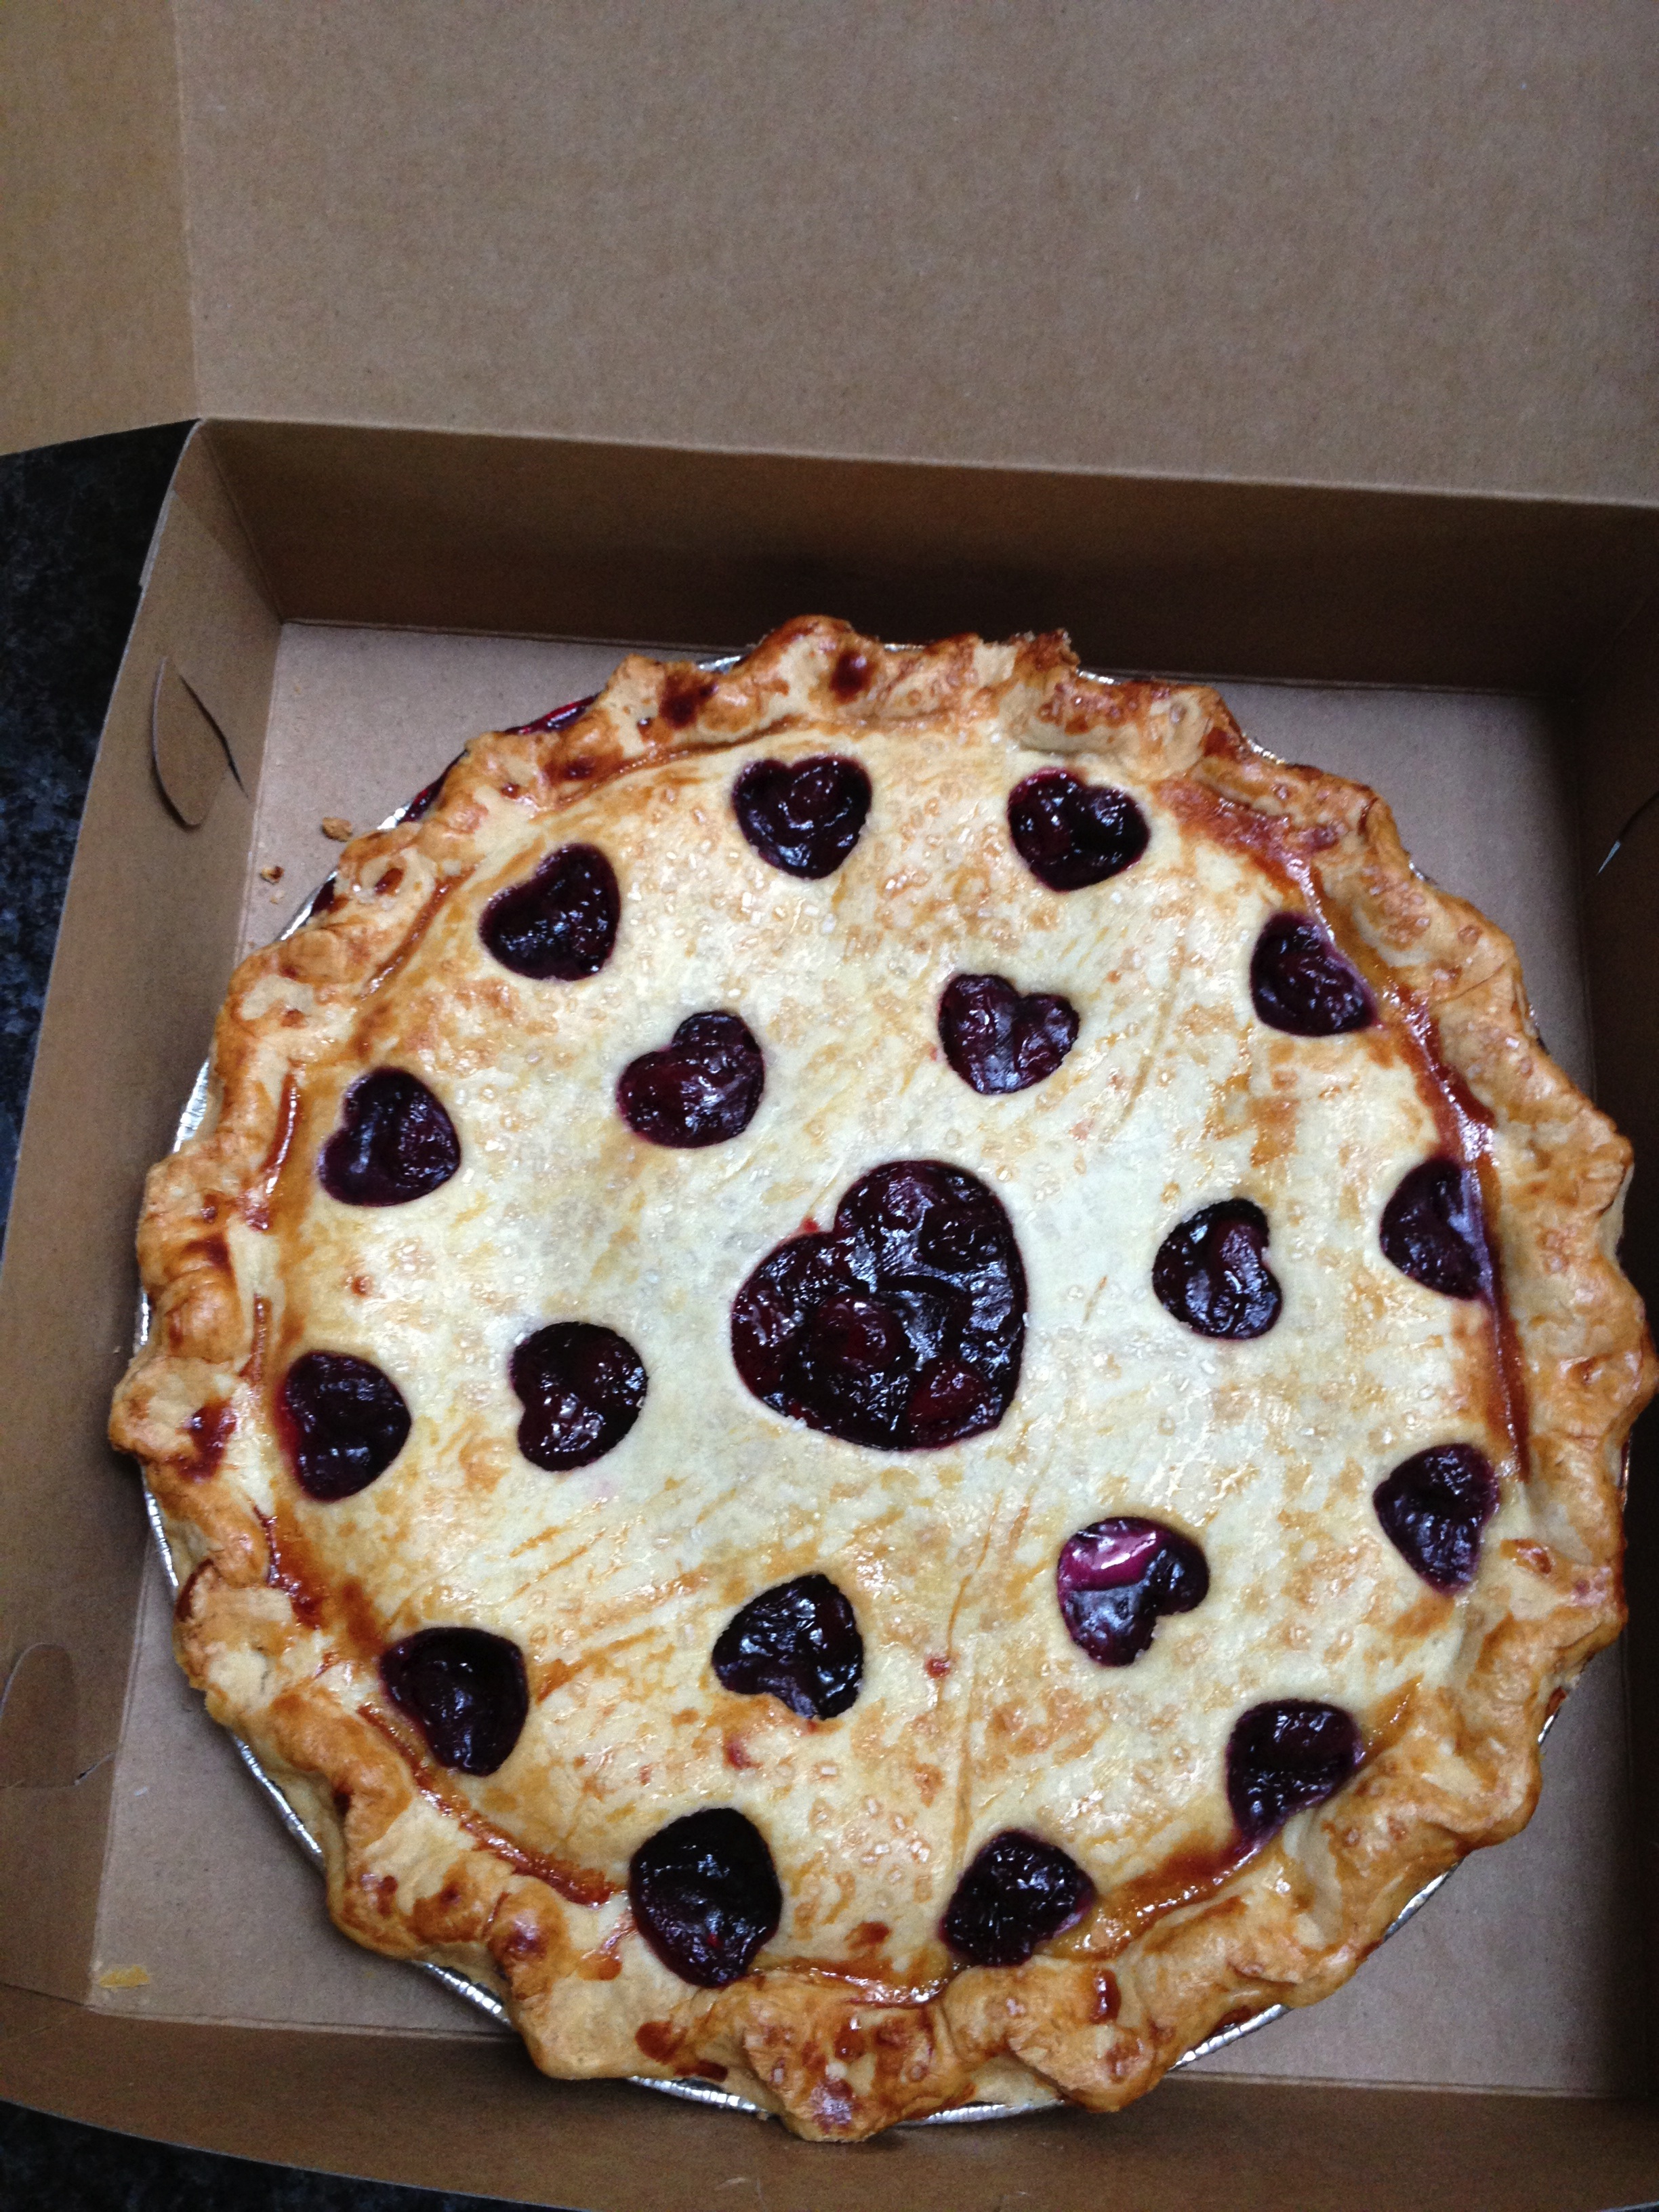

I am exhausted and hungry just reading this!!! Do you nibble the whole time because it smells so wonderful? I would probably pop M&M’s the whole time.